A Few Tips on How Cut Tile with a Specialty Saw
Installing tile is very simple but what about the areas where the tile needs to be cut? There are several ways to cut tile and I’ll share a few tips on how to use a wet tile saw!
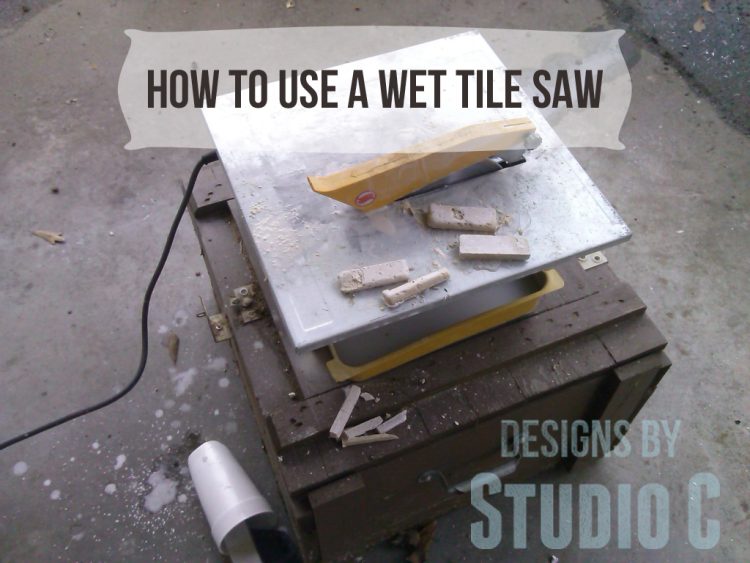
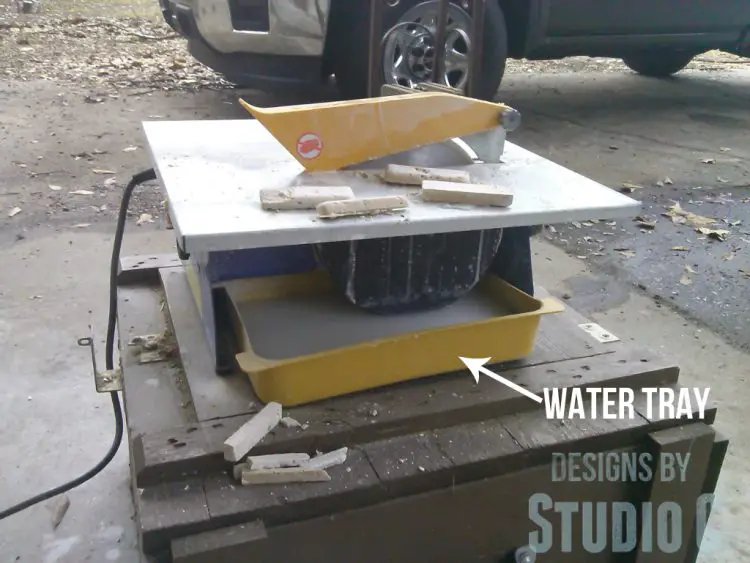
Don’t worry – I’m not going to try to sway you into buying an expensive piece of equipment. A tile saw can be rented by the day at some home improvement stores. I did purchase mine. It is what is referred to as a “disposable” saw, meaning that it is really only meant to be used a few times then tossed. I look at it this way: if I were a contractor who installed tile for a living, then I would want a more expensive saw but since I’m not, this saw is perfect for me. I paid $50 for the saw at Home Depot (then bought a better blade <– affiliate link!) and know that if used correctly, this saw will last a long time! I keep it in an old ammunition box which doubles as a stand!
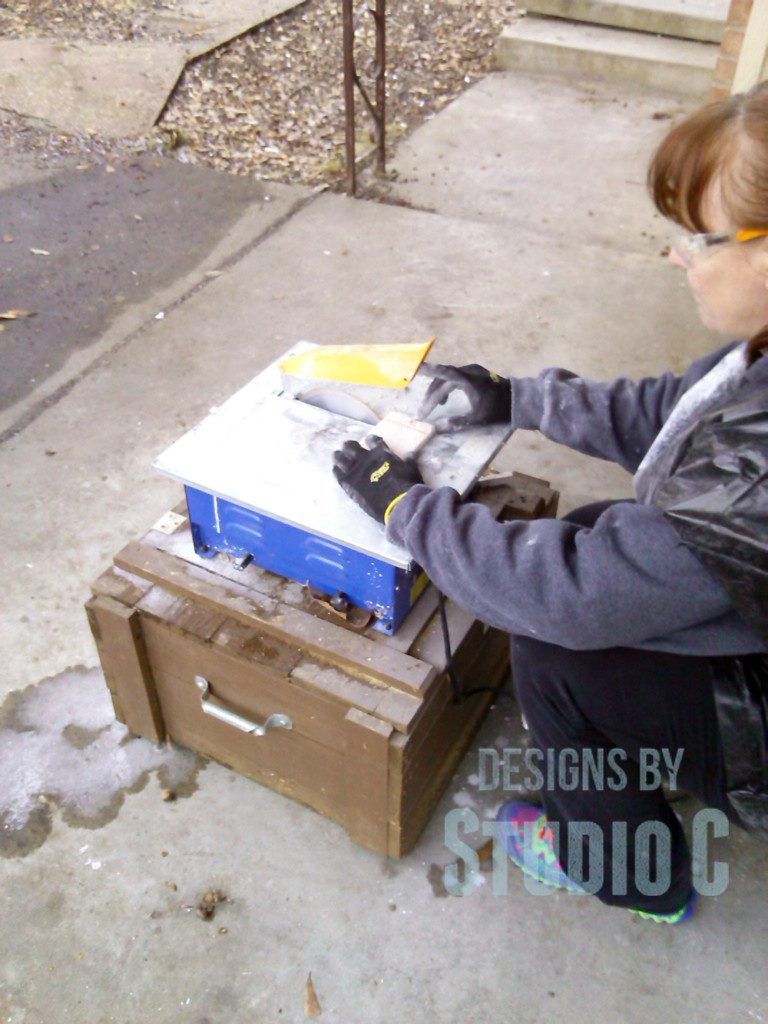
Let’s start with safety… Even though the blade isn’t sharp, per se, safety glasses and gloves are still a good idea. A wet tile saw uses water to keep the blade cool when cutting through the tile and it sprays everywhere – I mean everywhere – and you certainly don’t want that in your eye! A mask is also a good idea. I did not wear one and ended up with tile dust all over my chin. It was pretty hilarious! If it is cold outside, you’ll need something to protect your clothing from getting wet. Let me introduce the latest in Hefty Bag fashion…

Yes, I cut holes for my head and arms in a trash bag and wore it. It was a whopping 28° the day we installed the tile and I was already cold. I didn’t want to be wet, too! It worked, by the way, my jacket was nice and dry!
So when it comes time to cut the tile, it is easier to make a pencil line where the tile is to be cut rather than use the fence as a guide as you would with lumber then run it through the saw. I got pretty good at holding the blade guard up with one finger so I could see the line on the tile.
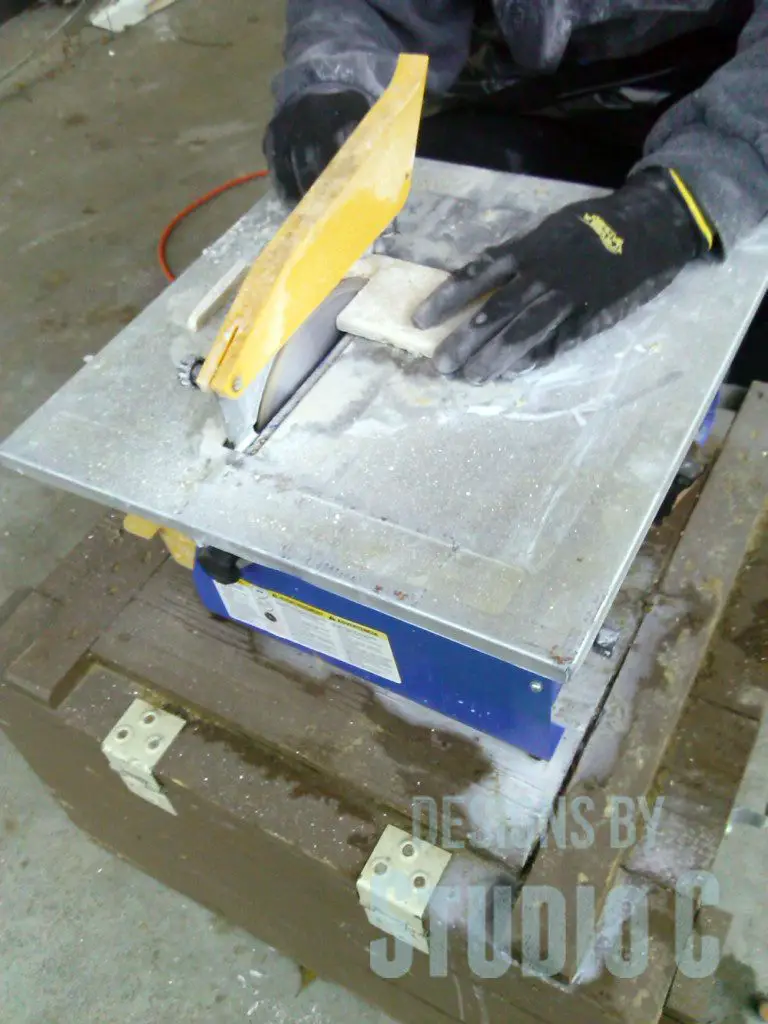
Don’t push the tile through the blade! Just hold the piece and guide it so that the blade cuts along the line.
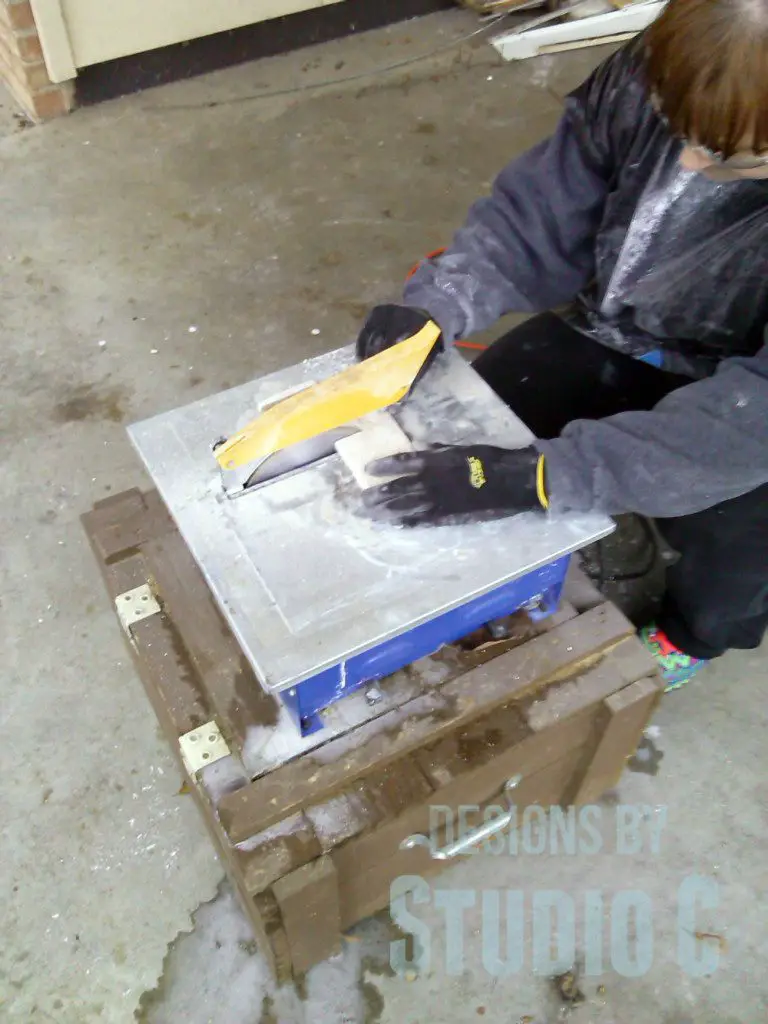
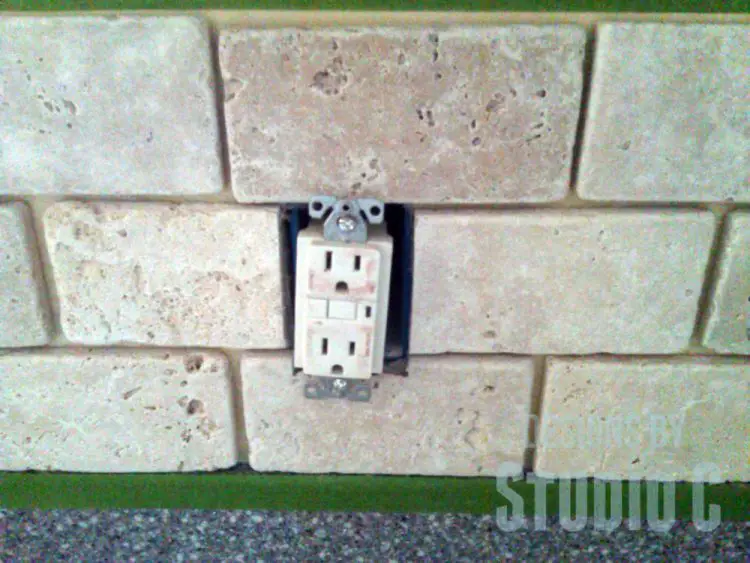
If notches need to be cut, I find it easy to draw lines on my tile, then cut the excess out. If it is a notch in the middle of a piece (sort of a U shape), I make short cuts into the area that I need to remove. Sure, it may look bad but this is usually for an area that will be hidden by a switch plate or outlet cover and no one will see it!
Make sure you check the water tray frequently. If it runs out of water, it could damage the blade, the saw, and the tile.
So there you have it – a few tips on how to use a wet tile saw. Super-easy, right? If you have any questions please contact me at cher {at} designsbystudioc {dot} com or leave a comment below!
Originally posted 2014-02-25 08:00:16.



10 Comments
Yep, you make it look so easy…
It is easy, Linda, I swear!
You make it look so easy! I think I might loose a finger doing this. 😉
Naaaaah, You’d be awesome at it, Elaine!
You’re amazing. Seriously. I have been putting off a backsplash in my kitchen out of fear over having to use a wet saw. I guess I no longer have an excuse. 🙂
Love the trash bag idea. You are full of them. Great ideas that is!!!
You would not believe the looks I got from the neighbors and the passersby, Elle! I loved every second of it!
You can do this . . . me . . . not so much. Isn’t there a little safer looking gizmo that scores and cuts the tile?
Hi, Cheryl! I think there is but I can’t remember what it is called… The tile saw is really safe except for the splattering water and the tile dust on my chin!