
A Crown Molding Cutting How-to Tutorial
A Quick Guide to Cutting Crown Molding Using a Jig
I’ve always found crown molding a little intimidating but needed to add it to walls in the house. I had never installed crown before and was a little nervous – using a jig was extremely helpful! There are a lot of fabulous crown molding cutting how-to articles on the web – a couple of my faves are from The Design Confidential and Sawdust Girl. I had purchased the Crown Pro from Kreg Tools quite awhile back and decided to give that a try.
First and foremost, let me state that the instruction booklet will become your best friend! It is very clearly written and easy to understand. It includes diagrams on inside corners and outside corners, as well as instructions on how to measure the wall corners.

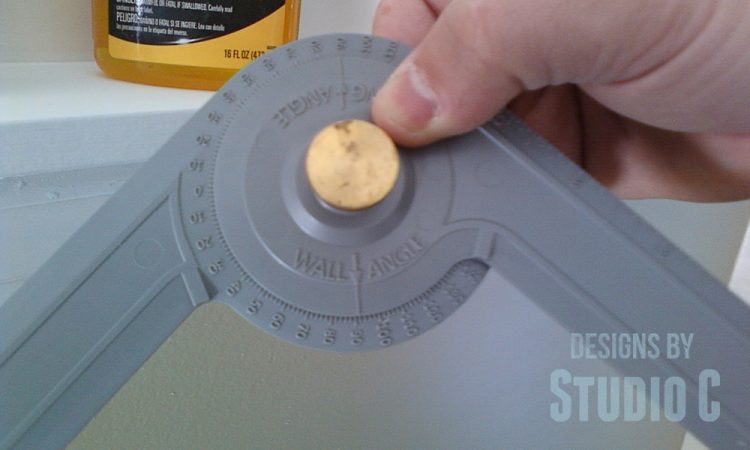
Start by using the Angle Finder tool (the grey tool) to find the spring angle of the molding. The three common spring angles are 38°, 45°, and 52°. (The crown we purchased was 38°). There is also an adjustment nut on the bottom of the Crown Pro jig to set it at the same spring angle as the molding.
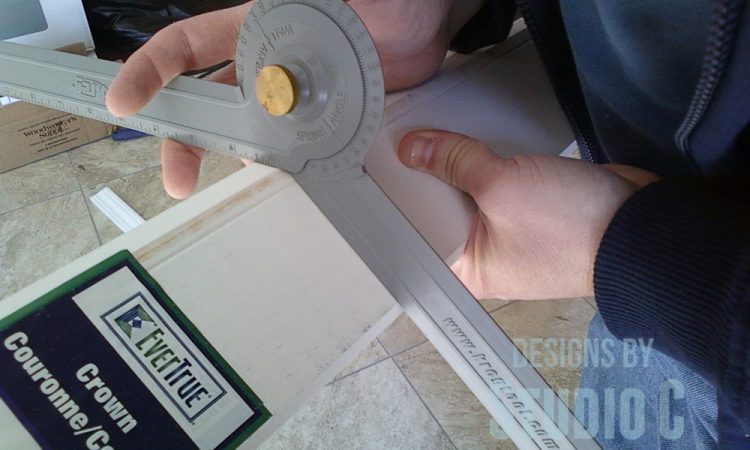
Use the Angle Finder to measure the wall corner so that the saw can be set to match the correct angle.
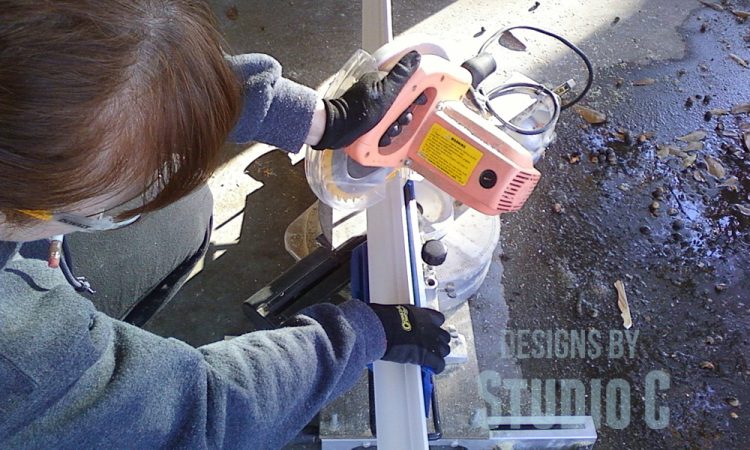
Make the cut…
Then install the crown molding. Honestly, I am awful at it but then again, there is a fabulous product on the market to fill those gaps called “caulk”…
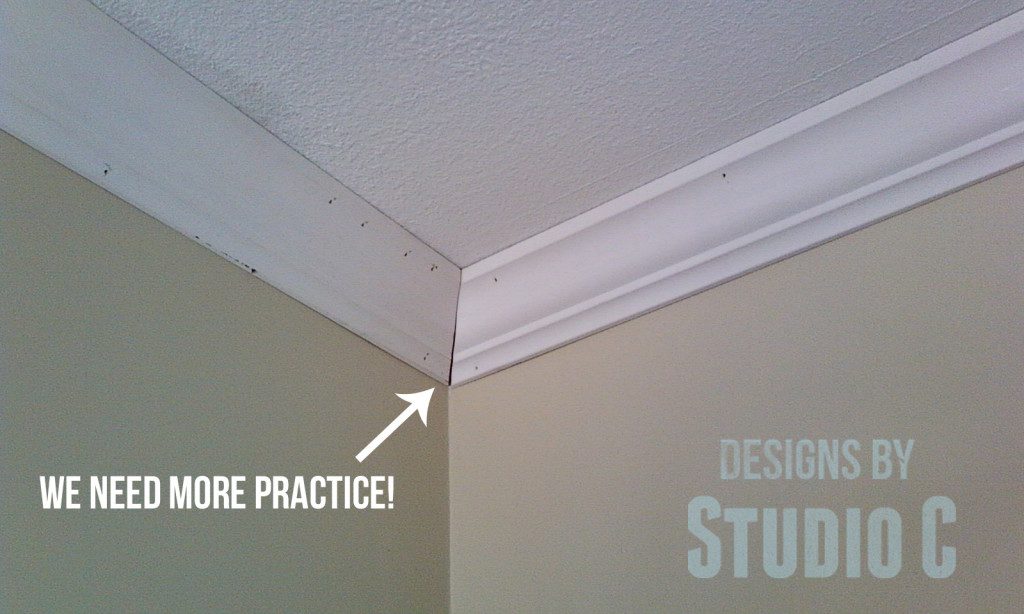
As with any crown molding cutting how-to, there is a bit of practice involved. I used the jig to cut crown molding for a couple of shelves and the corners came out perfectly!
Disclaimer:
This is not a post sponsored by Kreg Tools or anyone else. I purchased the Crown Pro with my own money and thought I share my experience with my readers. I do still need to practice with it!!
Originally posted 2014-01-16 08:00:58.