How to Make Wood Dice Candleholders
DIY Wood Dice Candle Holder – A Simple Guide
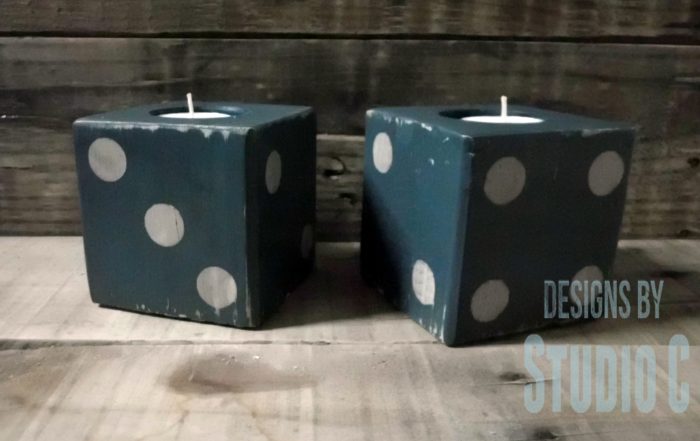
These candleholders are fabulous! I spied them in a magazine and decided to recreate my own using 4×4 lumber. They are very simple to make whether experienced with power tools or not. They make fabulous gifts and can be personalized to match any decor!
Materials:
- 2 – 4″ x 4″ post pieces at 3-1/2″
- Handsaw or Miter Saw
- 1-7/8″ Forstner Bit
- Sandpaper (100, 150, 220 grits)
- Paint – two colors of choice
- Stencil or vinyl decal
- Mod Podge & sponge brush
- Small felt cushion pads (furniture protectors)
- Small tealight candle
Step One
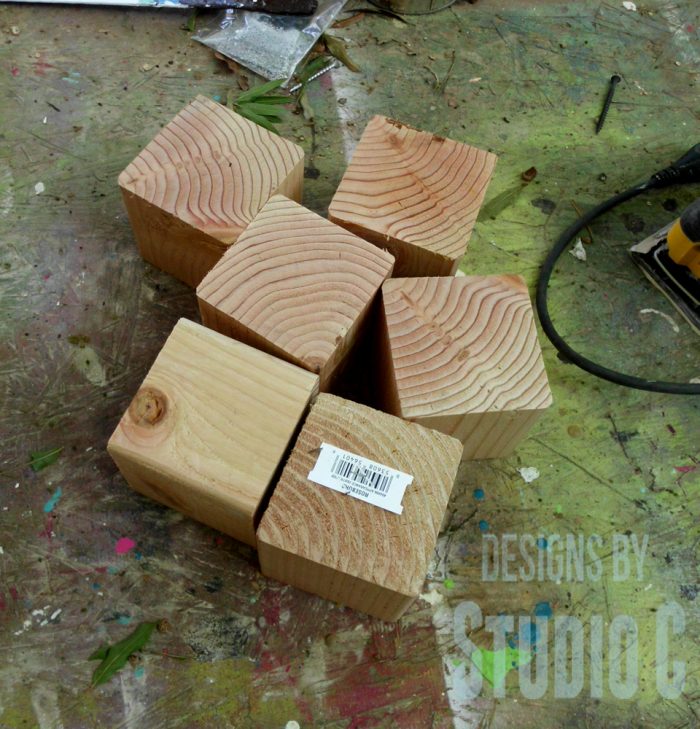
A 4″ x 4″ post actually measures 3-1/2″ x 3-1/2″ and can be purchased at any home improvement store. The folks at the store may be able to cut it down, also – just ask! Otherwise, using a handsaw or a power miter saw, cut two pieces off of the post at 3-1/2″ long. This makes the pieces (almost!) perfectly square!
Step Two
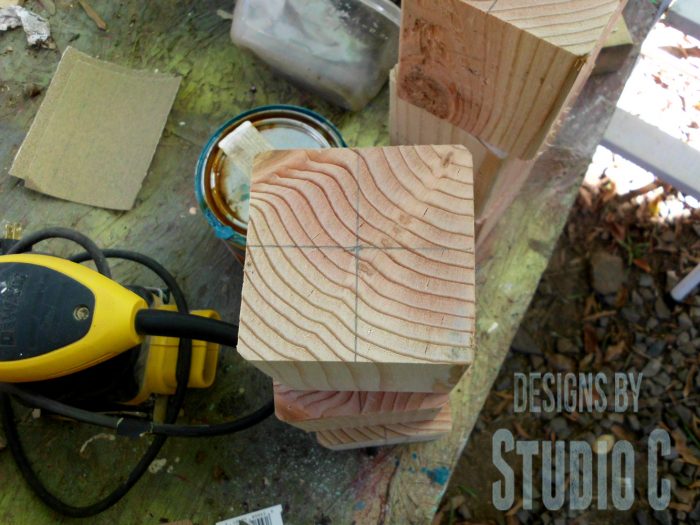
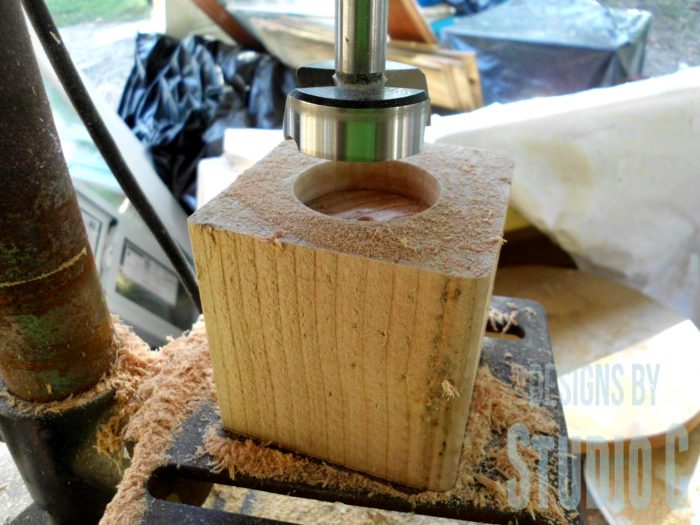
If you have access to a drill press and a 1-7/8″ Forstner bit (a drill bit that makes flat-bottomed holes in lumber) drill a hole in one end of each piece about the depth of the bit. This step is completely optional – the tealight candle can just sit on top of the block. Thoroughly sand each of the pieces using each grit of sandpaper. This makes the faces of the block super-smooth!
Step Three
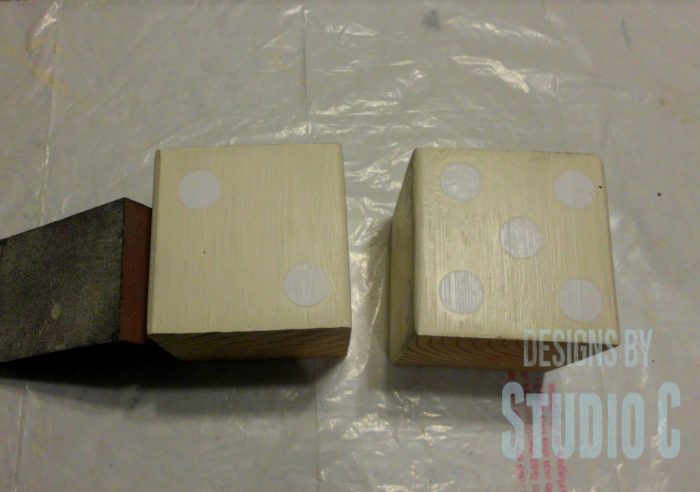
I like to use the reverse stenciling method when painting a design on my projects. To do this, start by painting each side of the block the color the dots will be. I chose Behr in Delicate Lace.
**Tip: Paint samples from home improvement stores are perfect for projects like this! Sometimes the stores will run a “buy one, get one free” and this is the perfect time to stock up on samples for smaller projects!
Position a vinyl decal on the painted portions. In other words, I used my vinyl cutting machine to cut “dots” for the dice and I positioned them on each side. For an authentic dice look, two opposite sides will add up to seven – six dots on one side plus one dot on the opposite side add up to seven! Cool, huh?
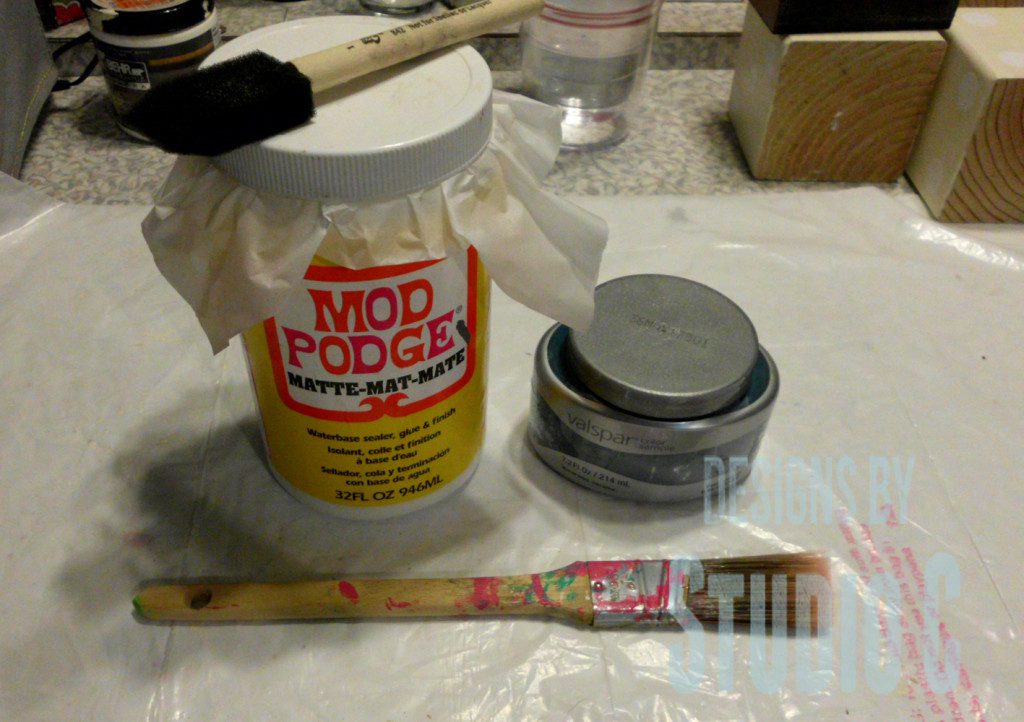
Coat the decal with Mod Podge which will keep the paint from seeping under the edges of the decal.
Step Four
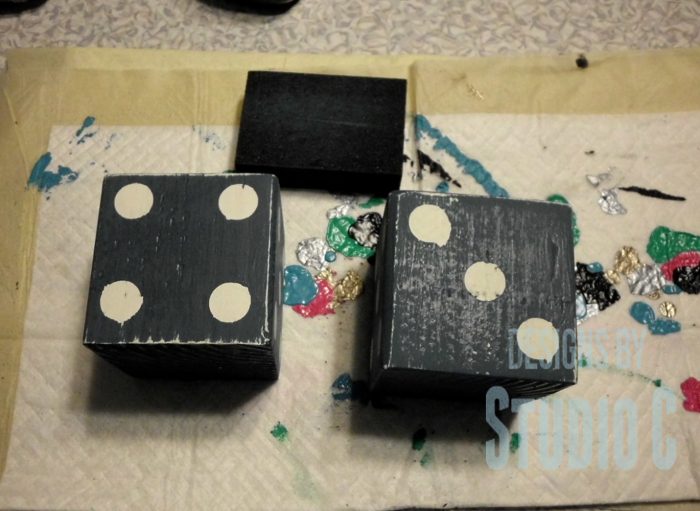
Once the Mod Podge is dry, rough it up a little with 220 sandpaper then coat the entire piece with the contrasting color of paint (I used Valspar in Perfect Storm). Two coats may be necessary! Let the piece sit for about 24 hours to dry completely, then remove the vinyl decal. Use 220 sandpaper to smooth the paint and add a little worn detail to the edges.
Step Five
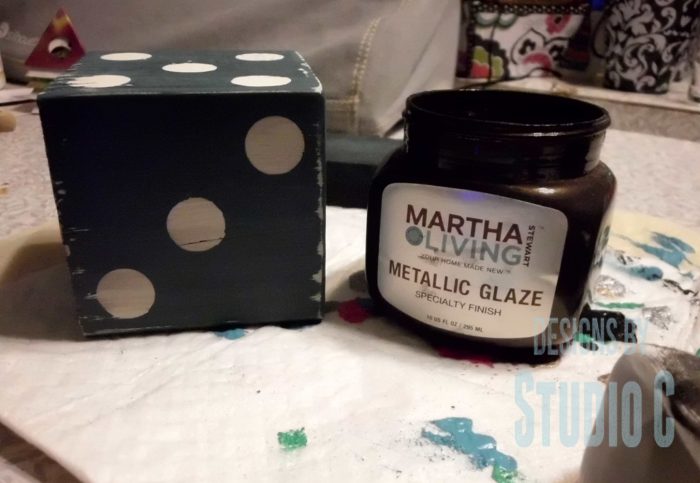
If desired, add a bit of glaze to the pieces for an antiqued look! (I used Martha Stewart Metallic Glaze in Black Coffee.)
Step Six
Position the felt cushions on the bottom, then add the tealight.
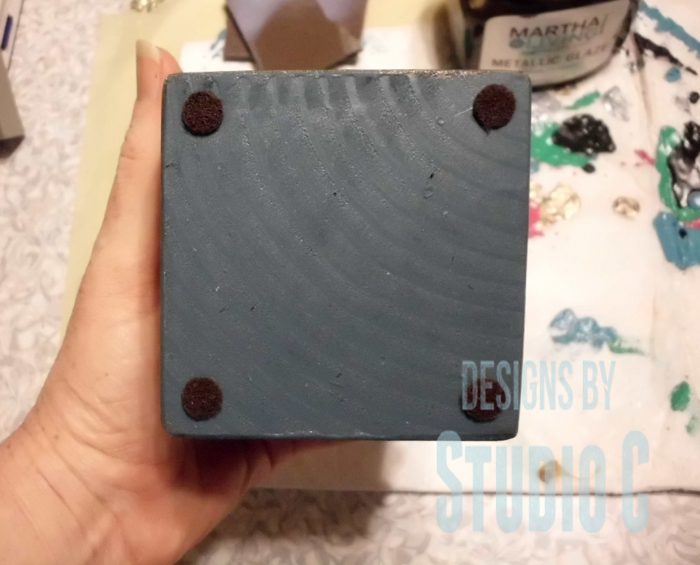
Voila!! An easy and decorative set of candleholders that will also make a fabulous gift!
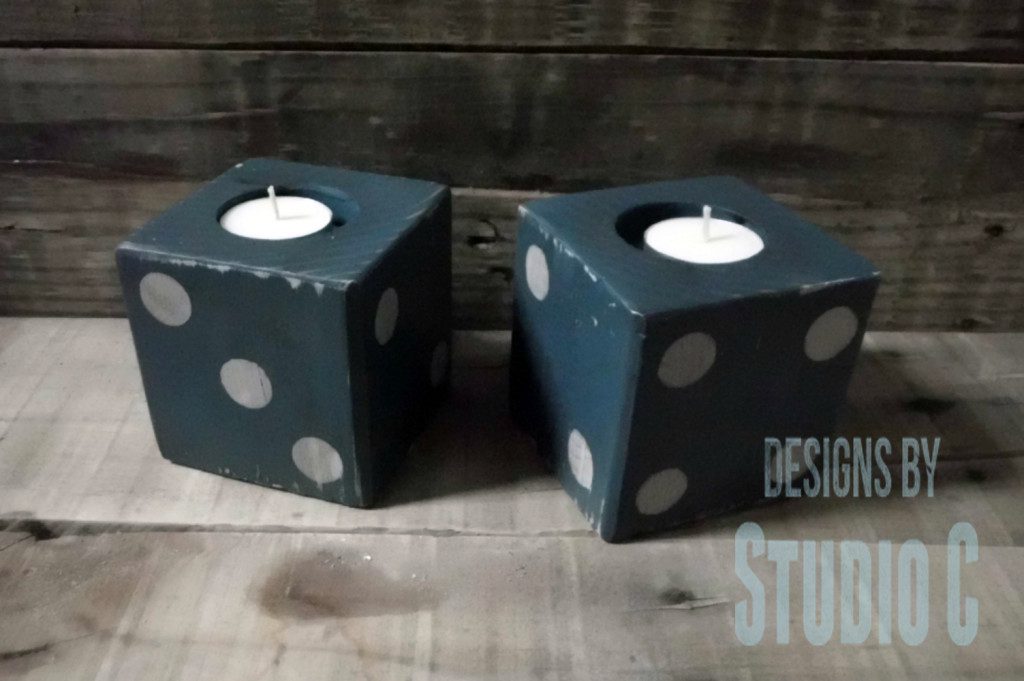
That was a fabulously easy project as well as being very inexpensive! Have questions about how to make wood dice candleholders? Leave a comment below!
Originally posted 2019-01-09 08:00:24.
