

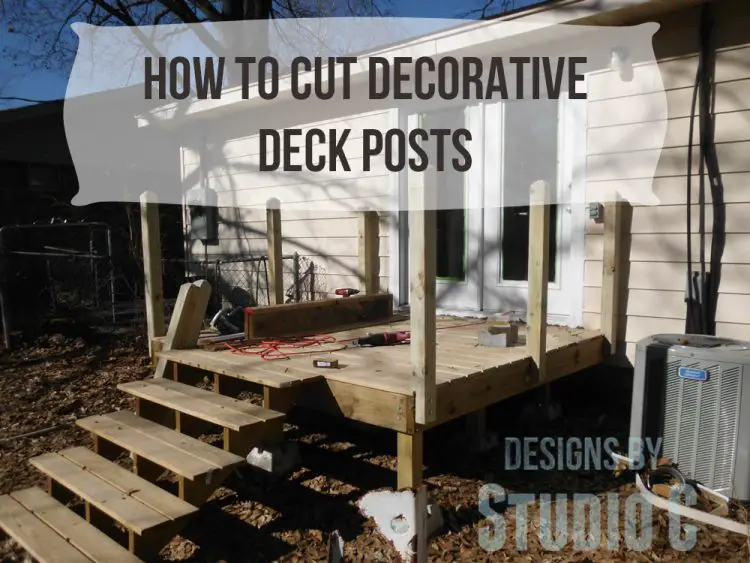
A Simple and Easy Guide on How to Cut Deck Posts with Notches
My friend and I are were building a railing for the deck at the Rebel house. I’ll tell you what – the materials for a deck are expensive! We didn’t want just plain old posts either but some of those decorative posts and post caps are way out of the budget. I can across this article from The Family Handyman on how to cut posts for a deck. It seemed pretty straightforward except that they use a circular saw… Using a circular saw is not entirely a bad thing but I am still deathly afraid of mine (until I bought a cordless circular saw <– affiliate link!). I decided to cut the deck posts using my miter saw and my table saw.
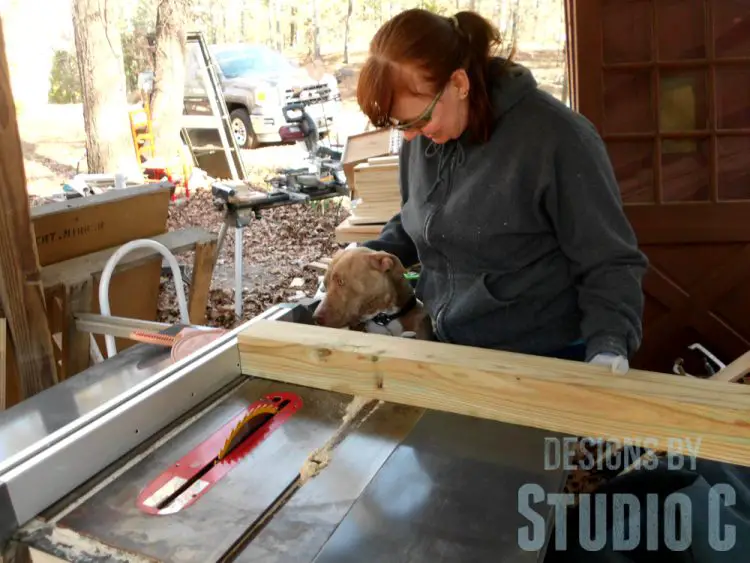
Let me state up front that all safety precautions need to be in place. It is a lot easier to create these posts with a helper nearby. Keep your hair back (if necessary), no loose clothing, any hoodie strings tucked out of the way (I tie mine under my chin), and wear gloves and safety glasses.
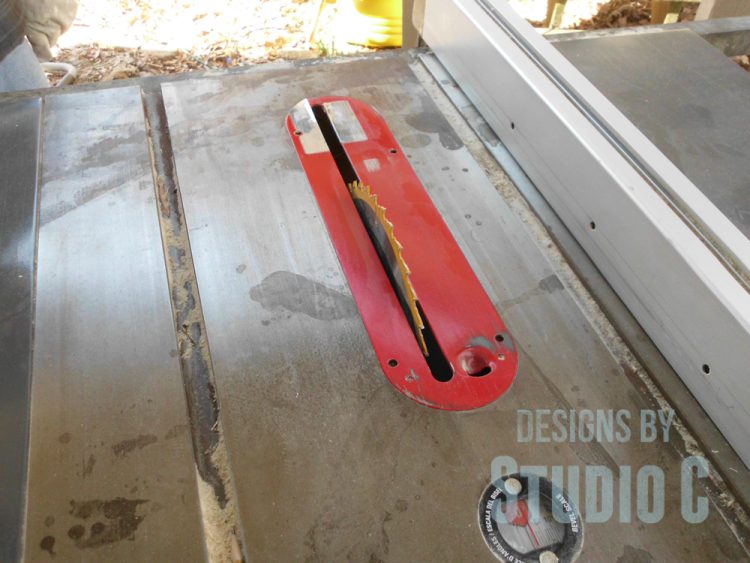
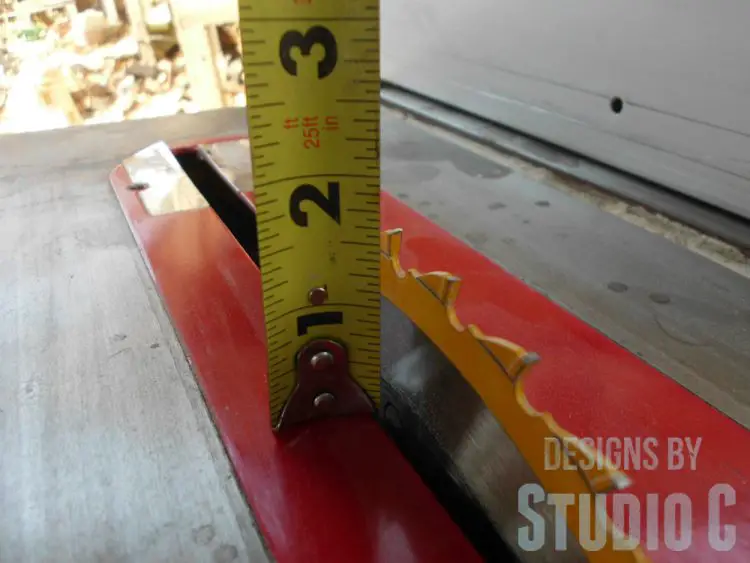
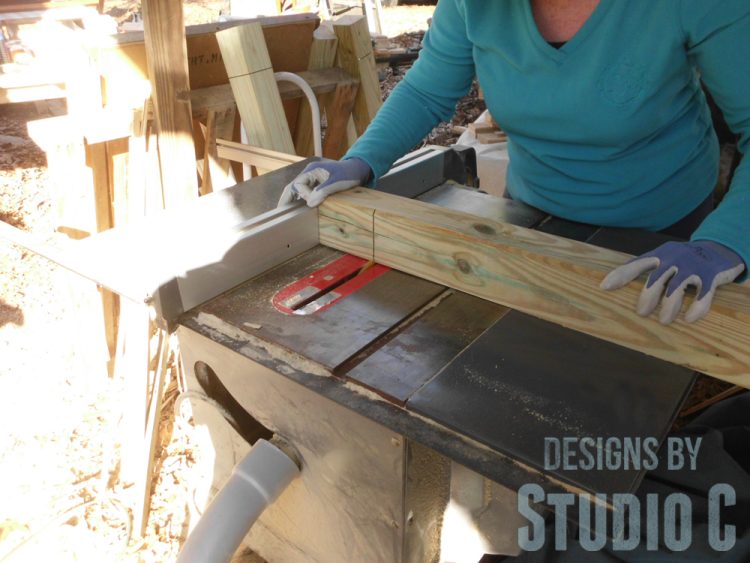
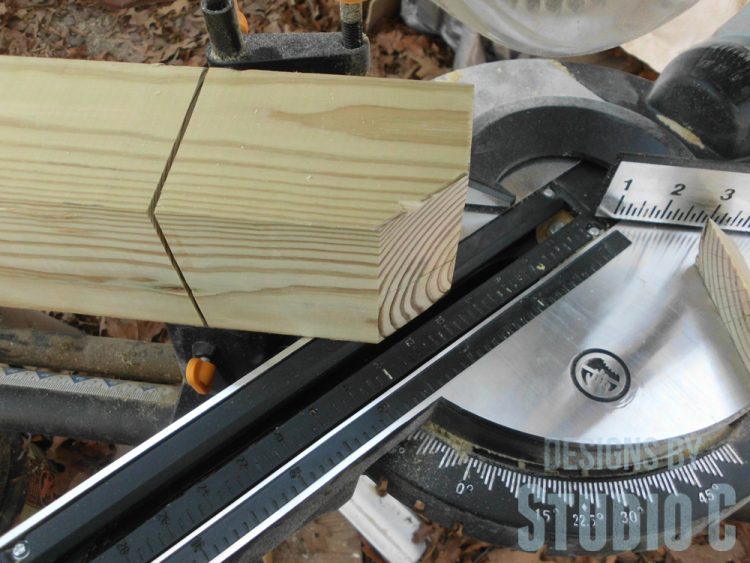
I started by cutting the posts to length using the miter saw. They each measure 48″ which will allow 6″ to be notched and attached to the side of the deck using lag screws. Then I started cutting the kerfs for the notches. I removed the splitter, anti-kick back pawls, and blade guard from my table saw then set the blade depth to 1-1/2″ with the rip fence set 6″ from the blade.
I made a pass with each post through the saw and even had help from a sweet stray dog we’ve named “Mama”!
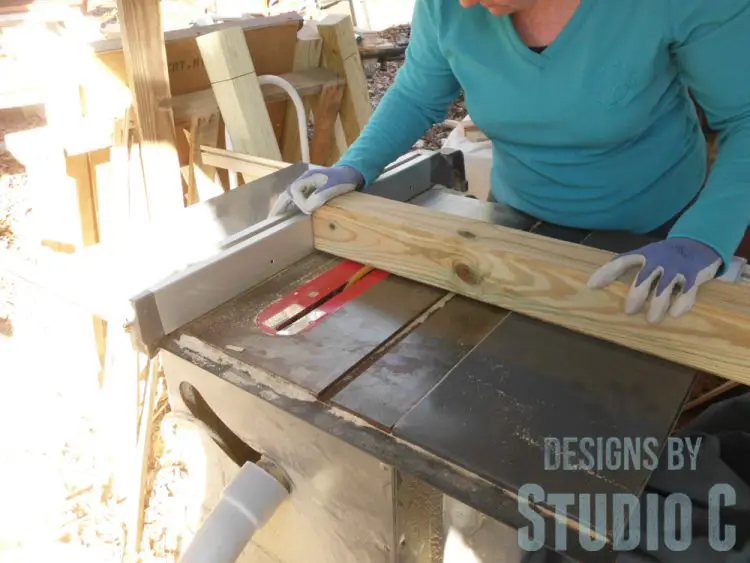
NOTE: It has been brought to my attention that feeding the posts through the saw as I’ve shown is “wrong”. The post is should be clamped to the saw’s miter fence then pushed through so that there is even pressure on the post. Please note that however you choose to run the posts through the saw is at your own risk.
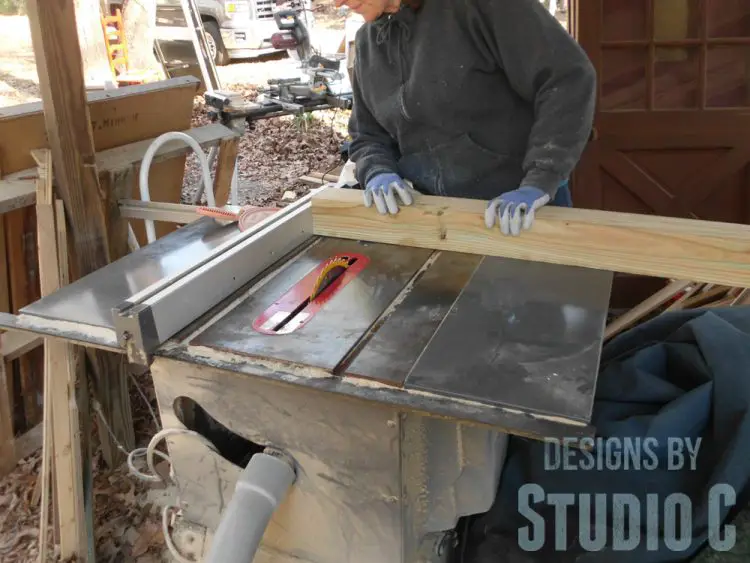
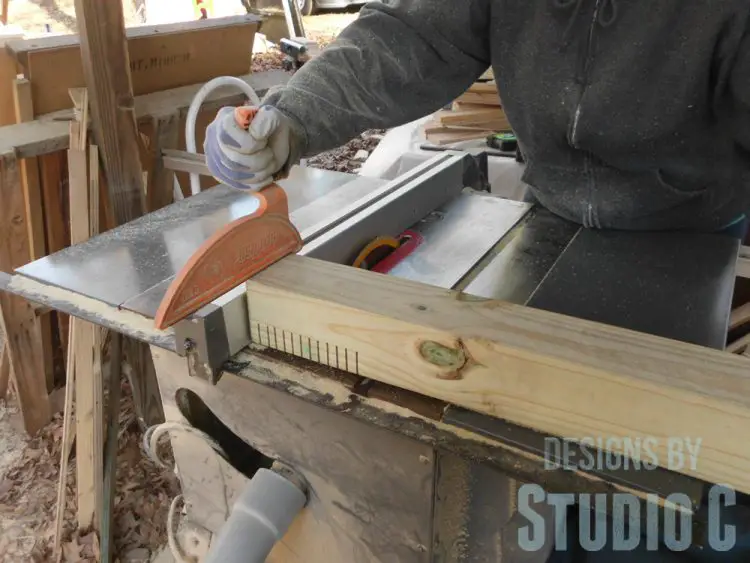
I moved the rip fence in by 1/2″ and made a pass with each post. I continued to do this (what seemed like a bazillion times) until there were kerfs cut along the 6″ where the notches would be.
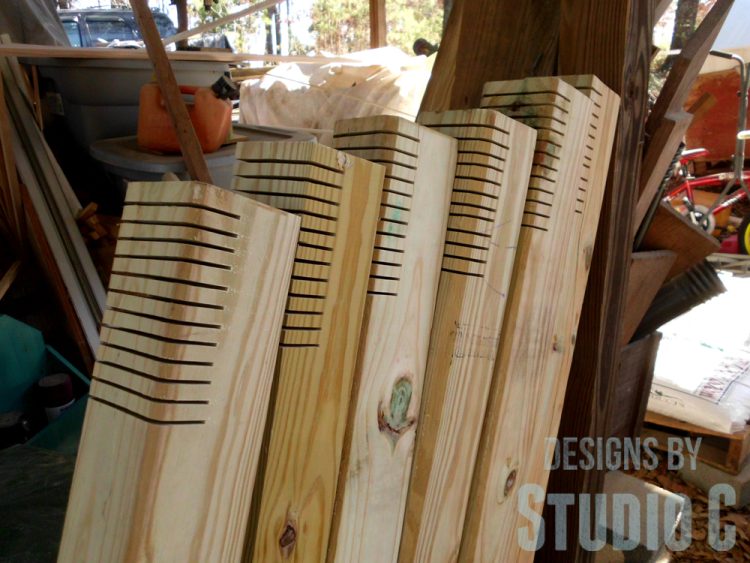
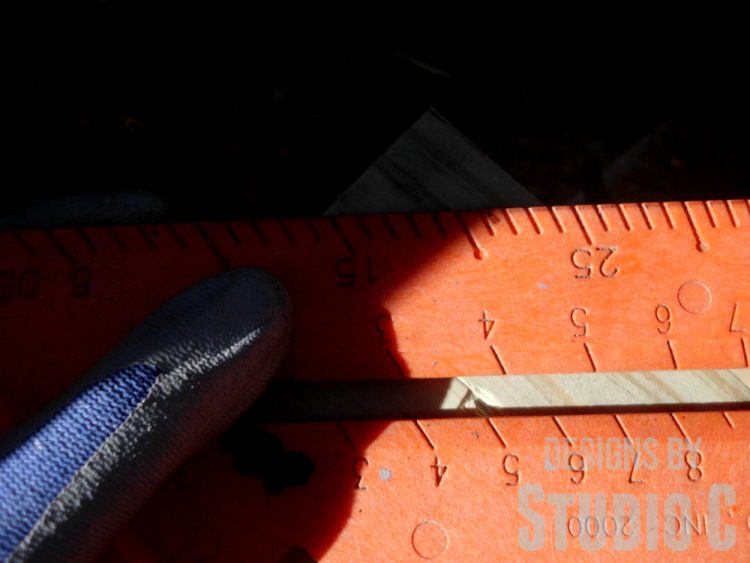
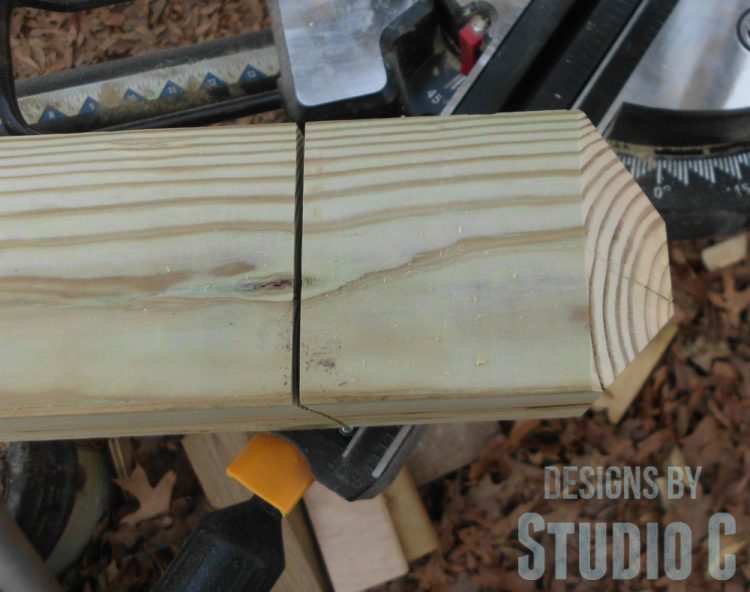
I decided that I wanted a decorative line cut in the upper area of the post. I reset the blade depth at 1/2″ and the rip fence at 4-3/4″ which would make a “square” below the bevels that will be cut in the top. I made a pass with each post through the saw on all four sides.
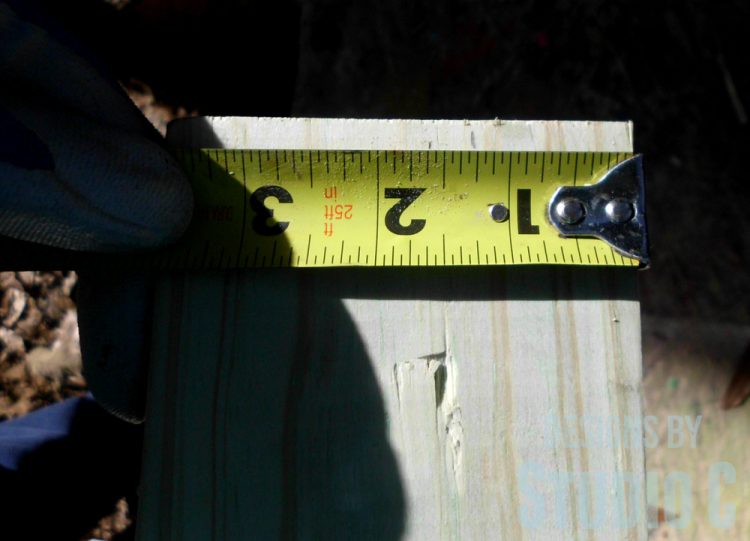
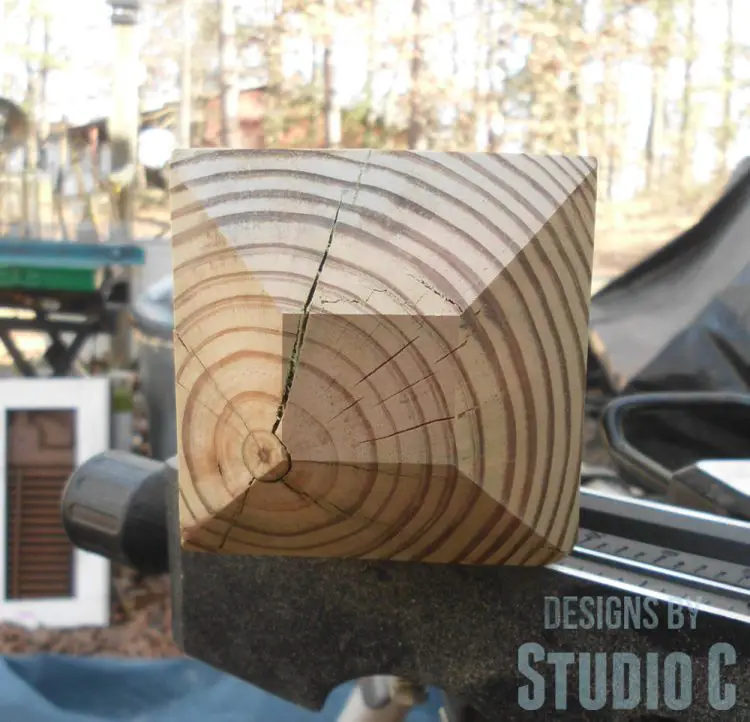
To cut the beveled top, I marked a line 1-1/4″ in from each side. This will give a 1″ square at the top of the post.
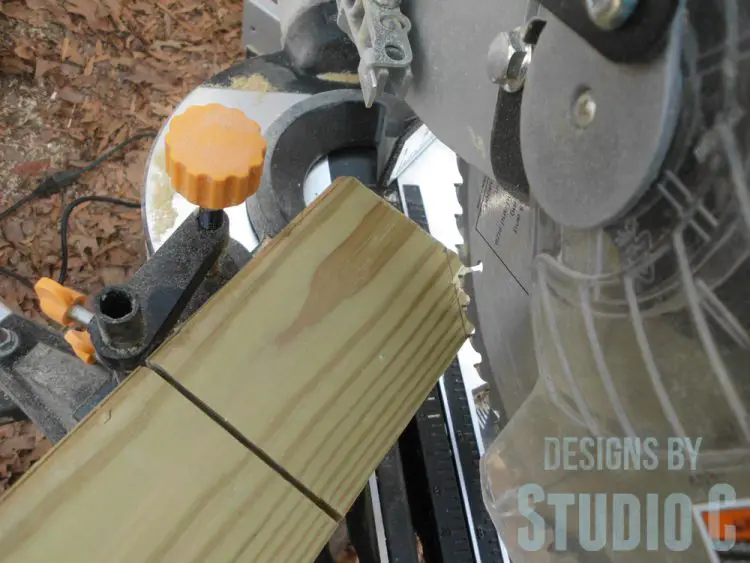
I cut the bevels at 45° on the miter saw.
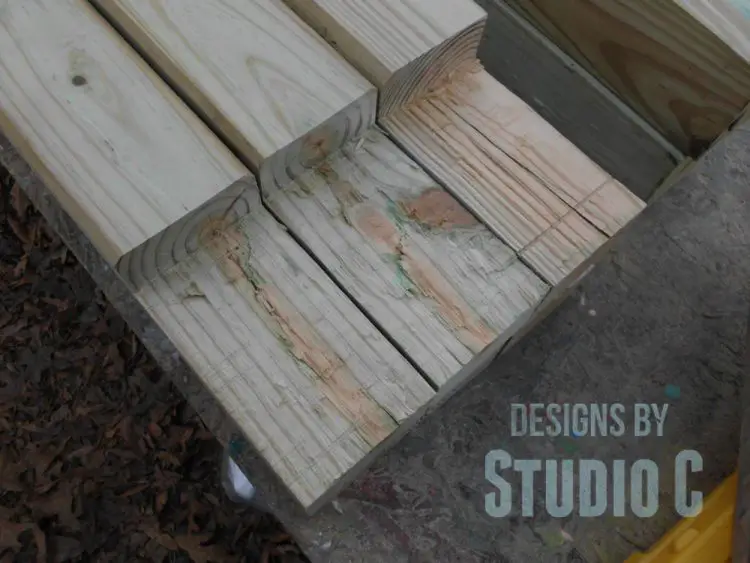
To finish cutting out the notches, I used a chisel to remove the material where the kerfs were cut.
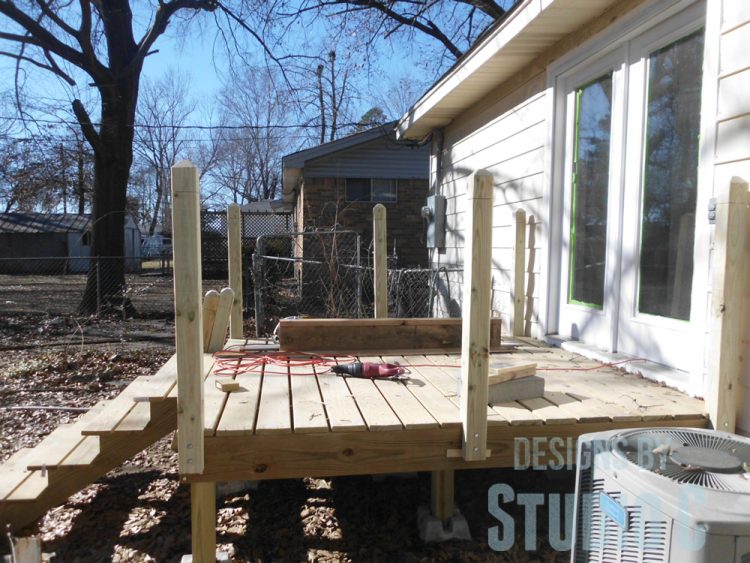
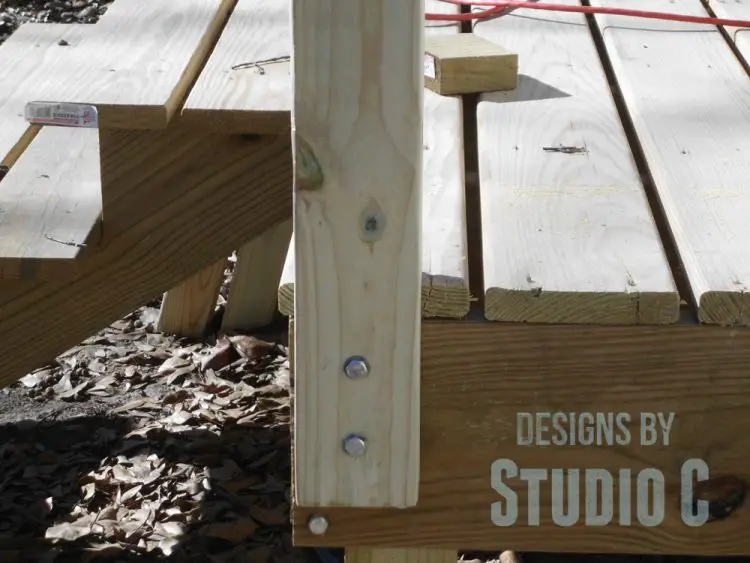
The posts were then bolted to the deck using 3/8″ x 3-1/2″ lag screws. Rails and balusters were then added to create the railing.
I was really glad to come across The Family Handyman article on how to cut posts for a deck! It gave me an inexpensive option to create stellar posts for the Rebel house without breaking the bank. The posts identical to these that I saw at one of the big-box home improvement stores were $10 each. I created these for $3.50 each. Not too bad, huh? Have any questions? Contact me at cher {at} designsbystudioc {dot} com!
Originally posted 2014-02-11 08:00:19.


17 Comments
how long did it take to chisel out the area where the kerfs are? isn’t there any other way to do it? I’m all about shortcuts, but I guess doing it the right way is ALWAYS better
Hi, Ashlee! It is really quick to chisel out the area because the material that is left is very narrow and basically breaks away. It actually takes more time to cut the kerfs for the notch with the table saw than it does to chisel out the remaining material! We had eight posts to cut and it seemed like it took forever but they do look fabulous! Thank you for stopping by!
Your technique on the table saw is wrong and dangerous and it is very irresponsible of you to distribute this to an uneducated audience! Not to mention, that a single saw kerf as an accent is very understated and looks anemic the kerf on that should be 1/2″ or none at all. When those with no technical training attempt attempt to teach it is bad for the art form!! If you have a passion for this type of thing I would humbly suggest that you get some training, before someone loses a finger or worse..
Hello, Joe! Thank you for the feedback on the method I use on cutting notches on a post. I really appreciate you taking the time to comment, however, I do not think this method is “wrong”, dangerous, or irresponsible. There are plenty of other woodworkers who use this method. There is technically no “wrong” way to do anything, it is more or less what the builder feels comfortable in doing. I feel comfortable using the table saw for this method and wanted to share my experience. I also think it is a much safer method than using a circular saw as indicated in the article where I found the information. Most people new to woodworking (not “uneducated” as you state) will more than likely do their research and find the method that will work for them instead of taking the word of just one person. That is what I did and still do when building projects.
As far as using kerfs as an accent, the width of the kerf is the preference of the builder. I happen to think the 1/8″ kerfs looked just fine, and in fact, this is how they were cut on the posts in the home improvement store. The look I was going for was understated and they definitely did not look “anemic”. If another builder likes a different look, then they can cut the decorative kerfs as they choose.
I am inviting you to write an article for this website on how you would cut notches and kerfs in posts, and I will gladly publish it.
By the way, I do have technical training in the art form, and like I’ve stated before, there is no “wrong” way – everyone has their own way of achieving the same goal. This method is perfectly safe as long as all of the user’s safety practices are in place. You yourself should know that one can lose a finger or worse by making any type of cut with any saw.
I look forward to publishing your article.
Cross cutting a 4′ long 4×4 registered on the fence alone is indeed “wrong and dangerous”, anyone with experience at the table saw will tell you that…it’s not even debatable. The edge of the 4×4 should be registered against your miter gauge to ensure that the stock moves straight through the blade. The way you chose to do it, if one hand pushes faster or slower than the other the board can kick up and leave you with the smile of a hockey player. I have seen this happen more than once in the field. Interesting thing is when these “carpenters” were warned about their dangerous technique their response was pretty much the same as yours…”there is no “wrong” way – everyone has their own way”.
You can debate the design choice of an itty bitty 1/8″ kerf around the perimeter if you like, but I maintain that a wider kerf (or two) in addition to a more severe angle on the top cap would yield a far more professional end product. I am not trying to be a safety nazi, notice I didn’t even mention the gloves or long sleeves. However, your error at the table saw was so egregious that I felt it necessary to do the right thing and comment, so that your readers might avoid serious injury.
Best of luck with your woodworking and be safe!!
Hi, Joe! You do have a point about using the miter gauge – one that I will certainly take into consideration for future projects. Thank you for pointing that out. To just comment (as you initially did) that I am “wrong” without offering the “correct” way to do something is really disrespectful. I do appreciate the explanation in the most recent comment and the offer is still open for you to write an article on cutting notches in posts the “right” way…
Regarding the 1/8″ kerf, like I said before, the width is a preference of one person to another. I would never go up to someone’s house and tell them that their paint job would look better and more professional if they used a different color instead of the one they chose, know what I mean?
Thanks again for taking the time to comment.
Is the 6″ a standard or can I do 5 1/2″ height of the groove? I am using 2×6″ cedar frame all around that is connected to my 2×8″ base joist so wanted the bottom of my 4×4 posts to end where the 2×6″ ends…
Hi, Ron! 6″ is not a standard (to my knowledge) and I think 5-1/2″ would be fine!