
Step by Step Photo Tutorial on Assembling Drawer Boxes
Hey there! Assembling drawer boxes is a breeze, but I always worry if my instructions are clear enough. I have a vision of how I want them to be, but sometimes the message gets lost in translation – unless I have a trusty drill in my hand, of course! (Gotta love a good laugh!)
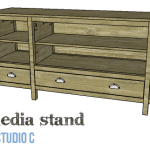
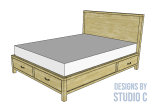
But don’t worry, I’ve got your back! I’ve created a photo tutorial on how to assemble the drawer boxes that are used in my plans. From now on, if my “translation” doesn’t quite make sense, I’ll refer you to this tutorial. Easy peasy!
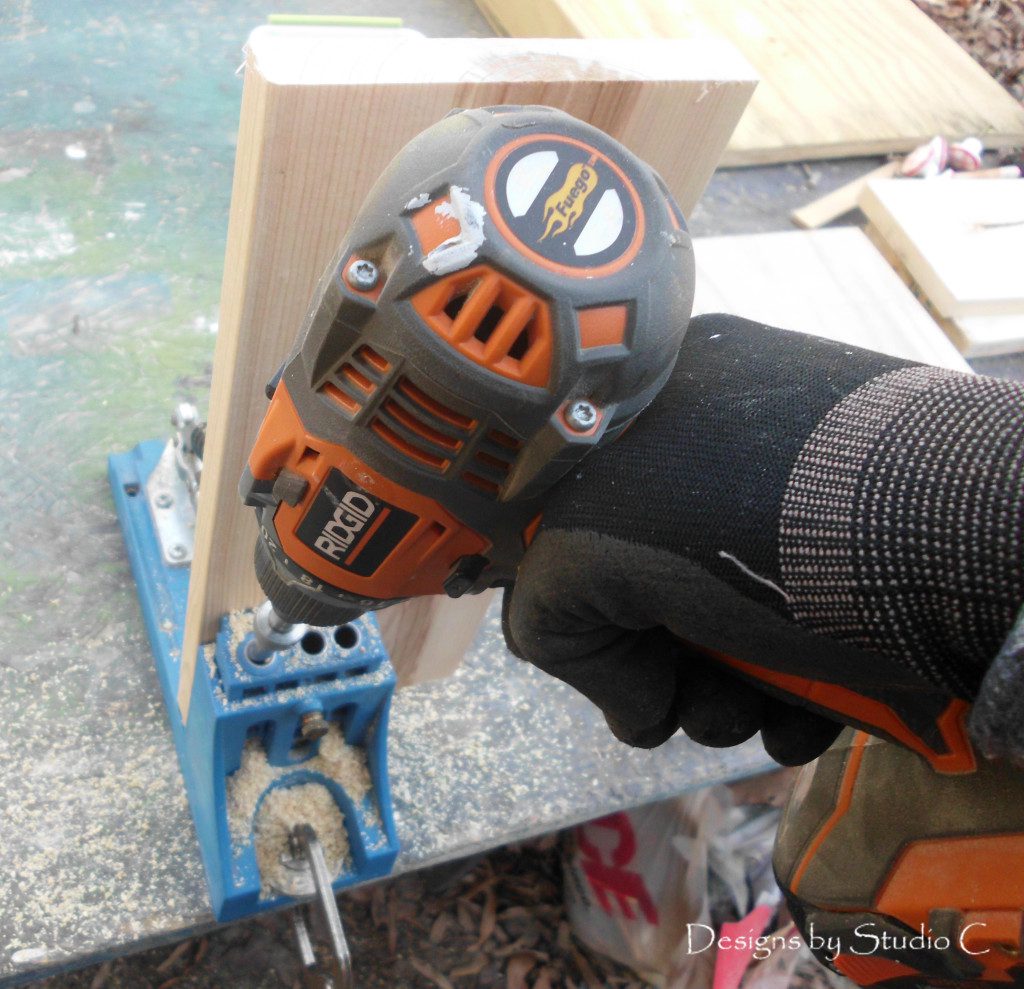
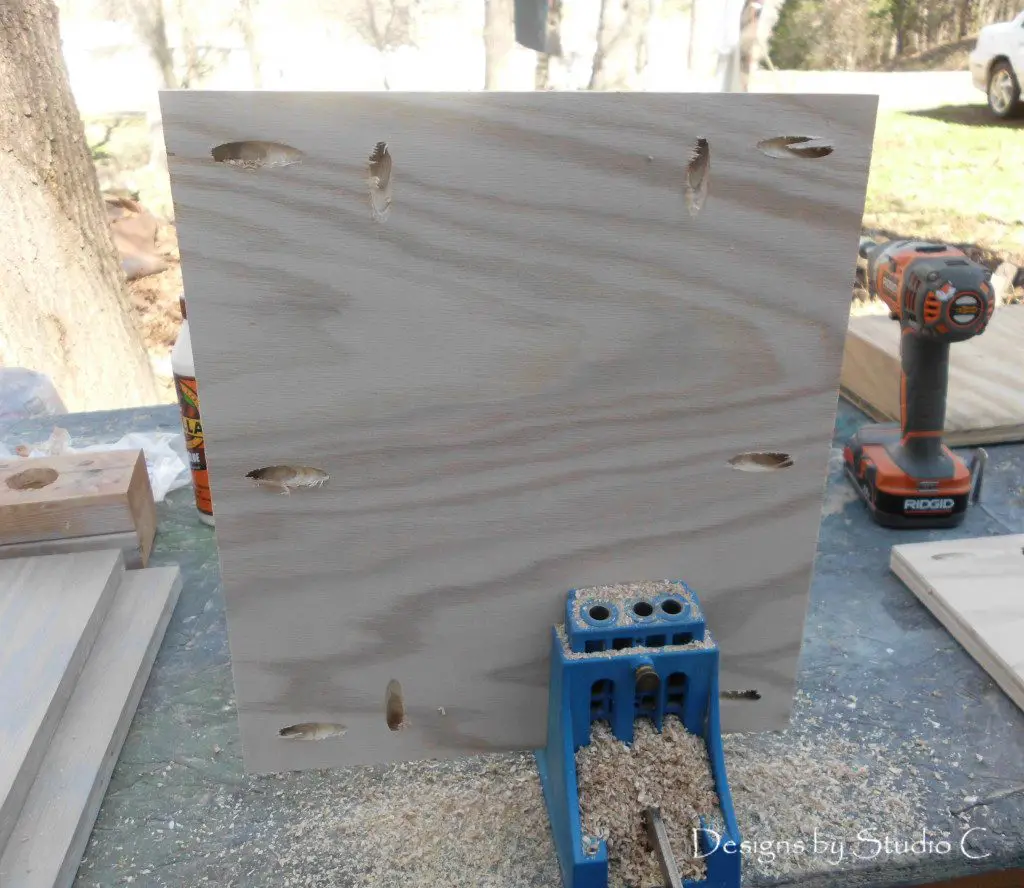
Start by drilling pocket holes in each end of the drawer box sides, as well as all four edges of the bottom.
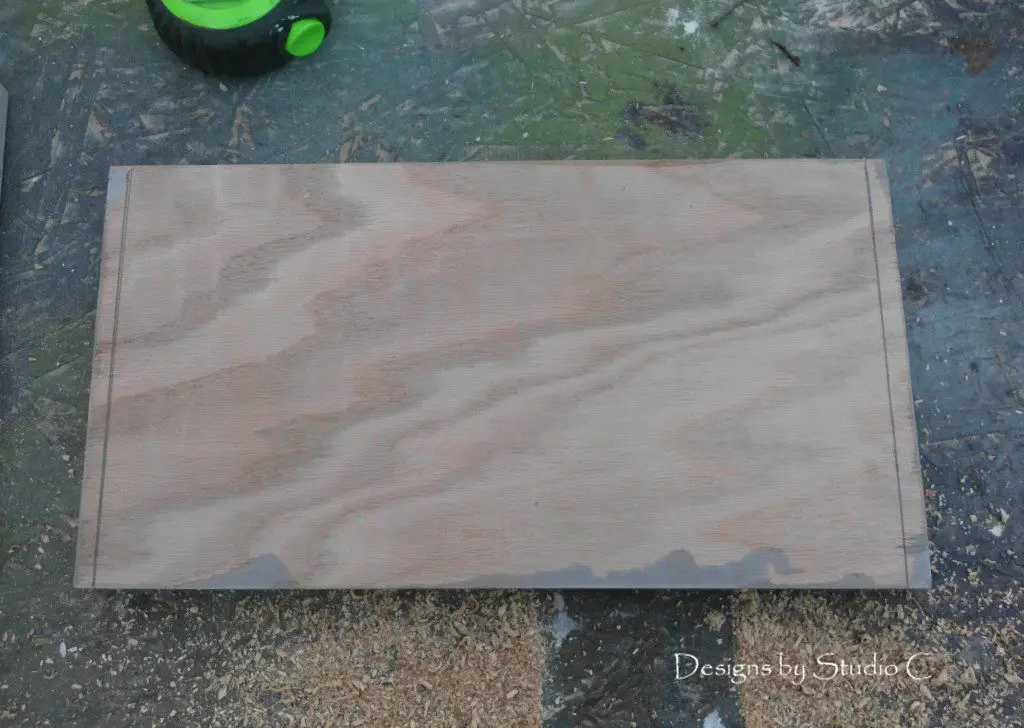
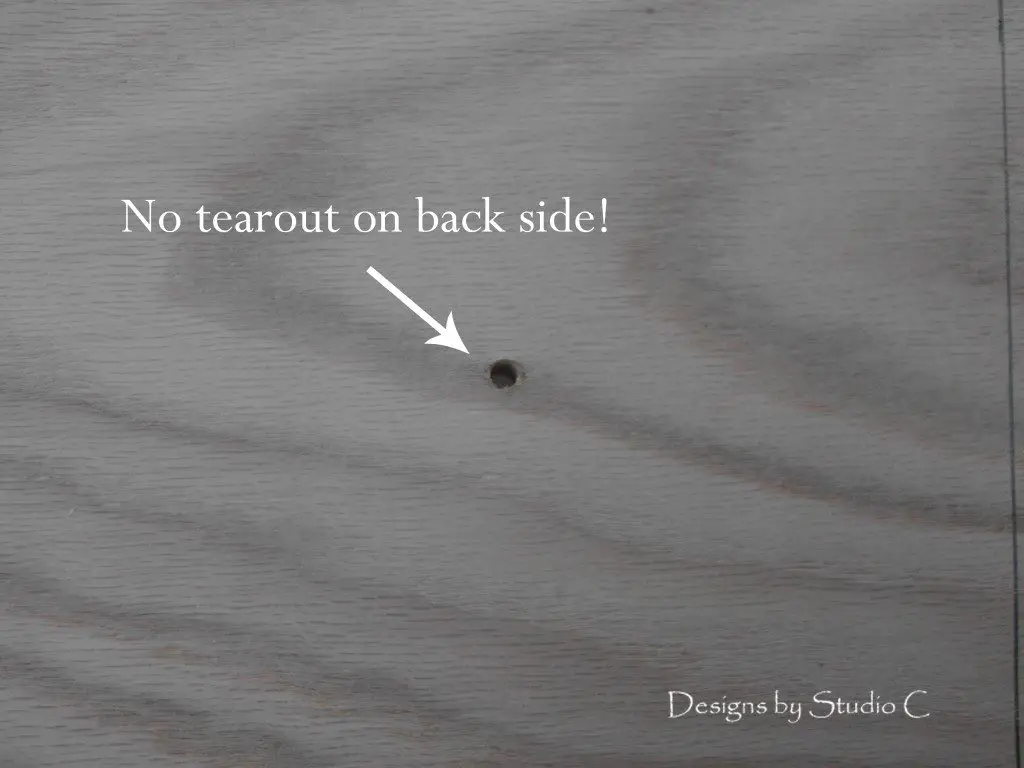
The drawer front will usually overhang the drawer box by about 3/8″ on each side. This allows for a 1/2″ clearance on each side of the drawer box for the slide hardware, as well as a 1/8″ gap around each side of the drawer front. Draw the placement lines for the drawer box on the back of the drawer front. Also, pre-drill the holes for the drawer pulls. If you clamp a scrap board to the back of the piece being drilled into, there will be no tearout on the back side!
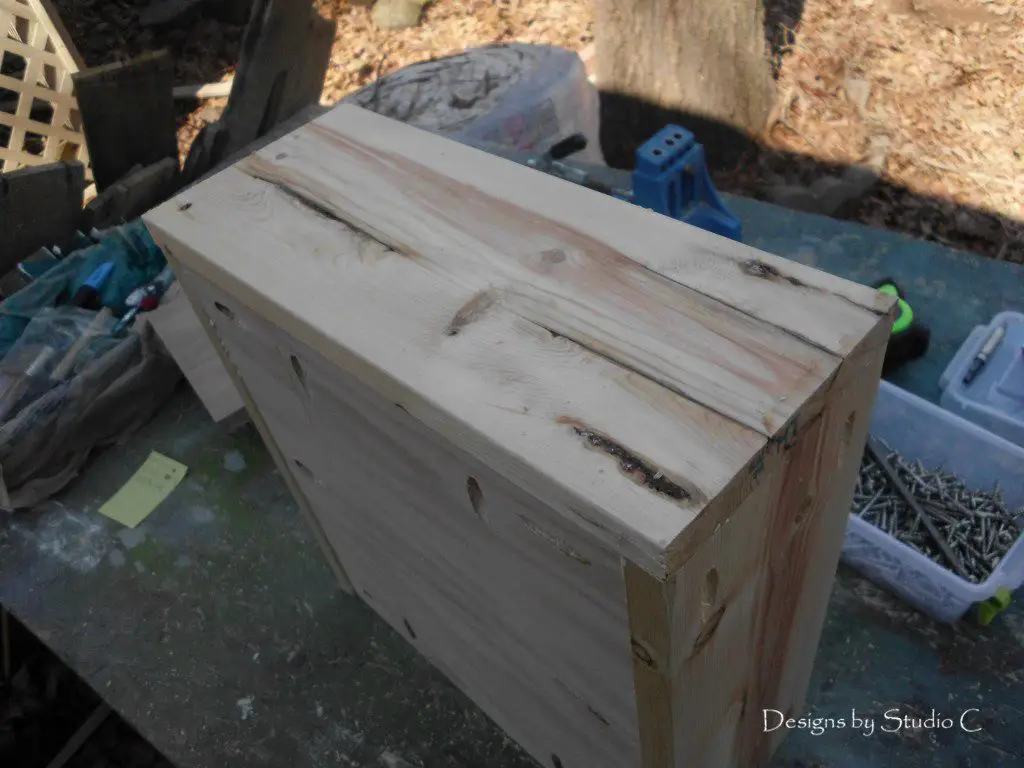
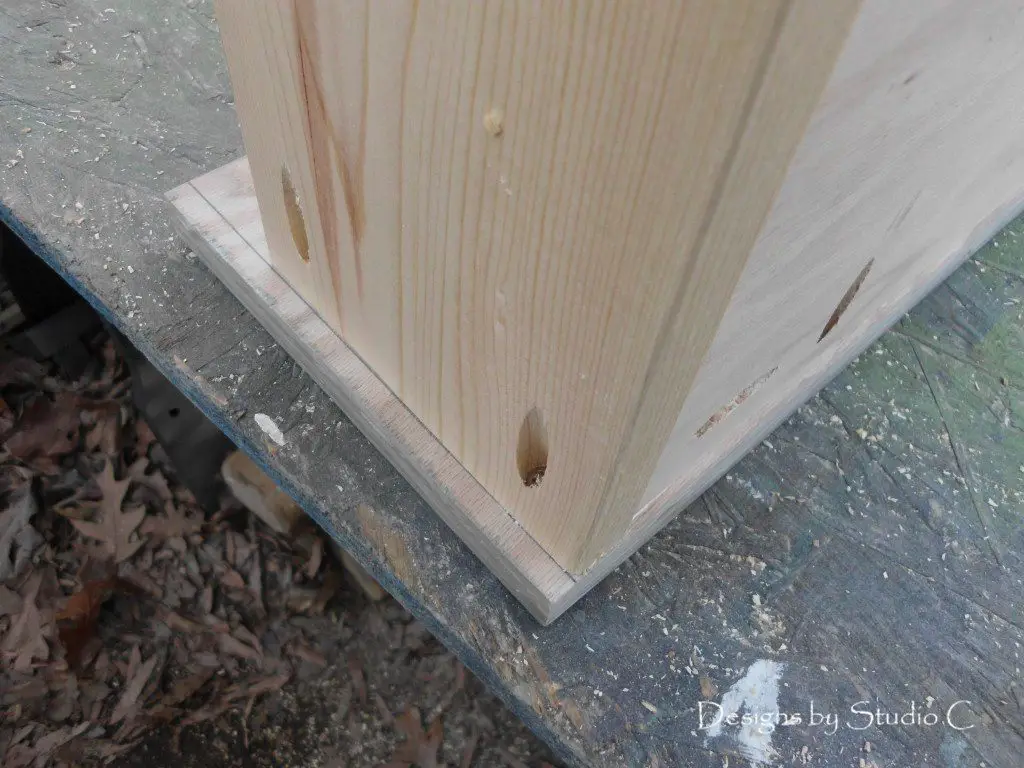
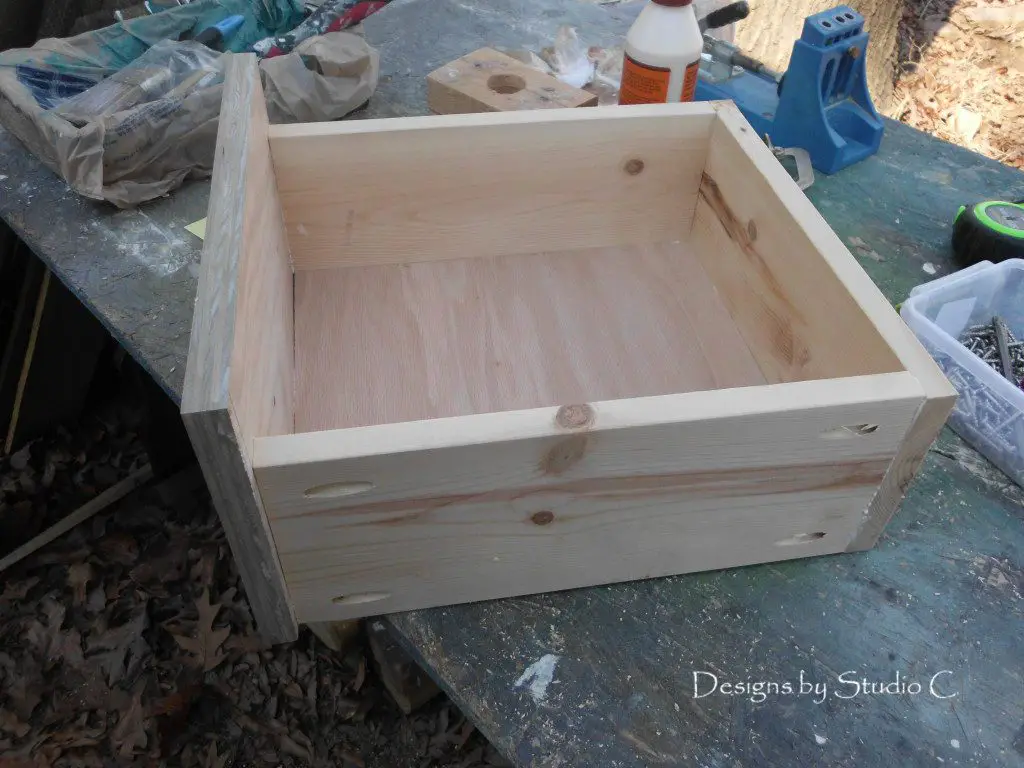
Attach the sides to the bottom and secure using glue with 1-1/4″ pocket hole screws through the holes in the bottom.
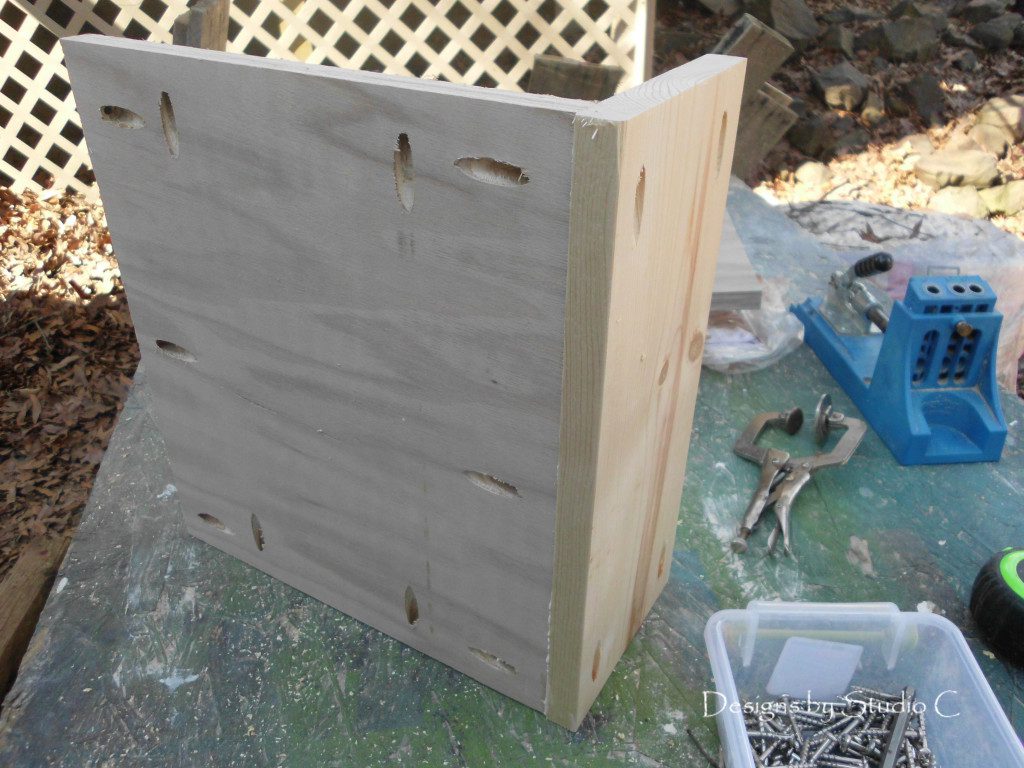
Attach the back to the bottom and sides, securing with glue and 1-1/4″ pocket holes through the bottom and sides.
Position the drawer box on the piece for the drawer front and the previously drawn lines (the bottom of the drawer box will be flush with the bottom of the drawer front). Secure using glue and 1-1/4″ pocket hole screws.
Voila! Easy as pie!! Right?
Have questions about how to assemble the drawer boxes used in my plans? Leave a comment below!
Originally posted 2013-02-19 08:00:36.


Comments are closed.