How to Make a Framed Multi Organizer
An Easy to Make Organizer for Any Room!
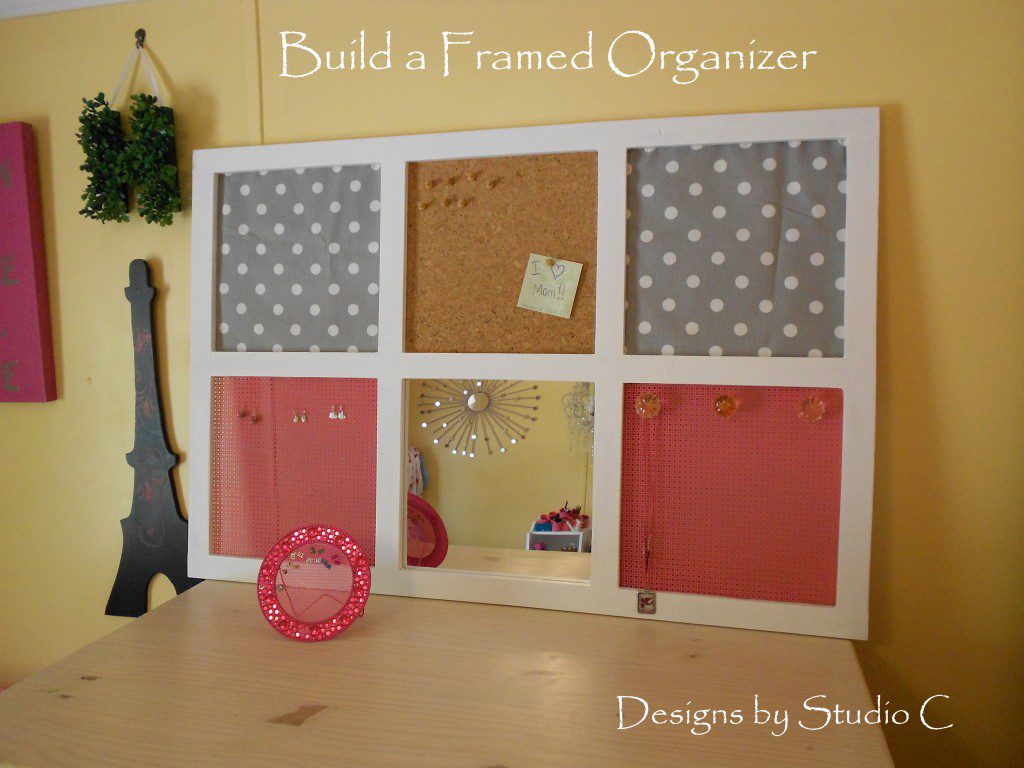
My daughter has a small room and there is not enough space for her stuff! As we transition her room from “tween” to “teen”, I wanted to make things for her that reflect her style yet keep her room clutter-free – at least a little!
This framed multi organizer (inspired by Pottery Barn!) can be customized any number of ways. It can be for jewelry only with three mirrors and three organizer panels, or for “office” organizing with more magnetic and cork panels, the choice is up to you!
I chose to use one mirror, two punched aluminum panels (for earrings & necklaces), one corkboard, and two magnetic boards.
Materials:
- 2 – 1×2 lumber at 8′
- Pocket hole jig & 1-1/4″ pocket hole screws
- Drill
- Router with 3/8″ rabbeting bit
- Sander & sandpaper in 80, 120, 220 grits
- Finishing supplies
- 1 – 12″ x 12″ mirror
- 1 – 12″ x 12″ cork panel
- 2 – 12″ x 12″ piece of hardware mesh or punched aluminum (<– affiliate link!)
- 2 – 12″ x 12″ pieces of sheet metal
- 4 – 12″ x 12″ pieces of cardboard
- 3 – drawer knobs
- Fabric of your choice
- Spray adhesive
- Framing tab gun or small nails
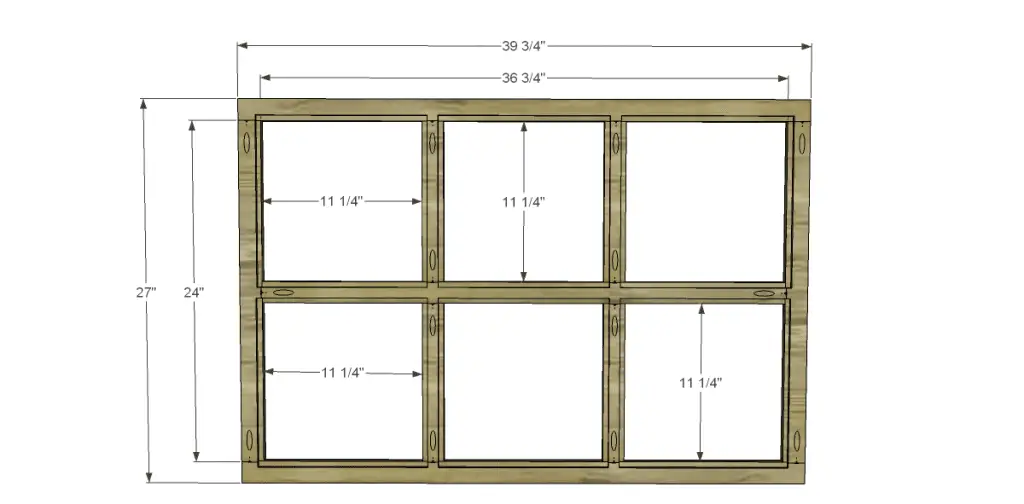
Start by cutting the pieces of lumber for the frame. Assemble the frame as shown (click on the picture to make it larger) using glue and 1-1/4″ pocket hole screws.
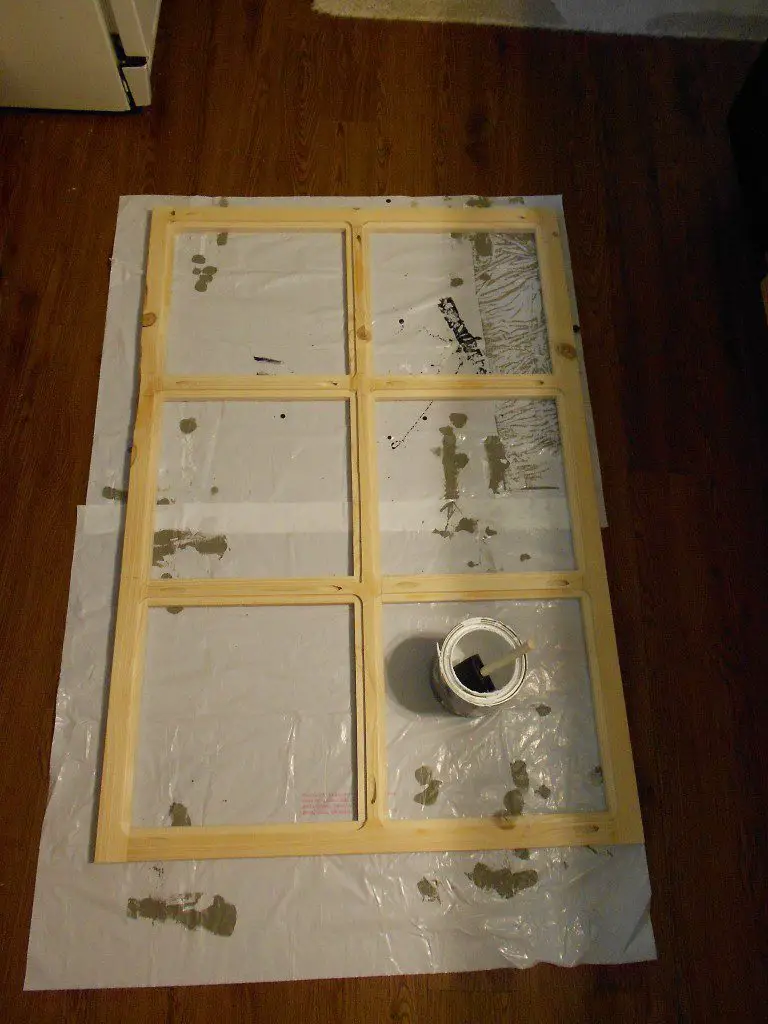
Use the router to cut a rabbet in each inner frame, then thoroughly sand the frame starting with 80 grit, then 120 grit, and finally with 220 grit. Fill any holes or imperfections with filler, as desired.
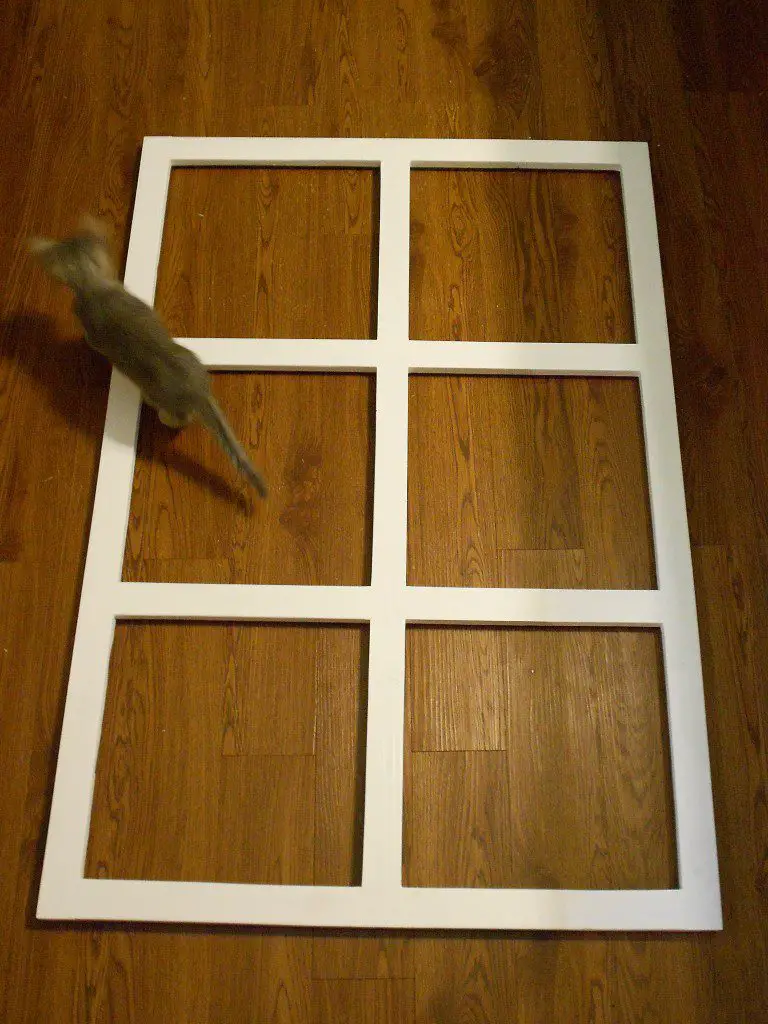
Paint or stain. I chose a white paint for this project. Apply any sealer as desired. (The kitty, Busy, was inspecting my work.)
I primed the punched aluminum sheets with Rust-Oleum’s Rusty Metal Primer (the best, in my opinion, for priming metal!) then painted them with spray paint – Valspar in Frosty Berry. I also sprayed the sheet metal with spray adhesive and applied the fabric over it.
I started with the cork panel and added a piece of the cardboard behind it for stability. I secured the panels in place with the framing tab gun. A stapler would work, also, to secure the panels in place. The punched aluminum panels do not need cardboard behind them.
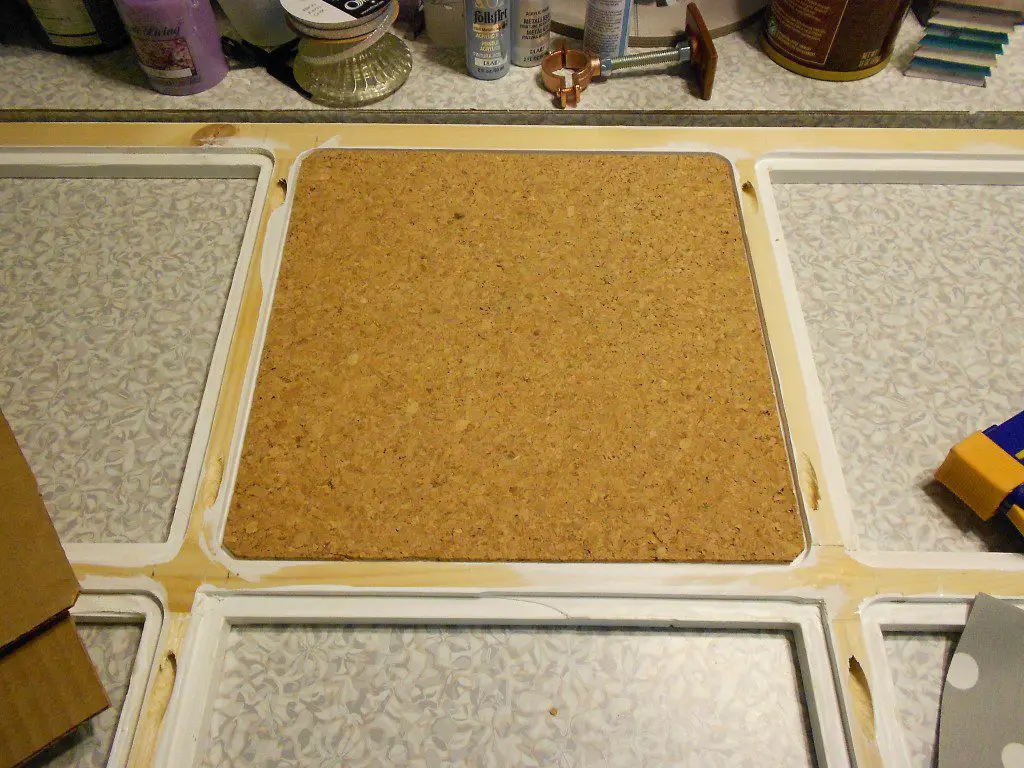
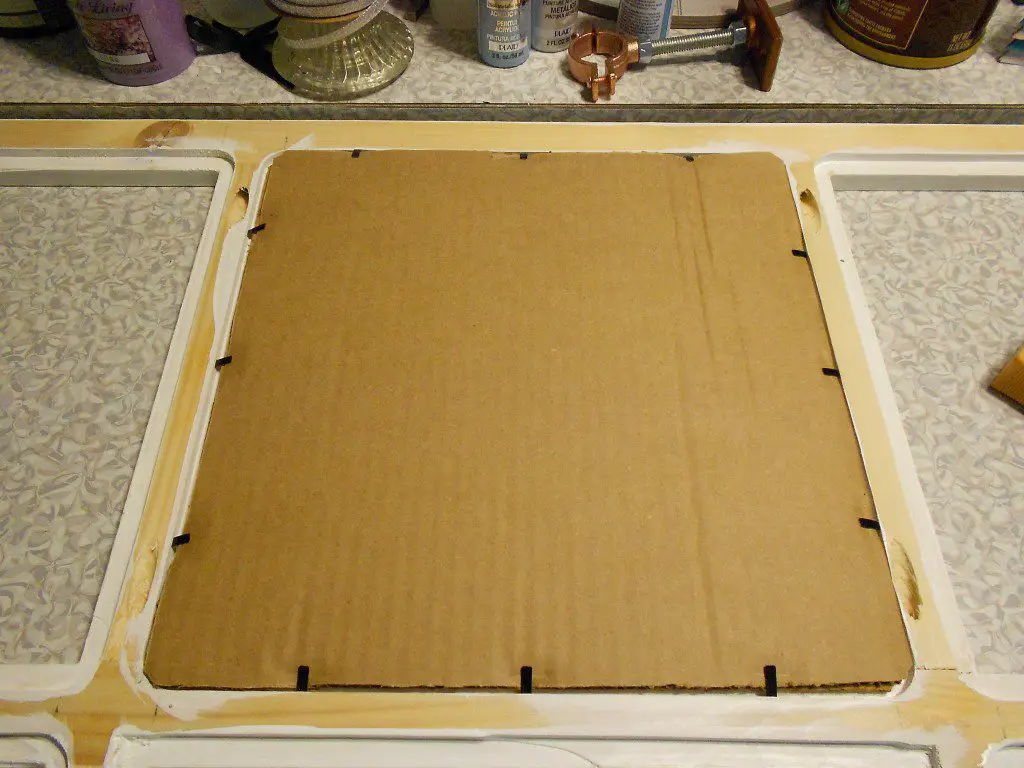
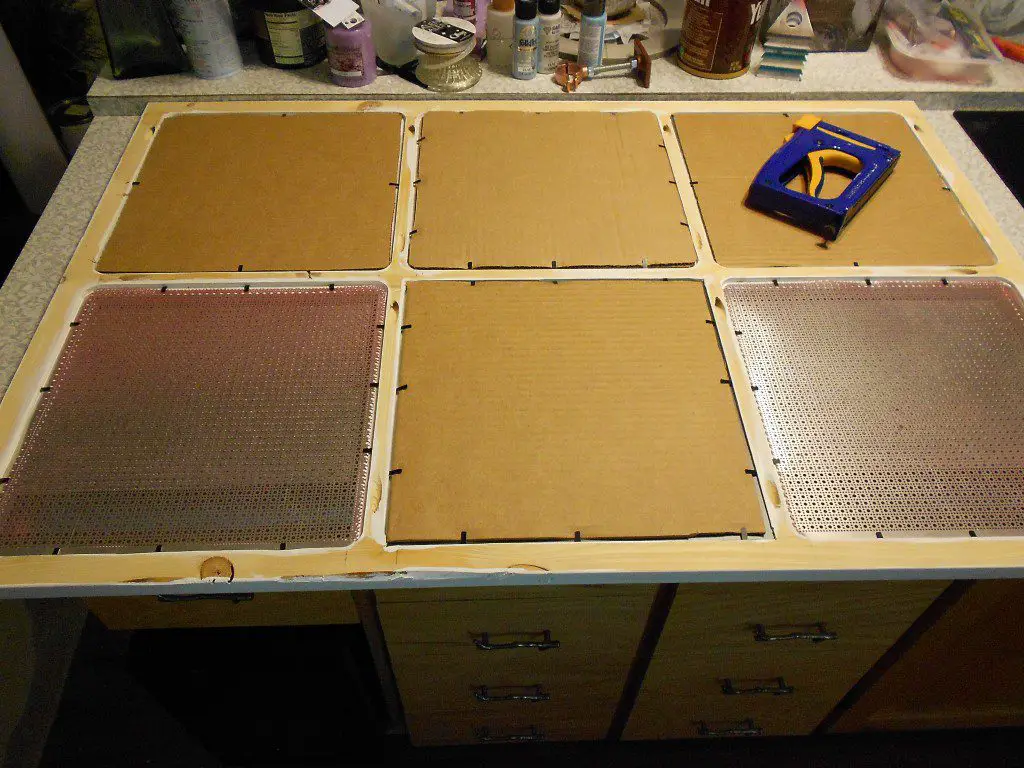
I added drawer knobs to one of the punched aluminum panels to hang necklaces. I was able to screw the post of the knob into one of the holes then attach a washer and nut behind it. I cut off the remaining part of the post with bolt cutters as close to the nut as I could get.
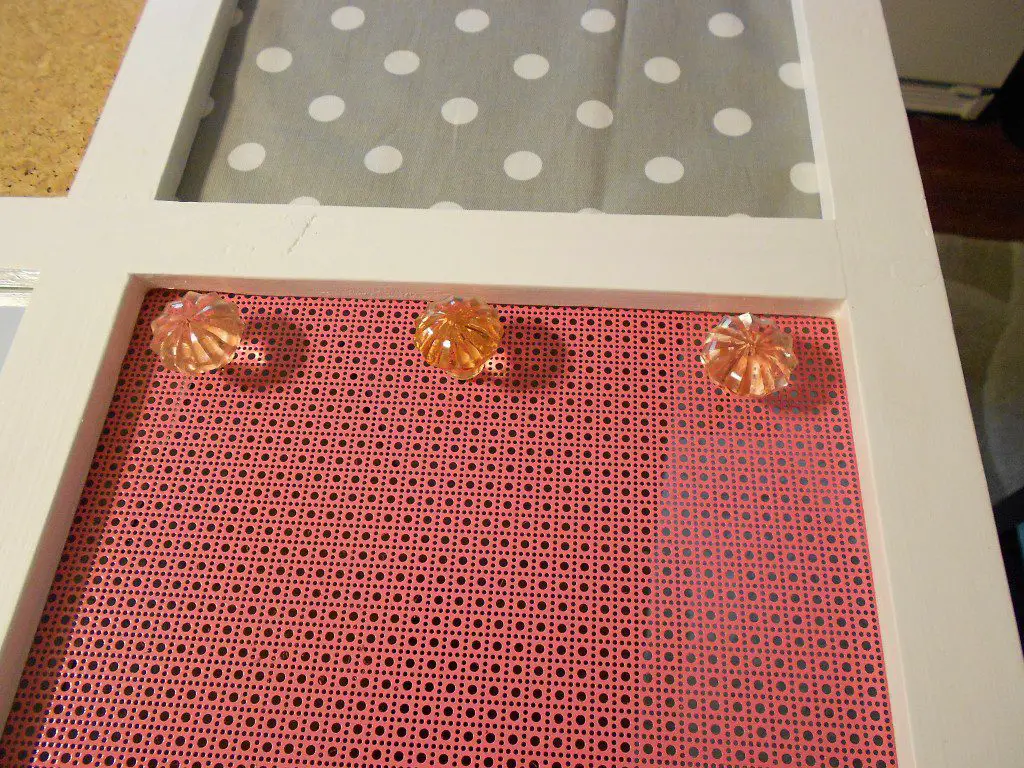
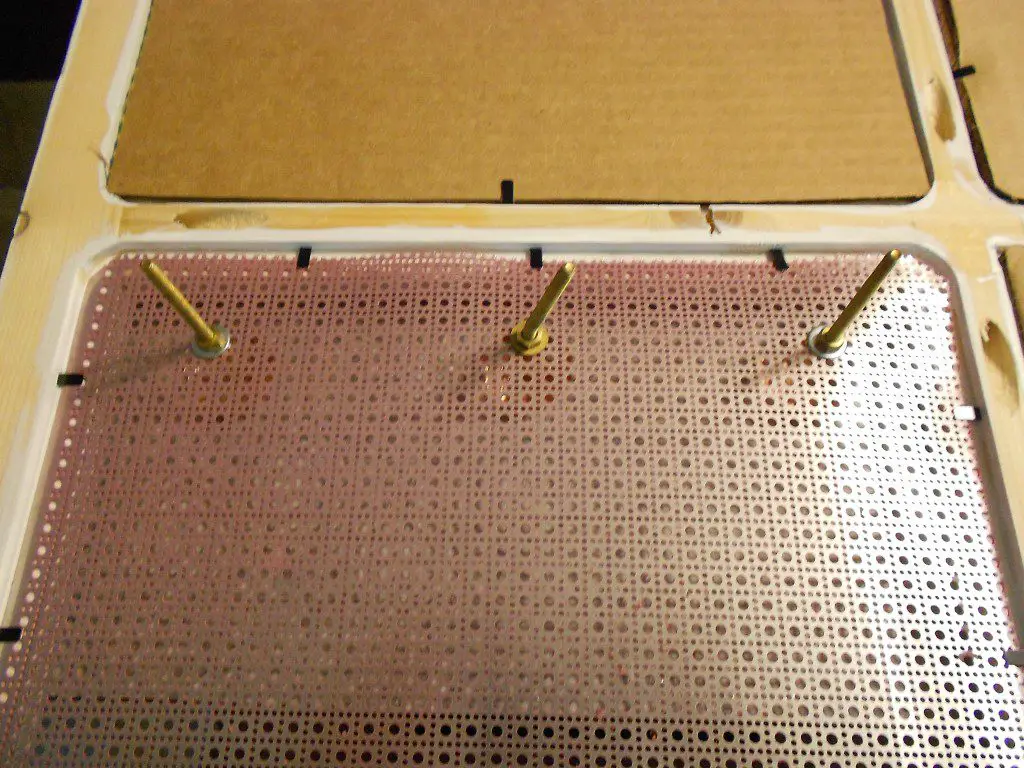
Attach to the wall with screws through the frame into the wall studs. Or attach soda can tabs to the back and attach the frame to the drywall using auger anchors. This frame is temporarily leaning against the wall in The Han’s room until I decide where I want to hang it.
Wow!
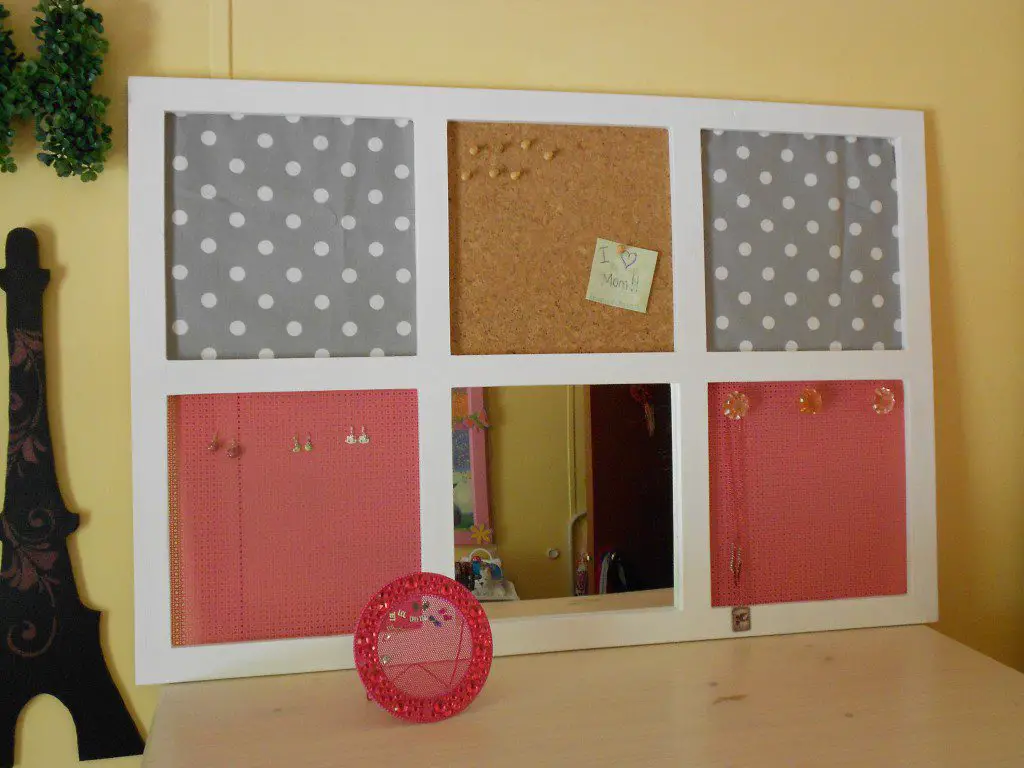
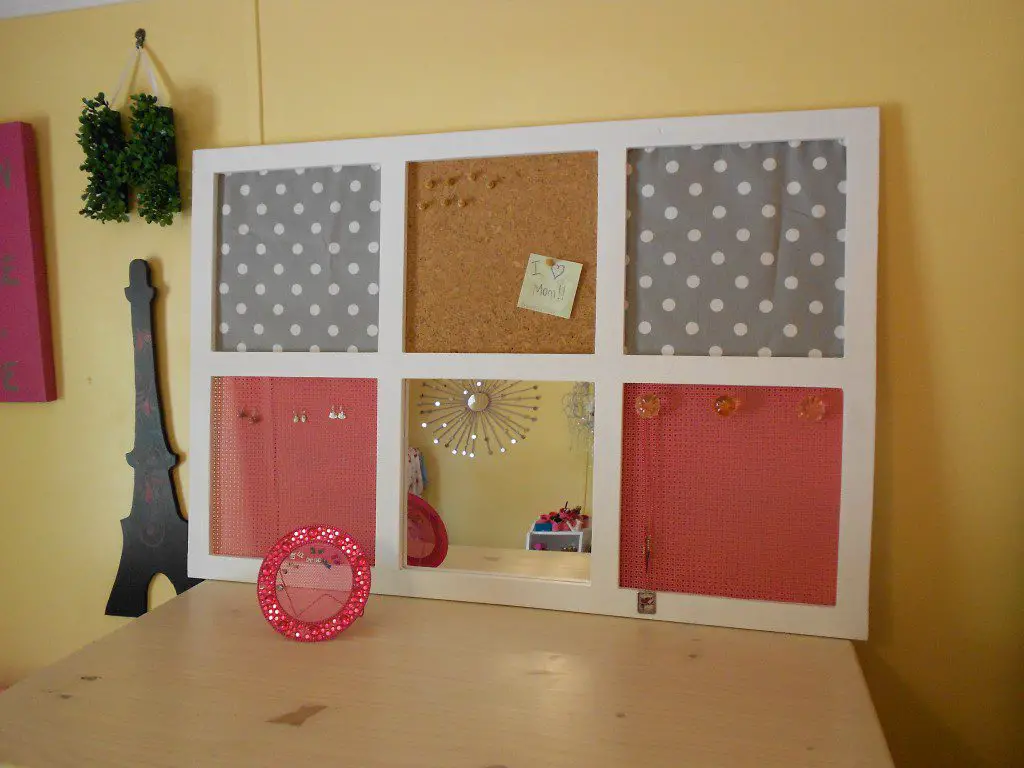
This multi-organizer can be customized for a boy, as well, and is fabulous for organizing homework and artwork! Have any questions about the famed multi organizer? Leave a comment below or contact me at cher {at} designsbystudioc {dot} com!
Originally posted 2012-07-27 08:00:29.

