DIY Plans to Build a Vegetable Gathering Basket
Power Tool Challenge – Summer Edition
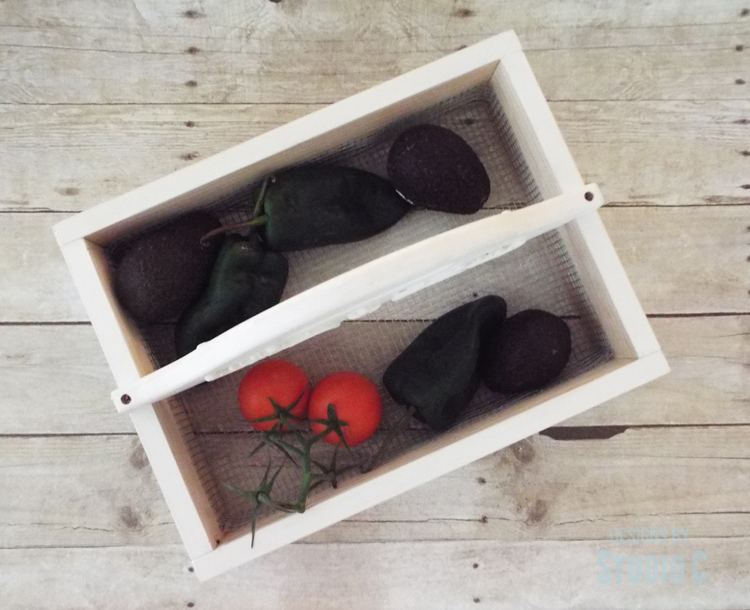
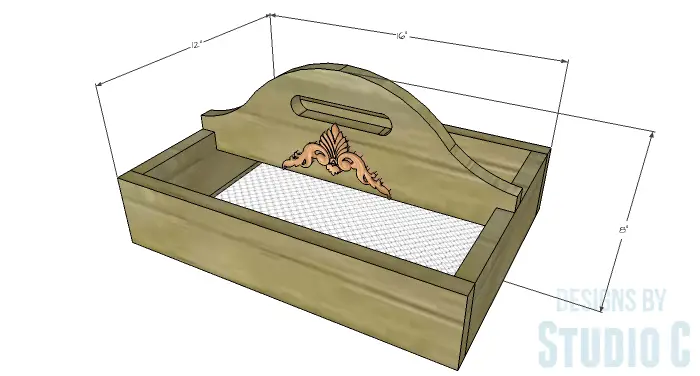
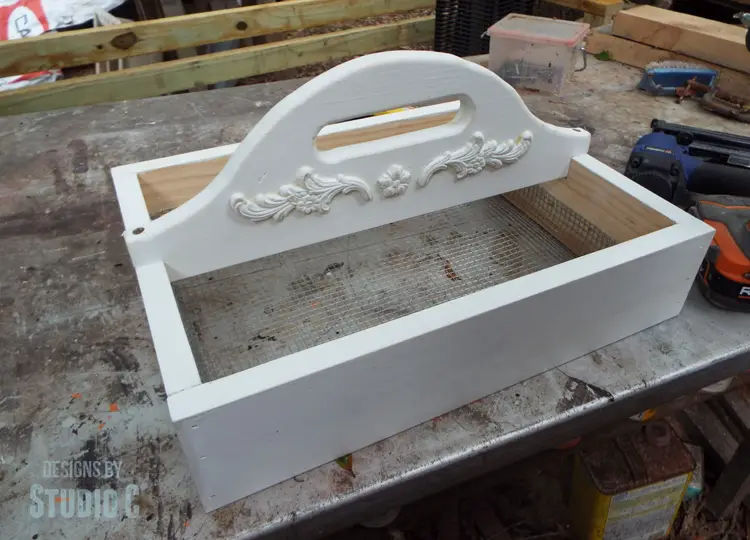
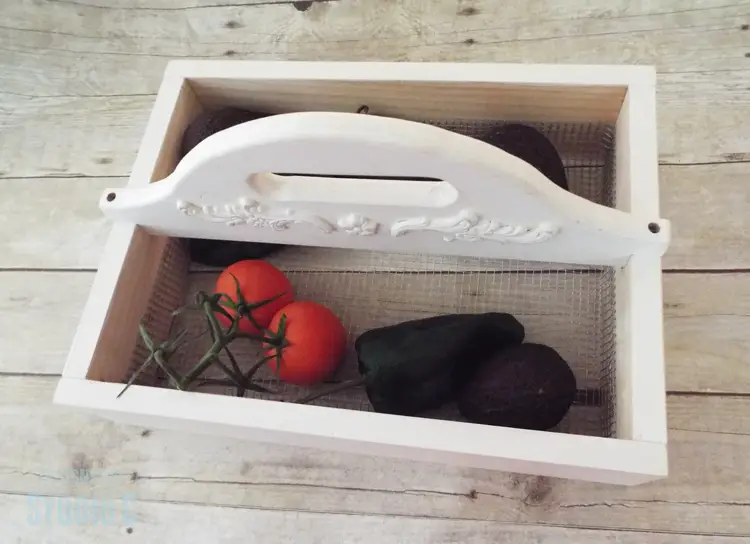
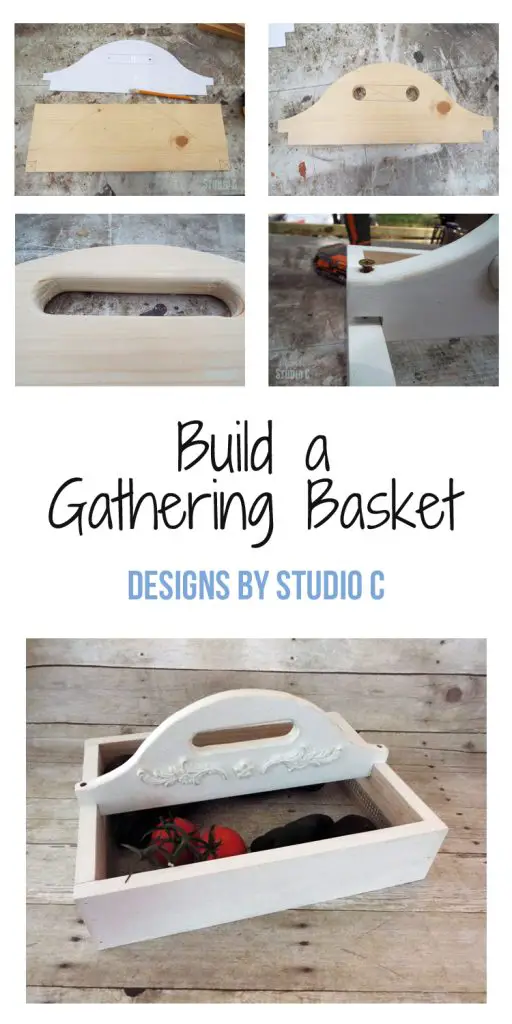
Once again, it is time for the Power Tool Challenge… This month’s theme is Summer! Since summer generally involves picking lots of fresh fruits and veggies from the garden, I created DIY plans to build a Vegetable Gathering Basket. This easy to build basket features a wood frame with a mesh bottom and a curved handle, and can be completed in a few hours! I’ve also included templates for the curved handle.
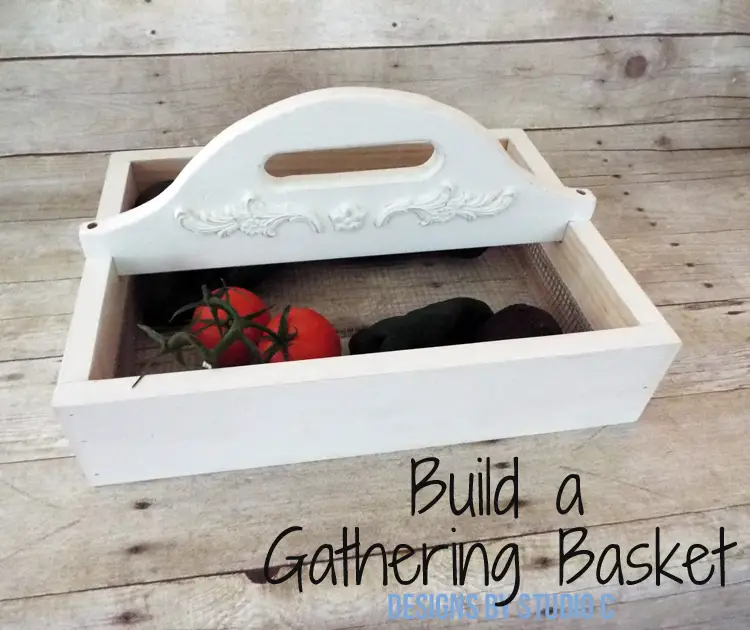
Note that the veggies pictured are not mine (they are courtesy of the local grocery store and my weekly budget!)… We’ve had a lot of rain and my garden has yet to produce any – ahem – “produce”. Hopefully soon!
Materials:
- 2″ brad nails
- 1-1/2″ screws (<– affiliate link!)
- 1/2″ staples
- 1/4″ hardware cloth
- Wood glue
- Sandpaper (100, 150, 220 grits)
- Finishing supplies (primer & paint, or stain, sealer)
Tools needed:
- Miter saw or circular saw
- Drill
- 1″ Paddle (or Spade) bit, or 1″ hole saw
- Jigsaw
- Router with small roundover bit
- Pneumatic brad nailer with compressor
- Metal snips
- Heavy Duty stapler
- Sander
Lumber:
- 1 – 1×3 at 6′
- Scrap of 1×6 at 16″
Cut List:
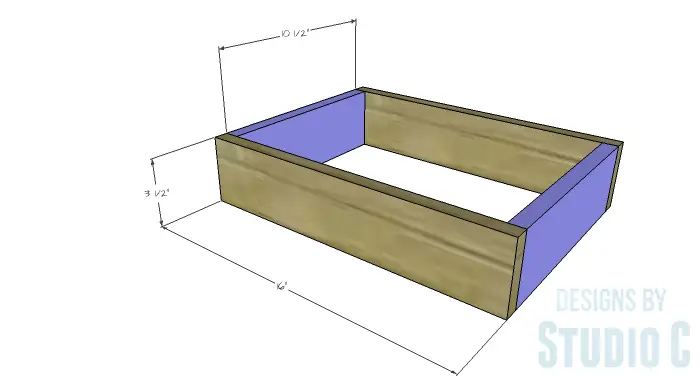
- 2 – 1×3 at 10-1/2″ – Frame
- 2 – 1×3 at 16″ – Frame
- 1 – 1×6 at 16″ – Handle
Notes about the project:
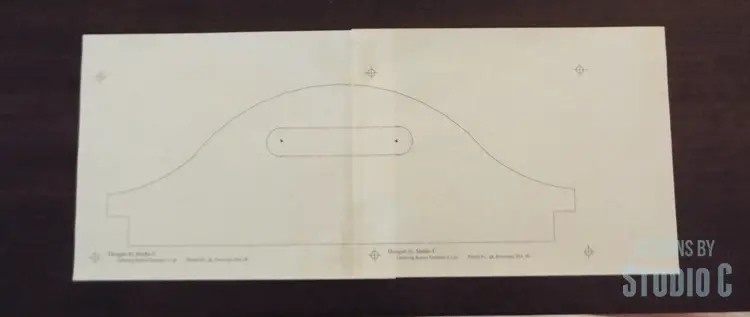
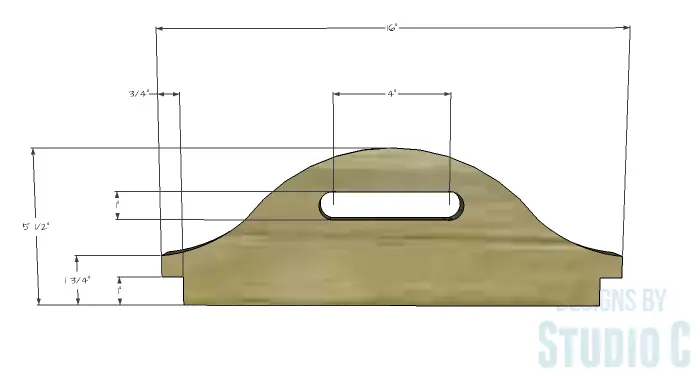
Print the templates (Template 1 and Template 2), and tape them together at the registration marks. Cut out the template with scissors.
Step One
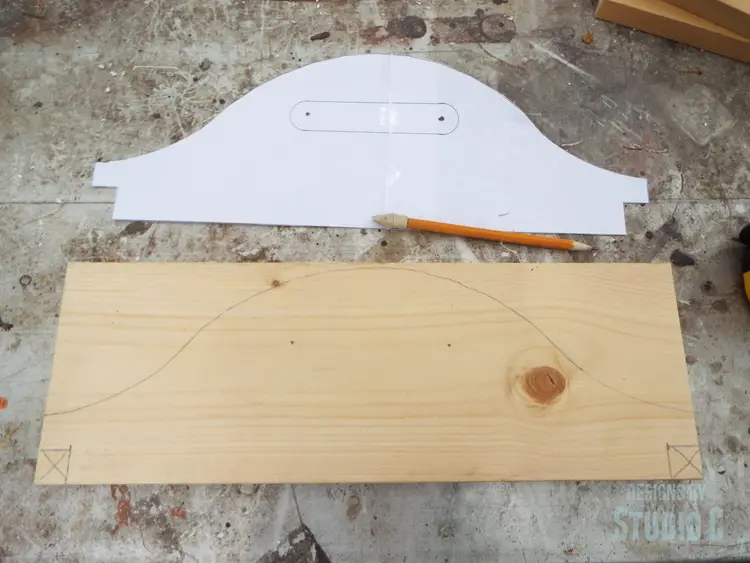
Cut the 1×6 piece for the handle to length. Trace the the handle template on the board. Cut out the handle using a jigsaw or a bandsaw.
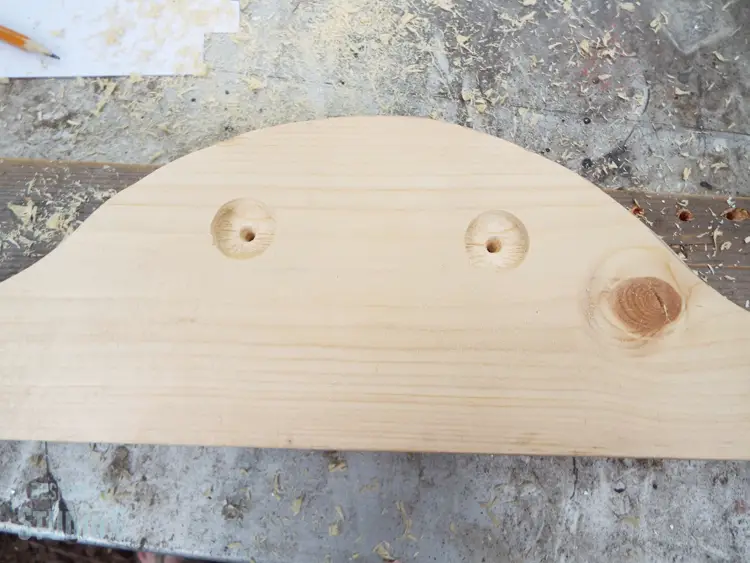
Mark the center of the holes for the handle and drill the holes with the 1″ paddle bit or hole saw. I usually start drilling on one side, then flip the piece over and continue drilling from the other side. This creates a much cleaner hole with less tear-out.
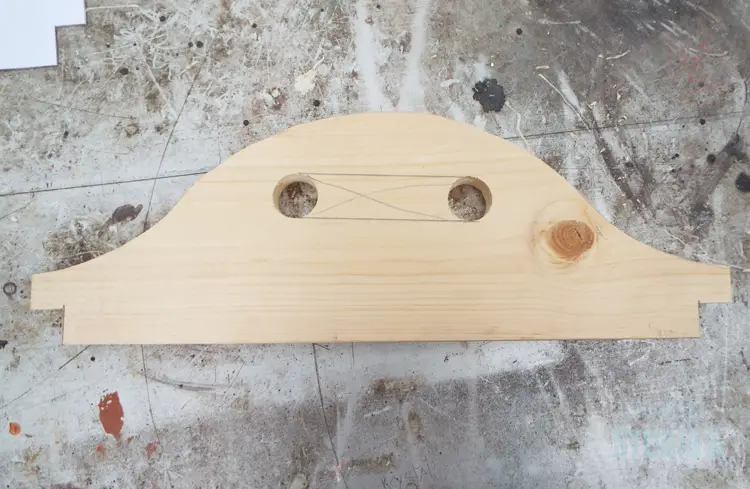
Draw lines connecting the top and bottom of the holes and cut along the lines with a jigsaw.
Step Two
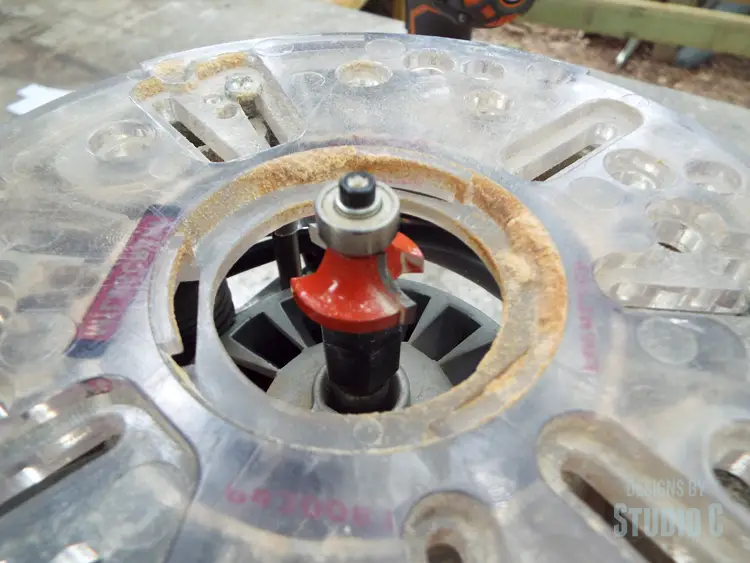
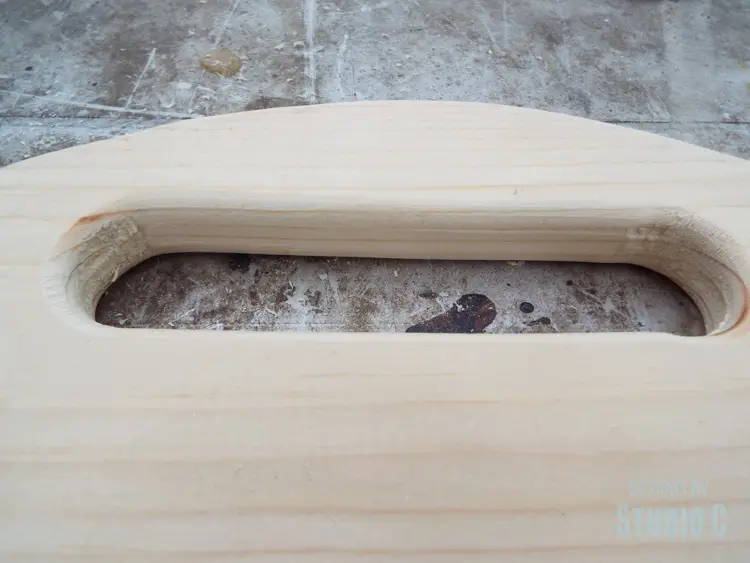
Use the router with the roundover bit to round the top of the handle (both sides of the board) as well as the inside of the handle (both sides, also).
Step Three
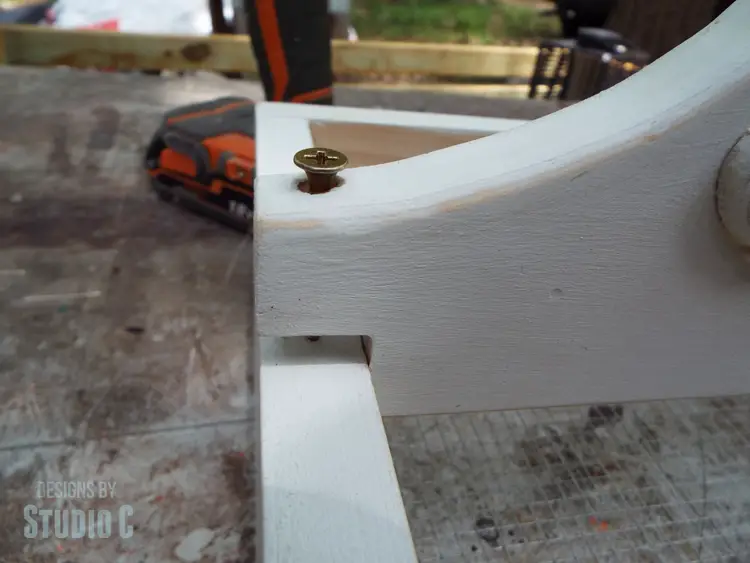
Drill a pilot hole in the top edge of the ends of the handle to attach the handle to the frame. Set the handle aside.
Step Four
Cut the pieces for the frame. Assemble the frame using glue and 2″ brad nails.
Step Five
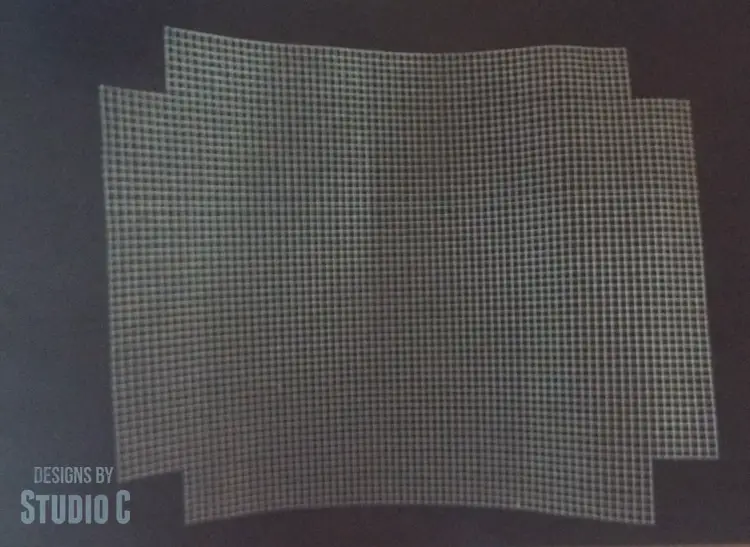
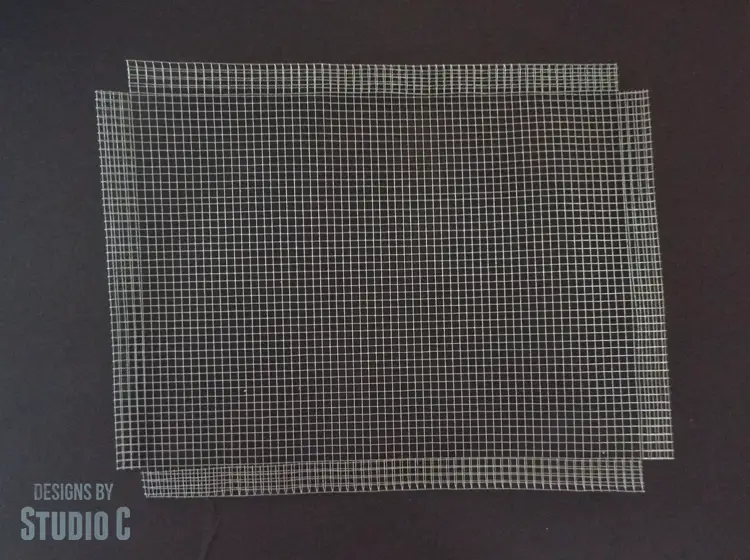
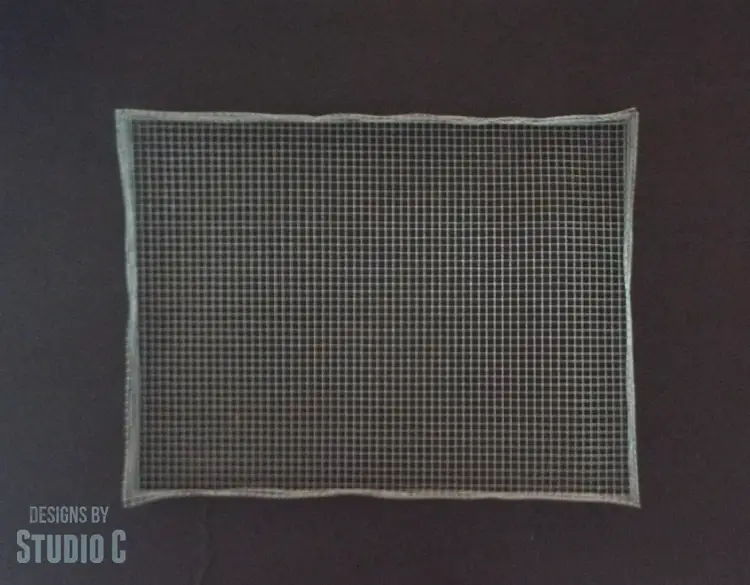
Cut the hardware cloth 2″ larger on all sides than the bottom of the frame opening. Cut a 2″ x 2″ notch in each corner (approx. 8 squares), and fold 1″ over on each side of the mesh. Fold the mesh at 1″ again (even with the notches) to make a sort of basket. Set the basket aside.
Step Six
Finish the handle and frame as desired. I painted the handle and frame (except for the inside) in the example using white paint and added a wood applique to each side of the handle.
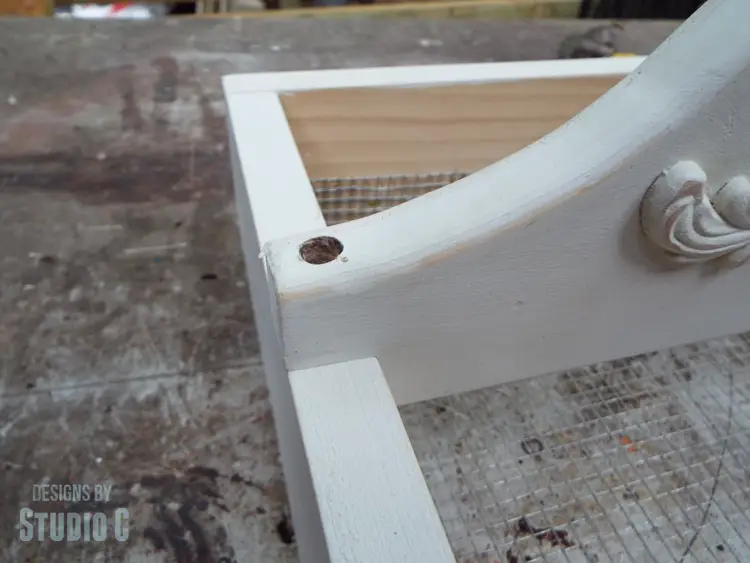
Position the basket inside the frame and secure in place using 1/2″ staples. Position the handle on the frame in the center of the sides securing in place with a 1-1/2″ screw in each of the pre-drilled holes.
Like this project? Check out the project from my partners on the Power Tool Challenge team:
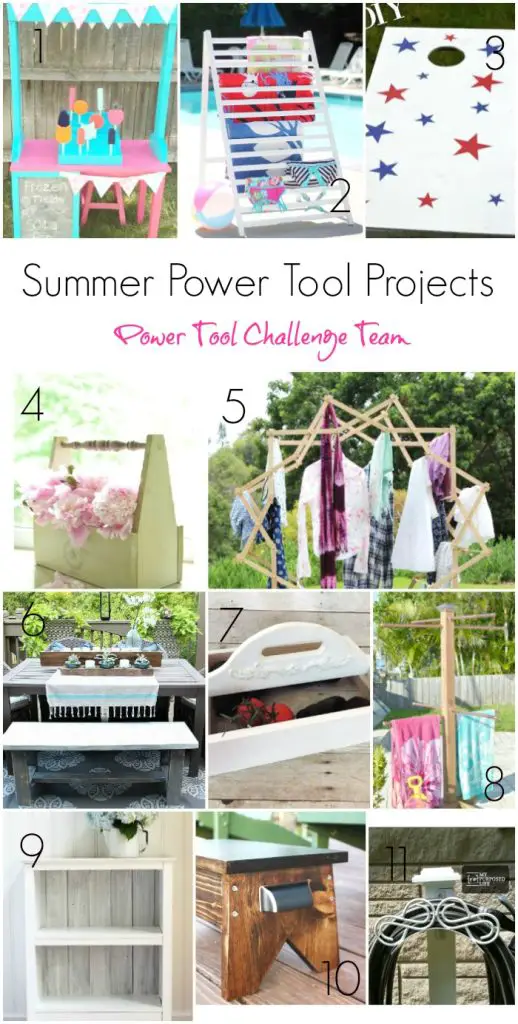
Frozen Treat Stand by My Love To Create
Red White And Blue Cornhole Game by Create And Babble
Drying Rack From Old Crib rail by The Kim Six Fix
Chair Spindle Wooden Garden Caddy by Interior Frugalista
Star Clothes Drying Rack by A Piece Of Rainbow
Farmhouse Bench Building Plans by Refresh Restyle
DIY Standing Towel Rack Tutorial by H2OBungalow
Reclaimed Wood Bookcase by Confessions of A Serial DIY’er
DIY Footstool by Virginia Sweet Pea
DIY Hose Hanger by My Repurposed Life
Have any questions about the DIY plans to build a Vegetable Gathering Basket? Leave a comment below!
Originally posted 2016-06-16 07:00:02.


[…] Vegetable Gathering Basket by Designs By Studio C […]
[…] Vegetable Gathering Basket by Designs By Studio C […]
[…] Vegetable Gathering Basket by Designs By Studio C […]
Cher,
What a great idea… I’ve never had a vegetable garden, so I never knew one would need a gathering basket!
love it!
pinning!
Thanks so much! The basket would also be great for flowers or for gathering kindling for a fire!
I always learn something new from you! I love how you made the handles on your garden basket:) If I could grow produce, I’d make one. Although I do have a friend with an amazing garden an this would be a thoughtful gift! Love it!
Thank you very much! You’re right – it would make a great gift!
What a fabulous little basket, Cher! This would be much better than my current tomato picking system of folding up my shirt and dropping them in and leaving a trail of fallen ones on the ground behind me. This would make a great gift for a gardener too.
I always did exactly the same thing, Marie!
[…] Garden Caddy by Interior Frugalista |6. Farmhouse Bench Building Plans by Refresh Restyle |7. Vegetable Gathering Basket by Designs By Studio C |8. DIY Standing Towel Rack Tutorial by H2OBungalow |9. Reclaimed Wood […]
This project is perfect for summer! You were smart to think of using hardware cloth on the bottom of your basket. That will let the dirt sift through and help to keep your basket clean. I know you’ll enjoy using this project from spring to fall in your garden.
Exactly and it will keep me from tracking (more) dirt in my house!
This is a great idea for gathering veggies! I would go to pick a few cucumbers and end up collecting them in my shirt because there would be a ton ready for picking. This would stop my shirt from getting dirty lol! XO
I would do the same thing then drop half of what I picked!
Love the design, perfect for gathering!! Thanks for the wonderful directions!
Thank you, I appreciate it!
This is so smart, the hardware cloth on the bottom…awesome!! Great job!
Thanks so much!
oh i love this!! so pretty and rustic! perfect for a kitchen garden! <3
Thank you very much!
Ooo, I have to make one of these. It’s perfect for berry picking!
Yes! It would be great for that! 🙂
[…] Vegetable Gathering Basket by Designs By Studio […]
[…] Basket free plan.This vegetable tote features a wood frame with a mesh bottom. There is also a free template for the curved handle […]
[…] Vegetable Gathering Basket by Designs By Studio C […]