Easy to Build Table for Laptop
Since I no longer have a desk, or a dining table or ANY table for that matter (thanks, tree!), I really needed a place to set my laptop so I could work bringing free DIY furniture plans to the masses. Of course, the only place I have to sit besides the floor, is the bed. I don’t want the laptop to overheat so I’ve been using a piece of scrap 1/4″ plywood as a lap desk. It was finally time to create DIY plans to build a laptop table… This table is so incredibly easy to make and can be finished however desired!
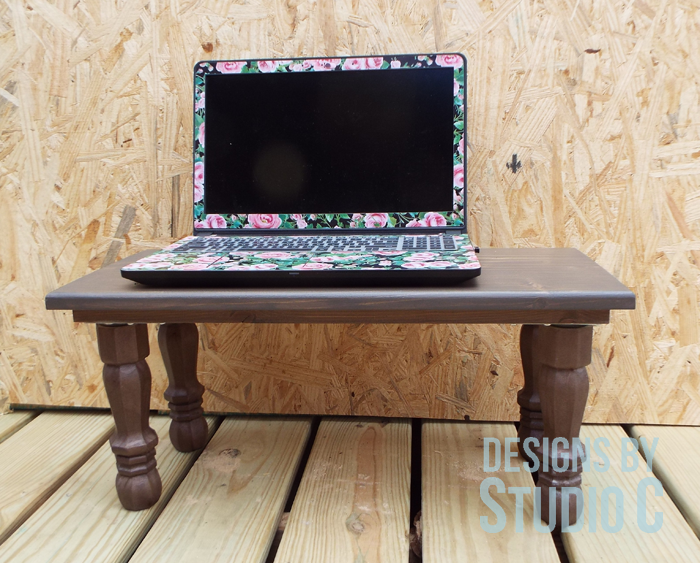
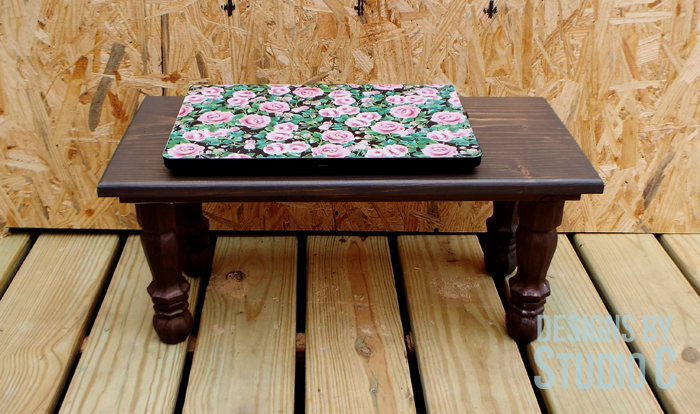
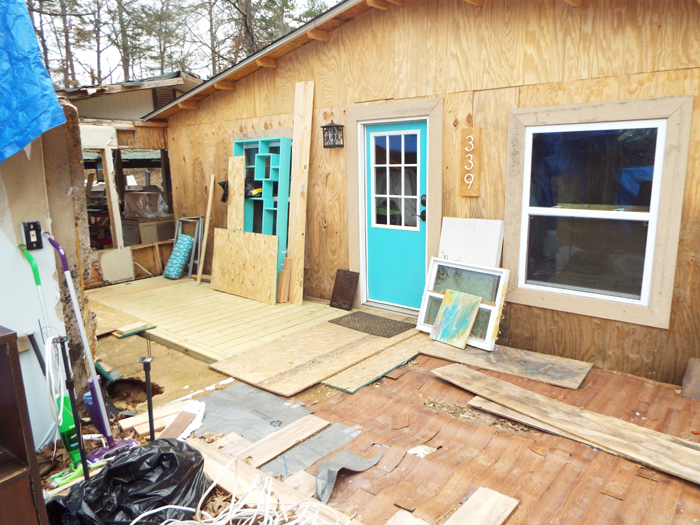
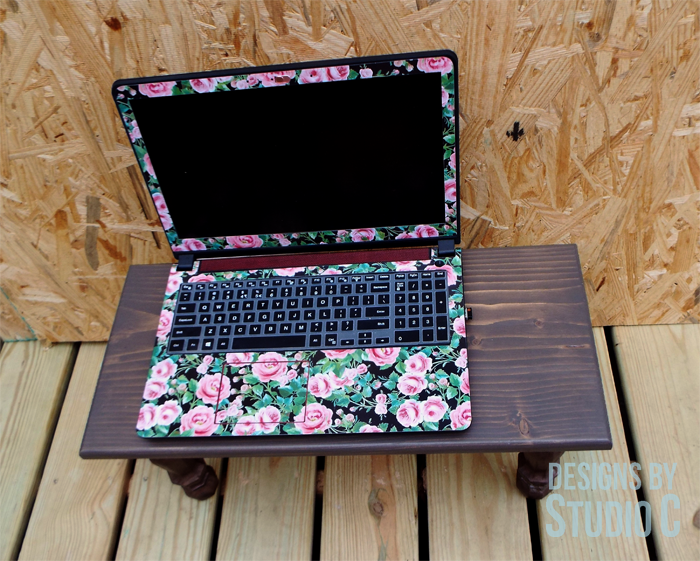
Don’t mind the OSB and deckboard background for the photos… I seriously have no place to take great photos since my house still looks like a disaster zone since the tree fell… And yes, my laptop is covered in girly paper – I’m trying to keep it from looking like a teenaged boy’s gaming laptop (which it totally is!)
Materials:
- 1-1/4″ screws (<– affiliate link!)
- 4 – 7″ Furniture Legs with Mounting Plates (<– affiliate link!)
- Wood Glue
- Sandpaper
- Finishing Supplies
Lumber:
- Scrap of 1×3, at least 12″ long
- 1 – 1×12 at 2′ (or longer if a longer base is desired)
- 2 – 3/4″ square dowel rods
Cut List:
- 1 – 1×12 at 2′ – Base
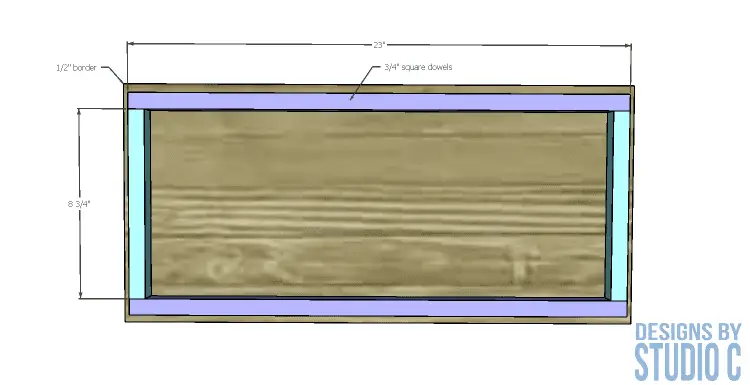
- 2 – 3/4″ square dowel at 23″ – Base Frame
- 2 – 3/4″ square dowel at 8-3/4″ – Base Frame
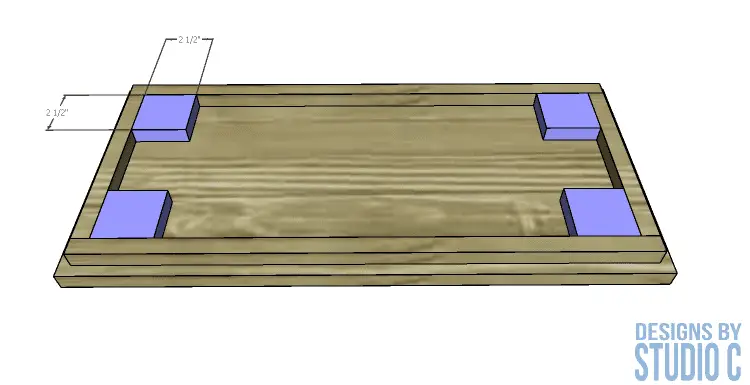
- 4 – 1×3 at 2-1/2″ – Mounting Plate Spacers
Notes About the Project:
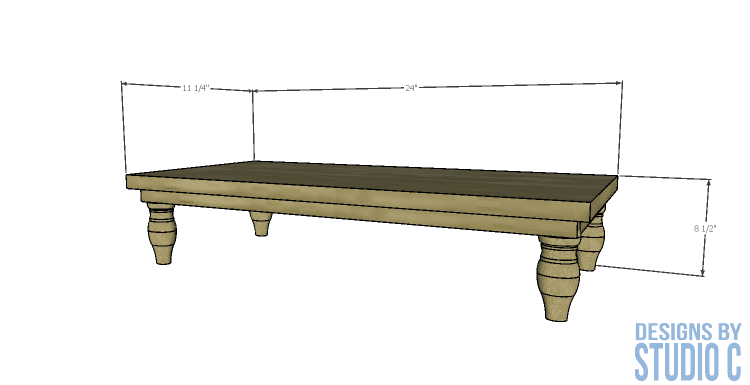
The base can be shortened or lengthened according to personal preference. The 24″ length works for me because it leaves me room for my mouse and pad on one side, as well as an external hard drive or other accessories on the other side.
Step One
Cut the piece for the base to the length desired.
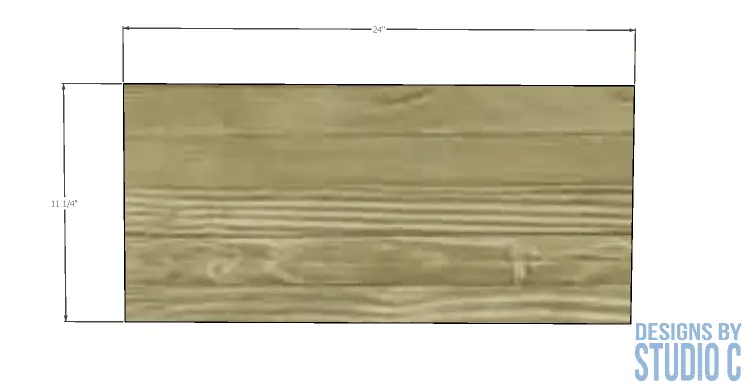
Step Two
Cut the pieces for the base frame. Pre-drill the holes for the screws in the frame pieces, and position the frame pieces 1/2″ away from the edge of the base. Secure the frame to the underside of the base using glue and 1-1/4″ screws.
Step Three
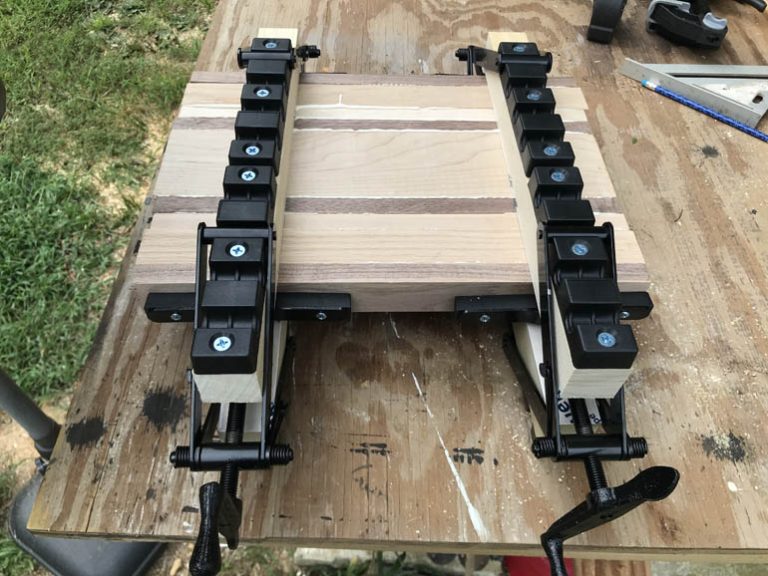
Cut the pieces for the mounting plate spacers. Secure the spacers to the underside of the base at the inside corners of the frame using glue and clamp in place.
Finish the base and the legs as desired. I stained the top using Varathane stain in Briarsmoke, then spray painted the legs using Rustoleum Dark Metallic Copper.
Step Four
Install the mounting plates over the spacers according to the manufacturer’s installation instructions. Install the legs on the plates.
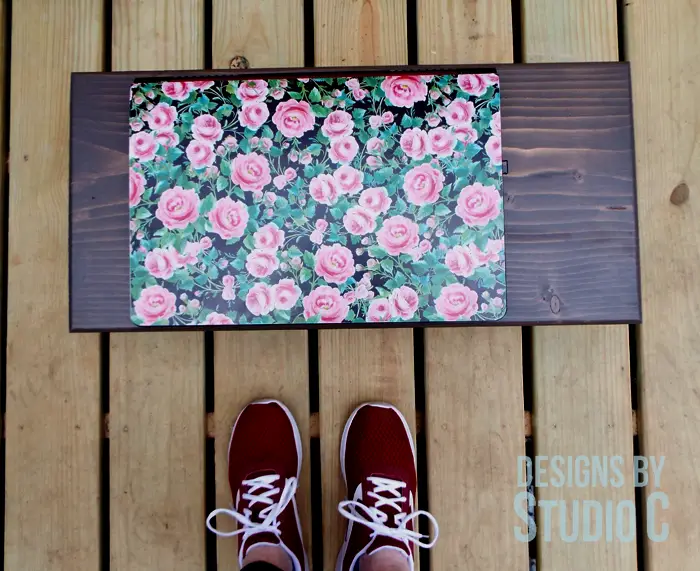
Plywood with decorative trim around the edges would be a great option as a top, and this table is a great option as a surface to hold a coffee cup and a newspaper while lounging in bed!
Another option for a laptop table is to build a laptop wall desk – easy and it looks like a piece of art when closed!
Have questions about the DIY plans to build a laptop table? Leave a comment below!


Comments are closed.