How to Attach a 4×4 Post on a Deck
Easily Install Surface Mount Deck Rail Posts
When I built my deck several years ago, I did not extend the posts to build a rail, mainly because I couldn’t decide on a railing design. Once I figured out the design, the trick was to figure out how to attach a 4×4 post to the deck to make a rigid and safe railing. I found hardware to install surface mount deck posts that is inexpensive and is super-solid! My tutorial on how to attach a 4×4 post on a deck will take any guesswork out of installing posts for your deck railing, and have your deck looking fab in no time!
Note that this is not a sponsored post – I purchased these items with no endorsement from the manufacturer but it does contain affiliate links to the items listed. It’s a great product that I want to share because I think it is beneficial for others, too!
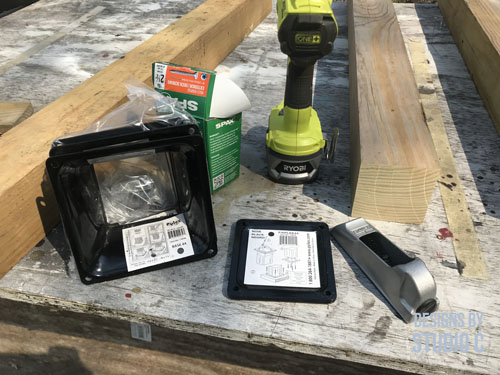
I found these connectors mainly by accident and was so glad I did! I installed the posts and railing a year ago, and it is still solid as a rock! I have a couple of other projects besides the railing where I will be using these connectors so stay tuned!
Oh, and check out this post if you want to make the posts decorative…
Materials:
- Pylex 10830 FixPlak 44 Deck Connector (<– affiliate link!)
- Pylex 13048 Deck Post Base (<– affiliate link!)
- 2-1/2″ or 3″ screws for outdoor use (SPAX® is a great choice!)
- Wood Rasp
- Scrap pieces of 2x lumber (to go under deck boards as needed for stability)
Cut the Posts
Start by cutting the 4×4 posts to the desired length. A standard handrail is 42″ tall, so the posts will be a bit taller, especially if you’re using post caps (like these awesome solar caps I used).
Install the Base and Connector
Slide the base over what will be the bottom of the post. If the post is wet or the base fits a little tight, use a wood rasp to shave down each side of the post until the base piece can slide over the post. Don’t shave too much off but enough so that the base can slide up the post to install the connector, then slide back down to mount to the deck.
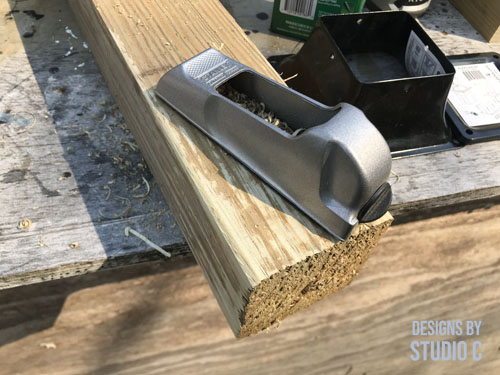
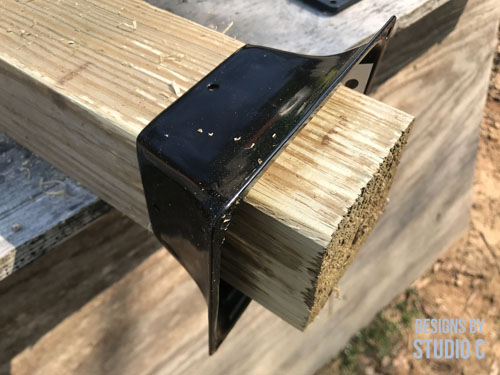
Next, install the connector on the bottom of the post using 2-1/2″ or 3″ screws through the holes in the center of the plate into the post. Make sure the plate is centered!
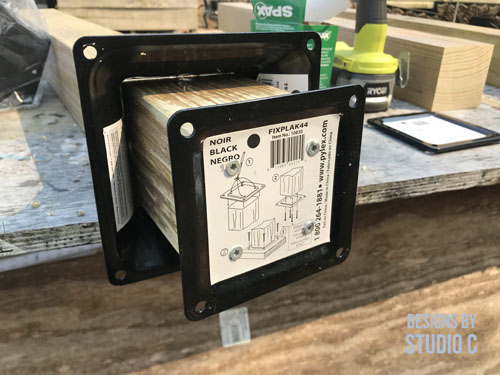
Position the Post on the Deck
Now, position the post in the desired location, preferably so that the screws used to anchor the post will go through the deck board into a joist. If there is no joist where the post is located, use pieces of scrap 2x lumber under the deck boards. As long as the deck boards are securely fastened, this will be solid and not an issue! Secure the post in place with the 2-1/2″ or 3″ through the holes located on the outer edge of the connector plate.
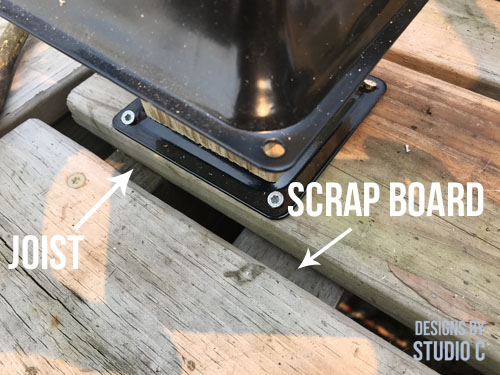
Slide the post base down to cover the connector, and drive screws through the outer edge into the deck as well as through the holes in the upper portion into the post.
Add the Railing Pieces and Post Caps
Now, the railing pieces can be installed. I used horizontal boards in alternating widths (1×2 and 1×3) using a scrap as a spacer. I then used a vertical piece to add rigidity to the horizontal pieces. If the posts need to be adjusted, just loosen or remove the screws from the base and add a shim under the connector. I had to do this a couple of times and it did not affect the stability of the posts (just remember to drive the screws in again!)
Last, I added the solar post caps that do a great job of adding ambient lighting to our space! I couldn’t finish installing the rail because I ran out of boards… the story of my life!
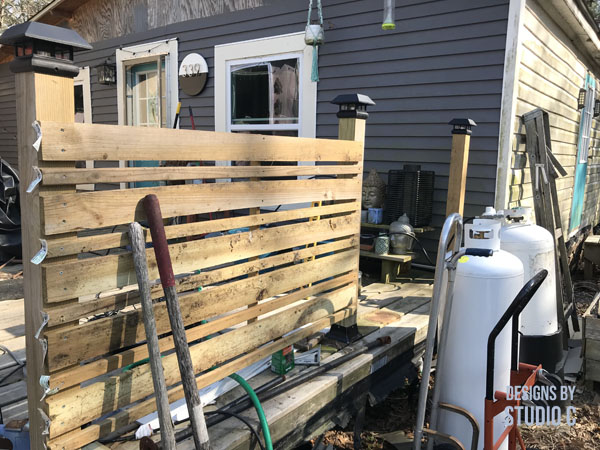
Here’s the rail once I scrubbed the mud and grass off of the boards from laying in the yard for a year…
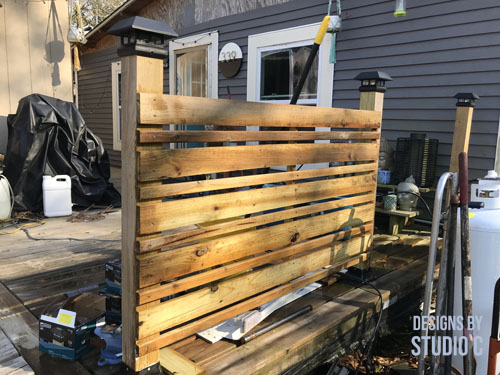
The connectors and bases come in black and stainless steel. I’m certain that the post base pieces could be spray painted, if a different color is desired. Use a good primer that will allow the paint to “bite” into the metal!
Have questions about how to attach a 4×4 post on an existing deck? Leave a comment below!
Originally posted 2022-05-03 08:00:18.

