
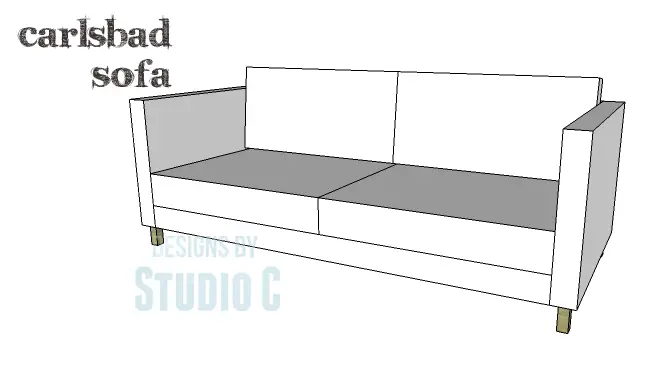
The First Plan in a Whole New Seating Collection!
I am really excited about this new collection. Yes, it is based on a design from a popular furniture store and although the furniture is inexpensive, I still think it can be built for less! Let me introduce you to the Carlsbad collection – furniture pieces that can be built as a single unit or together to create the ultimate seating! The DIY plans to build the Carlsbad chair are easy to construct and I’ve included instructions on adding the upholstery! Trust me, there is nothing intimidating about this plan… I am definitely adding it to my “to build” list!


Materials:
- 1-1/4″ pocket hole screws (<– affiliate link!)
- 2-1/2″ pocket hole screws
- 1-1/4″ brad nails
- 1-1/2″ screws
- 2-1/2″ screws
- 3-1/2″ screws
- 4 – 4″ furniture legs with mounting plates
- Wood glue
- Sandpaper (100, 150, 220 grits)
- Finishing supplies (primer & paint, or stain, sealer)
Lumber:
- 1 – 1×4 at 4′
- 1 – 1×6 at 6′
- 2 – 1×8 at 8′
- 4 – 2×4 at 8′
- 1 sheet of 1/4″ plywood
- 1 sheet of 3/4″ plywood
Cut List:
- 4 – 2×4 at 36″ – Arm Sections, Top & Bottom
- 4 – 2×4 at 20-1/2″ – Arm Sections, Sides
- 2 – 3/4″ plywood at 20-1/2″ x 33″ – Arm Panels
- 2 – 1/4″ plywood at 23-1/2″ x 36″ – Arm Outer Panel
- 2 – 1×8 (ripped to 7-1/4″ wide) at 26″ – Seat Frame
- 2 – 1×8 (ripped to 7-1/4″ wide) at 34-1/2″ – Seat Frame
- 2 – 1×8 (ripped to 7-1/4″ wide) at 24-1/2″ – Seat Frame Supports
- 1 – 3/4″ plywood at 26″ x 36″ – Seat Deck
- 2 – 1×6 at 12-1/2″ – Back Sides
- 1 – 1×6 at 26″ – Back Frame
- 1 – 1×4 at 26″ – Back Frame
- 1 – 1×4 at 23″ – Back Frame Support
- 1 – 1/4″ plywood at 15-5/8″ x 26″ – Seat Back
For the Upholstery:
The entire frame will be covered with 1″ foam and fabric. The back cushion will be made with 4″ foam, and the seat will be made with 6″ foam. I like to purchase the high-density foam for cushions on eBay. A 1″ foam mattress topper will be much more economical to purchase for padding the frame.
The seat cushion will measure approximately 26″ x 30-1/2″ and the back cushion will measure approximately 17-3/8″ x 26″.I have written a tutorial on how to make a basic box cushion that is easy to follow and requires minimal sewing skills.
- Duct tape
- Spray adhesive (I recommend 3M Super 77 – it is the best!)
- 7 yards of 54″ wide drapery fabric, canvas, or cotton duck
- 1 – King-size 1″ foam mattress topper
- 1 – Twin size 1″ foam mattress topper
- 6″ foam at 26-1/2″ x 30-1/2″
- 4″ foam at 17-3/8″ x 26″
- 2 – 48″ upholstery zippers or velcro
- Contrasting thread
- Stapler and staples (if you have a pneumatic stapler, that would be best!)
- Upholstery nails or decorative gimp (trim)

Click on the drawings for a larger view!
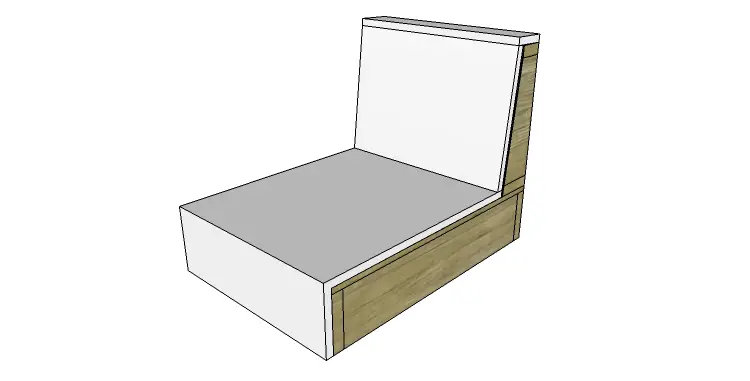
Step One
Cut the pieces for the arm frames and panels. With the pocket hole jig set for 1-1/2″ material, drill pocket holes in each end of the shorter arm pieces. Assemble the frames using glue and 2-1/2″ pocket hole screws.
Set the pocket hole jig for 3/4″ material and drill pocket holes in all four edges of the panels. Insert the panels into the frames and secure using glue and 1-1/4″ pocket hole screws. The outside face (without pocket holes) will be flush with the outside face of the frame.
Step Two
Install the mounting plates for the bottom of the legs on the bottom of each frame locating the plates 1″ away from the front and back faces of the frames.
Cut the 1/4″ plywood pieces for the outer panels. Secure the panels to the open area of the frame using glue and 1-1/4″ brad nails. Set the arm frames off to the side.
Step Three
Cut the pieces for the seat frame. Set the pocket hole jig for 3/4″ material and drill pocket holes in each end of the longer pieces. Assemble the frame using glue and 1-1/4″ pocket hole screws.
Cut the pieces for the supports and drill pocket holes in each end. Secure the supports to the frame as shown using glue and 1-1/4″ pocket hole screws.
Step Four
Cut the piece for the seat deck. Secure the seat to the frame and supports using glue and 1-1/2″ countersunk screws.
Step Five
Cut the pieces for the sides of the back. Cut the angle using a jigsaw, a bandsaw, or a tapering jig on a tablesaw. Drill pocket holes in each end.
Step Six
Cut the remaining pieces for the back and assemble the frame using glue and 1-1/4″ pocket hole screws. The front edge of the center support will follow the angle of the sides of the back.
Position the back frame on the back edge of the seat. Secure the frame to the seat using glue and 2-1/2″ screws. The screws will be positioned through the bottom of the frame into the back edge of the seat frame, and also through the front edge of the frame into the support closest to the back of the seat frame.
Step Seven
Cut the piece for the back. Secure the back panel to the back frame using glue and 1-1/4″ brad nails. Set this piece off to the side.
To upholster and assemble the chair:
Use the duct tape to cover the edges of the wood before applying the foam. This helps soften all of the sharp edges and corners so that the wood doesn’t cut through the foam and upholstery.

Arm Sections:
Finish the legs as desired. I spray painted the legs on my chair. Cut two pieces of foam to cover the arm sections. The foam will be cut in one piece covering the side, over the top of the arm, and covering the other side. Secure the foam to the arm sections using the spray adhesive. Cut four strips of foam to cover the front and the back of the arm sections securing in place with spray adhesive.
The fabric for the arm sections will be sewn together to create a box to slip over the arm section, and will be secured to the bottom of the arm section. Cut four pieces of fabric measuring approximately 25-1/2″ x 38″ for the sides of the arm sections. This measurement includes 1/2″ seam allowances. Cut four strips of fabric at 5-1/2″ x 25-1/2″ and two strips of fabric at 5-1/2″ x 38″. Sew the strips together (end to end) to create the front, back, and top of the arm as follows: sew a 25-1/2″ strip to the end of a 38″ strip, then sew a 25-1/2″ strip to the other end of the 38″ strip. Pin the strips to one of the pieces of fabric for the arm section – the seams will match the corners of the fabric. Sew the other arm section piece to the other side of the strip matching the seams to the corners.
Slip the fabric over the arm sections and secure to the bottom of the arm section frame using the stapler and staples. The fabric should fit snugly.
Seat & Back Section:
Cut a piece of foam to cover the front of the seat frame, the seat itself, the back, and the top of the back frame. The foam will be flush with the sides. Secure the foam in place with spray adhesive.
Cut a piece of fabric measuring approximately 29″ wide x 96″ long. The fabric will overlap the sides by approximately 1-1/2″. Starting at the front of the seat frame, staple the fabric to the bottom of the front. Drape the fabric over the seat, up the back, and over the top of the frame securing the fabric at the sides of the seat and back.
Assemble the Chair:
Lay one arm section on a flat surface with the 3/4″ panel facing up. Lay the seat and back section (on its side) on the arm section. The lower edges will be flush as well as the front of the arm will be flush with the front of the seat frame. Secure the seat frame and back frame to the arm section using 2-1/2″ screws through the 1×8 of the seat side into the lower 2×4 of the arm section. 1-1/2″ screws can be inserted through the upper area of the seat side into the arm section panels.
Place a few 2-1/2″ screws through the back sides into the back 2×4 of the arm section. Also place a few 1-1/2″ screws through the back sides into the arm panels.
Secure the other arm section to the seat and back in the same manner.
Set the chair upright on the feet. cut a piece of fabric to cover the back of the chair. Fold the edges of the fabric in (about 1/2″) and secure to the back of the back frame sides using staples. Cover the staples with decorative upholstery nailheads or hot glue gimp in place.
To Make the Cushions:
Follow the tutorial How to Make a Basic Box Cushion to create the seat and back cushions.
The other pieces in the collection will be posted in the coming weeks – I’m so excited! If you are in the market for new seating, building your own is definitely the way to go! If you have any questions about the DIY plans to build a Carlsbad chair, leave a comment below or contact me at cher {at} designsbystudioc {dot} com!
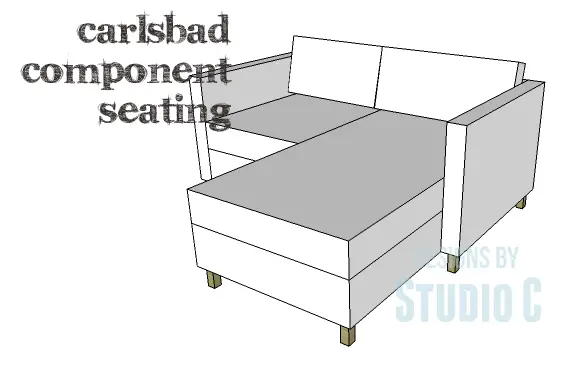
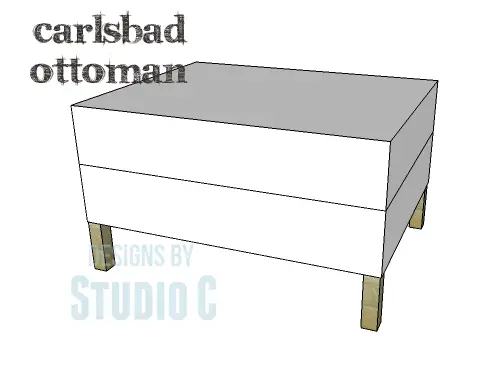
Click on the drawings below to see the upcoming plans for this collection!

Originally posted 2014-09-02 08:00:30.


10 Comments
Wow, this is another great chair design. It would be perfect with waterproof upholstery outside as a patio seating area don’t you think?
That is an excellent idea, Linda! I am in the process of building one for the living room and I cannot wait until it is completed. The hard part is choosing fabric…
Are you making a whole new collection for you Cher? This chair looks so elegant. I love it.
Thank you, Elle! I am making a couple of the pieces for myself and am so excited!