An Easy to Build Table with a Metal Base
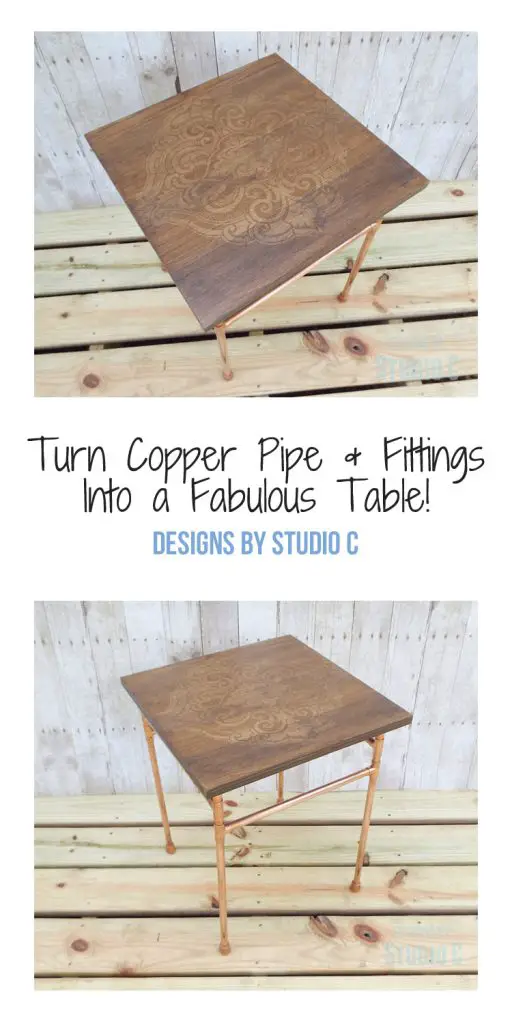
Hey there! So, I recently took on this copper pipe project and I have to say, it was quite an adventure! I had this idea of creating a super cool DIY copper pipe end table with a wooden top, and let me tell you, I absolutely adore how it turned out!
For this project, I used 1/2″ copper pipe along with some matching fittings, and for the top, I went with a sturdy 3/4″ plywood. The best part is, you can whip up this table in just a few hours! It’s a fun and quick project that you’ll definitely enjoy.
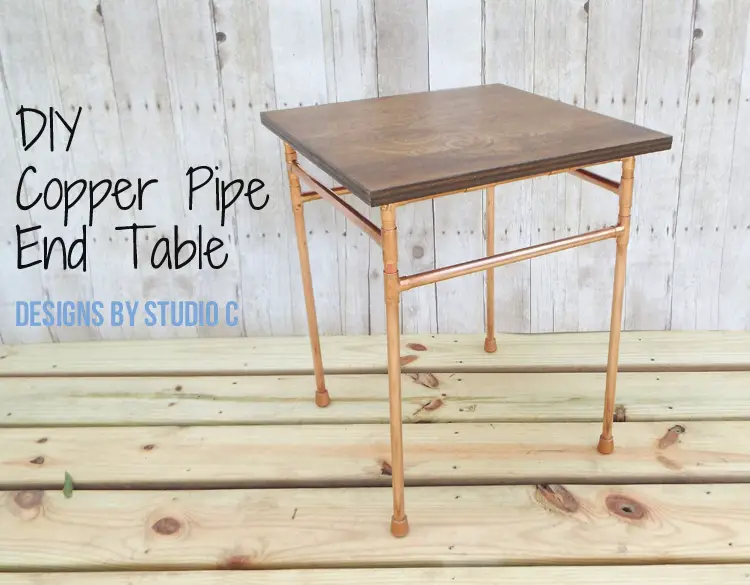
Materials:
- 12 – 1/2″ copper tees
- 4 – 1/2″ copper 90° elbows
- 6 – 1/2″ copper pipe straps
- 1 – 1/2″ copper pipe at 10′
- 1 – 1/2″ copper pipe at 5′
- Fast drying adhesive (such as DAP® Weldwood Instant Adhesive <– affiliate link!)
- Very fine steel wool
- 3/4″ screws
- 5/8″ Rubber leg tips
- Sandpaper (100, 150, 220 grits)
- Finishing supplies (primer & paint, or stain, sealer)
Tools needed:
- Pipe cutter
- Table saw or circular saw
- Drill
- Sander
Cut List:
For the 1/2″ copper pipe:
- 4 @ 4-1/2″ – Ends
- 2 @ 4-1/4″ – Ends
- 8 @ 1-1/2″ – Spacers
- 2 @ 13-3/4″ – Top Supports
- 4 @ 13-3/4″ – Sides
- 4 @ 15″ – Legs
For the plywood top:
- 1 – 3/4″ plywood at 17″ x 17″
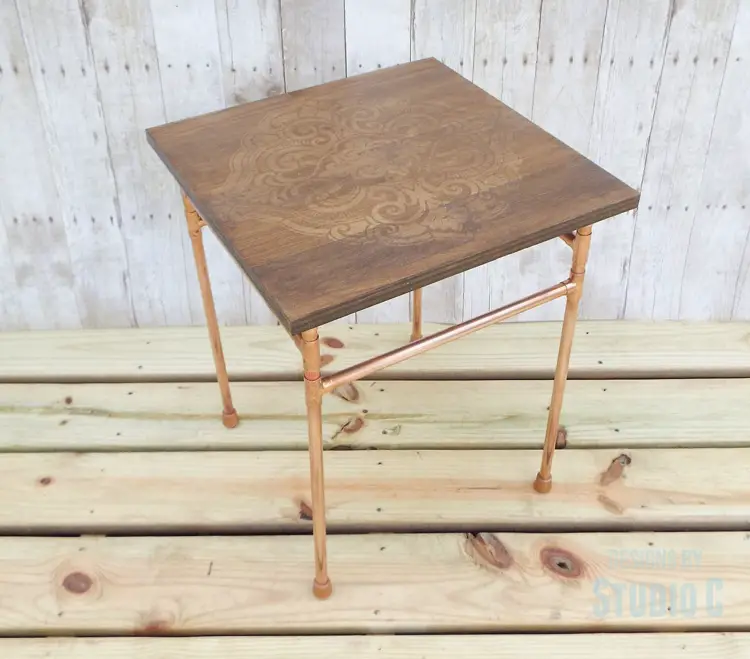
Notes about the project:
The table measures 17″ x 17″ square and is approximately 20″ tall.
Use the fast-drying adhesive to secure the fittings to the pipe.
Polish the pipe and fittings with the steel wool prior to cutting and assembly – touch up the pipe as necessary!
Step One
Cut the pieces for the ends. Slip a 90° elbow on one end of each of the 4-1/2″ pieces, with a tee on the other end. Connect these pieces to each other with a 4-1/4″ piece of pipe between them to create two end assemblies. (Refer to the photo for the positioning of the fittings.)
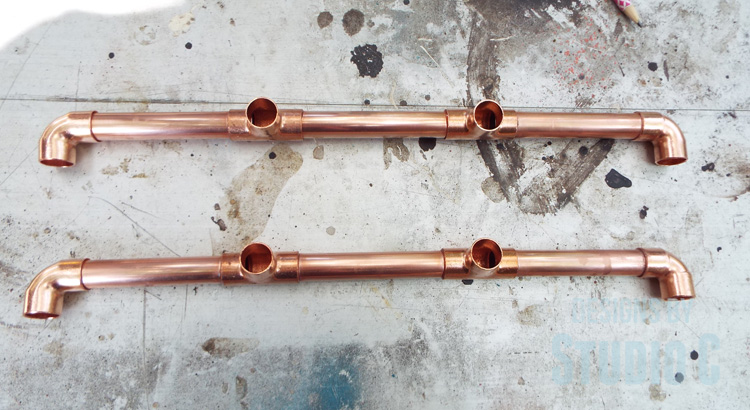
Step Two
Cut the 1-1/2″ spacer pieces and insert one in each end of the 90° elbow. Add a tee to the end of each of these pieces followed by another 1-1/2″ piece of pipe in the end of the tee. (Refer to the photo.)
Cut the 13-3/4″ sides and add a tee to each end of two of these pieces. Add these pieces to the end of each 1-1/2″ piece.
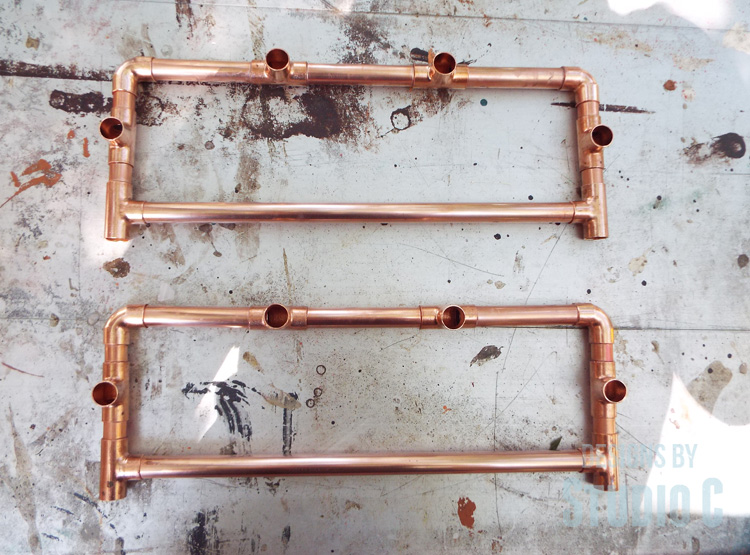
Step Three
Secure the assemblies to each other with the remaining 13-3/4″ pieces of pipe, then insert a 15″ leg into the bottom of each remaining tee.
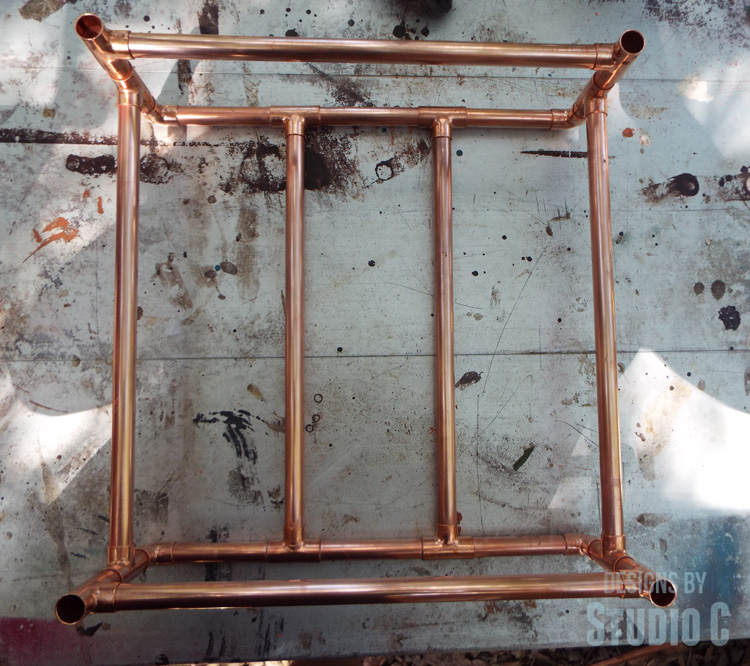
Add the rubber leg tips to the bottom of the pipe legs. (I used a copper colored spray paint to change the tips so they would match the table frame.
Step Four
Cut the plywood for the top and finish as desired. I used the glue resist technique with white glue prior to staining and sealing the table top.
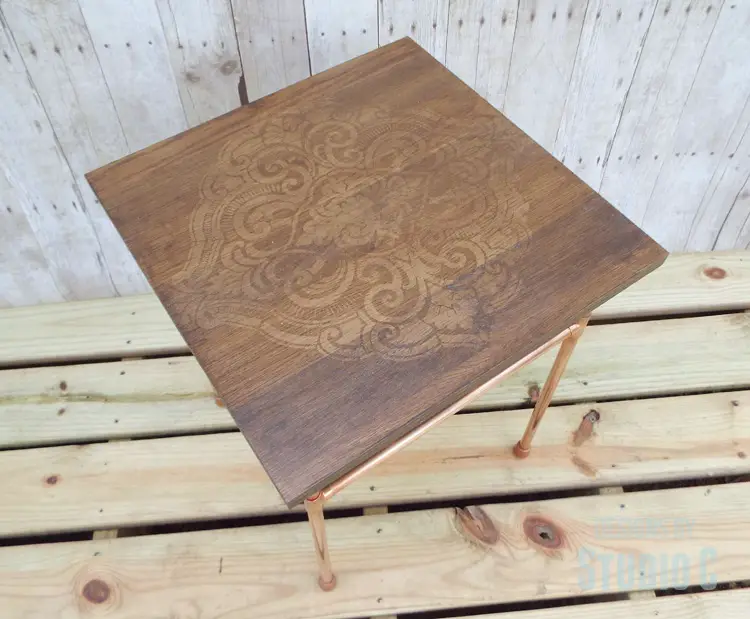
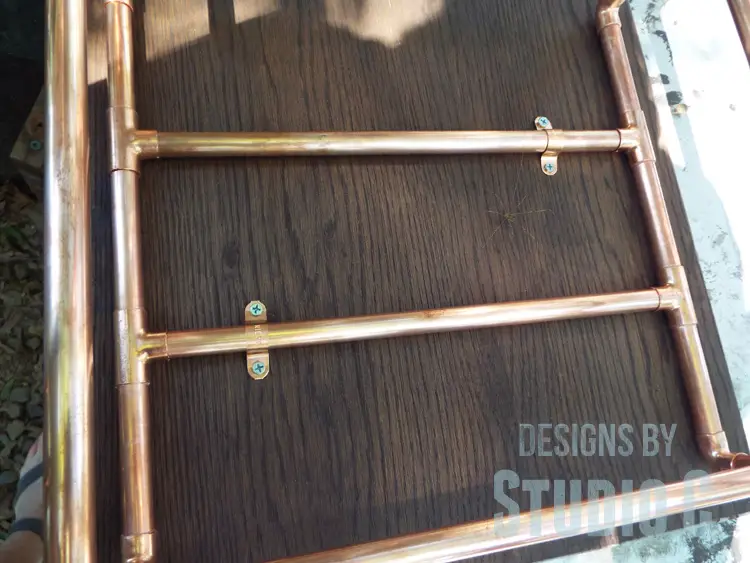
Secure the frame to the table top using the 1/2″ pipe straps and 3/4″ screws.
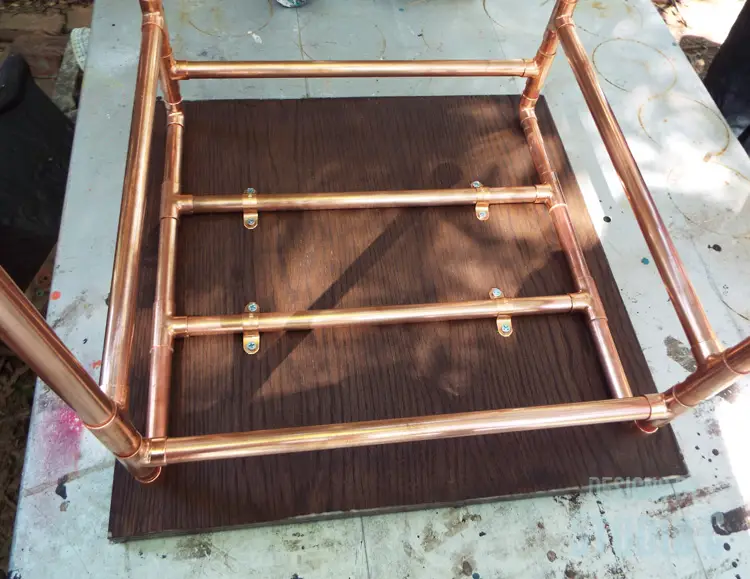
The DIY copper pipe end table with a wood top is relatively inexpensive and easy to build. As an even cheaper alternative, PVC pipe can be used then spray painted in any color desired. The top can be customized, as well! Have any questions about this end table? Leave a comment below!
Originally posted 2016-09-21 08:00:18.

Comments are closed.