
Step Up Your Curb Appeal with a New Mailbox Post!
Generally, we give our homes and our yards a lot of attention. The house gets a new coat of paint, a transformation to the front door, or a fresh look to our shutters. The yard will get mowed, clipped, raked, fertilized, and watered which turns it into a lush, green oasis. But do we ever think about the mailbox and the post that holds it? I’ll be the first to admit that although I’ve painted the mailbox, the post is left looking a bit unattractive. I decided to create plans to build a gorgeous new post for the mailbox. Sure, a new mailbox post can be purchased then sunk into the ground but it is a few bucks cheaper to build your own and customize it to reflect the style of your home!
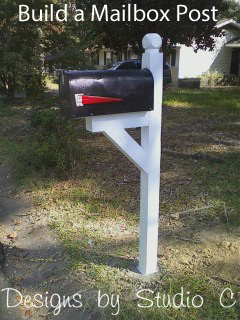
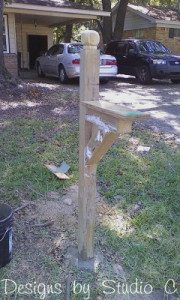
The receptacle for the house had a mailbox and a post that was way worse than mine. I did not take a “before” photo, so I will describe it to you… The box was rusty and had a magnetic covering on it featuring a “deer” scene. The post was a bent pipe that was leaning. In fact, I yanked it out of the ground with my bare hands! It was in very sad shape! Once the post was built, set into the ground, and painted, it made the house look like a million bucks all the way to the curb!
Materials:
- 1 – 4×4 post at 8′ plus a scrap piece at 14″
- 2-1/2″ Weather Resistant pocket hole screws (“Blue Kote”) (<–affiliate link!)
- 1 scrap piece of treated 1×6 the length of the mailbox
- 2″ exterior screws
- Exterior screws to secure the mailbox to the shelf
- 1 treated post finial or cap
- Wood glue rated for exterior use
- Paintable silicone caulk
- Post hole digger (if a new hole is required)
- Bag of quick-setting concrete
- Level
- Exterior paint and brush
Cut List:
- 1 – 4×4 at 79″ – Post
- 1 – 4×4 at 14″ – Post Arm
- 1 – 4×4 at 16-1/16″ – Arm Support
- 1 – 1×6 cut to the length of the underside of the mailbox – Post Arm Shelf
Step One
Start be reviewing the guidelines from the US Postal Service. They have a specific height for the box from the curb to the underside which makes it easier for the carrier to reach it. You can find the guidelines HERE.
Step Two
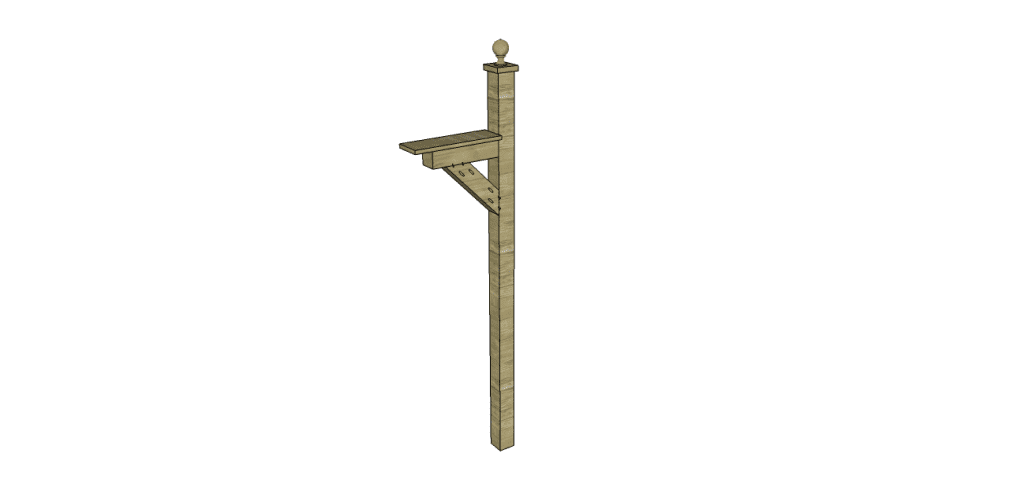
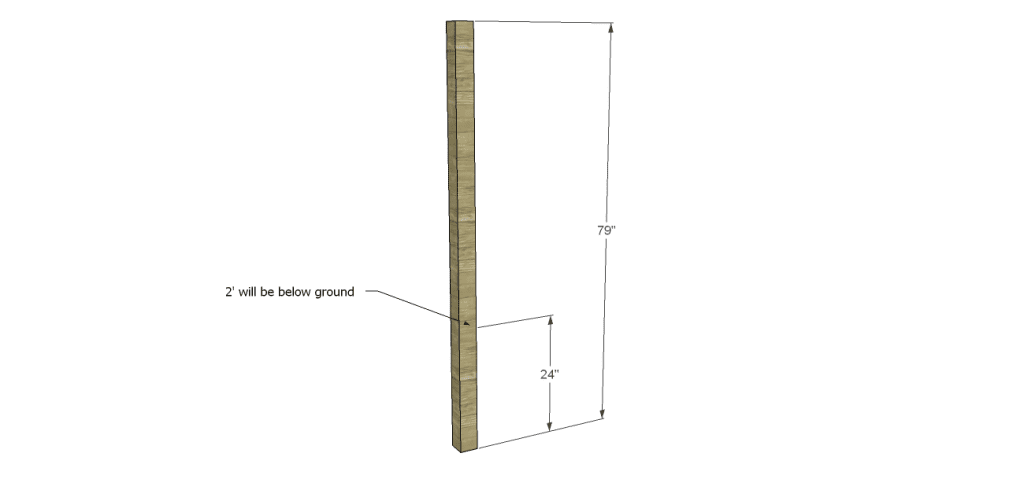
For this plan, the main post will extend up above the mailbox to show off a finial. Cut the main post at 79″ which includes the necessary 2′ that will be cemented into the ground.
Step Three
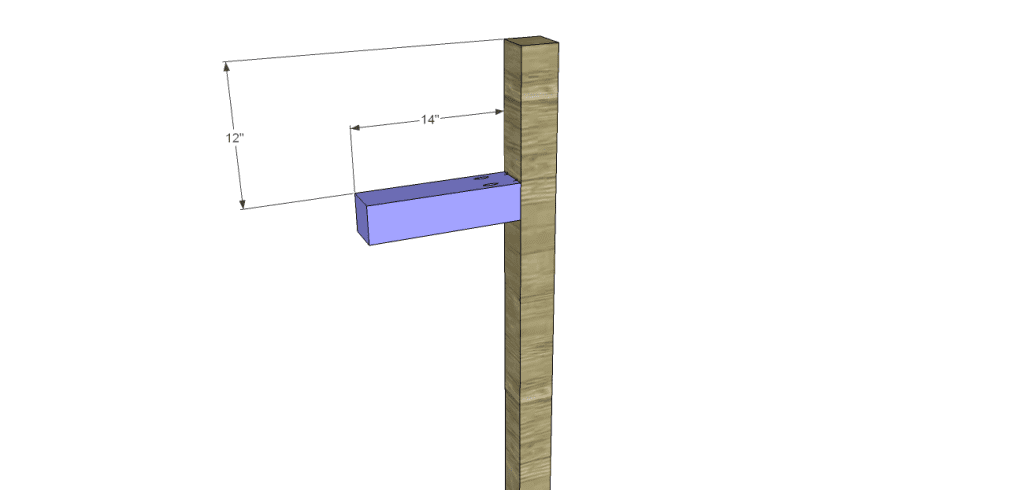
Cut the piece for the post arm. Set the pocket hole jig for 1-1/2″ material and drill two pocket holes on each side of one end of the piece. Secure to the post as shown using glue and 2-1/2″ weather resistant pocket hole screws.
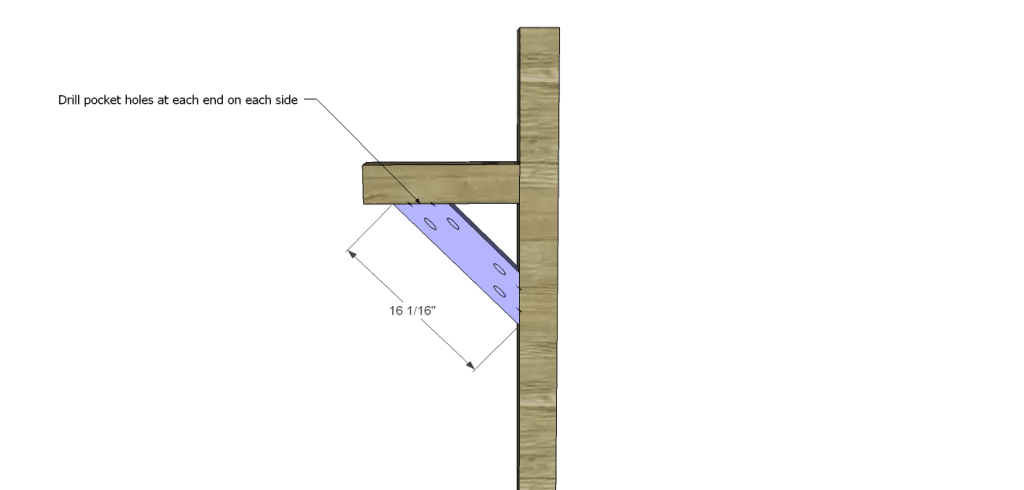
Step Four
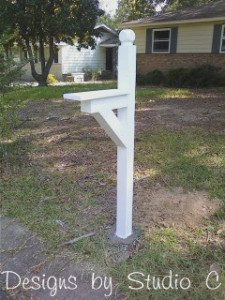
Cut the piece for the arm support. The angles are each cut at 45 degrees. Drill two pocket holes at each end on each side of the piece. Secure as shown using glue and 2-1/2″ weather resistant pocket hole screws.
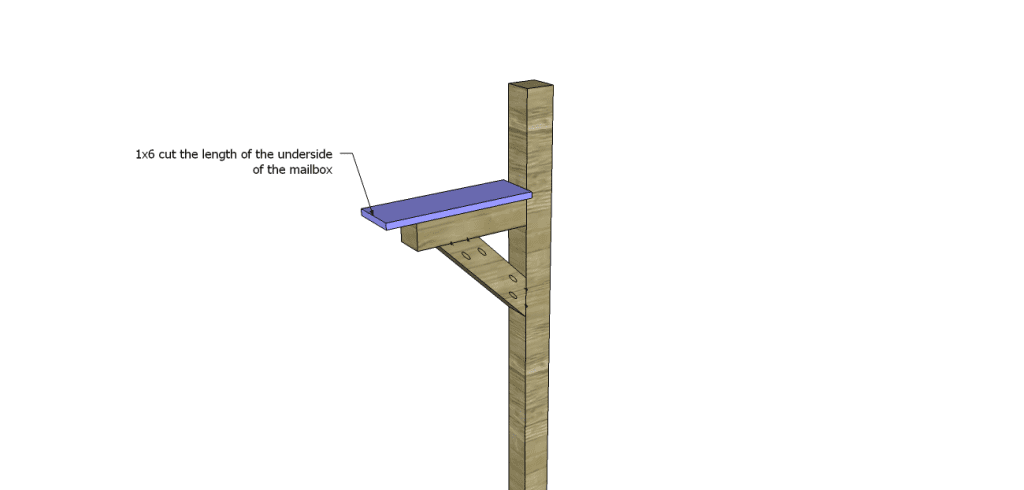
Step Five
Measure the underside of the mailbox and cut the 1×6 piece to fit. Allow enough room for the door to open and close easily. Mount the piece on the arm using glue and 2″ exterior screws. Allow a space at the back of the shelf (at the post) for the mailbox to fit.
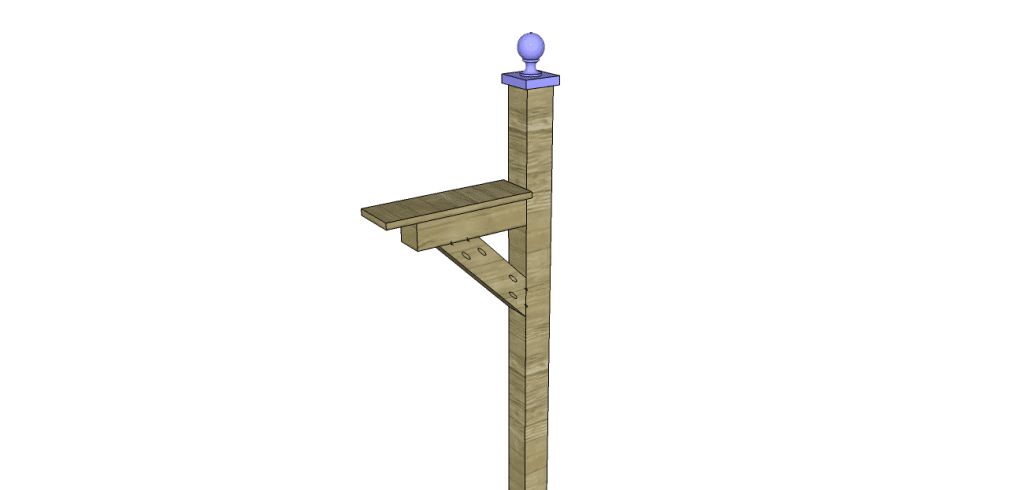
Step Six
Use a drill bit at the same diameter of the screw in the bottom of the finial. Drill a hole about 3/4″ deep in the center of the top of the post, then screw in the finial. Use the paintable silicone caulk to fill the pocket holes.
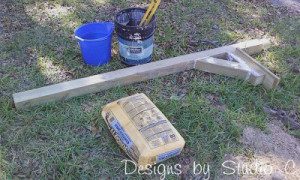
Step Seven
Refer to the US Postal Service guidelines for the required location for the box, and dig a new hole if necessary. The hole should be a little deeper than the required 2′, and (obviously) bigger than the post itself. Mix and add the concrete according to the directions on the bag of quick-setting concrete. Check the post with the level, then let the concrete set.

Step Eight
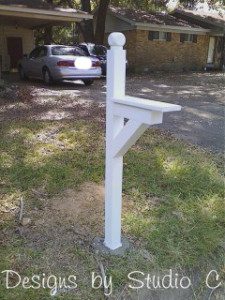
Once the concrete is dry (usually in 24 hours), paint the post using the exterior paint of your choice. We used Valspar Exterior paint in White with a semi-gloss finish.
Step Nine
Position the mailbox on the shelf and secure using exterior screws on the sides into the shelf.
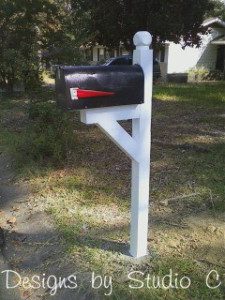
Now that you’ve used your skills to build a new mailbox post, your mailbox will be the nicest on the block! Add a few gorgeous plants or flowers around the base and – voila! – you have just turned the style up to 10! Questions about the mailbox post plans? Leave a comment below!
Originally posted 2013-10-02 08:00:51.


Comments are closed.