
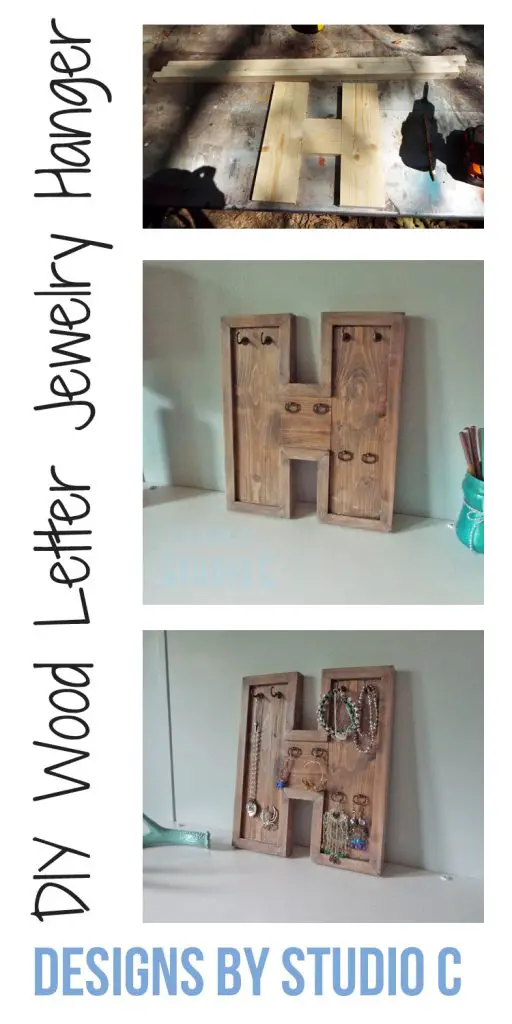
Power Tool Challenge – One Board Project
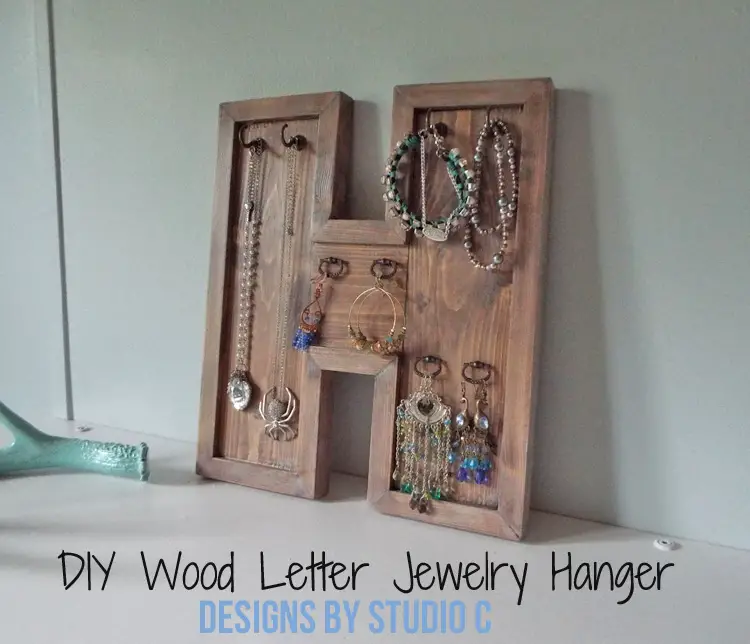
Hey there! It’s that time again for the monthly Power Tool Challenge, and this month’s theme is all about creating a “one board” project. For my entry, I decided to tackle a DIY wood letter jewelry hanger using a 1×4 board. Now, this board isn’t your typical 6′ or 8′ length. Nope, I stumbled upon this gem in the cull bin at The Home Depot, and it’s only 5′ long. But hey, I scored an amazing deal on it!
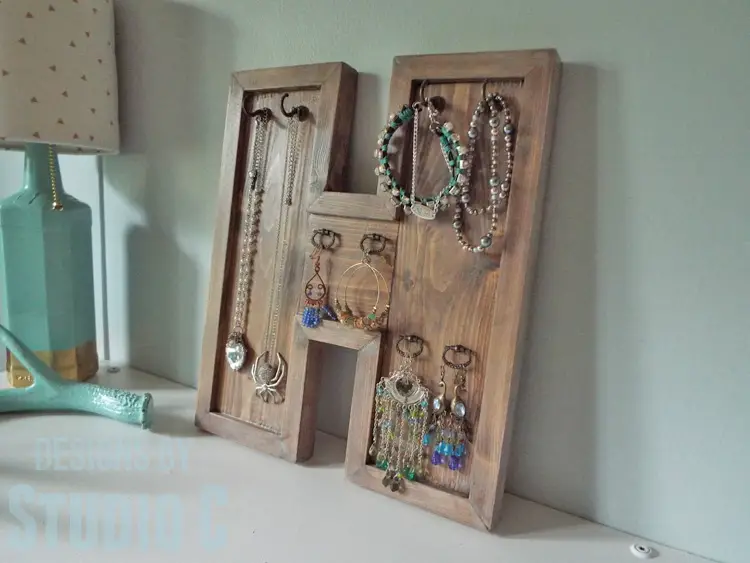
This jewelry hanger is for my daughter, Hannah (or normally known as “The Han”), and matches her style perfectly! My oldest is moving out of the house and Han – excuse me, The Han – gets to do what most other younger siblings look forward to doing… She gets to move into her big brother’s old room. Over the next several weeks, we have plenty of awesome projects planned for her new space!
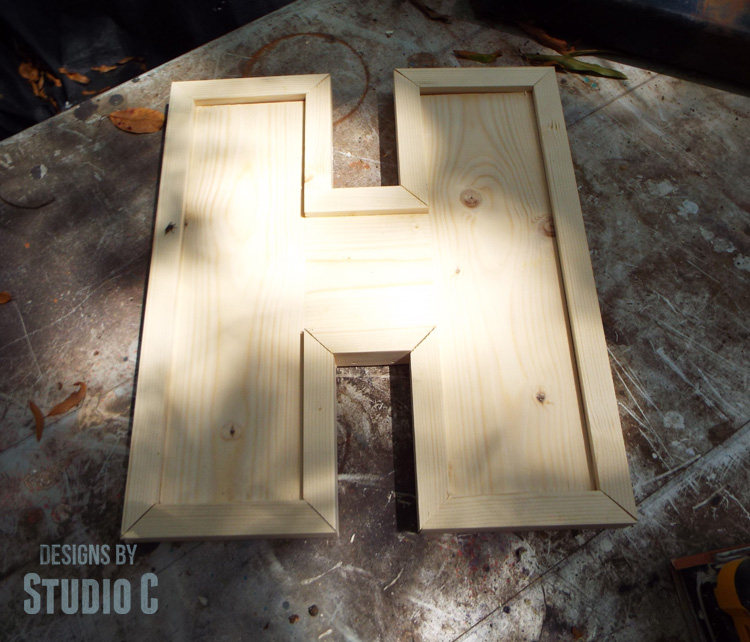
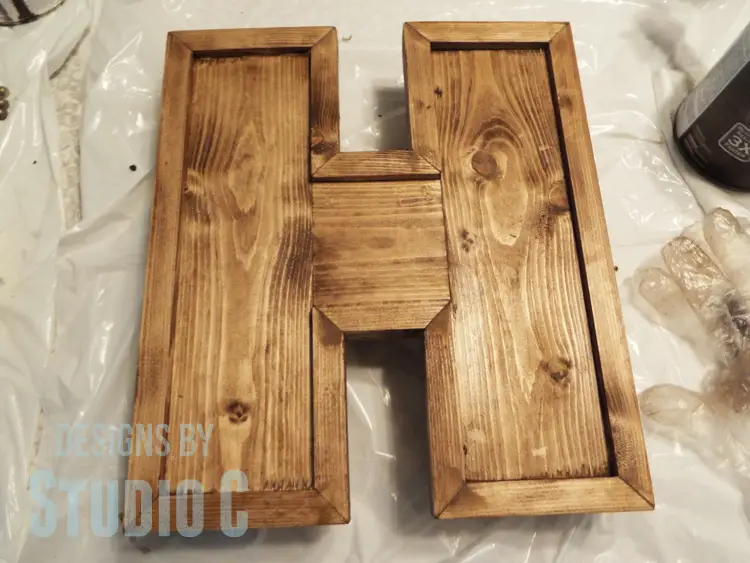
As for this project, it is one of the easiest to make and the concept can be adapted to other letters. The trim around the letters has a 1/4″ profile over the base letter with mitered corners. I secured the trim using a fast-drying wood adhesive, such as DAP® Weldwood Instant Adhesive (<–affiliate link!), in lieu of nails or screws.
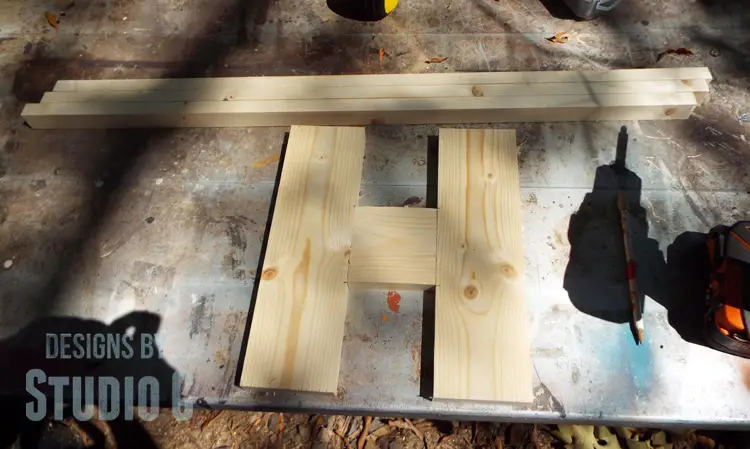
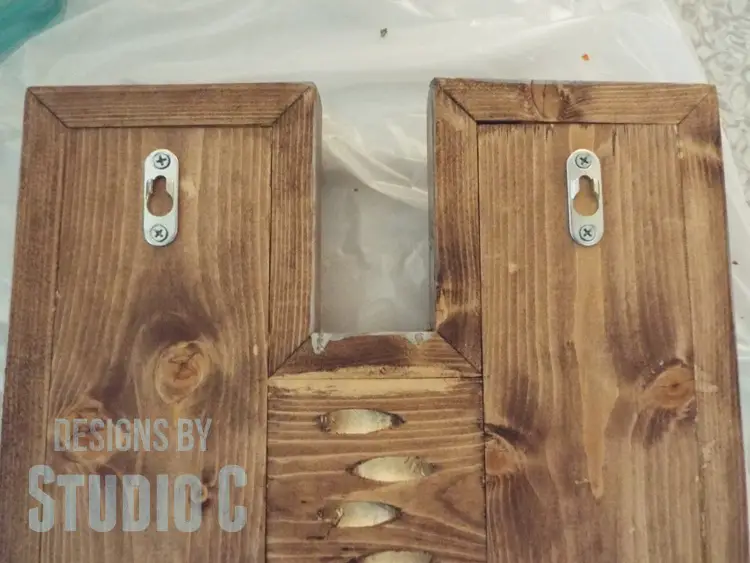
I started by cutting two pieces of the 1×4 at 12″ and one piece at 3-1/2″ long. I drilled pocket holes in the 3-1/2″ piece, staggering the holes so they wouldn’t interfere with each other. I centered the shorter piece on the longer 12″ pieces and secured them using 1-1/4″ pocket hole screws.
I ripped the remaining piece of the board on the table saw into 1″ strips. (Always use common-sense safety practices when using power tools. Be aware and not distracted when cutting boards close to the blade.) I thoroughly sanded all of the pieces prior to cutting.
I cut a 45° miter in one end of the 1″ pieces and started measuring for the trim. I cut the pieces for the outside first, then worked my way around securing the trim pieces with wood adhesive.
For the finish, I applied a coat of stain in Kona, followed by a coat of stain in Sunbleached, then finished with two coats of Triple Thick Polyurethane, all by Varathane.
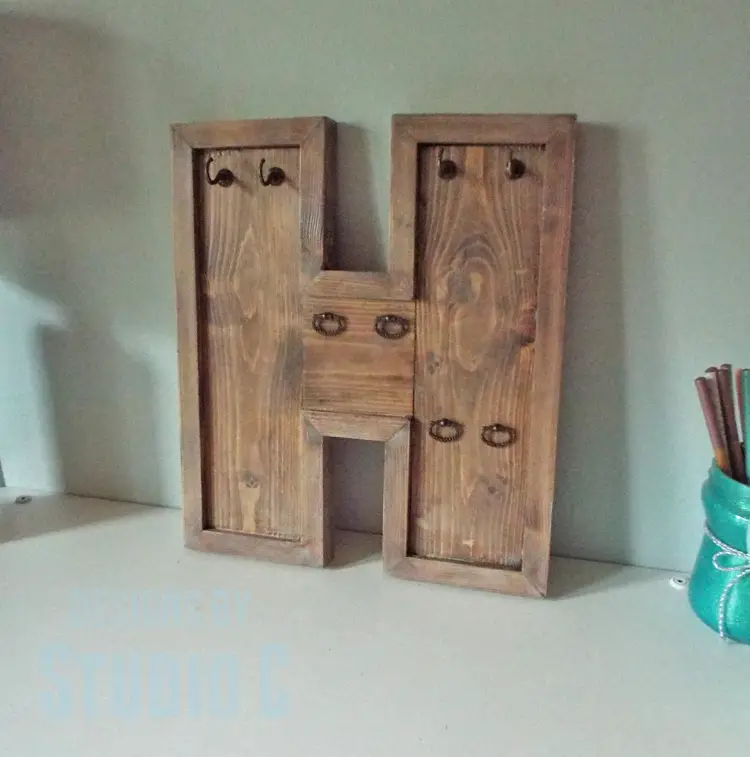
I added a pair of antique brass cup hooks to one “leg” of the letter for hanging necklaces, and another pair of cup hooks with a pair of jewelry box pulls on the other “leg”. I also added two keyhole hangers with screws to the back for hanging.
Take a look at the other awesome one board projects from my fellow blogging friends:
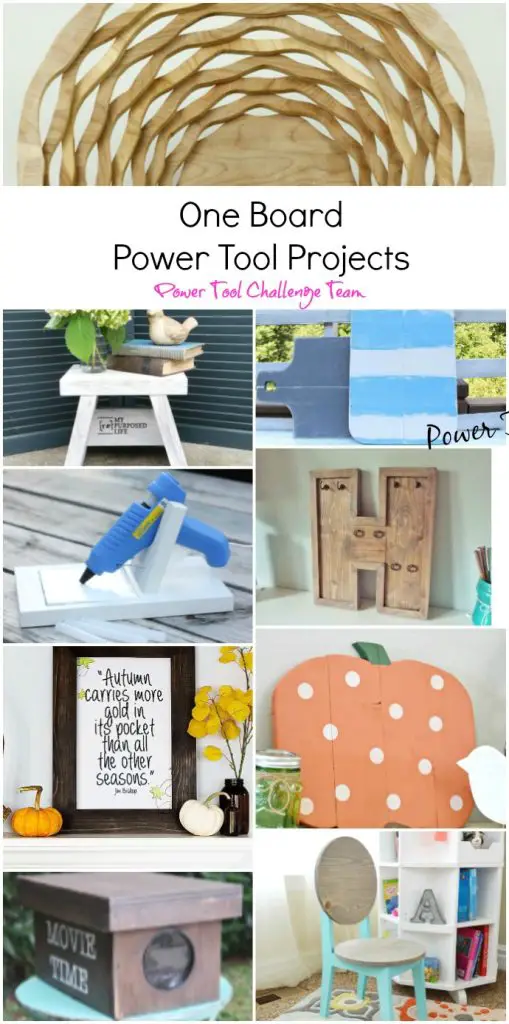
- Scroll Saw Wooden Basket by Kim Six Fix
- Easy DIY Picture Frames by Domestically Speaking,
- DIY Wood Letter Jewelry Hanger by Designs By Studio C
- Circle Back Kids Chair Plans by Her Tool Belt
- Easy Wood Pumpkin Cutout by H2OBungalow
- DIY Pizza Bread Board by Refresh Restyle
- Small Step Stool by My Repurposed Life
- DIY Glue Gun Holder by Virginia Sweet Pea
- DIY Wooden Movie Projector by Thrift Diving
Amazing, as always! Have any questions about how to build a DIY wood letter jewelry hanger? Leave a comment below!


21 Comments
Pingback: DIY Pizza Bread Board | Refresh Restyle
Pingback: DIY Pizza Bread Board | Refresh Restyle
What fun to make a personalized jewelry holder! I have no doubt “The Han” is excited to use it in her new digs:) As always super tutorial and creative project! XO – Wendi@H2OBungalow
Thanks so much, Wendi! She loves it and can’t wait to use it!
Cher,
Yay! what a fun and very useful project! This would work for me, because that’s about all the jewelry I own. 😉
pinning!
gail
Thank you so much, Gail! The Han loves it and can’t wait to put it up… I may have to make the rest of the letters of her name because she has tons of jewelry!
This is such a cute project. It would make a perfect gift!
Thanks so much, DeDe! It would be fun to create all of the letters of the alphabet, right?
Pingback: Easy DIY Picture Frames - Domestically Speaking
Love this – perfect for Christmas!
Yes, it would! That is a great idea!
This is such a cute project for a young lady. You know that when your daughter’s friends see this that they are going to beg you to make one for them. And I don’t blame them!
Thank you so much, Paula!
Pingback: Small Step Stool | easy one board project - My Repurposed Life™
I need one of this! I really need to try that Dap adhesive!
Debbie
The adhesive is really awesome and I love using it! Thank you for stopping by!
I love this idea and I want one for my office to hang pretty things! Something tells me that your daughter’s friends will be asking you to build one for their bedrooms.
Thank you so much, Marie! She really loves it!
Pingback: DIY Furniture Plans to Build a Simple Mirror Frame |
Pingback: Small Step Stool | easy one board project - My Repurposed Life®
Pingback: Creative One Board Projects to Inspire - My Repurposed Life® Rescue Re-imagine Repeat