

A Project Using the New BLACK+DECKER Autosense Drill
Thank you BLACK+DECKER for providing the new Autosense Drill for use in this awesome project!
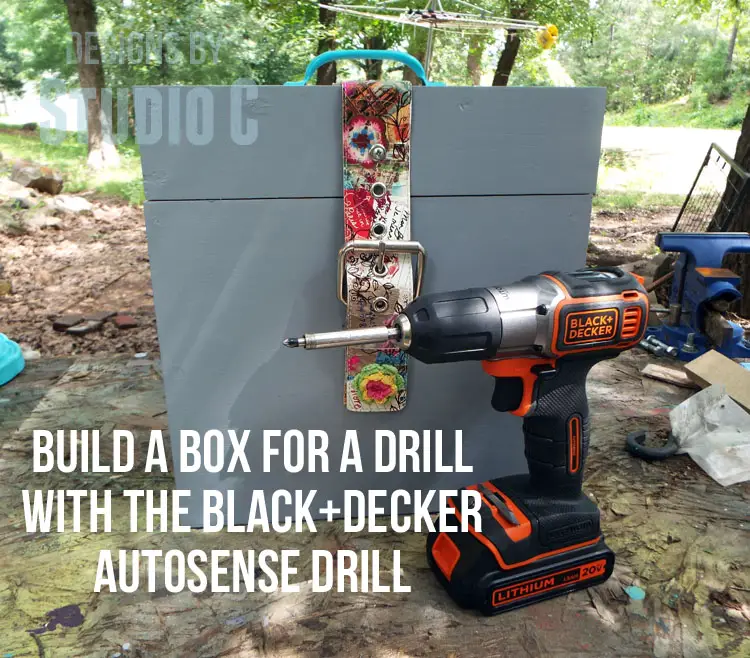
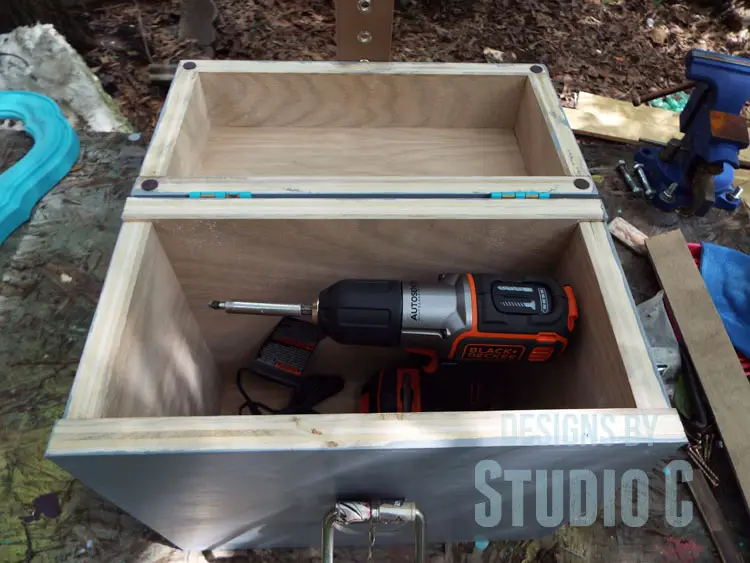
Everyone needs a stellar box to carry their drill around in, right? I mean where else are you going to stash the drill plus bits and the charger so they are in one handy place? Have I got something for you… I am going to show you how to build a box for a drill using the new BLACK+DECKER Autosense Drill! Epic, right?? This super-simple box with a hinged lid will keep everything contained and is such an easy build! This box can be constructed in a couple of hours.
Materials:
- 1-1/4″ screws
- 1 set of hinges
- 1 small barrel bolt
- 1 utility handle
- Wood glue
Lumber:
- 1 – 2′ x 4″ sheet of 3/4″ plywood
Cut List:
- 2 – 3/4″ plywood at 5″ x 9-3/4″ – Box Ends
- 2 – 3/4″ plywood at 9-3/4″ x 12″ – Box Sides
- 2 – 3/4″ plywood at 5″ x 10-1/2″ – Box Top & Bottom
- 2 – 3/4″ plywood at 2-3/4″ x 5″ – Top Ends
- 2 – 3/4″ plywood at 2-3/4″ x 12″ – Top Sides
Let me start off by talking a little bit about the BLACK+DECKER Autosense Drill – the 20v MAX* Lithium Cordless Drill/Driver with Autosense Technology features an automatic clutch to keep from over-tightening (and thus breaking) screws, stripping the screw heads, and from sinking the screws too far into the material. Has any of that happened to you when working on a project? Yeah, me too! Featuring a lighted battery indicator, a light to help illuminate the work area, and two switches to help “drive” or “drill” with ease, the BLACK+DECKER Autosense Drill is sure to become your new favorite tool!
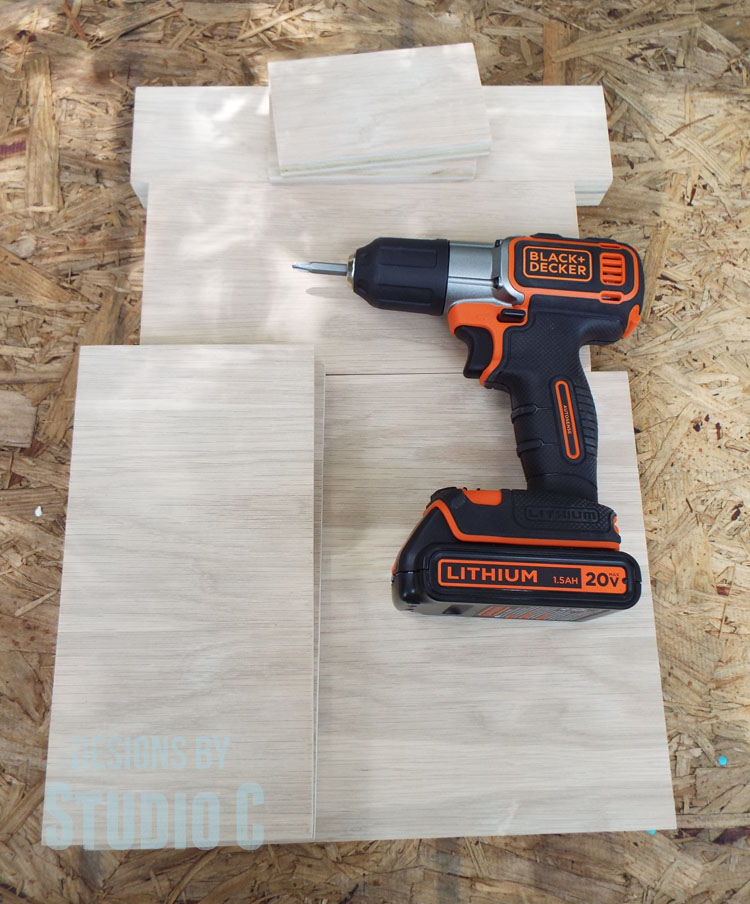
Step One
Cut the pieces for the box. I find it is easier to sand each piece prior to assembly. This gives a nice, smooth finish on the material without having to sand in tight places!
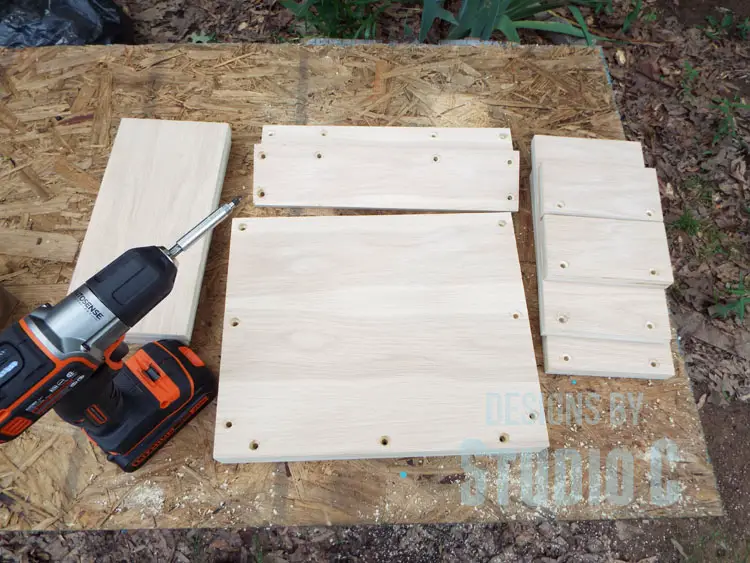
Step Two
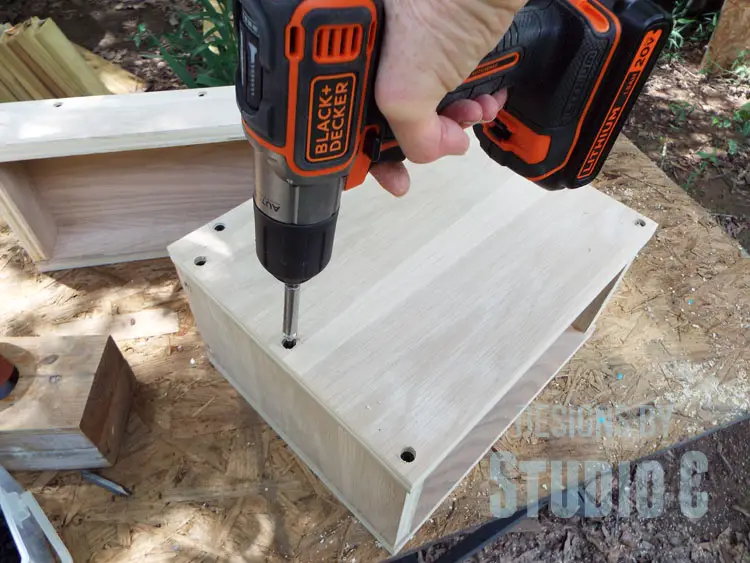
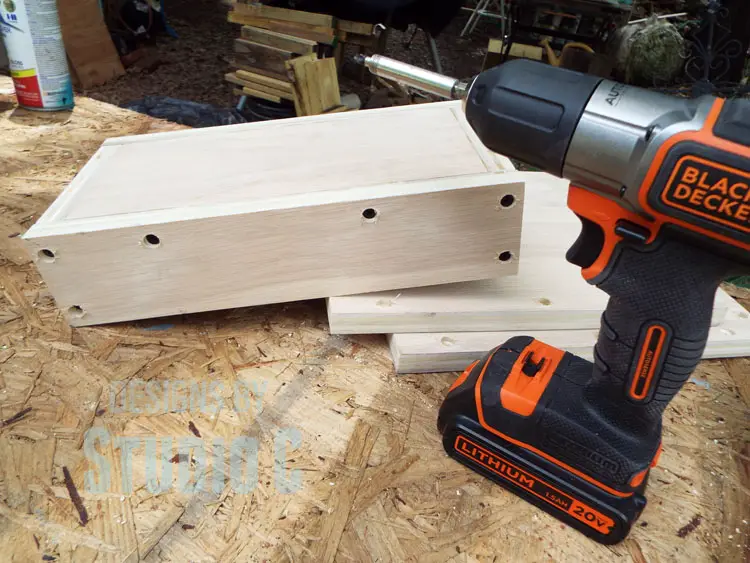
Using a countersink bit and the BLACK+DECKER Autosense Drill, drill a countersunk holes in the lower edge of the end pieces for the top and for the box, as well as the side edges and lower edges of the sides for the top and for the box.
Step Three
Spread a bit of glue on the same edge as the countersunk holes, then attach the end pieces to the top and bottom pieces using 1-1/4″ screws.
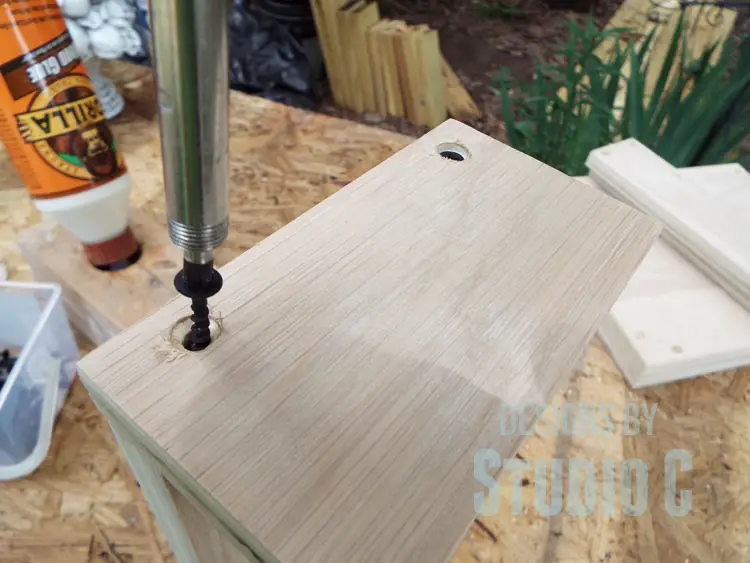
Step Four
Attach the sides to the top and the box using glue and 1-1/4″ screws.
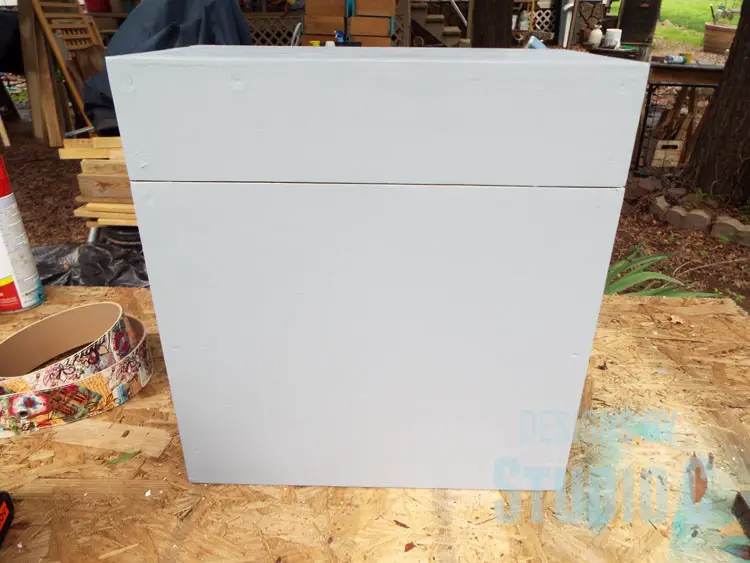
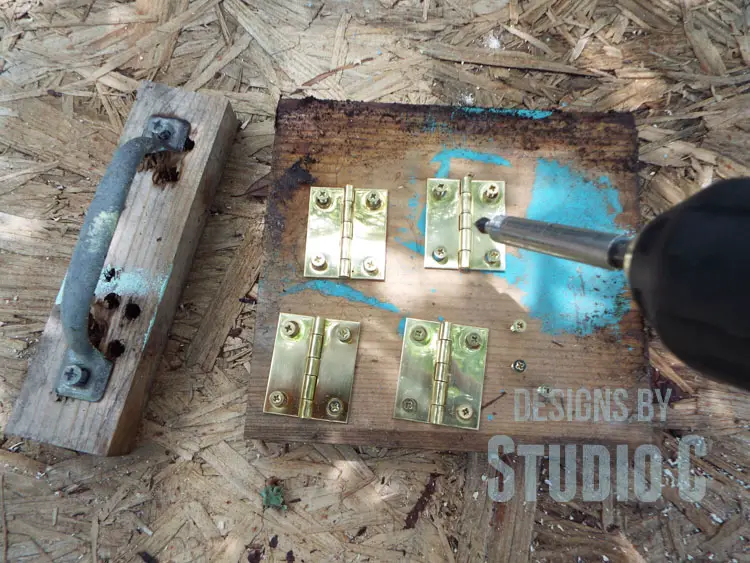
Step Five
Fill the holes and finish the box as desired. I decided to paint mine with a bit of grey chalk paint, then sealed it with a clear sealer. Place the top on the box and mark the position for the hinges. I wanted to paint the hinges and the handle for my box, and I like to secure the hardware to a scrap piece of board so I can paint the screws as well. The BLACK+DECKER Autosense drill was perfect for driving the tiny screws for the hinges into the scrap wood without stripping them out. Secure the hinges in place on the box.
Step Six
I couldn’t find a closure in my stash of hardware (though I know I have one somewhere!) so I used an old belt. I secured the belt to the top and front using screws and washers. Do not pull the belt too tightly because you will need to loosen it to open the box!
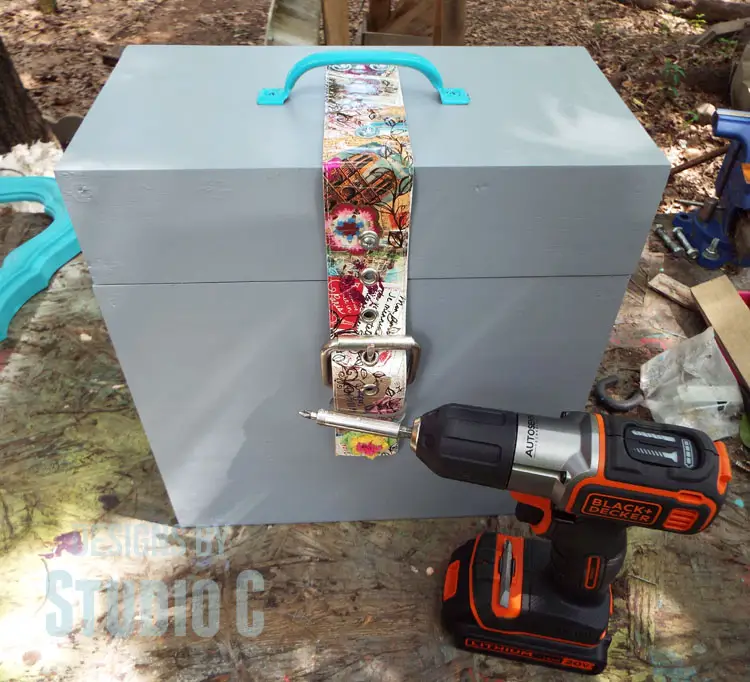
With the BLACK+DECKER Autosense drill, I love how the screws stop right where they need to be without over-torquing them! Have any questions on how to build a box for a drill? Let me know at cher {at} designsbystudioc {dot} com!


11 Comments
Hmmmm….Father’s Day is right around the corner. I think Dad might like this…and then he can build his own box!
I’m getting ready to build a router table stand and workbench.
Hi, Bruce!!
You are the winner of the BLACK+DECKER Autosense Drill!! Hooray! I will send an email directly to you with the details… Congratulations!!
Knowing nothing about drills Cher, but I like the word autosense…and I know someone who could use this!
I love that it doesn’t strip the screws- I’m famous for that in my house! I would build a fort for my son to play with in the yard!
I gotta tell ya…I would love to try and build the box you did. But if not, I would like to build a planter box for the front porch.
zuzu.wilson at yahoo dot com
I’d build a toy shelf for my daughters room! Thanks so much for the opportunity!
pam@overthebigmoon.com
I would use this to create a curtain rod made out of restored wood-saw a really cool DIY post for it on pinterest. Thank you! denisekonkel@gmail.com
I would love to use this to repurpose and old headboard for our bedroom
My daughter needs a new bedroom set and bookcases for her room. Its slowly becoming overwhelmed with books, toys and clothes.
I would build shelves and a storage bench for my mudroom.