From Door to Decor: How to Create a Unique Side Table with an Old Door
In all honesty, this project started out to be a piece of wall art. It would have crystal knobs for hanging and an old door plate as an accent, etc. I had the post written and everything, I just needed to finish the project and add photos. I was showing my dad how I created the piece and he suggested it would be a better table top. I thought that was an excellent idea! Dad is my definite “creative go-to guy”! So it was off the revamp the post and create a table instead of a piece of art (I’ll save that project for later!).
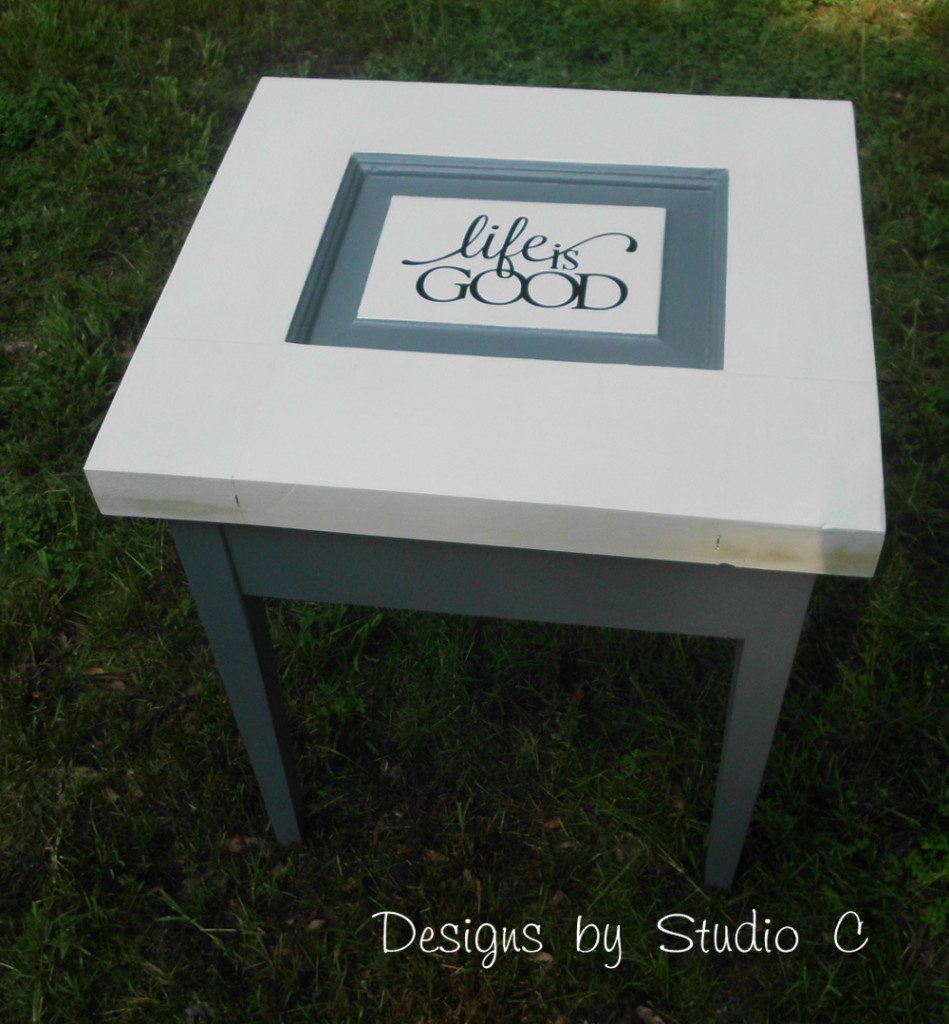
When I created the Old Door Bench, I cut the door down on the table saw so it would be a little more symmetrical (and a little more manageable!). I was left with two perfectly good pieces of the door when inspiration struck – why not combine the two and create one stunning piece? Yahoo!
I forgot to take a photo of the pieces before I assembled them – d’oh! Anyway, I used my Kreg jig and drilled pocket holes in the smaller piece.
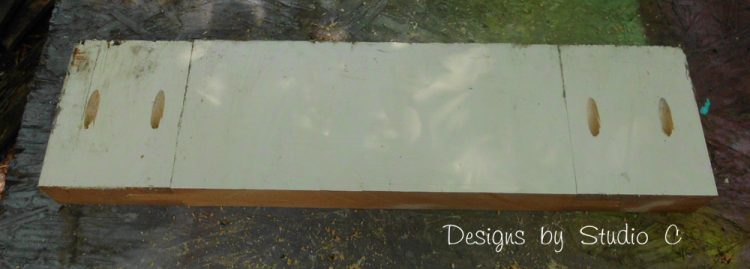
I used face clamps to align the pieces, then secured them together using glue and 2-1/2″ pocket hole screws.
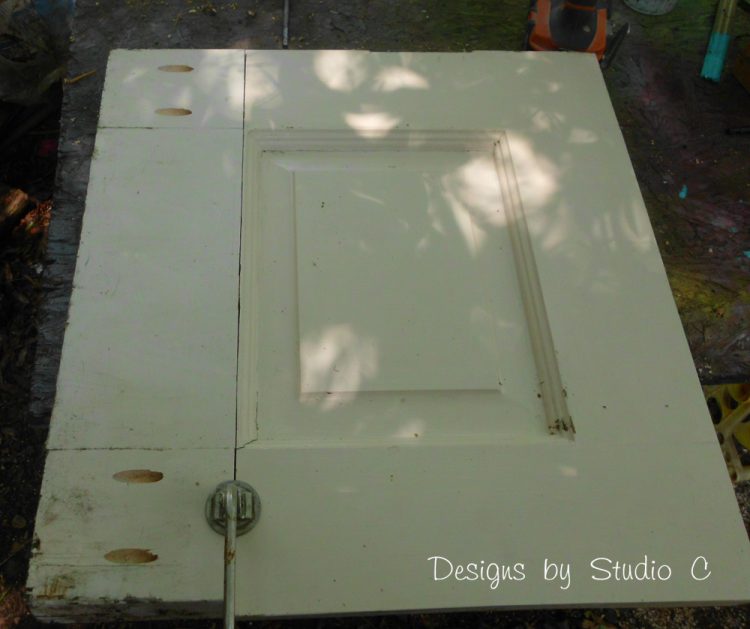
Long ago, when the door was actually used as a “door”, the edges were planed to fit correctly in the opening. Therefore, when I secured the pieces together, they didn’t quit match on the side edges. I straightened them up on the table saw which worked perfectly. I definitely suggest having a helper when cleaning up a piece like this on the table saw. Things have a way of getting really tricky really fast!
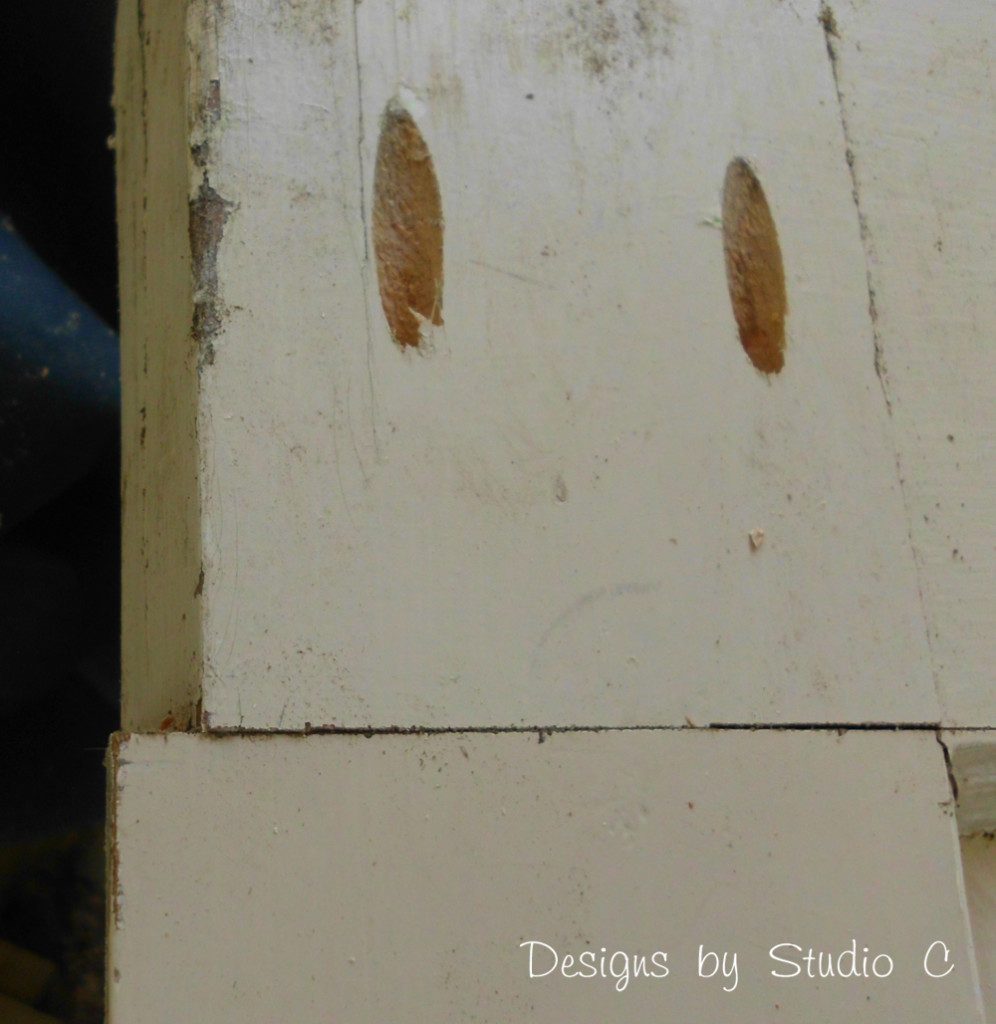
I gave the piece a thorough sanding using 100 grit, 150, grit, then 220 grit. Since it was a very humid day and the glue wasn’t drying, I clamped it so that the pieces would be fully secured to each other. I used Dry Dex to fill the line where the pieces joined, as well as to fill the pocket holes.
Once the Dry Dex was dry, I sanded the piece again using 320 grit then painted it using Behr Premium Plus in Delicate Lace.
I had some tapered 2×2 table legs laying around so I created a base with birch plywood aprons for the table. See this post on How to Use a Tapering Jig on the Table Saw to create your own table legs. It is really easy, I swear! I painted the base in Valspar’s Almost Charcoal. I attached the base to the top from the underside.
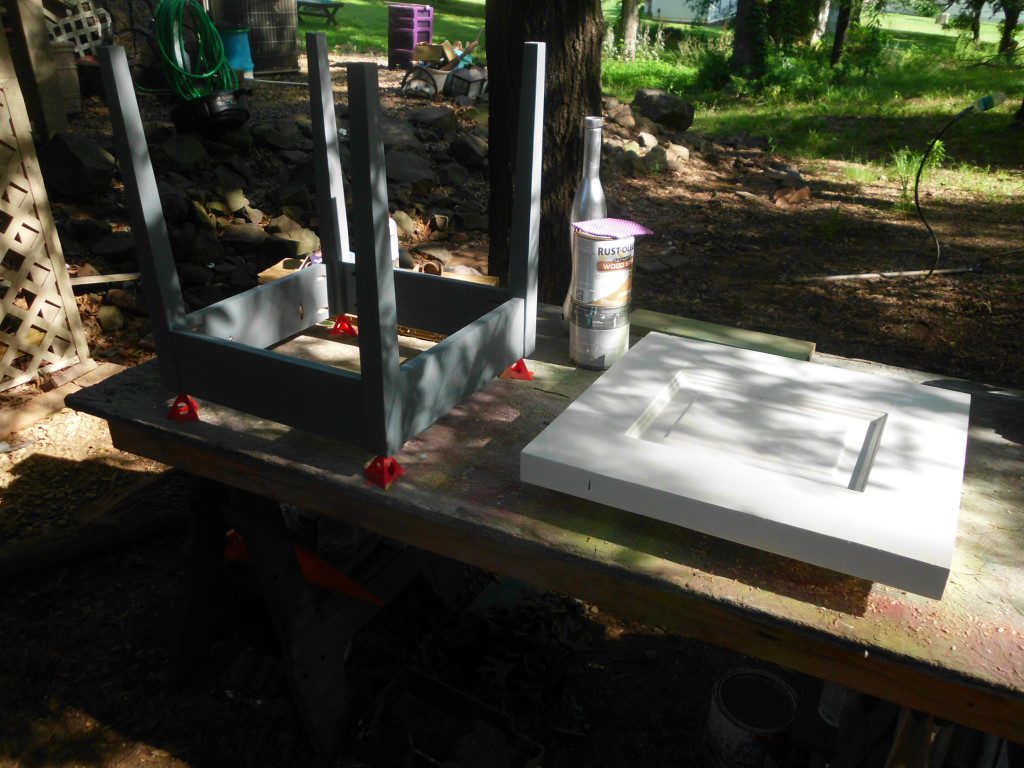
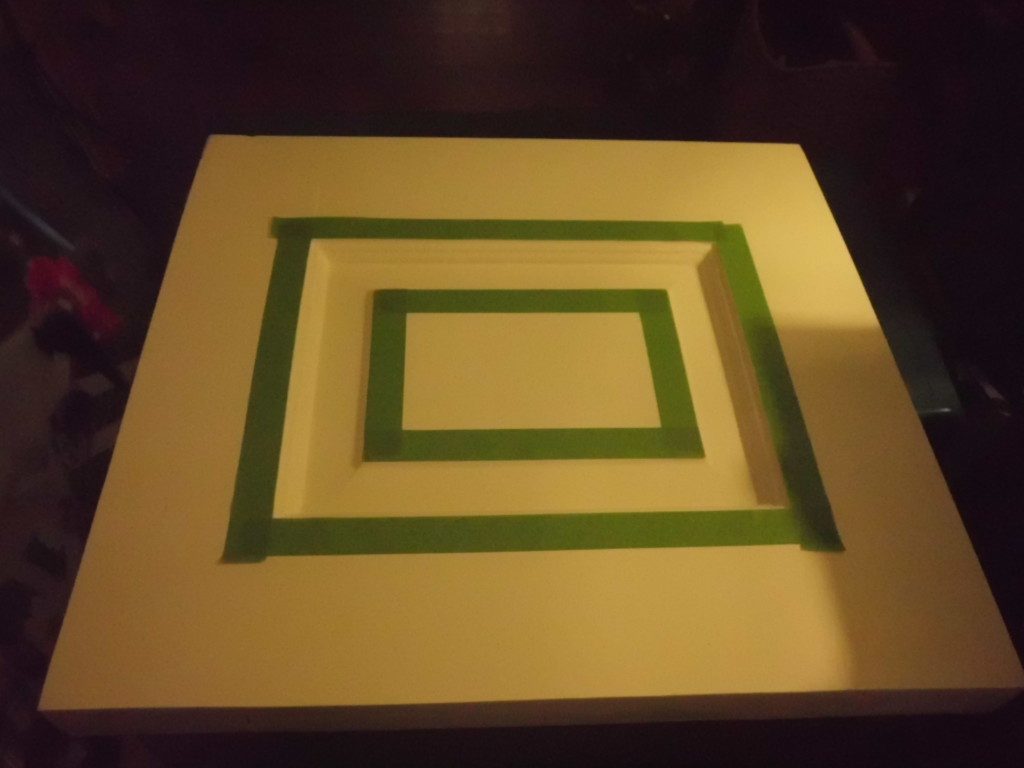
I taped off the center panel on the top and painted it Almost Charcoal. I sealed the entire table using Rust-Oleum’s Ultimate Polyurethane in Satin.
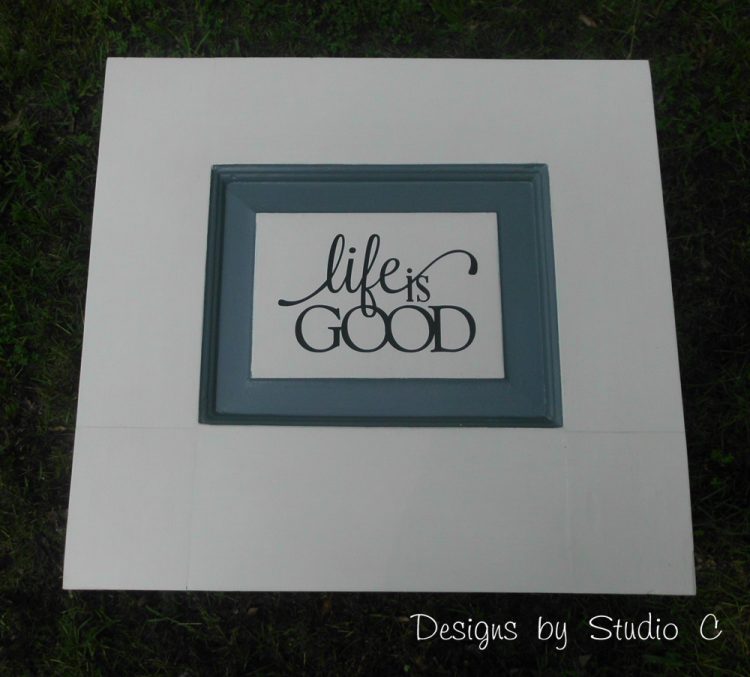
I used my Silhouette Cameo to cut a phrase in vinyl for the center panel. (Any phrase or vinyl decal purchased at a craft or hobby store will work!)
I even left the holes in the side where the hinge used to be…
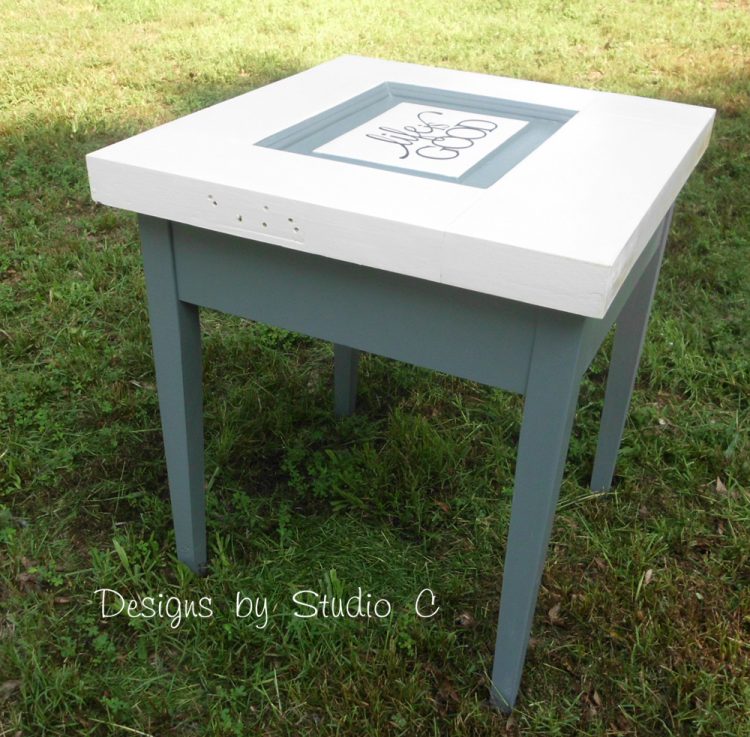
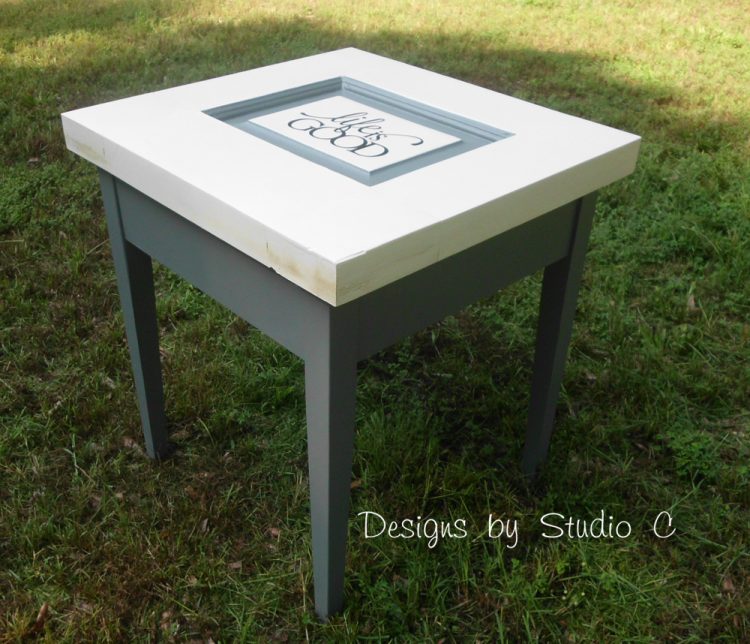
I think Dad had a great idea! What do you think? Have questions about how to make a side table using parts from an old door? Leave a comment below!
Sharing with:
House on the Way, Rain on a Tin Roof, Fluster Buster’s Creative Muster, I Gotta Create, Real Family Fun with the Coake Family, My Romantic Home, Thirty Handmade Days, Dukes and Duchesses, Funky Junk Interiors, Life on Lakeshore Drive, Natasha in Oz,
Originally posted 2013-07-02 08:00:44.


15 Comments
This is so gorgeous! I love it!
Thank you so much, Angela! I really love the way it came out… I had a few moments where I wasn’t too sure about it! Thank you for stopping by!
This turned out great! I love repurposing things like this.
Thank you so much, Kristen! I really like being able to use all parts of something I am using in a project, does that make sense? Sometimes it works and sometimes it doesn’t but luckily, this did! Thanks for stopping by!
Awesome!! The tables look great 🙂 Winter greetings from Australia♥ ~Pernilla
Thank you very much, Pernilla! I appreciate it! Have a wonderful winter and thanks for stopping by!!
Thank you so much, Tammy! I will head over now!!
What a great project! Thanks so much for sharing at last week’s All My Bloggy Friends! I can’t wait to see what you share this week!
Thank you very much! It was such a fun project and I almost hate to part with it but I have no room! I have something special up my sleeve for this week! Thanks again!
I love that you’re making something so useful and pretty out of scrap! Great project! It will be a feature project at the Rock N Share tomorrow. Blessings, D@TheShadyPorch
Oh, wow, thank you so much! I really appreciate that!
Thank you for sharing this beautiful repurpose at All Things Pretty! I loved it and chose it as one of the features.
Thank you so much, Kathy! I really appreciate it!
Oh, wow, thank you Tammy!! How awesome!! I cannot wait to share again!
Pingback: Project Ideas for Doors | Designs by Studio C