A Quick and Easy Weekend Project
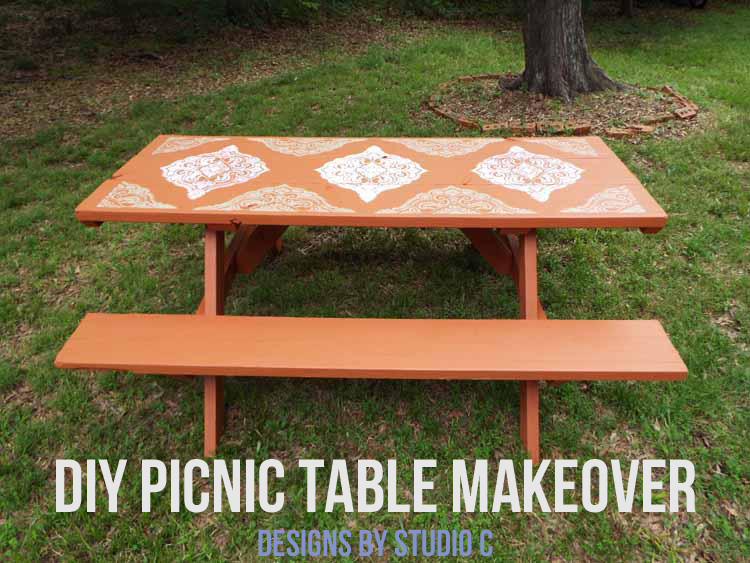
I have had my picnic table for over 10 years and it was starting to show its age. Structurally, it was fine with no loose boards or rotting wood. It was the overall aesthetics of the wood itself – that poor table looked rough! I’m sharing the details on my DIY picnic table makeover and how I made the table fabulous again!
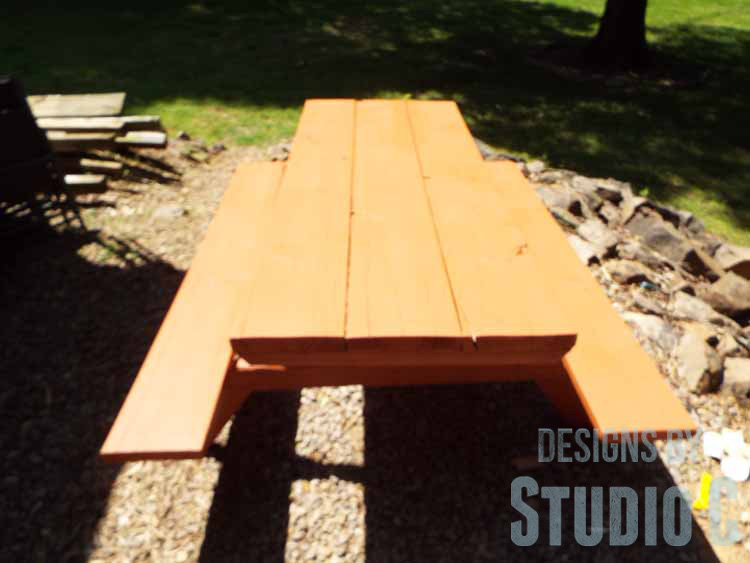
I started by sanding the top and the top of the seats with a belt sander fitted with an 80 grit belt. I followed up with a good scrubbing and a bit of bleach. I let the table dry for a couple of days. I didn’t take a “before” photograph because I was anxious to get this show on the road!
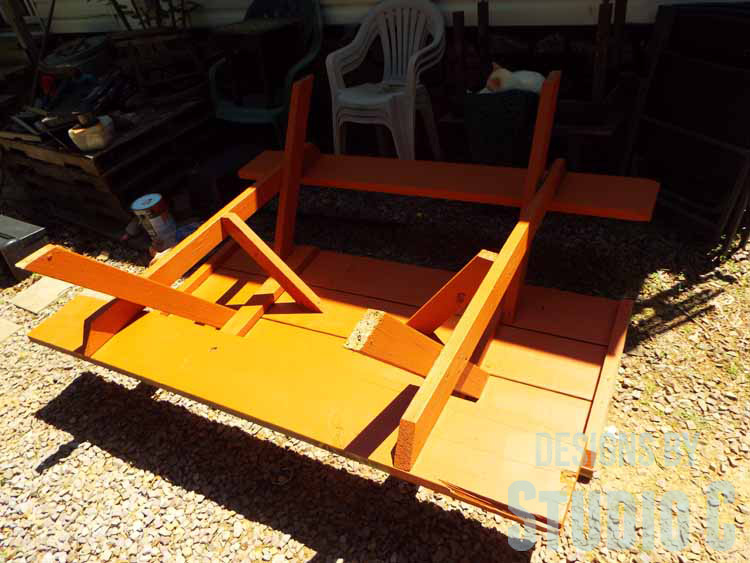
Once the table was dry, I started staining it. I used a solid exterior stain (Behr brand) in a color named Royal Hayden which is an orangey-clay color chosen by my son. Great choice, right? I stained the underside first (with two coats) then flipped it back over and applied two coats to the upper side.
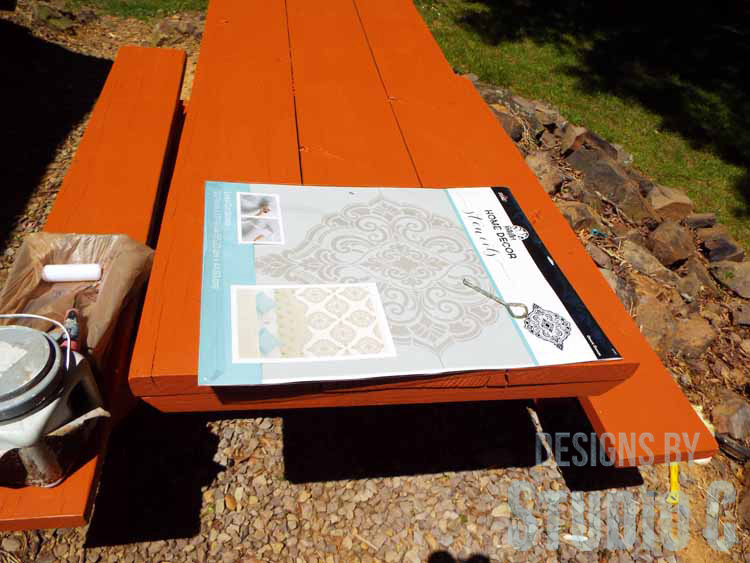
I felt that the top needed something extra so I used a large wall stencil and two contrasting colors of exterior paint (also by Behr) to create a beautiful pattern on it. I applied the exterior paint over the stencil with a sponge roller and taped off different areas of the stencil to create the pattern.
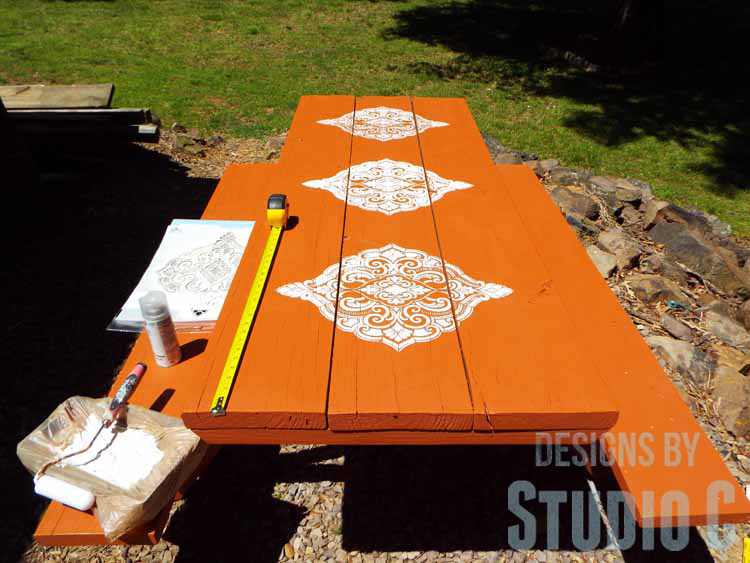
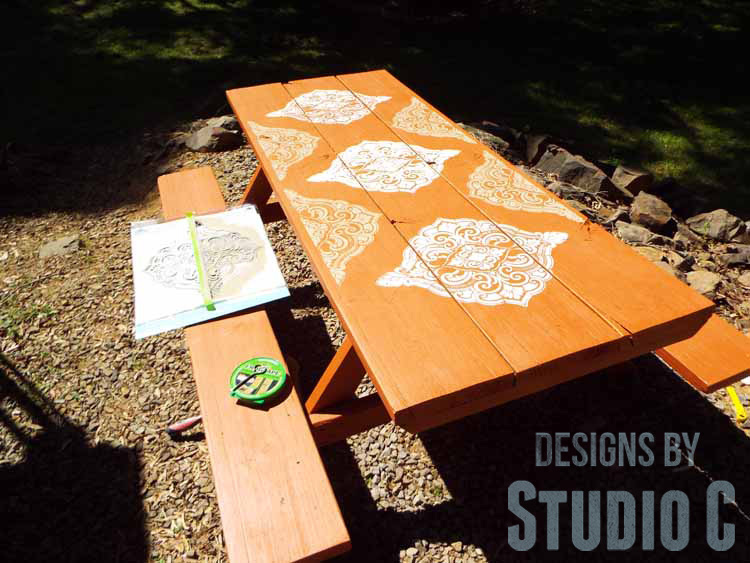
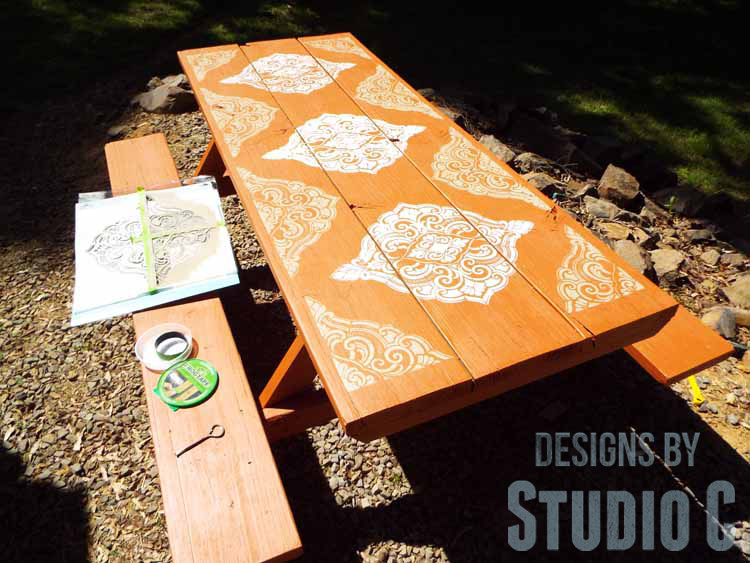
I love the table and I think it looks so much better! The color contrasts beautifully with my bright turquoise back door and the other colorful accents in my back yard!
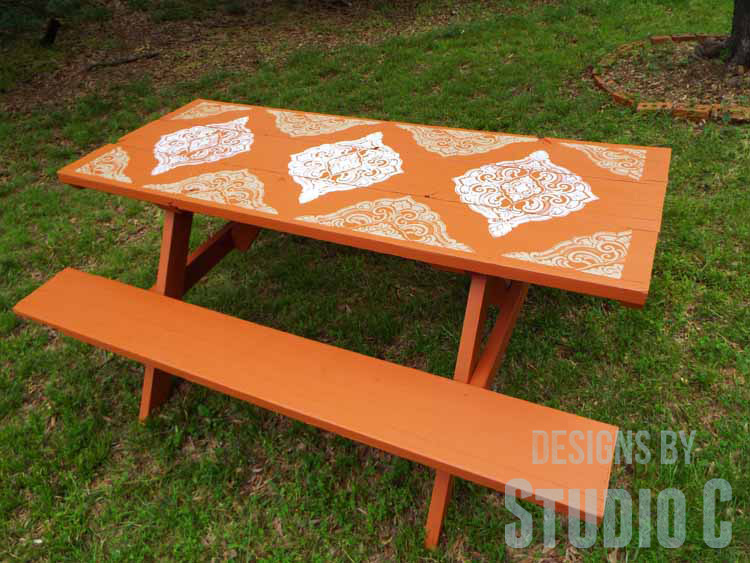
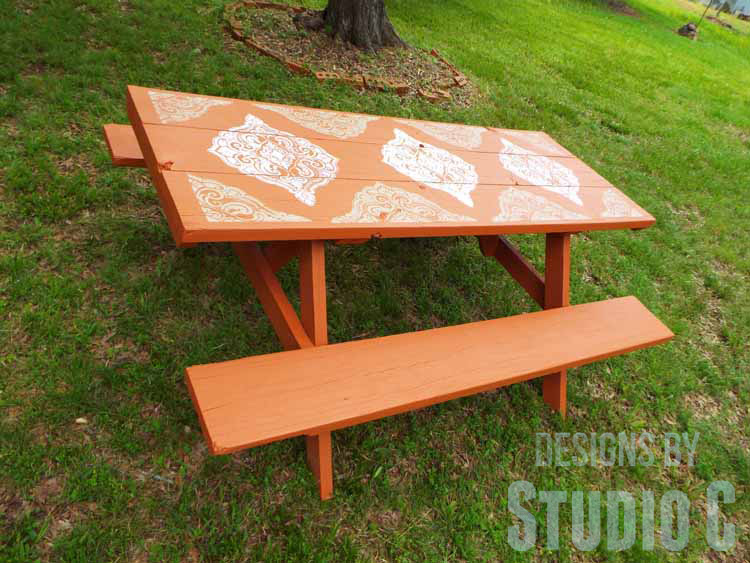
Dinner outside (or roasting marshmallows by the fire pit) will be so much more fun, now… Have you ever completed a DIY picnic table makeover? What did you do to fix your picnic table up? Leave a comment below!
Originally posted 2016-05-14 08:40:43.



1 Comment
Pingback: Build a Stenciled Concrete Top Table | Designs by Studio C