Another Fabulous Upholstery Project
Here is another upholstery “collaboration” with The Design Confidential, this time upholstering the PB Teen Inspired Suite Chair. I had a little help from The Han with this one, especially since this chair is for her room. We are transitioning into a “teen” room to reflect her style!
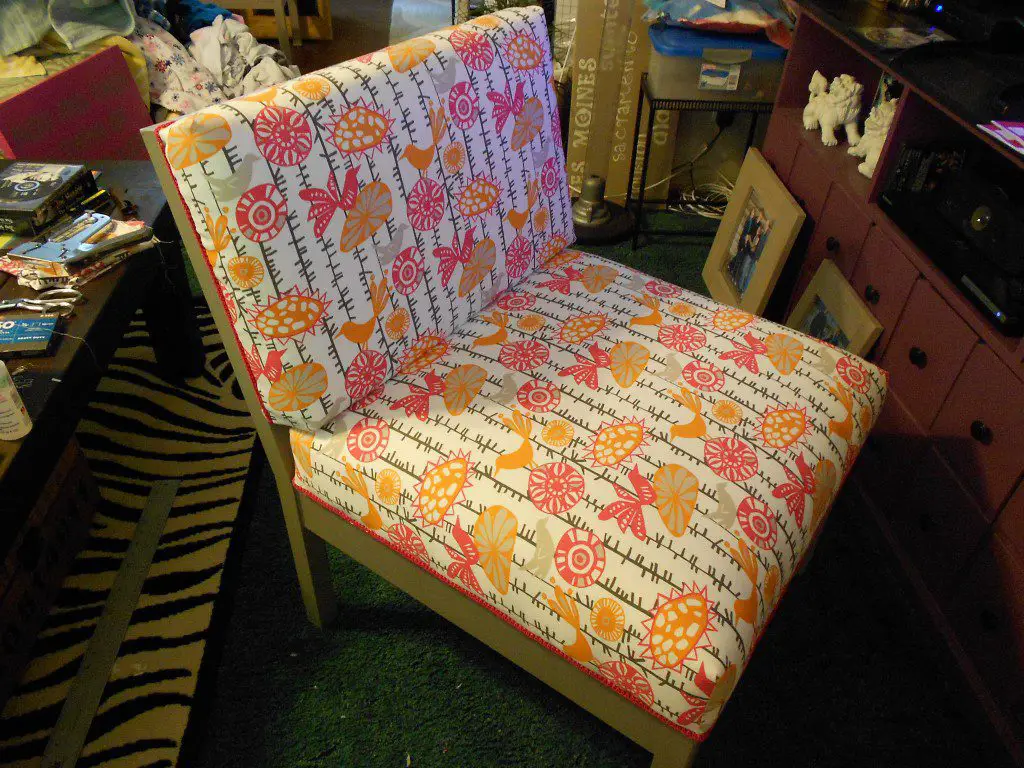
The fabrics we chose for this chair are by Premier Prints – Menagerie and Polka. The paint is Martha Stewart Living in Mushroom, eggshell low-lustre finish (a $5.00 score from the mistake rack – yay!)
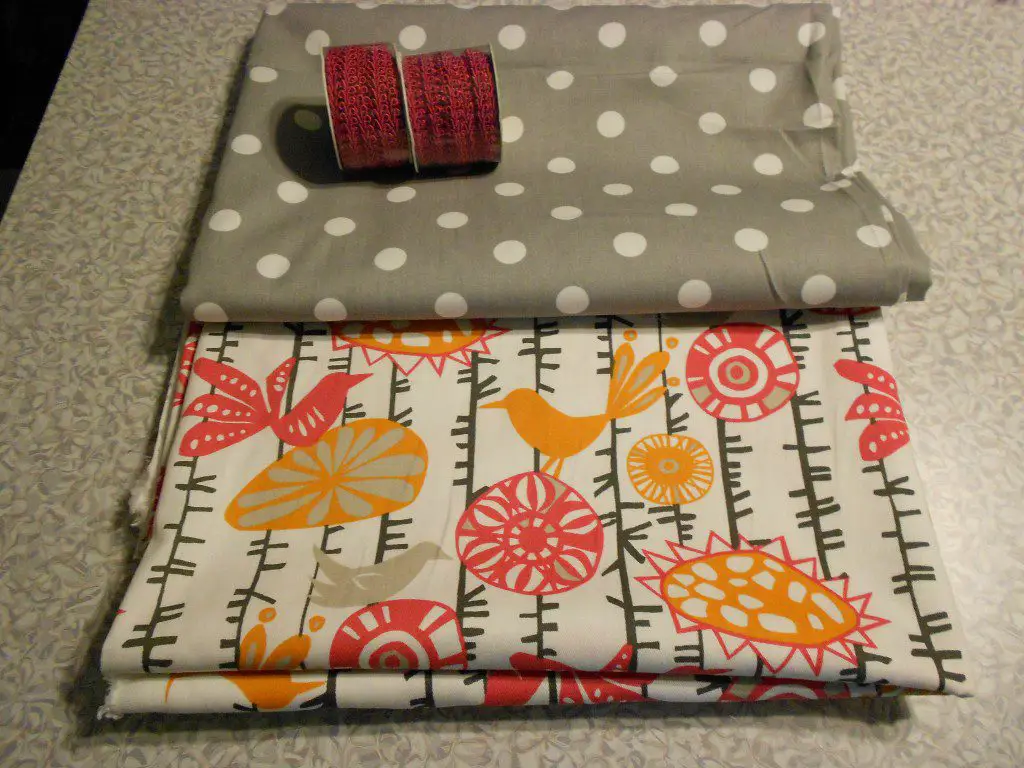
There are several options for covering the back of the chair… One fabric could be used throughout, or wallpaper, or scrapbooking paper, etc. The Sunday Comics would be awesome, too! These chairs would be a great addition to a home office, family room, or in a teen’s room like mine!
Materials:
-
-
- Plans and lumber for the chair (PB Teen Inspired Suite chair plans )
- 2 yds. drapery or upholstery fabric
- 4″ foam for seat
- 2″ foam for back
- Upholstery batting
- Spray adhesive
- Staple gun (<– affiliate link!)
- Fancy trim
- Hot glue gun, or Fabri-Tac
-
Let’s get started!
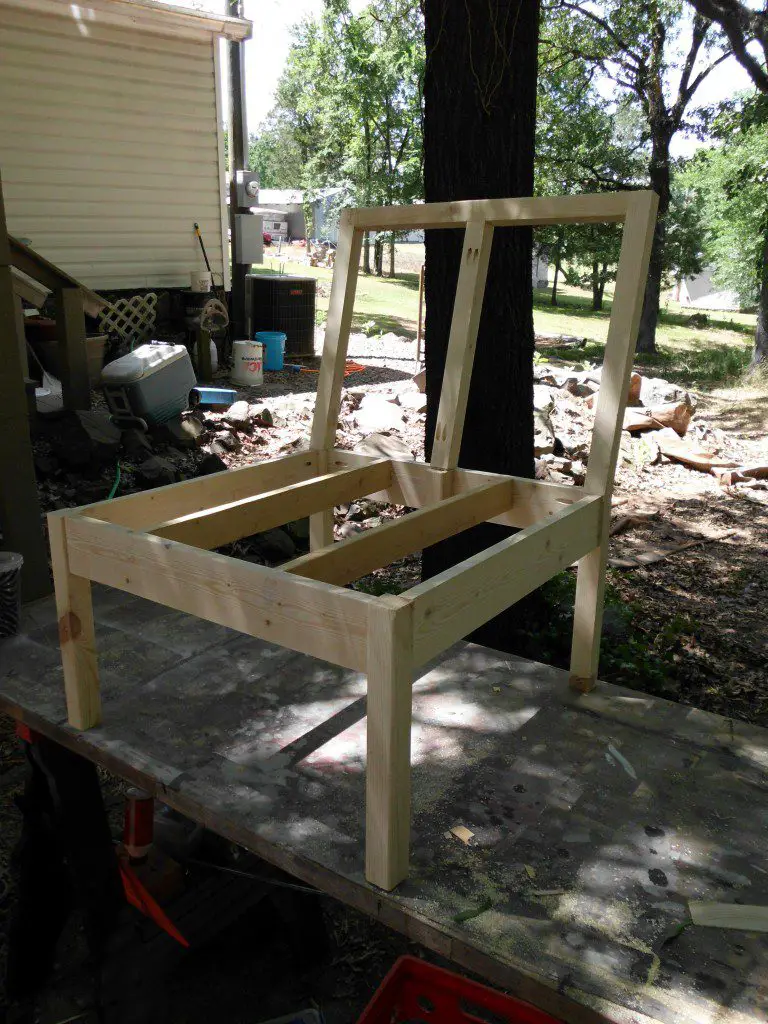
The chair should be almost completely constructed to this point with the exception of the back. (I took the picture before I had the seat on!)
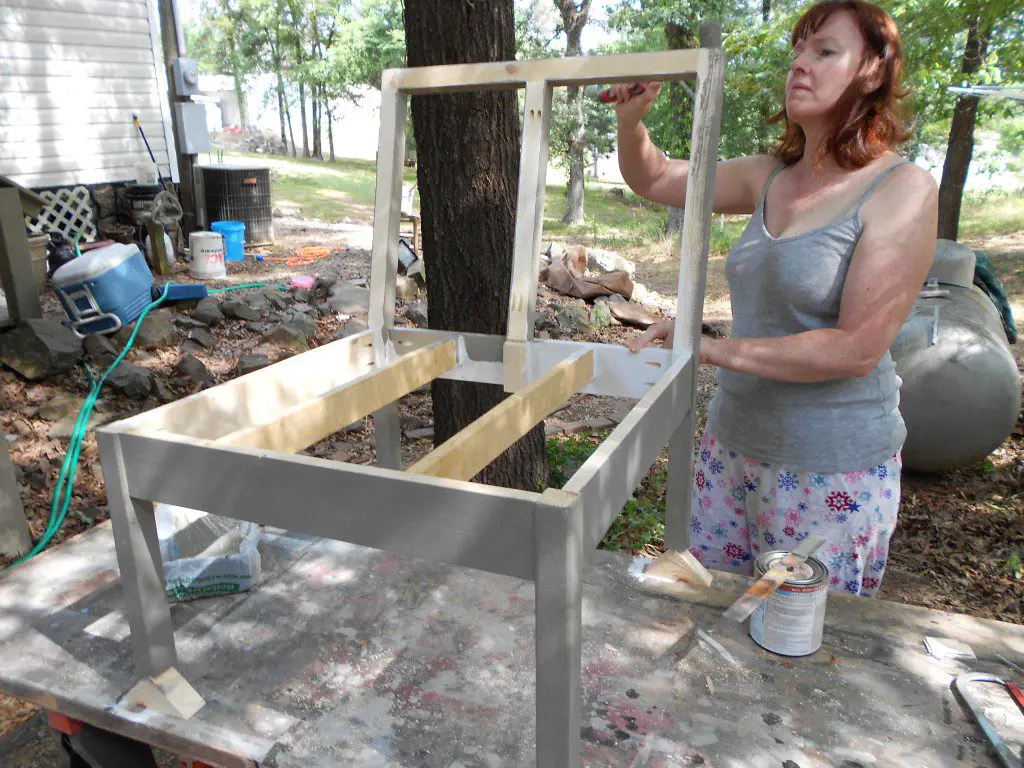
Prime and paint, or stain as desired. (Yes, occasionally I “create” in my PJs!)
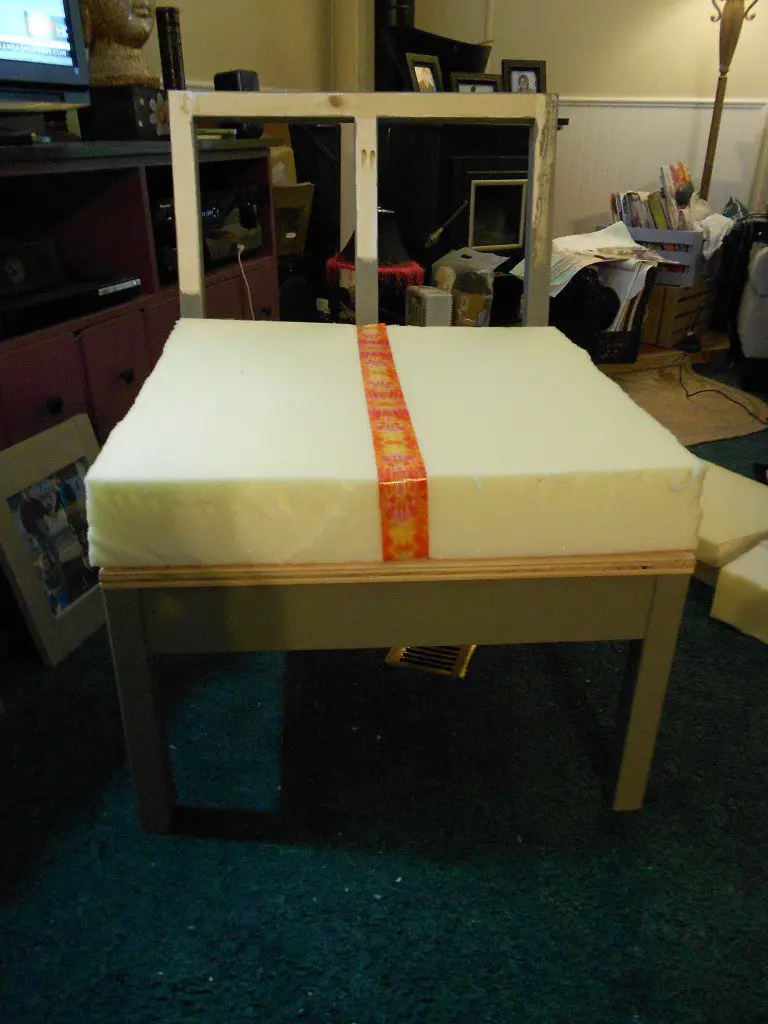
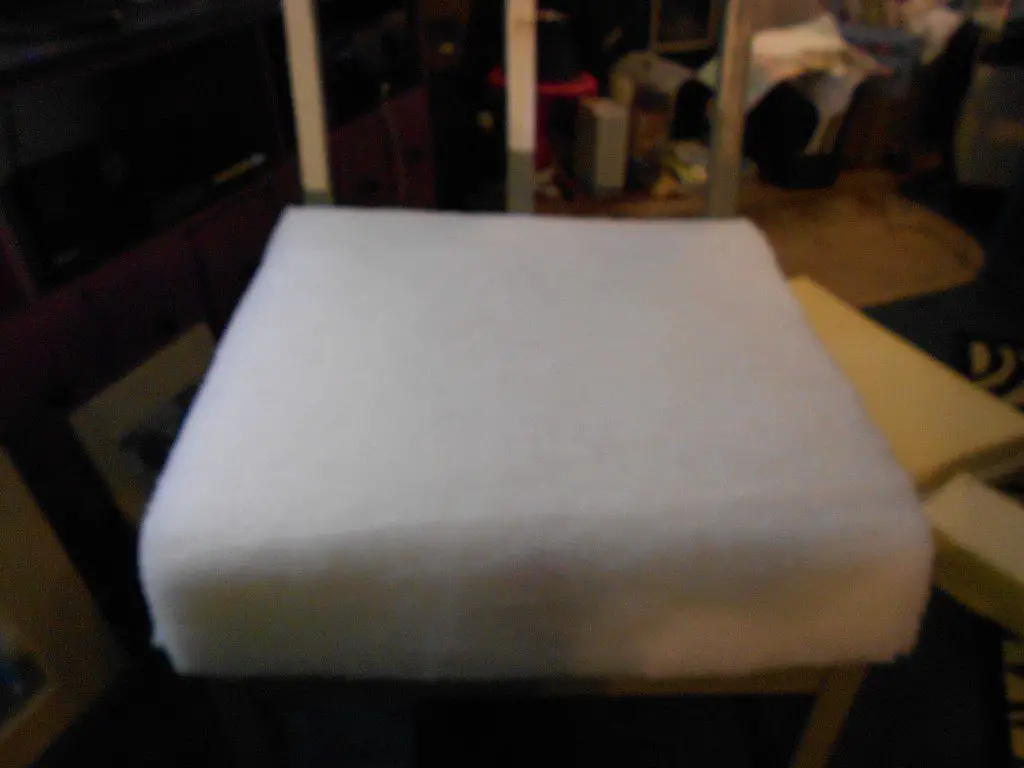
Cut a piece of 4″ foam for the seat. Spray the seat with adhesive and position in place. I was trying to use up scraps of foam I have been accumulating so I used duct tape to piece them together. Cut upholstery batting to fit over the top and sides of the foam.
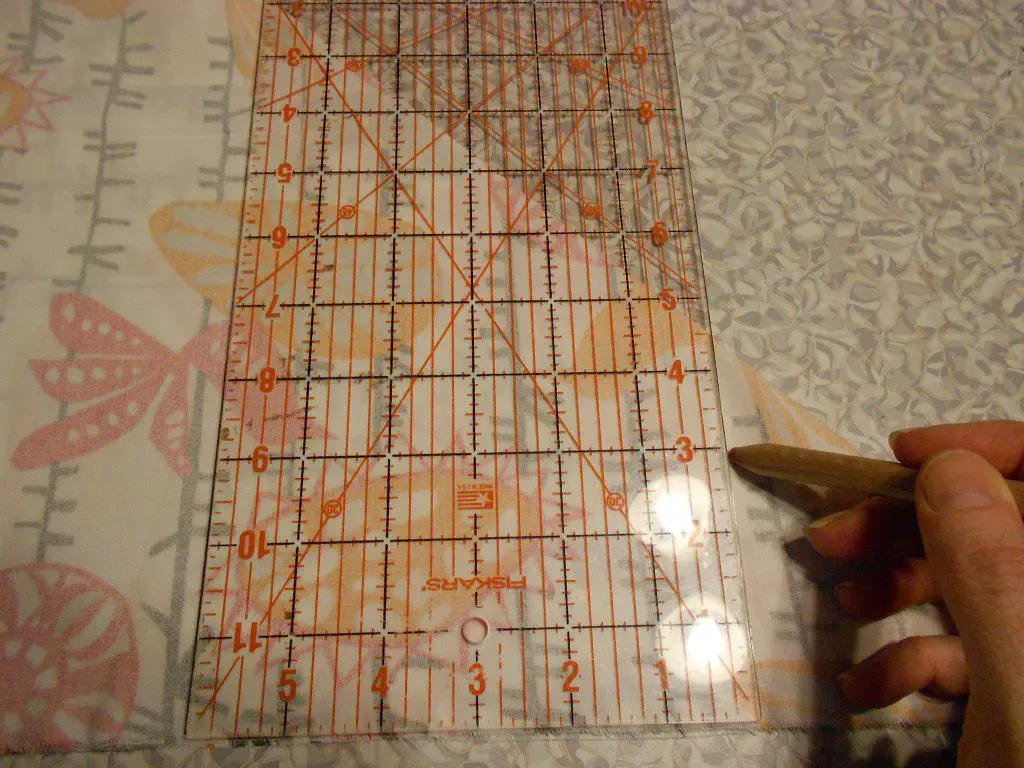
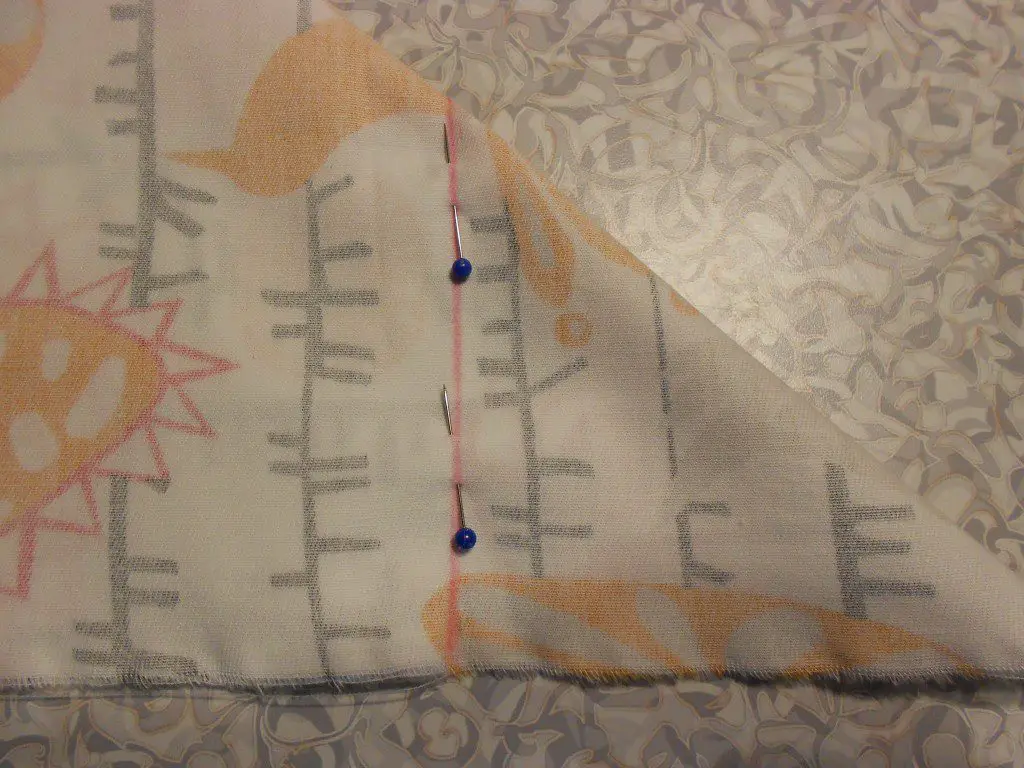
Cut a square from the fabric for the seat top. I cut mine at 33″ x 33″ which allowed for the sides, as well as a 1/2″ hem. To make the corners, line up the edges to form a triangle. Draw a line perpendicular to the edges that measures 4-1/2″ from the edge to the fold. Repeat for each corner and sew a seam on the line. Trim the excess away.
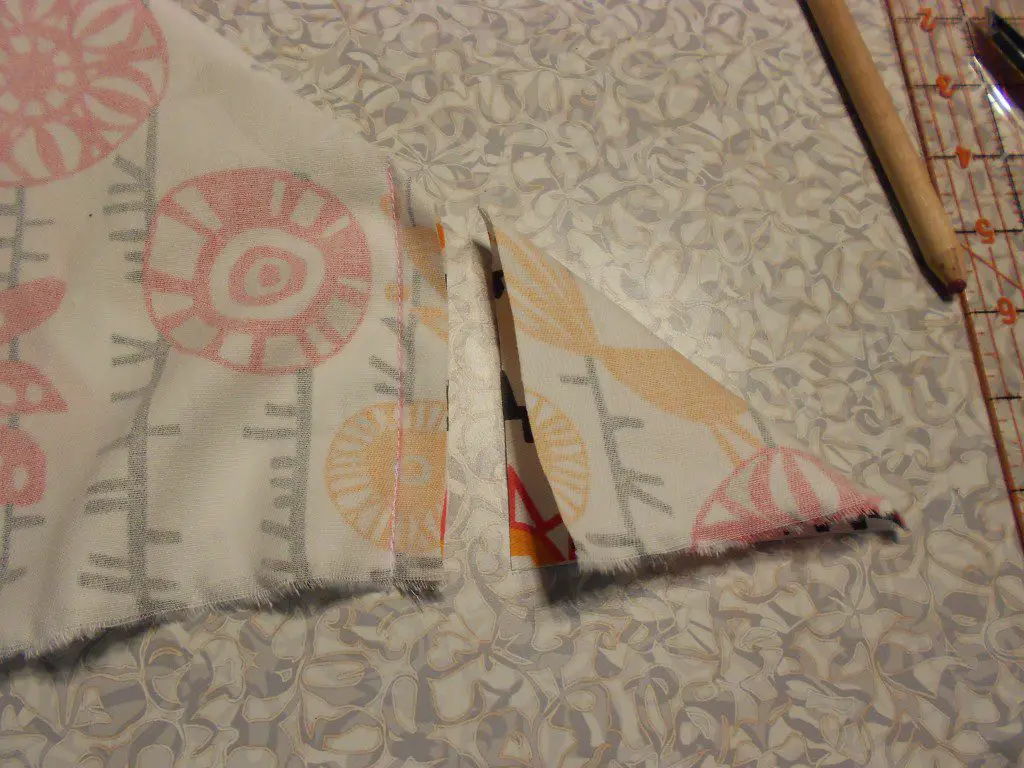
Press under 1/2″ to form a hem and place the cover on the seat. If you are using a directional print, make sure the design is facing the correct way!
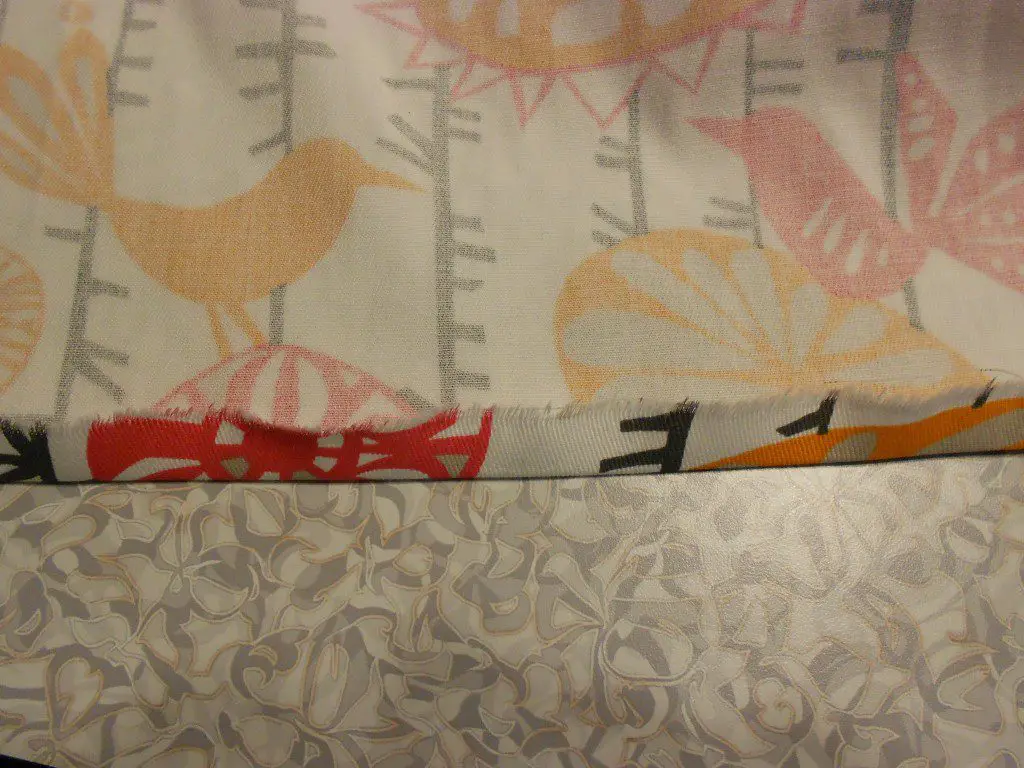
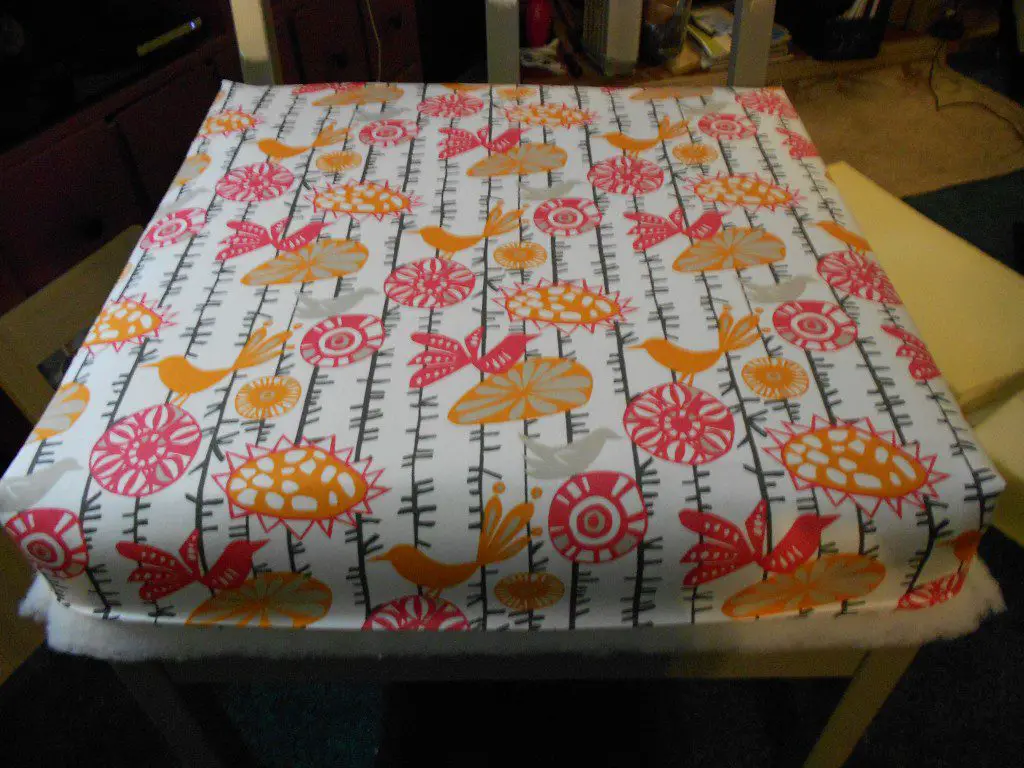
It may look as if the piece is too small but it isn’t. The seat cover needs to fit as tightly as possible so the foam and batting do not shift. Begin by stapling the side through the hem into the plywood seat. Staple the corners first, then the center. Continue to fill in across the entire edge with staples. They don’t have to be perfectly straight because they will be covered with trim later.
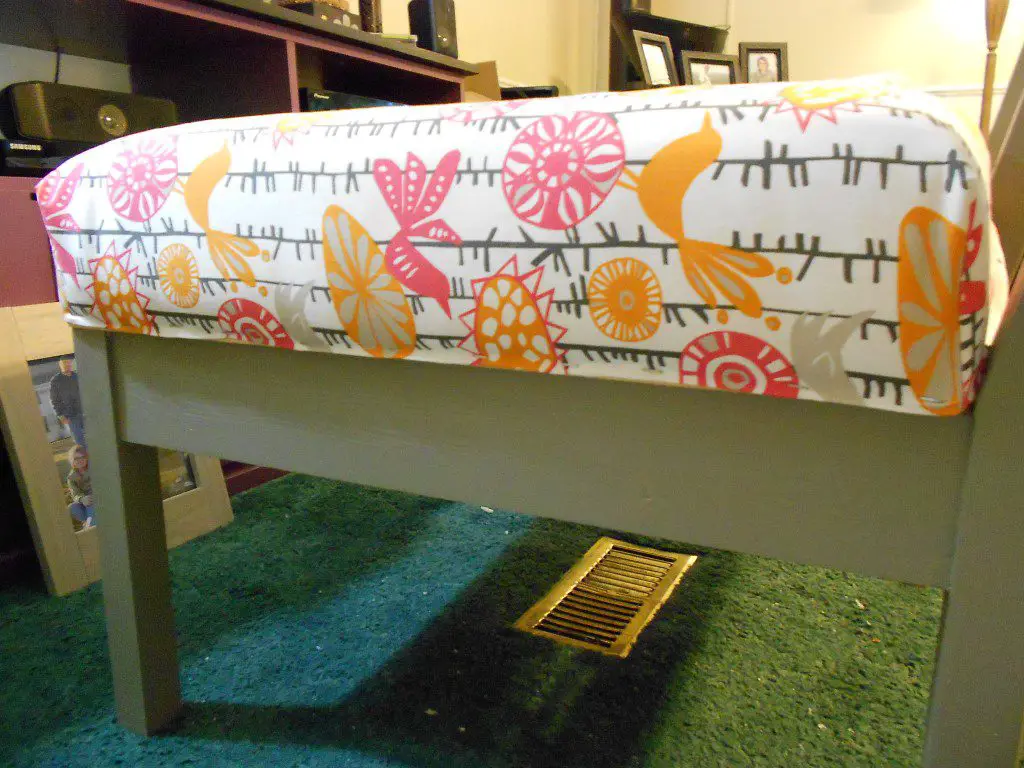
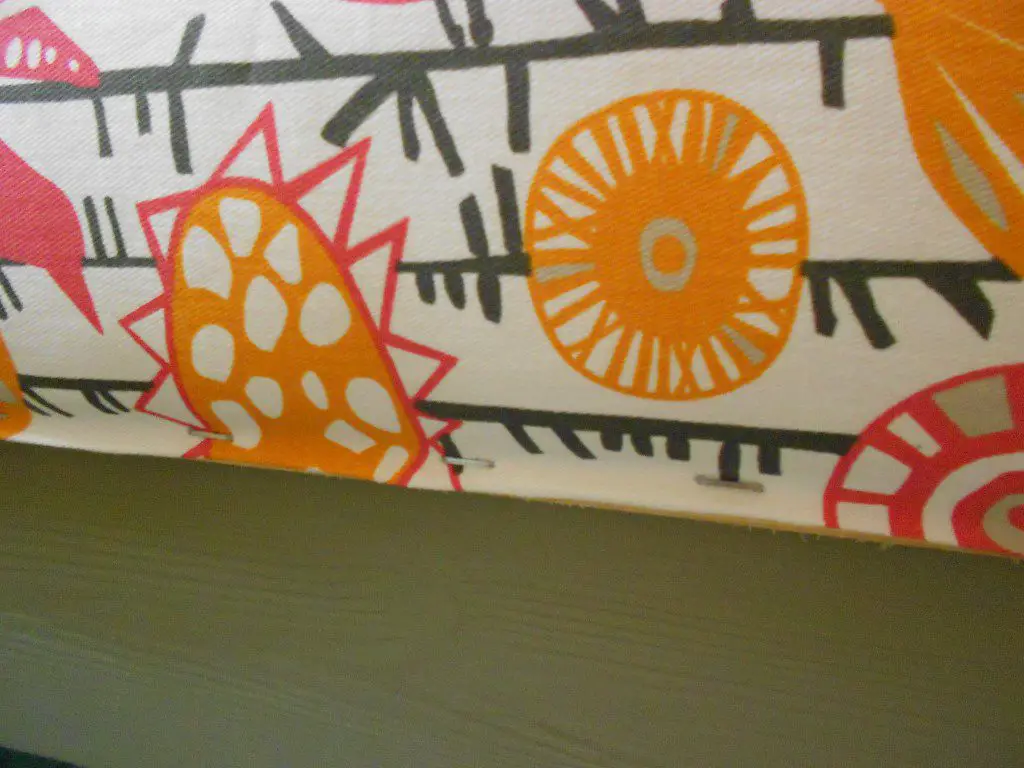
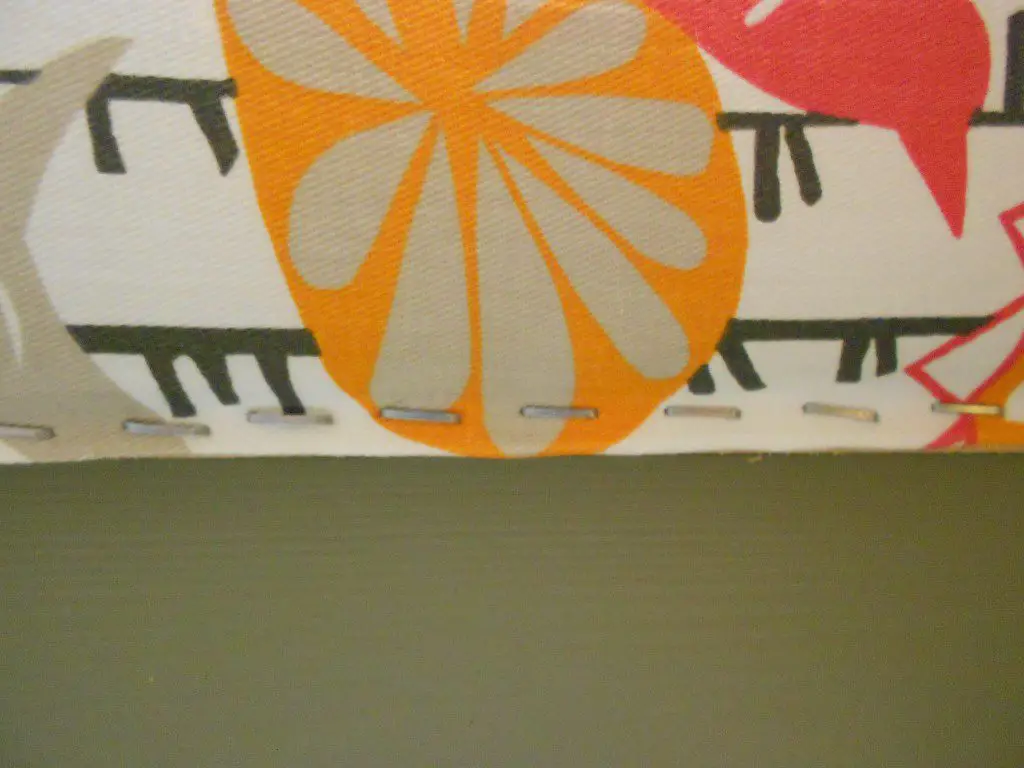
I had to get a little creative in order to pull the other side over and staple it. (I didn’t have any extra helpers around!) I used clamps to squash the foam to make it easier to pull and staple!
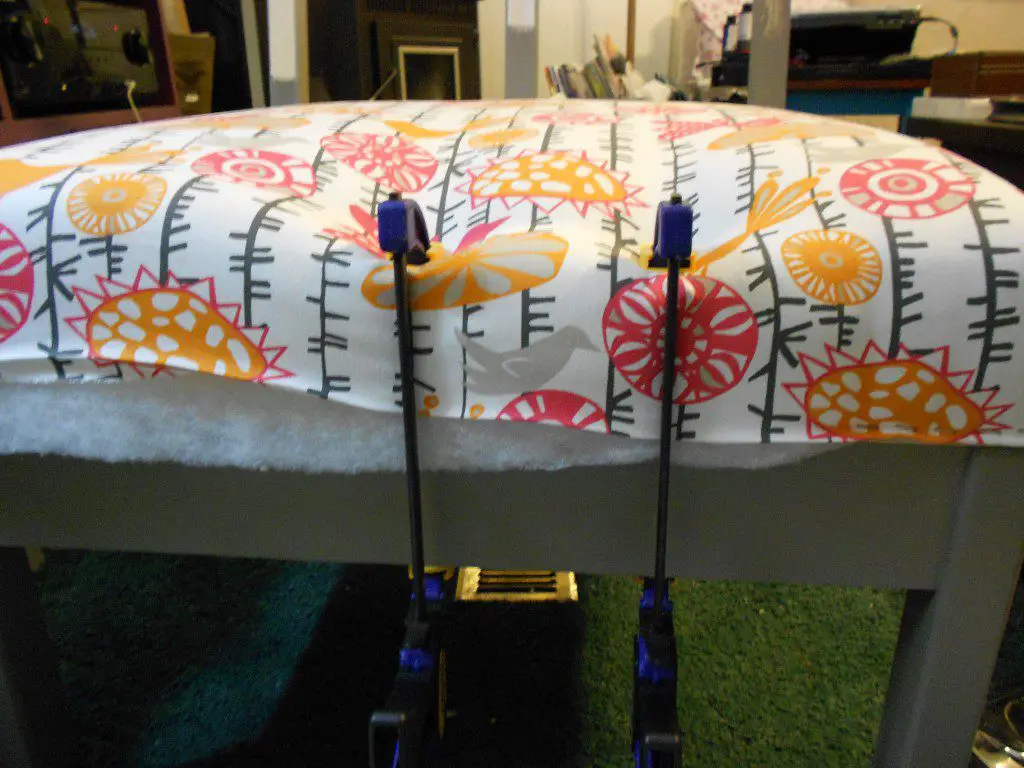
Continue this process for the front and the back, using the clamps to help as necessary!
Glue the trim over the staples on the seat and let dry.
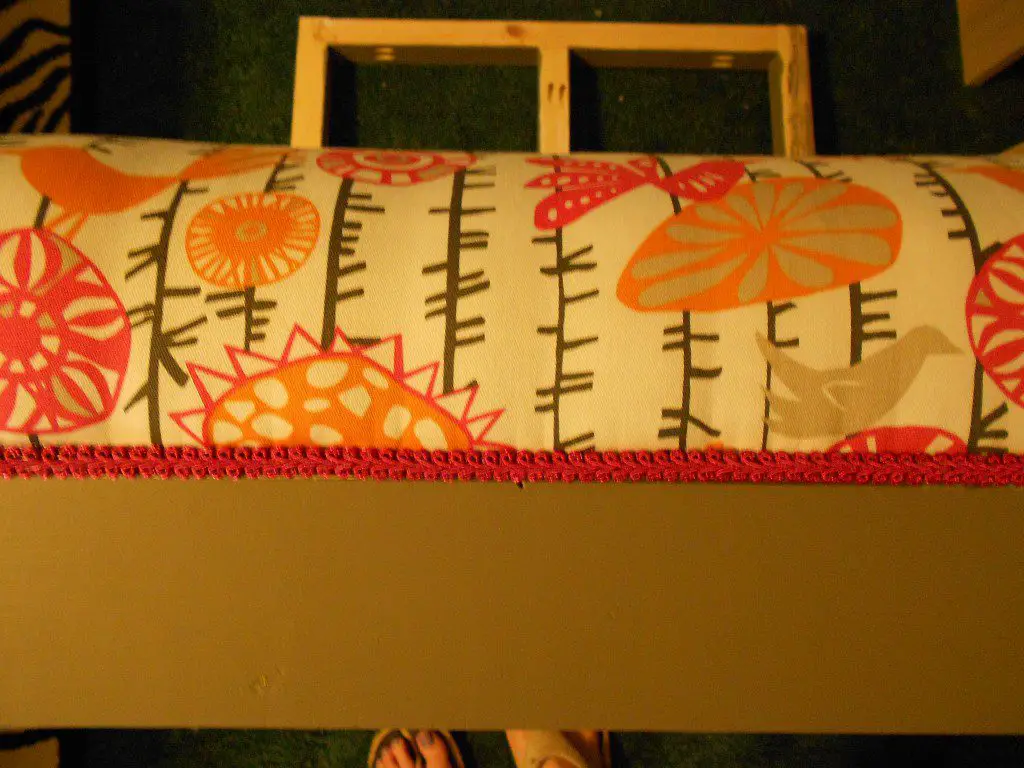
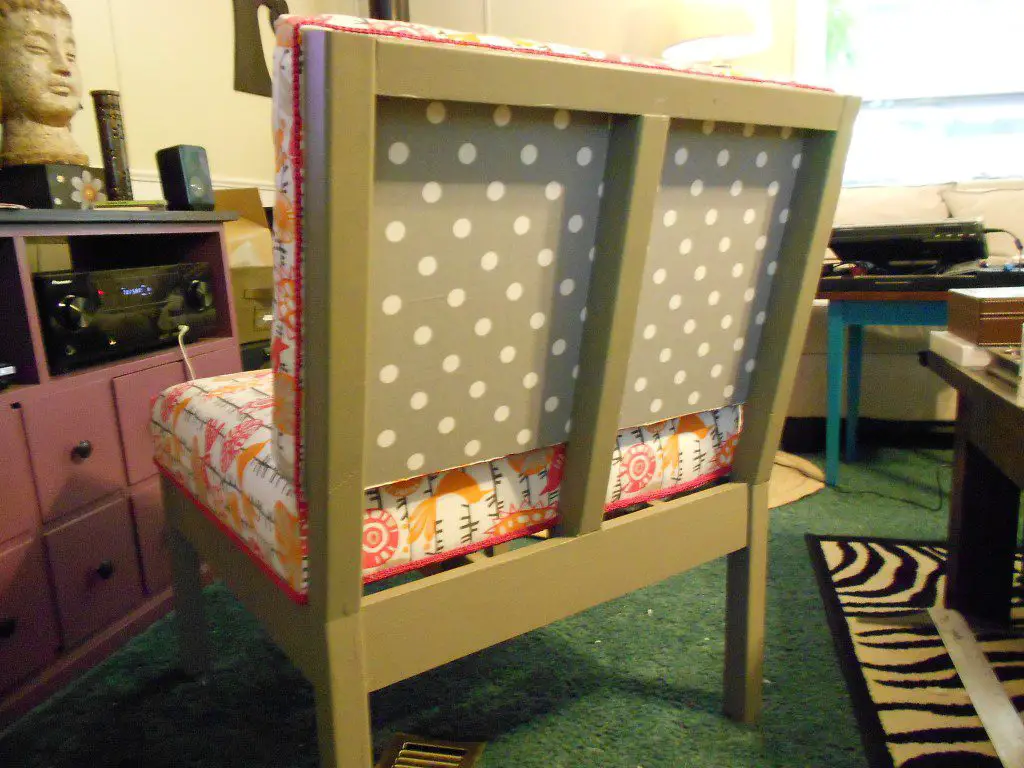
Cut a piece of fabric to cover the exposed wood on the back. Using spray adhesive, adhere the fabric to the plywood. Smooth out any bubbles or wrinkles.
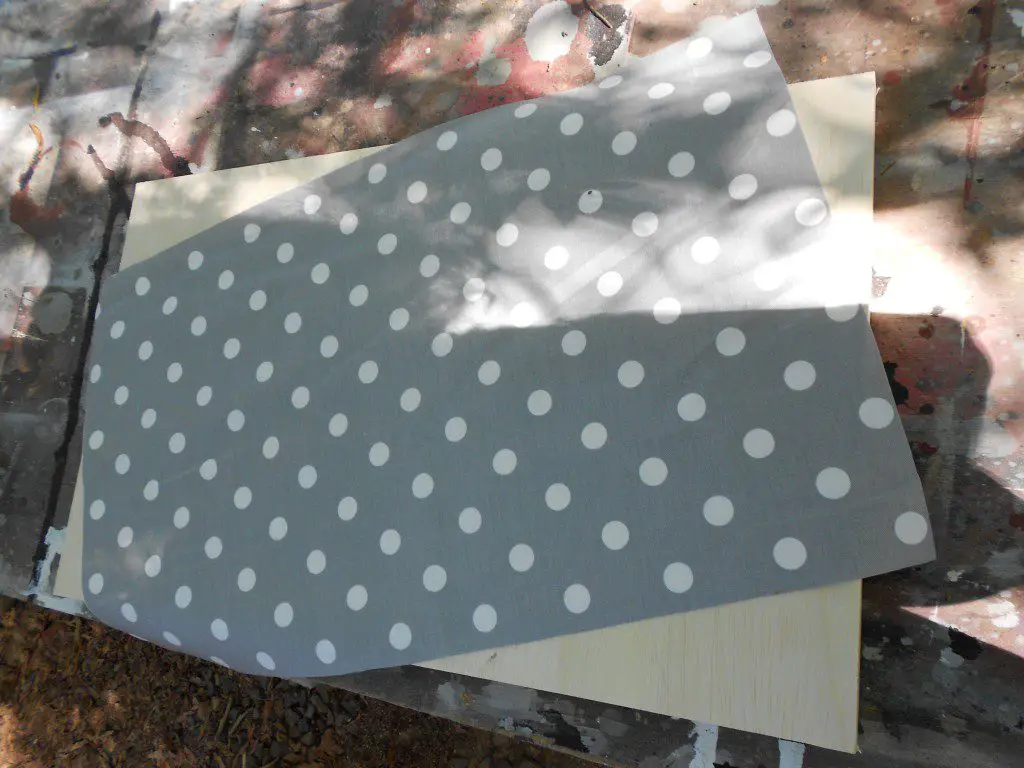
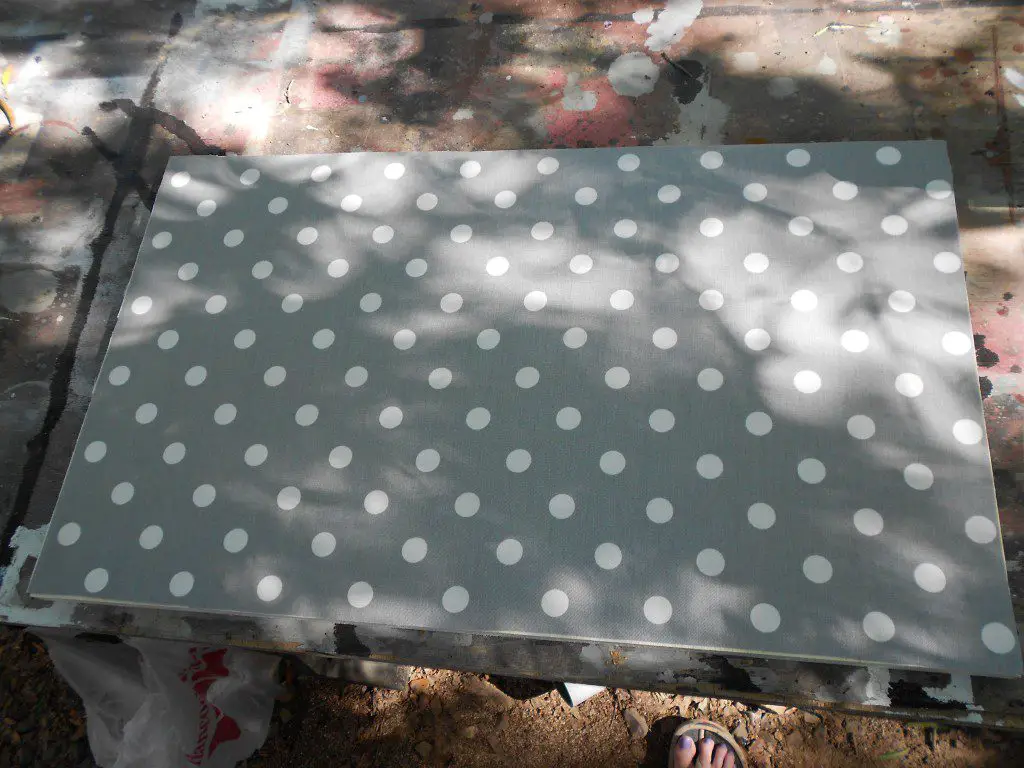
Create the fabric cover for the back using the same steps as the seat. The back doesn’t have to be nearly as tight as the seat. Staple the bottom of the back fabric cover on the plywood for the back and glue on the trim before the back is attached to the chair. Then use a brad nailer to attach the back to the chair frame.
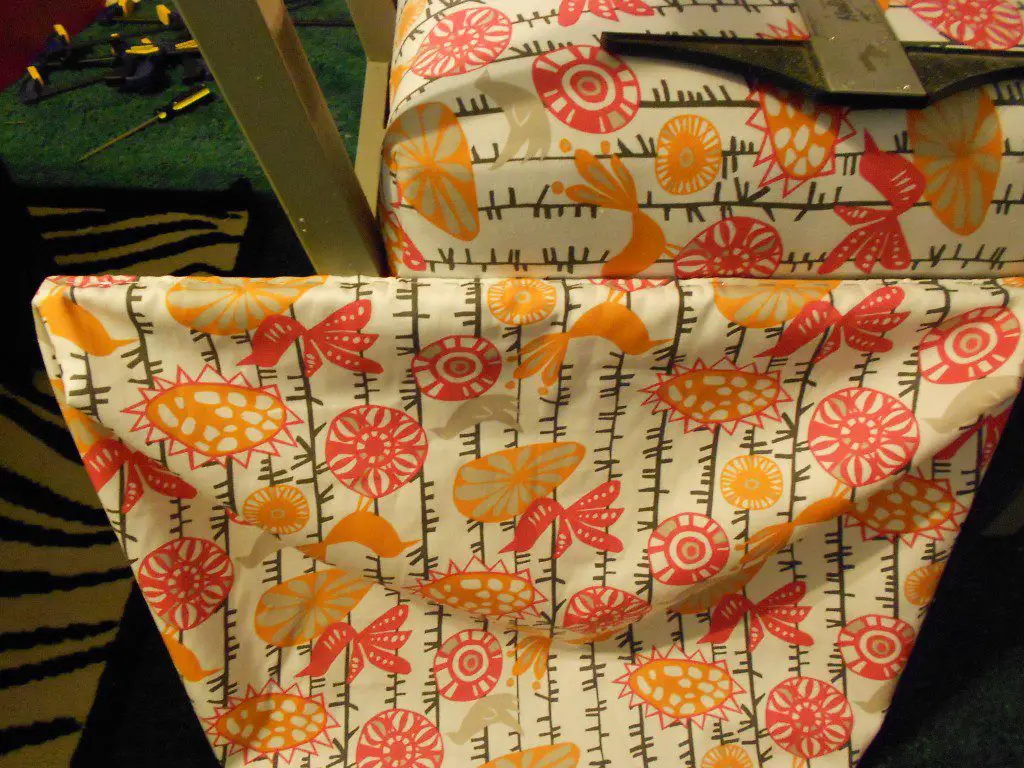
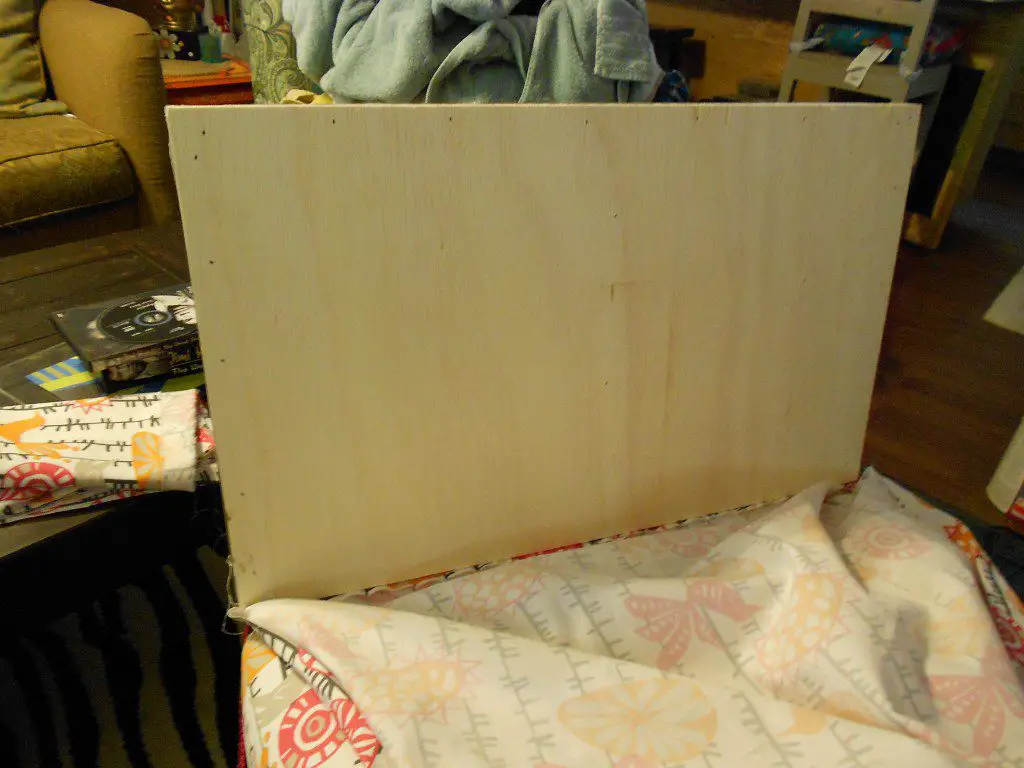
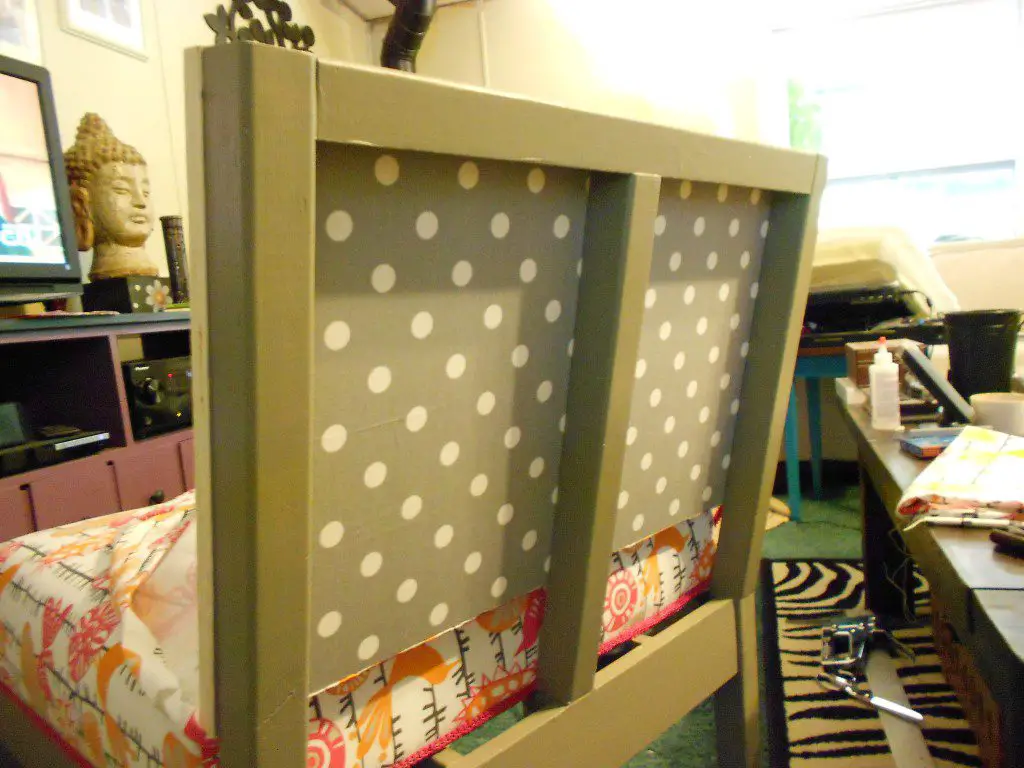
Cut a piece of foam and upholstery batting for the back and secure in the same manner as the seat using the spray adhesive. Pull the cover over and secure to the top of the back plywood piece with staples. Secure the sides of the fabric with staples, as well.
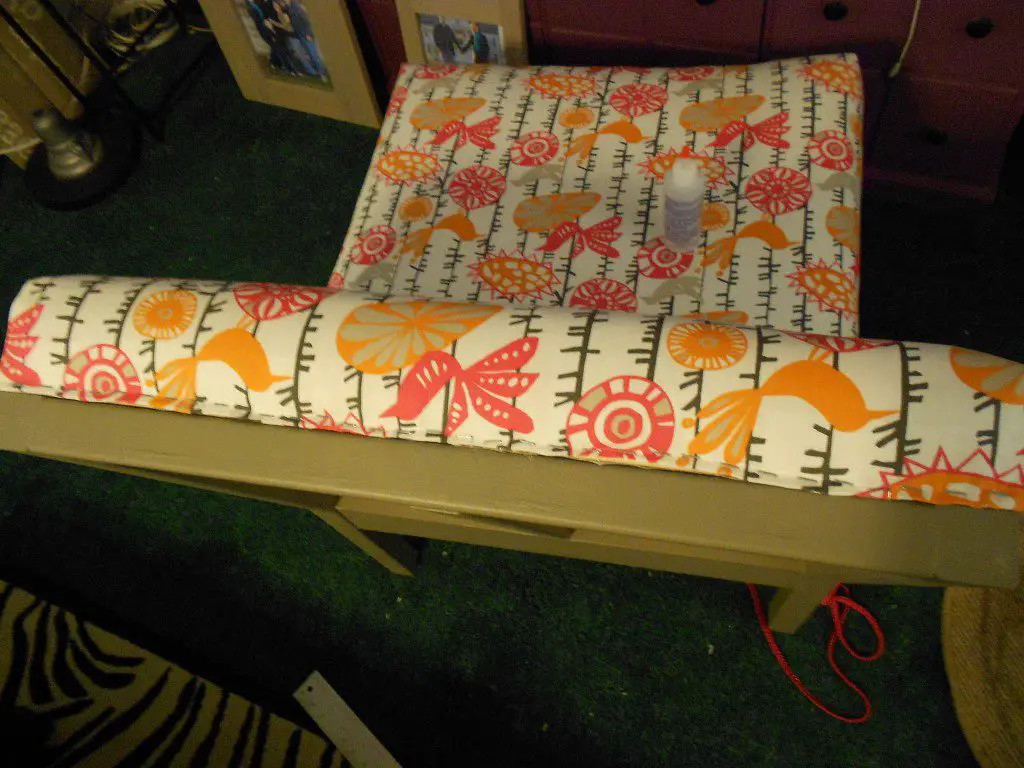
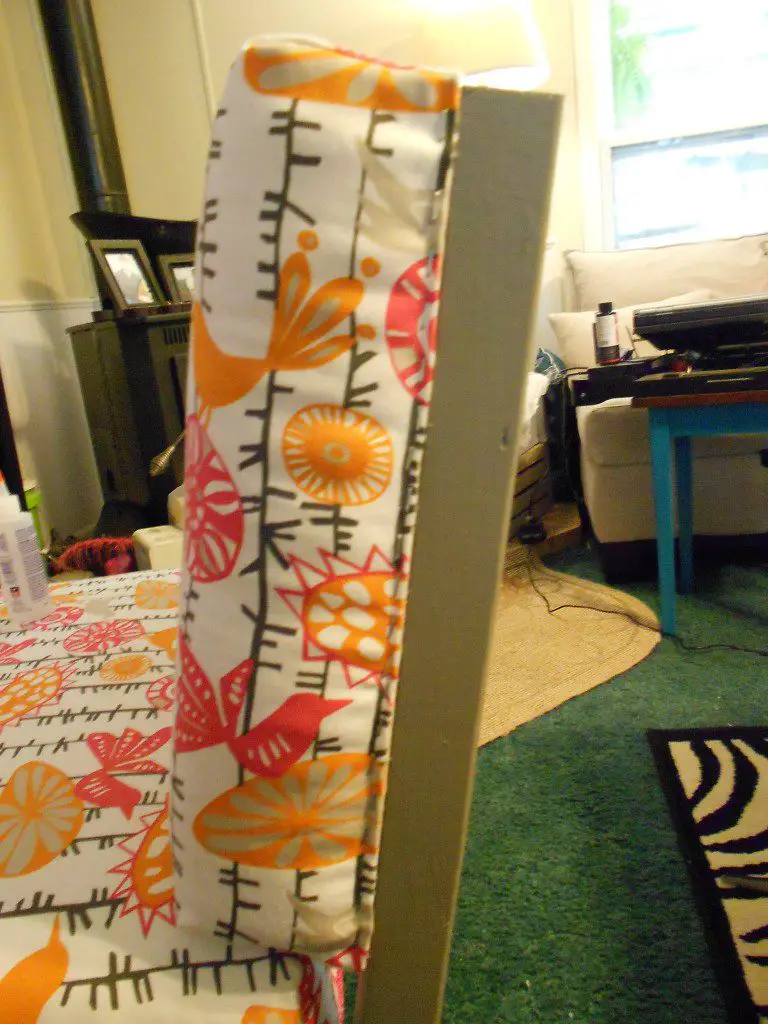
Once the back cover has been stapled in place, glue the remaining trim over the staples on all sides. What an awesome chair!!

Have questions about upholstering the PB Teen inspired Suite chair? Leave a comment below!


2 Comments
Pingback: Free DIY Furniture Plans to Build a PB Teen Inspired Suite Chair | The Design Confidential
Pingback: Free DIY Furniture Plans to Build a PB Teen Inspired Suite Chair - The Design Confidential