How to Make a Wall Hook Rack
Make a Wall Hook Rack and Decorate it with Mod Podge Rocks Stencils
Amy Anderson, the creative genius behind the Mod Podge Rocks blog, has created a new line of stencils for use with Mod Podge. These are really cool stencils and she put out the word to fellow bloggers asking if there were a few who would be interested in trying them. Of course, I volunteered but I have to be honest – the original project I had lined up to use these stencils on was a major fail. I could not get it to look right! Ugh! I tried and tried then decided to give up and do something different… That is where this little tutorial on how to make a wall hook rack comes in! 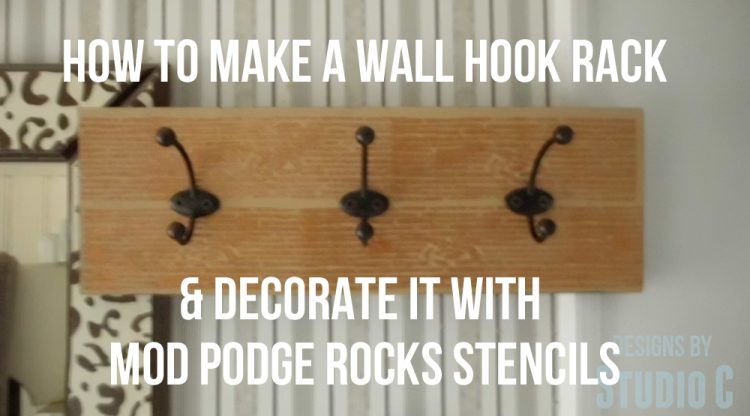
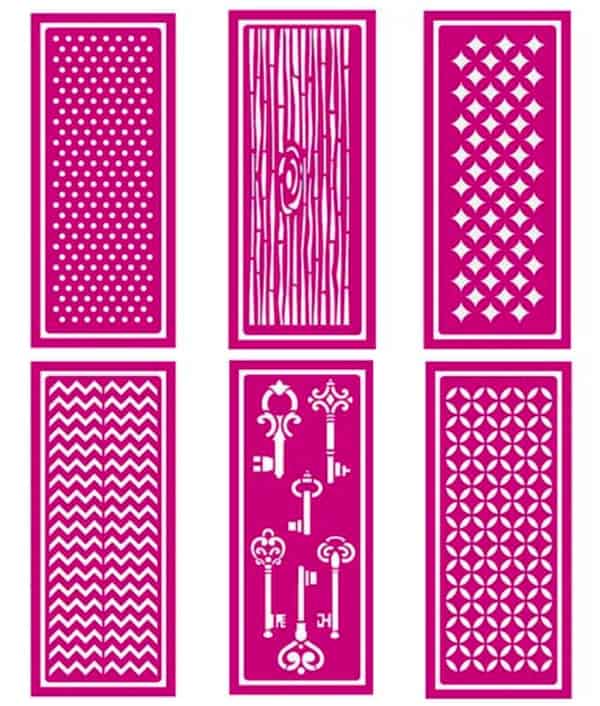
First, let me talk about Amy’s stencils – the stencils are reusable (thanks to peel and stick adhesive on the back) and are available in six different designs. They can be purchased through Plaid Online at a reasonable price! To use the stencils, apply the stencil to the crafting surface and apply Mod Podge with a spouncer. Immediately remove the stencil then sprinkle fine glitter over the Mod Podge. Once dry, the glitter can be removed with a soft brush. (This is where I failed – I couldn’t get it to look right!)
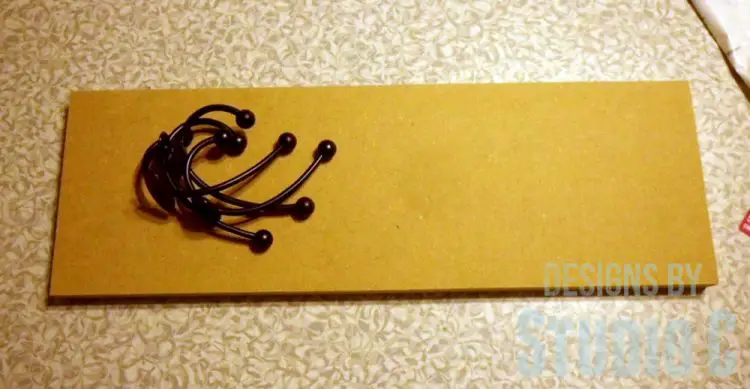
To make this wall hook rack, I used a scrap piece of MDF (medium density fiberboard). In the past, I wasn’t always a huge fan of MDF but the more I work with it, the more I like it. It is economical, easy to cut, and takes a paint finish fabulously! My piece measures 6″ x 18″.
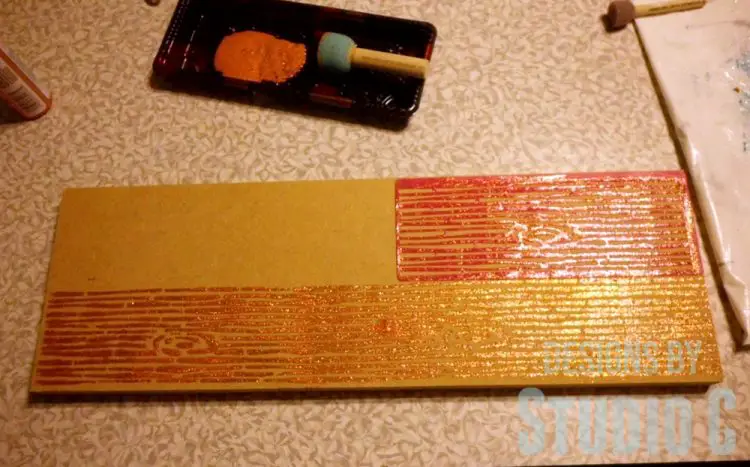
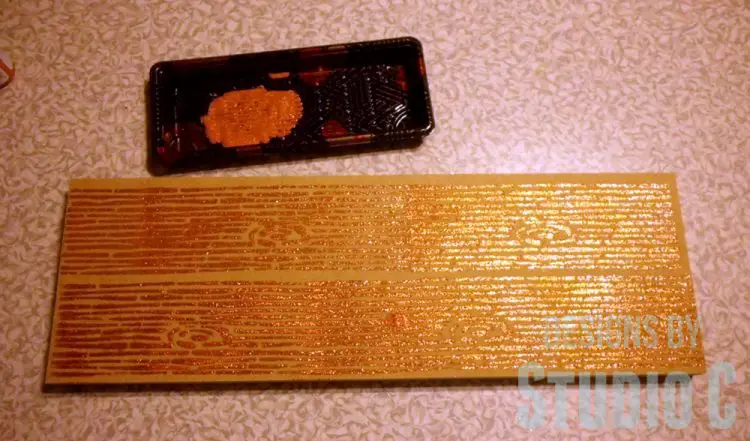
I decided not to paint the MDF because I like the natural brown color. I positioned Amy’s Woodgrain stencil on top, then filled it in with Martha Stewart Glitter paint in Copper. After I painted a section, I moved the stencil down to make the woodgrain continuous. I also painted the edges of the MDF in a solid brown.
When the paint was dry, I positioned the hooks and used the screws to secure them.

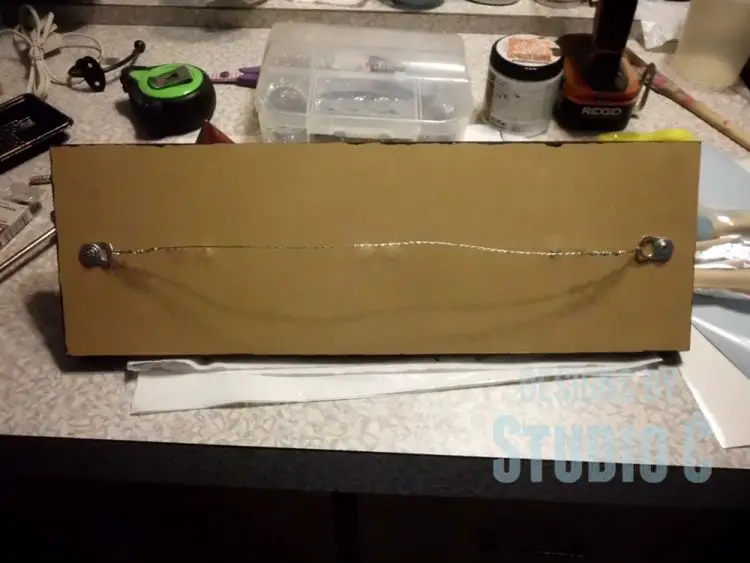
The wall hook rack can now be secured to the wall (into a stud) or by adding a couple of soda can tabs and picture hanging wire to the back. (Ignore the spots where the screws poked through.)
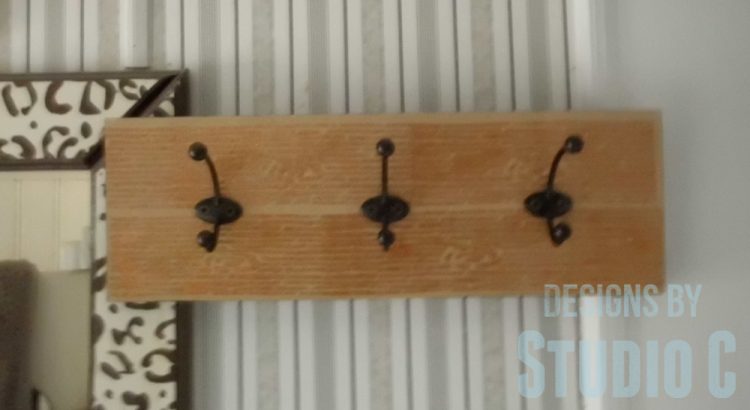
It is so easy and inexpensive to make a wall hook rack. They can be used in so many places for so many things such as organizing pet accessories, hanging towels in the bathroom, hanging reusable shopping bags in the kitchen, organizing neckties or belts, etc. Have any questions? Let me know at cher {at} designsbystudioc {dot} com!
Originally posted 2014-02-06 07:00:27.

I love this idea! And I love how you used it horizontally to cover. It looks great – thank you!
Thank you very much, Amy, for sharing the stencils! You are awesome!
This wall hook rack can be totally put to use in my house. I can use ton of them, in fact. we are always running out of space to put away stuff- specially in winter time…This looks fab Cher!
Thanks so much, Vinma! I’m glad you stopped by!!
This seems pretty simple for a newbie to DIY like me! Great tips! Visiting from SITS Comment Love!
Thank you for stopping by! If you want to try your hand at it and need help,let me know!
This is really cute, and looks simple. There are so many options, but I do like the wood grain look. I need about 50 of these for all the clutter in my house! Thanks for the idea! (Stopping by from SITS) Love your blog. There are a lot of good ideas here. I’ll be stopping by again!
Thank you for stopping by, I really appreciate it! These wall racks are so awesome to make – easy and completely customizable! Thanks, again!
Thank YOU so much for stopping by to check it out!
I’m so impressed by you!!! WOWZA! I just bought one of these bad boys for our entry way….but yours looks cuter lol. And I love the way you make it seem simple but I’d probably wreck everything trying to make this. #sitsblogging
Wow, thank you so much!! I’m sure you wouldn’t wreck anything but if you wanted to try and need help, let me know! That is why I am here!
I didn’t know about these stencils! Thanks for sharing your experience with them! #SITSblogging
I love doing DIY crafts– this is too cute! #sitsblogging
Thank you very much! I’m glad you stopped by!
Wow, this is really great and I think it would be something my daughter would love in her very first apartment! Great touch with the Glitter! I am stopping by from #SITSblogging!
Thank you so much! I am closet glitter fanatic which explains why I had the paint (in virtually every color!) on hand! Thank you for stopping by!
I just moved and definitely need a coat rack next to the front door. I love this idea, and it looks easy enough. Stopping by from #SITSBlogging, playing catch up. 🙂
Awesome! The little racks are really fun to make and personalize! I’m so glad you stopped by, thank you!