Installing a Peel and Stick Vinyl Floor
Vinyl Planks: An Affordable Flooring Option
Peel and stick vinyl is an affordable flooring option and looks absolutely fantastic in any room. With any flooring, the difference between a crappy job and a professional job comes down to the prepwork. With the proper prepping, installing a peel and stick floor is an easy job that will last with minimal upkeep!
I installed peel and stick vinyl planks in three rooms of my house before the tree fell, two of which are bathrooms (check the warranty information before installing the flooring in a location that may get wet!), and have never regretted it. I have installed it over existing sheet vinyl as well as over plain plywood both with favorable results.
When we decided to install it in the new front room of the house, I wanted to make sure we had really prepped the space. I worked really hard to replace the subfloor in that space (lots of sweat and a few swear words!) and didn’t want to cover it with crappy flooring!
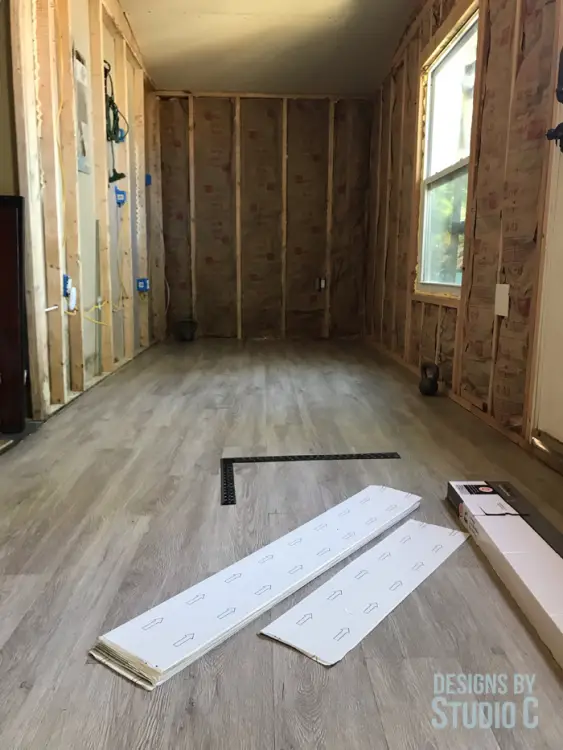
Clean That Floor
The very first step before installing any type of flooring is to thoroughly sweep and vacuum the floor. Debris trapped between the flooring and subfloor can produce bumps or ridges that may damage certain types of flooring like vinyl. If the peel and stick vinyl is being applied over existing vinyl, it wouldn’t hurt to mop the floor with a degreaser and let it completely dry. Otherwise, mopping is not necessary.
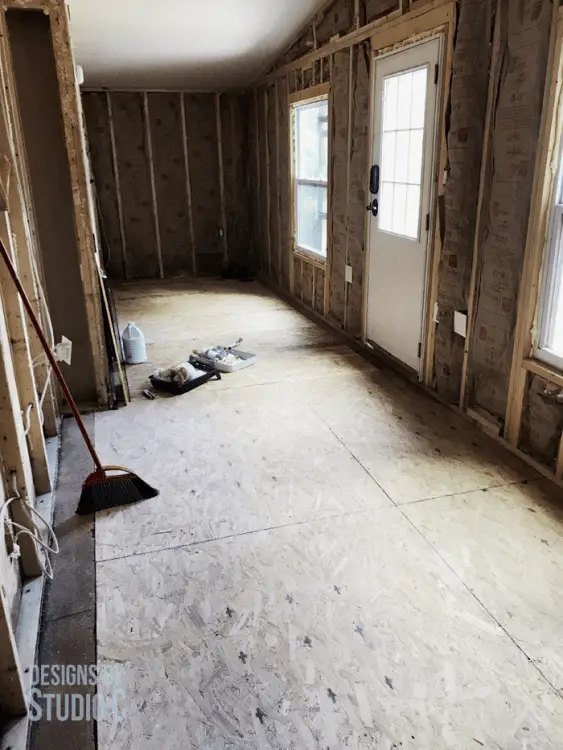
Prep with Primer
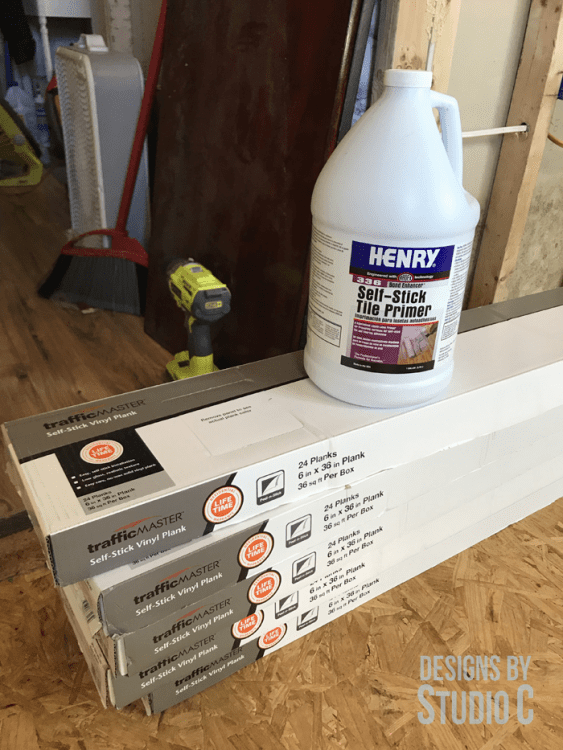
If the peel and stick vinyl is being applied over plywood, I would definitely recommend using a primer for self-adhesive vinyl (<– affiliate link!). It is inexpensive and easy to apply, and I would consider it as “cheap insurance” to make sure that vinyl properly adheres to the floor. Apply the primer according to the manufacturer’s instructions and let it dry. Generally, it is applied with a roller and will dry between 30 minutes and an hour.
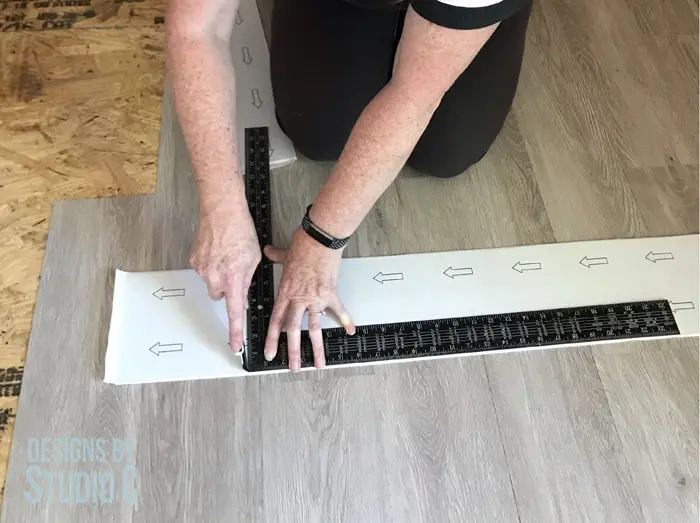
Score and Snap
Cutting vinyl tile does not require any special tools… A regular box knife and a straight edge is all that is needed. Just mark the line on the back side of the vinyl tile or plank (on the paper backing), and lightly cut with the box knife then snap downward. Easy!
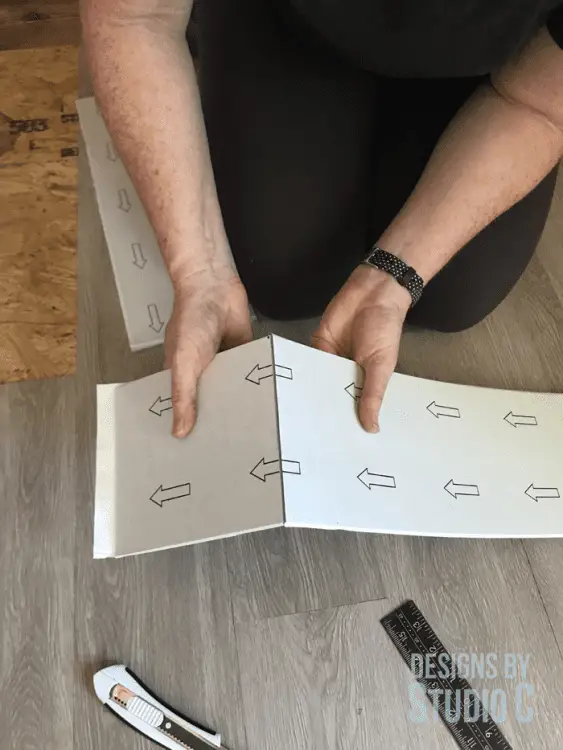
Application
Read the flooring manufacturer’s instructions on how to install the floor, first. I like to refer to these as “guidelines” only because there are other things that need to be taken into consideration such as wall placement or “squareness”, furniture placment, etc. In our case, the instructions say to snap a chalk line and start installing the flooring in the middle of the room which was not going to work for us. There is the possibility that the chalk line is off or that the flooring doesn’t meet the wall in a straight line. This becomes a problem, especially if that part of the floor is visible and won’t be covered with furniture or a rug.
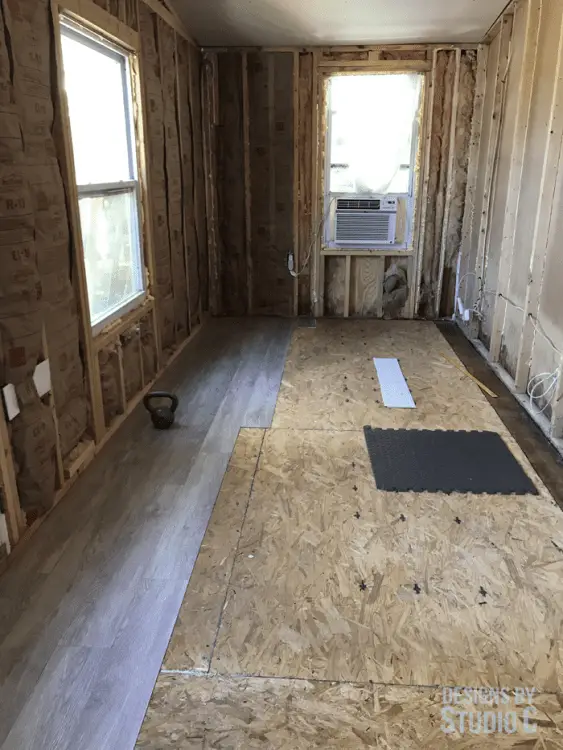
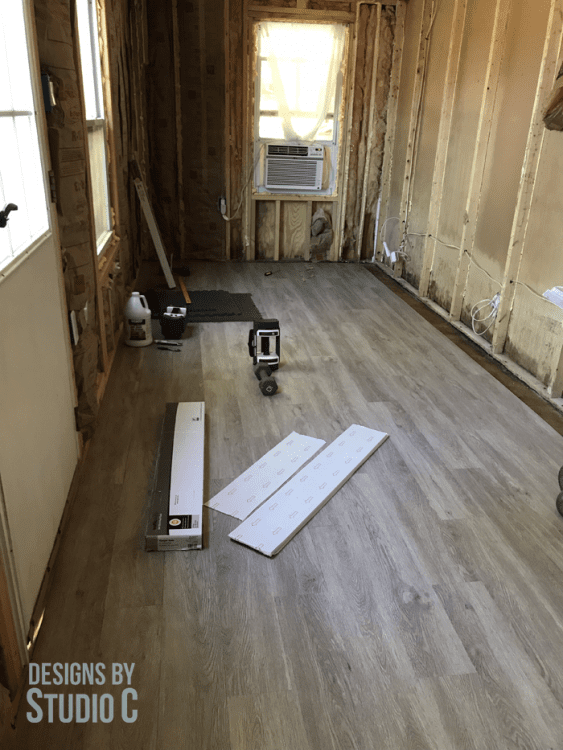
We have a small, narrow area and want the flooring to be visually appealing. We started laying the vinyl tiles along the new front wall and continued toward the opposite wall (imagine that – the front wall was actually square!) where cutting the tiles narrower wouldn’t be seen. It worked out perfectly!
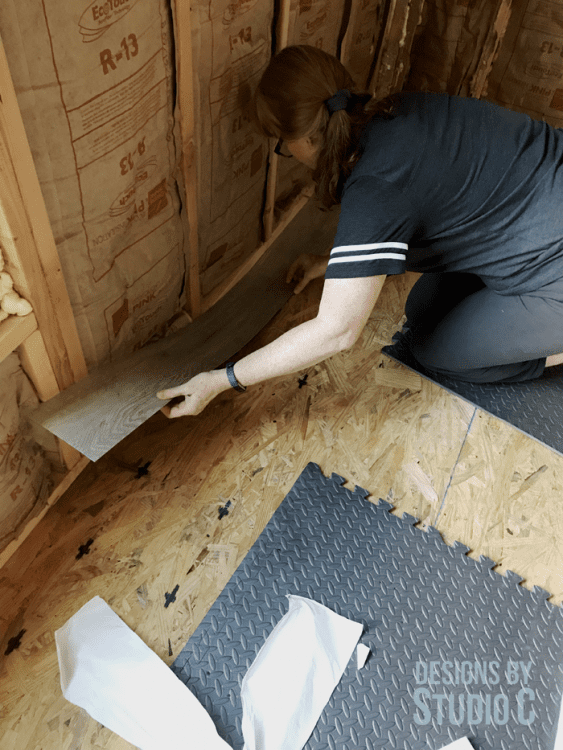
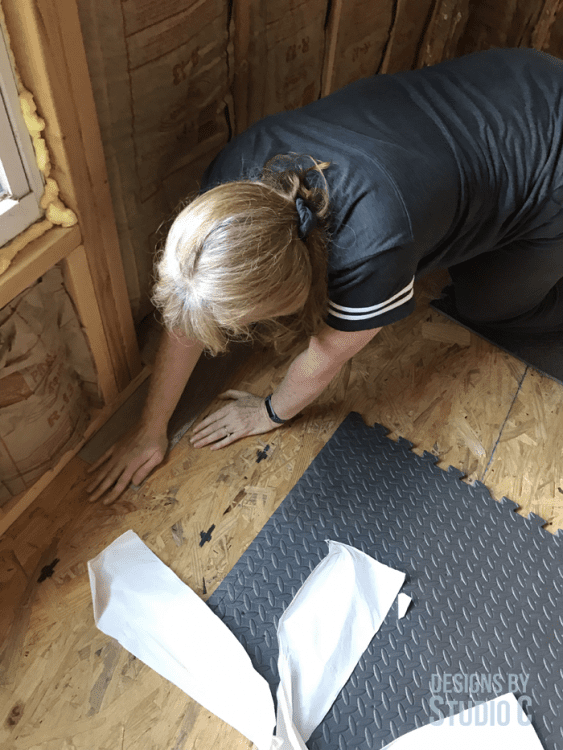
Application Part II: Staggering the Seams
When laying any type of flooring, the seams should never line up. The eye will be drawn to a continuous line and sometimes cannot be unseen! When laying the rows, lay tiles or planks to the end without cutting, then cut the last one to fit. When starting the next row, cut the first piece shorter, then continue with the row to the end. For example, the planks we used were 36″ long. I cut the piece to start the second row at 24″ long, and the first piece in the third row was 12″. For the fourth row, I started with a full piece again. The rows can also be started with whatever was cut off of the last piece in the previous row for a more random line.
Finishing
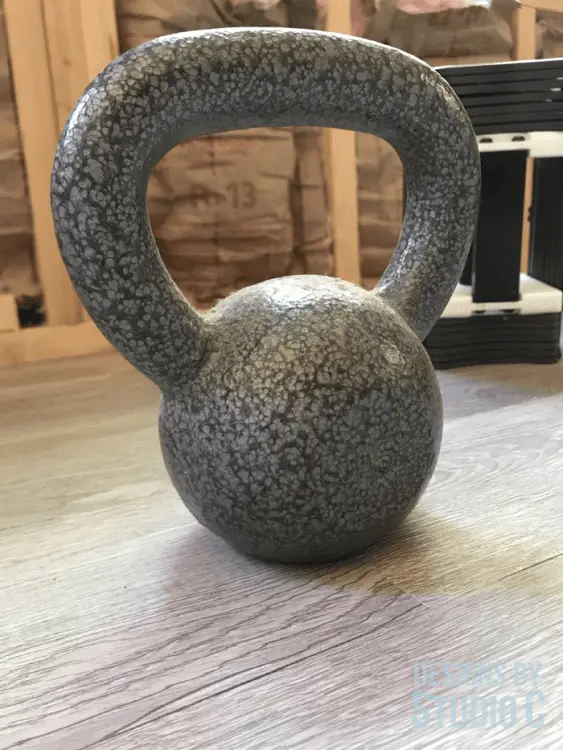
Some pieces may not stick very well to the floor or primer. This is where a bit of weight comes in… I used my actual weights for workouts or my kettlebells to help a few of the pieces stick. If there are a few pieces that don’t stick even after using weights, a bit of contact cement will work but I only recommend that if the flooring is going to remain for an extended period of time (like forever).
Cleaning
As with most flooring (with the exception of ceramic tile or sheet vinyl), it is not recommended to do heavy mopping with a soaking sponge or mop. Sweeping, vacuuming or lightly misting the floor with cleaner will be plenty to leave the flooring clean!
The peel and stick vinyl flooring I used in other rooms in my house have been there around 10 years with no peeling issues. I honestly have never had to replace any part of that floor, and I am still pleased with the results!
Have questions about installing a peel and stick vinyl floor? Leave a comment below!
Originally posted 2019-05-26 08:00:31.
