A Great Use for an Old Screen Door
When my son graduated from high school, he wanted a large cork board with tons of photos displayed at the party. I saw this in a magazine (it was framing a mirror) but there were no detailed how-to instructions. I’ve created my own and will share with you how to make a cork board using an old screen door! I love it and it can be configured so many ways!
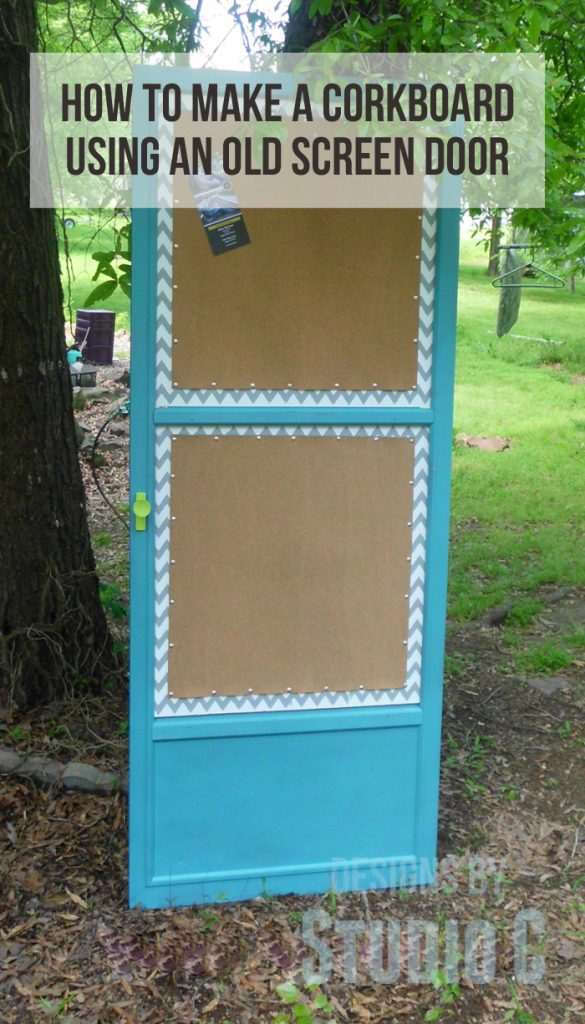
Materials:
- Old screen door
- Spray primer & paint of your choice
- 1/2″ plywood
- Cork, sheet metal, dry erase board, chalkboard panel, and/or perforated (peg) board
- Turn buttons or mirror clips to secure plywood to door (<– affiliate link!)
Step One
Start by removing any glass and screen from the screen door. Wear gloves and safety glasses and use the proper precautions when handling the glass. I did not take any photos of this process but I think you’ll get the idea! Also remove any hardware or handles and clean the door, if necessary.
Step Two
Prime the door using the primer of your choice… I used Rust-Oleum’s Rusty Metal primer. It is my favorite for anything metal, rusty or not! I then painted the door using Valspar spray paint in Tropical Oasis.
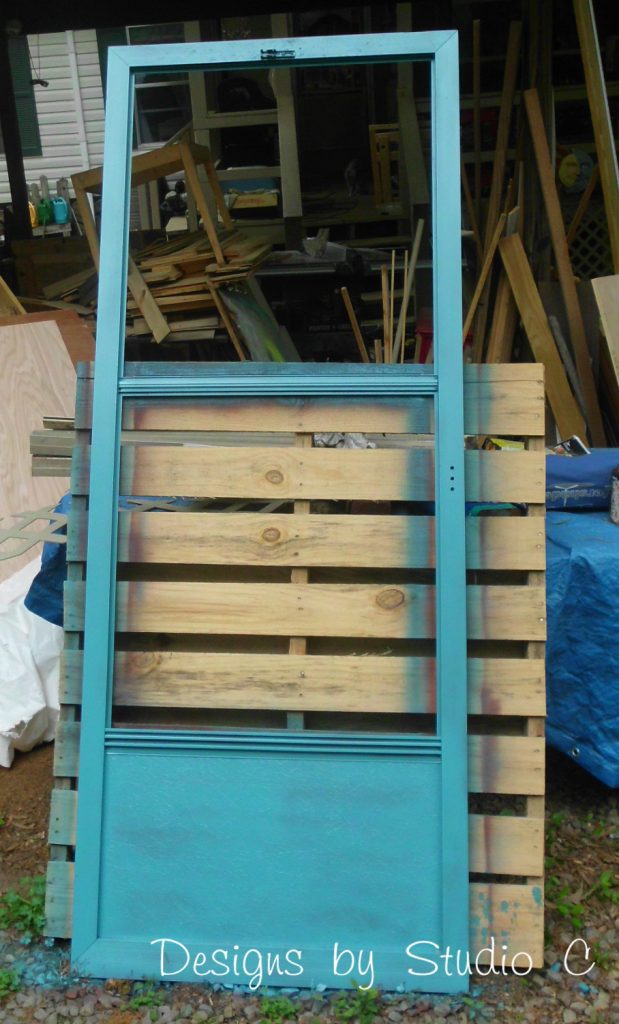
Step Three
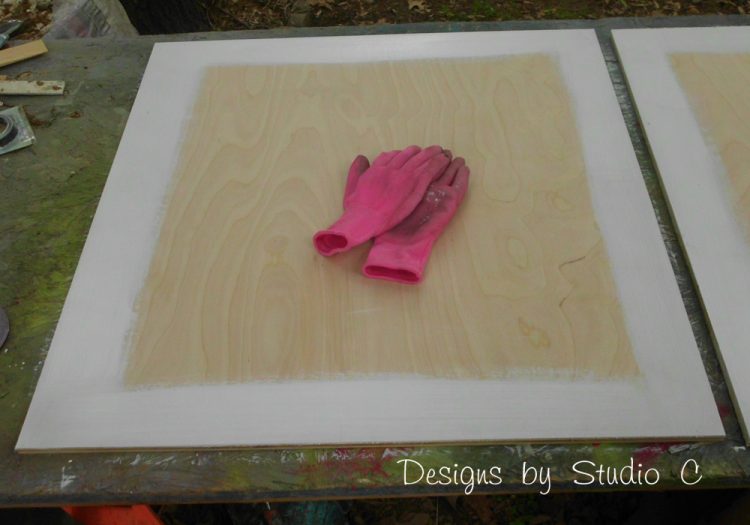
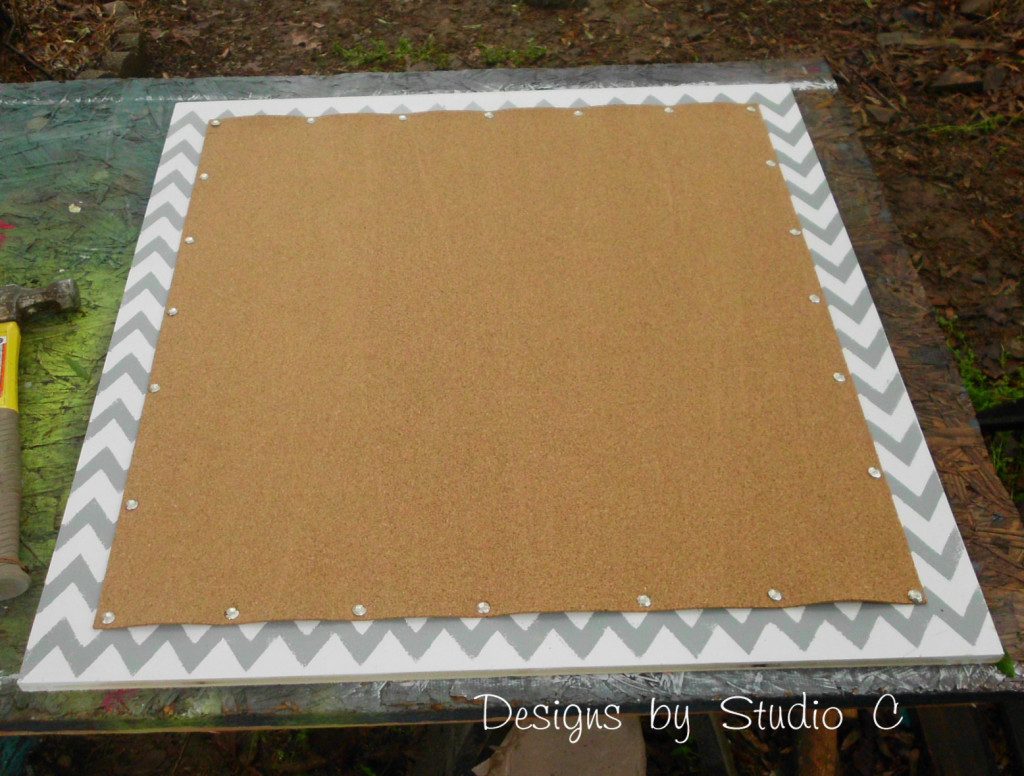
Cut the plywood to fit into the openings. My door has two separate openings so I cut the plywood to fit each of them. Since the only cork I could get was 24″ wide (and the openings of the door are 27″ wide), I painted and stenciled a “frame” on the plywood so that it would look decorative. Another option would be to piece the cork to cover the plywood completely.
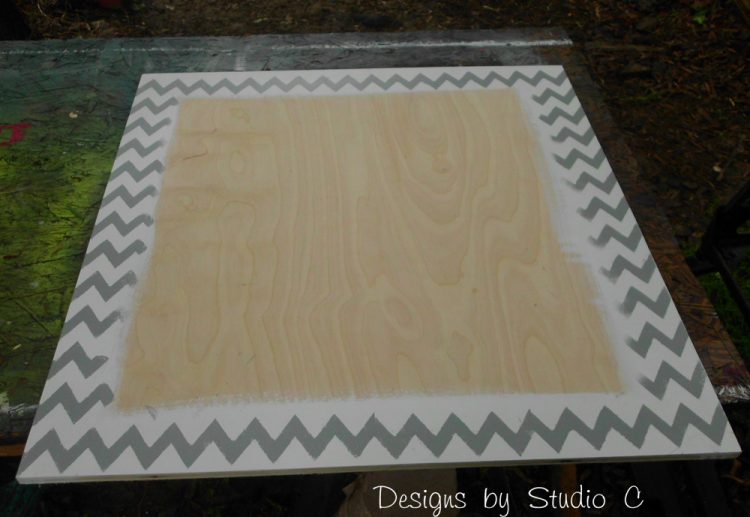
Step Four
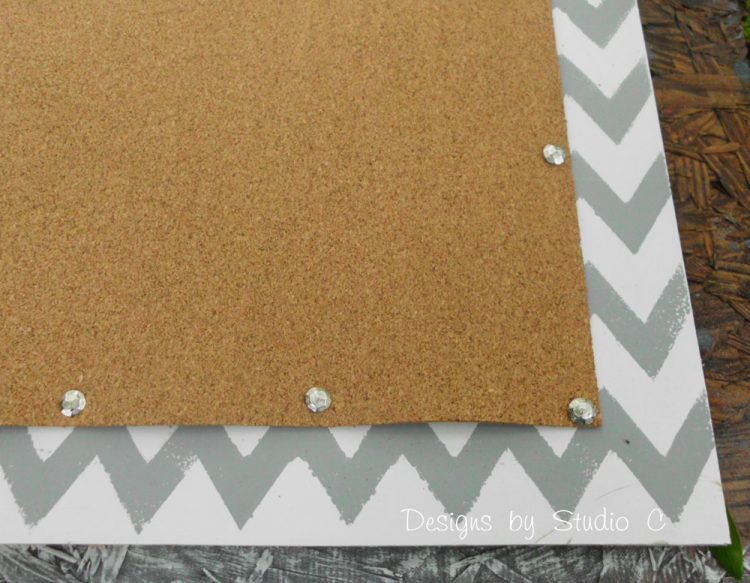
Once the paint was dry, I secured the cork to the plywood using spray adhesive and upholstery nails.
Step Five
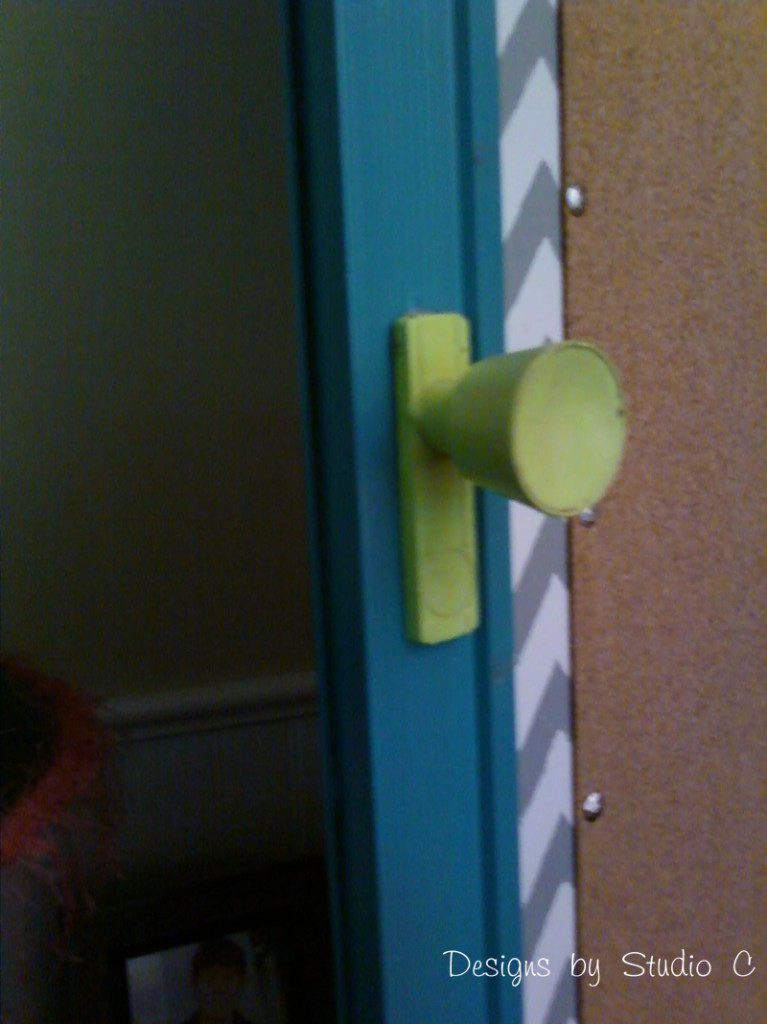
I primed and painted the handle, using only the front piece and not the back. Then glued it on the front using outdoor adhesive (it is a little stronger!).
I cut the panels just right so I was able to wedge them in the opening and not have to secure them at all. Mirror clips or turn buttons fastened to the frame will hold the panels in perfectly!
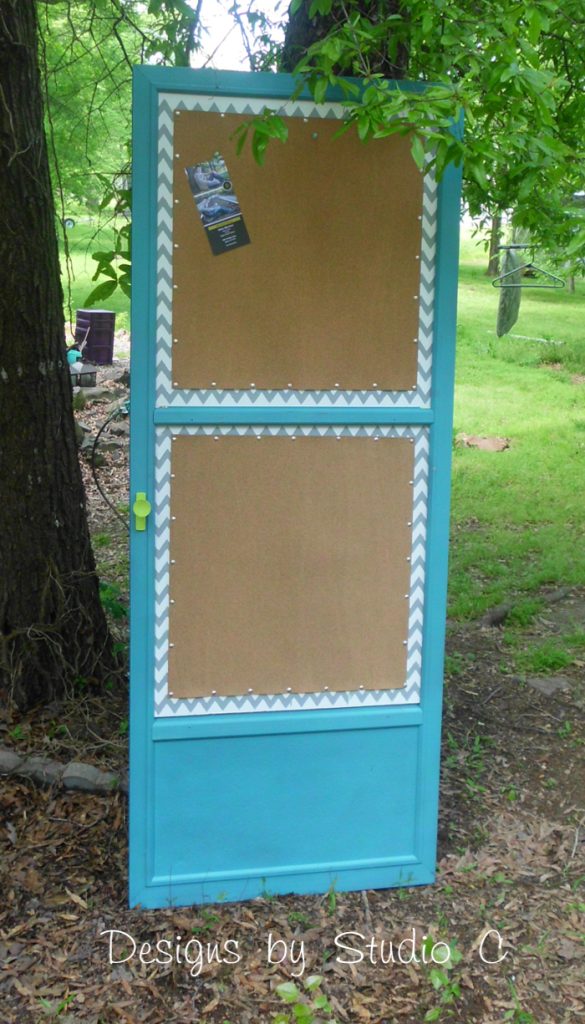
Other options instead of cork are:
- Dry erase panels – Also available at HD in 2′ x 4′ sheets.
- Sheet metal – Either covered with fabric or painted and used as magnet boards!
- Perforated (peg) board – These are the panels with the little holes in them where hooks are used. How cool would this be to organize spools of thread or ribbon in a craft room?? Or for paint brush and paint can key storage??
Hmmmm… Maybe I need to purchase another old screen door. I have a few more ideas!!
Sharing with:
The Real Thing with the Coake Family, Thirty Handmade Days, My Repurposed Life, My Romantic Home, Common Ground, Jennifer Rizzo, 504 Main, Funky Junk Interiors,
Originally posted 2013-05-07 08:00:52.



8 Comments
That is so awesome. Looks great. Coming over from SITS.
Thank you so much! Stop by again soon!!
This precious! Love it. Stopping by from the SITS Sharefest 🙂 Happy Sunday!
xo,
Stephanie
Diary of a Debutante
http://www.stephanieziajka.blogspot.com
Thank you so much! Stop by again soon!
Would love to! I’ll link up shortly, thank you for stopping by!