Step-by-Step Instructions on Installing an Exterior Door
I thought installing an exterior door would be a piece of cake… I have installed several windows and didn’t think a door would be that much different. Wow, I was sort of off track! Replacing an exterior door was not as easy the first time as I expected – there was a lot of fiddling to get it right – but I survived! Read on for our experience on how to install an exterior door! (We actually replaced two doors at the same time – yikes!)
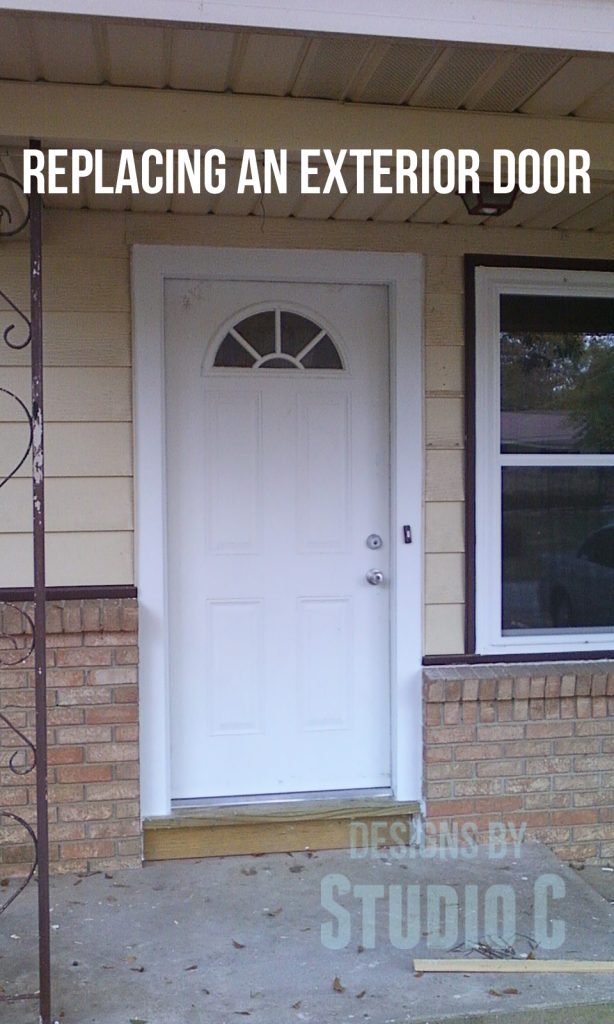
Last week, we were finally at the point where we could replace the front and side doors. Each door had been kicked in so many times, that I lost track counting the nails and screws used to hold the jamb together! (Seriously, maybe the previous owners should have invested in a keyless entry if they kept forgetting their keys that often – just sayin!)
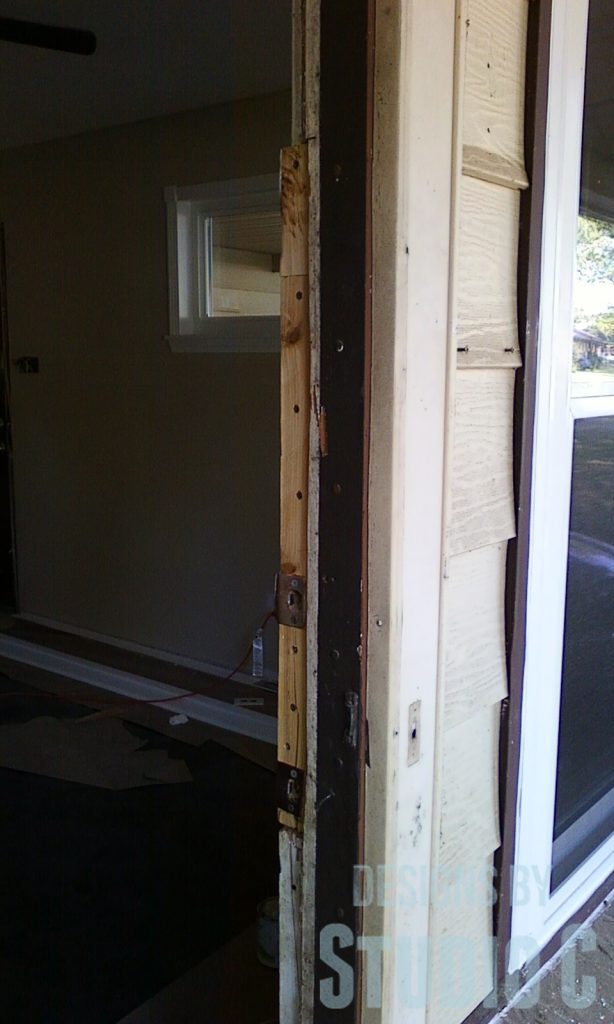
We started by removing the door, then removing the damaged door jamb.
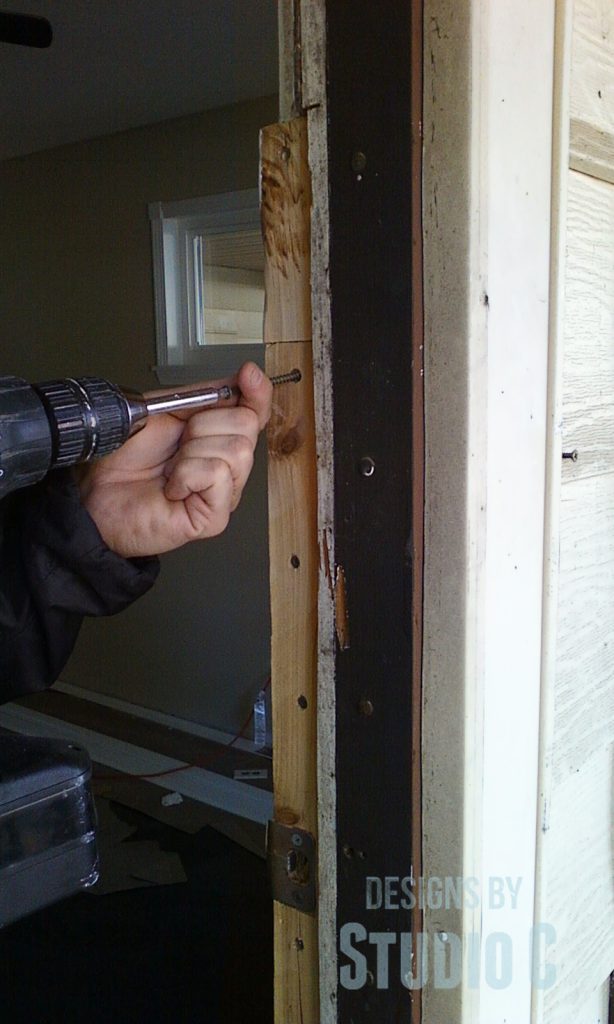
Of course, it never fails that once we get into a project at the Rebel house, we find a few more things that need to be repaired. The wood threshold and the support underneath it were in bad shape and rotting. No big deal… We just replaced both pieces with treated lumber. Cutting a wood threshold is exactly the same concept as cutting a window sill. Easy peasy!


We were not replacing the door with a pre-hung brand new one (which would have made things much easier!). We were using a door we got from a friend, which meant that we needed to purchase and replace the exterior door frame. They come in a kit, and these kits are pretty cool because they have a nice, thick seal to prevent air loss.
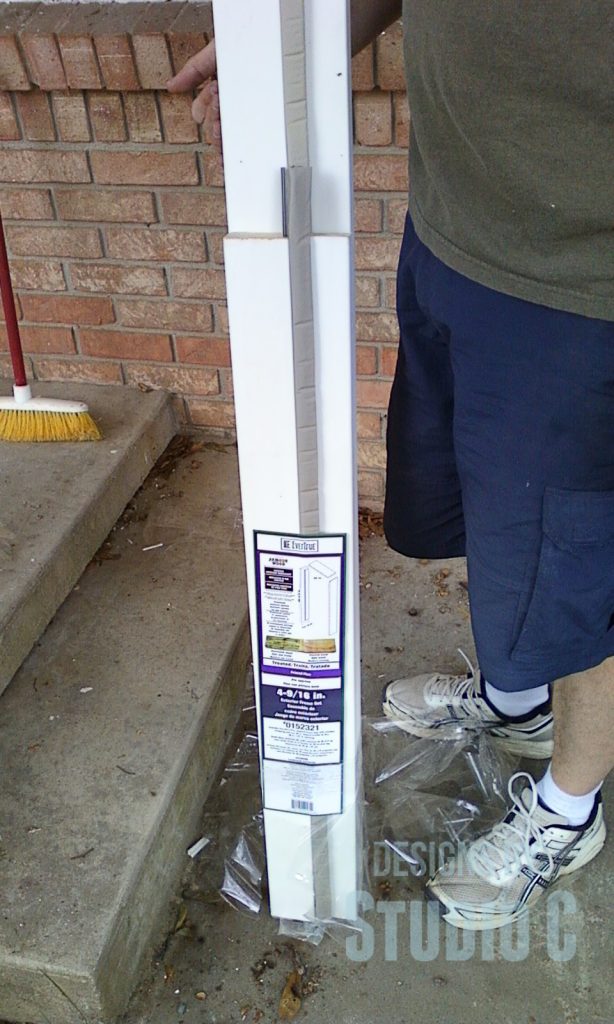
It is a little tedious to make sure the jamb is square and to shim the spaces so it can be secured in the opening.
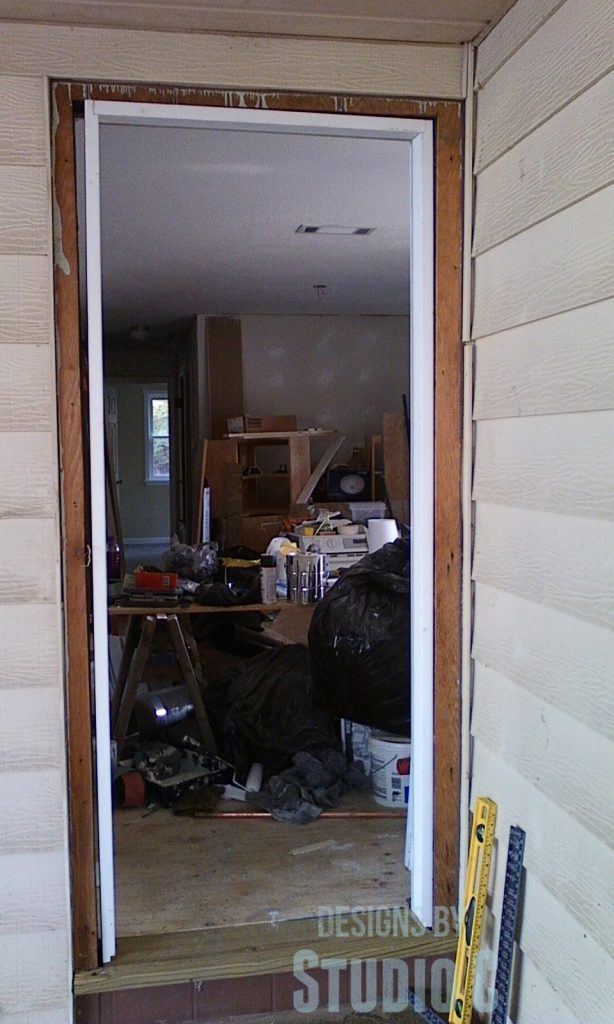
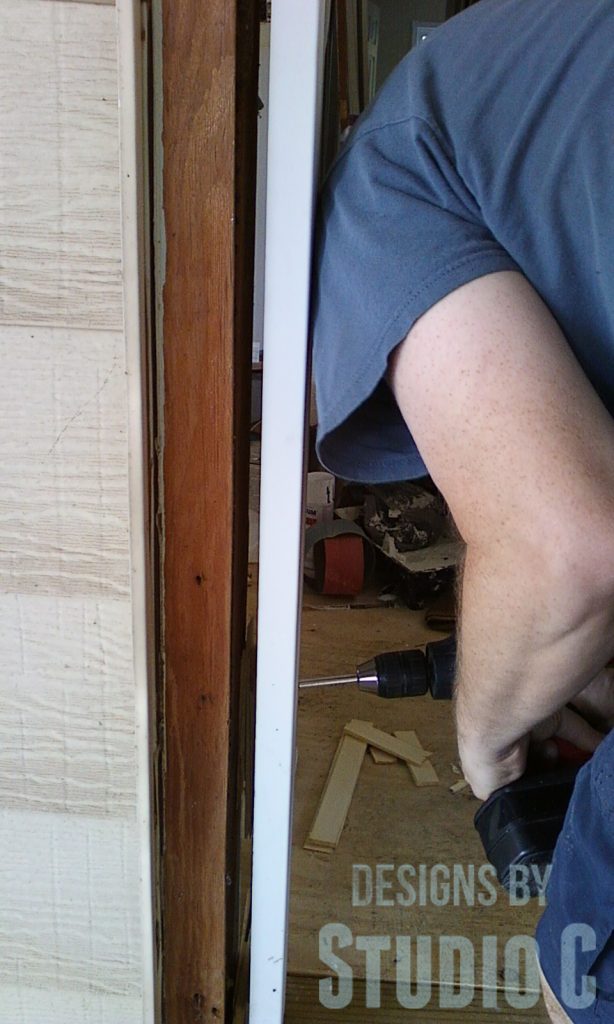
Once the door was shimmed in place, we stood the door in position in the jamb to check the fit. We had already installed the door on the hinges, so we marked the position of the hinges on the jamb, then chiseled a mortise for each hinge.
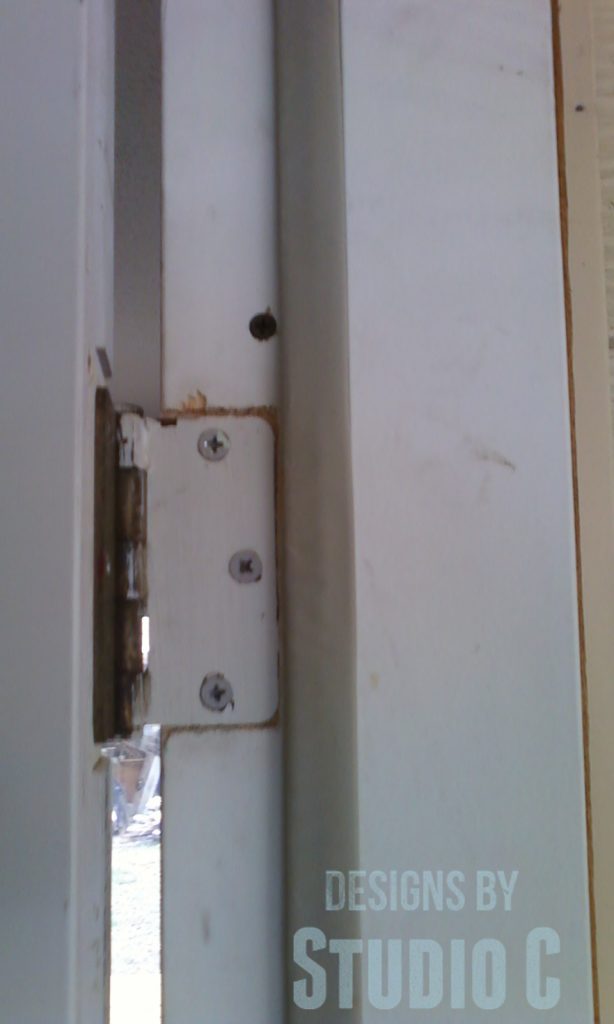
The door was then permanently secured in the opening and we were able to open it and close it with no problem! Whew! We replaced the exterior trim, then filled the gaps between the jamb and framing with insulating foam for doors and windows.
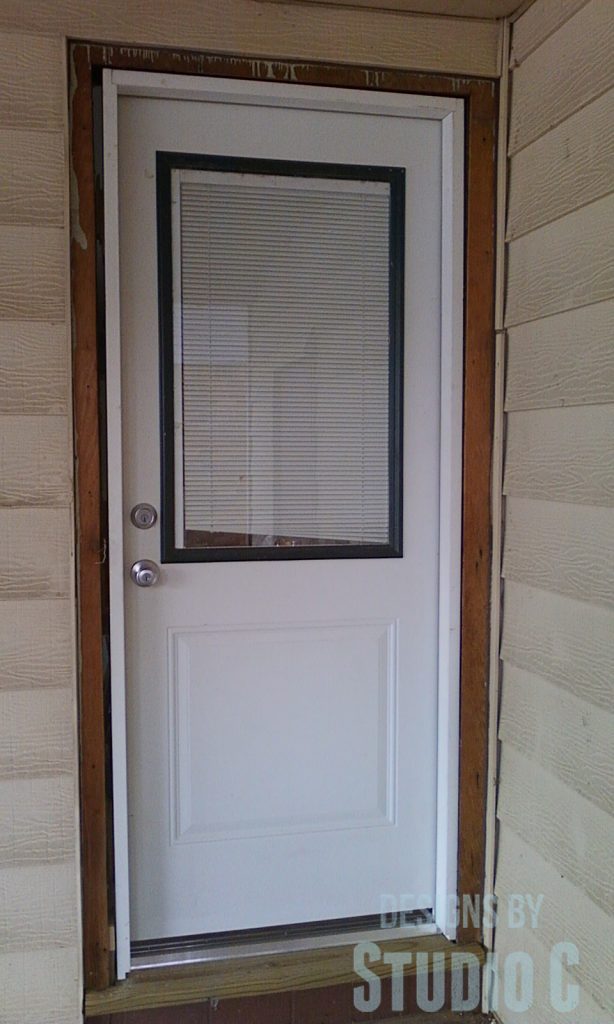
So with all of that being said, here the the steps on how to install an exterior door:
- Remove the existing door from the opening by removing the pins that hold the hinges together
- Remove any interior and exterior trim
- Remove the existing door frame and replace, if necessary
- Check the threshold for damage or rot, then replace the exterior door threshold if necessary
- Position the new jamb and door (or just the jamb if you are not installing a pre-hung door) in the opening then shim into place
- Secure in the opening using nails or countersunk screws through the inside portion of the jamb through the shims into the framing
- Check the fit of the door then mark the position of the hinges and chisel a mortise for each hinge, if necessary
- Re-hang the door, then make any necessary adjustments
- Replace the outside trim then fill the space between the jamb and the framing with insulating foam for doors (<– affiliate link!)
- Replace the interior trim
- Paint the door and trim
Have questions about how to replace an exterior door? Leave a comment below!
Originally posted 2013-11-05 08:00:42.



3 Comments
You guys are such studs (horrible pun).
Awesome!! LOL!
I know how that is… I have one more left myself!