
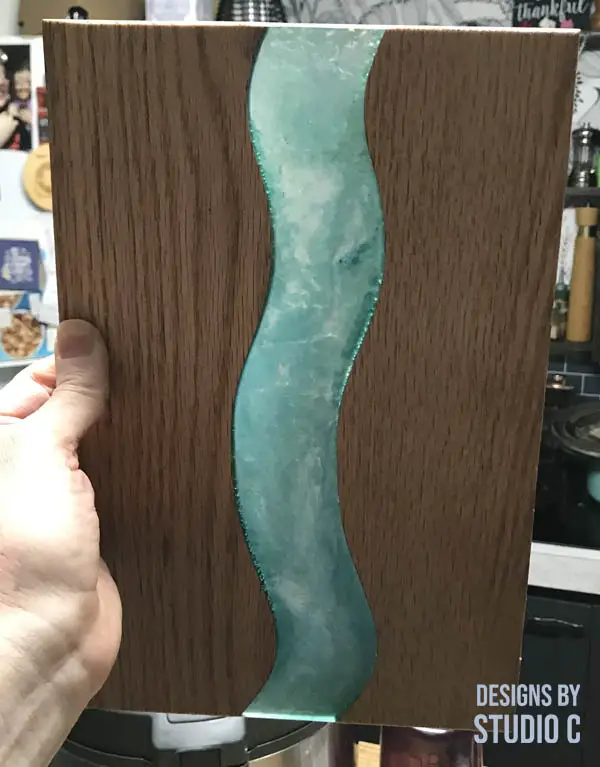
Cutting Boards with Resin: The Trendy Kitchen Essential You Need
I’ve been a bit late to join the wood and resin cutting board trend, but this particular project is unique because it doesn’t call for any fancy materials. Instead, I opted for thin stock hardwood, which can be easily found at most major home improvement stores. To create the cutting board, I constructed a mold to hold the wood pieces in place while pouring the resin. The goal was to make a small and slim cutting board that would be perfect for those who want something fantastic but have limited space for storage. This simple yet impressive cutting board, combined with resin, is a fast and easy project. It also serves as a wonderful gift and can be used as a charcuterie board for entertaining throughout the year!
Materials:
- 1/2″ thick hardwood (I used a 1/2″ x 3-1/2″ piece of oak)
- X-Fasten tape (<– affiliate link!)
- Scrap wood for the mold
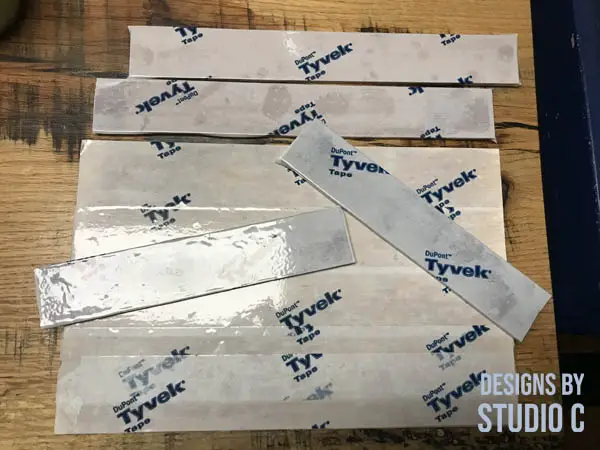
- Tyvek tape (<– affiliate link!)
- Wood screws
- Epoxy Resin Kit
- Dye for the Resin, if desired
- Sandpaper (120, 220, 300 grits)
Notes About the Project:
- The mold is made to be reusable so if you have more than one of these boards to make, you don’t have to build a mold each time
- The X-Fasten tape (double-sided tape for templates) is awesome because it holds tight but is super-easy to remove!
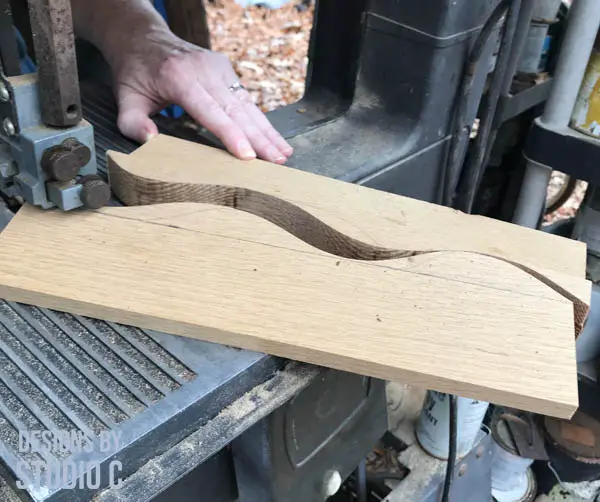
Cut the Wave in the Board
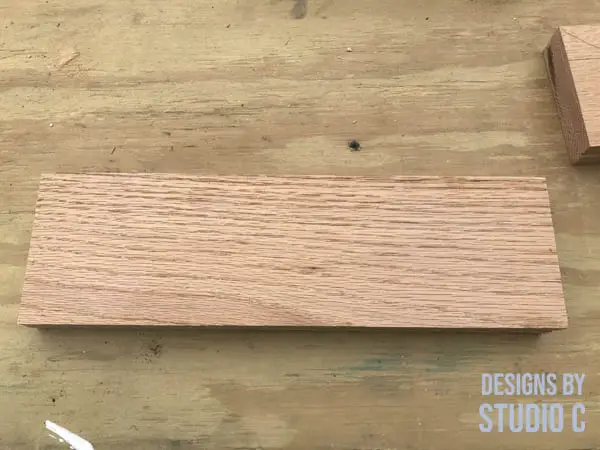
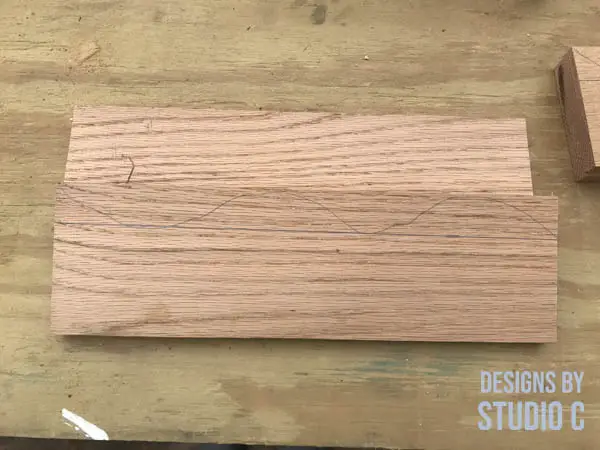
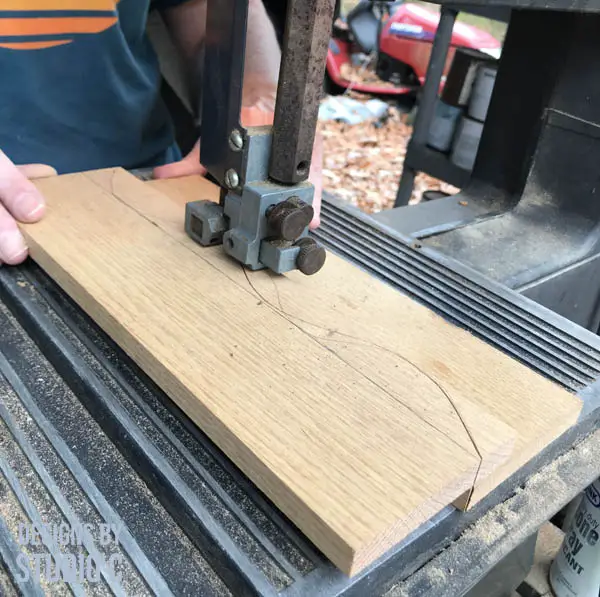
I saw this really cool trick on Instagram for cutting pieces of wood so they are symmetrical using X-Fasten tape and a jigsaw or bandsaw. First, I cut the board into 12 inch long pieces. Then, I drew a line 1 inch in from the long edge of one of the boards and drew a “wave” in that section. I applied the X-Fasten tape on one long edge of the second board, then overlapped one board over the other aligning them on the 1 inch line. I cut along the wave line on my bandsaw, then pulled the pieces apart.
Build the Mold
I used a scrap piece of 3/4 inch plywood as the base for the mold – it is 12 inches long and about 8 inches wide. I covered one face with the Tyvek tape.
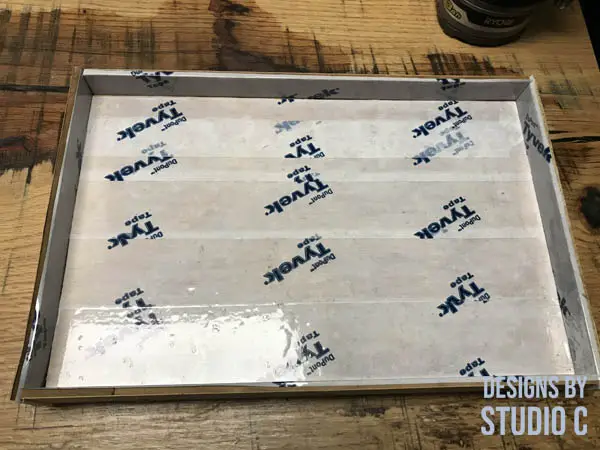
For the sides of the mold, I used scrap pieces of 1/4 inch plywood also covered in Tyvek tape, then secured the sides to the base using wood screws.
I covered the pieces individually so that the mold can be reusable, and once the mold was assembled, I applied the Tyvek tape along the joints inside the mold.
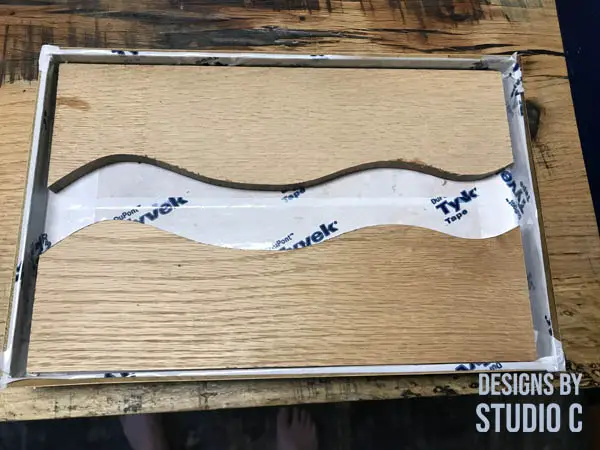
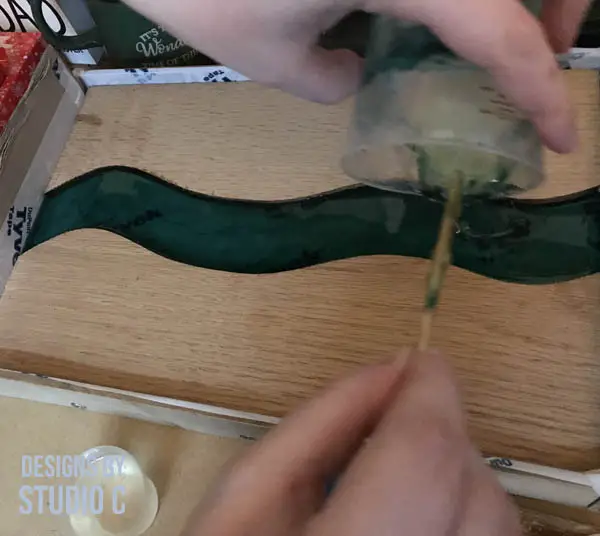
Place the Wood Pieces and Pour the Resin
Position the wood pieces so that the straight edges are against the sides of the mold. Mix the resin according to the manufacturer’s instructions and add color, glitter, etc., then pour the resin between the boards. Let it cure for approximately 5 to 7 days.
My wood pieces were a little small for my mold so I made a spacer with a piece of corrugated board covered in Tyvek tape. I didn’t want to waste any resin!
Time to Un-Mold
Remove the screws from the sides of the mold and peel away any of the Tyvek tape as necessary. Reassemble the mold to use later (I do this so I don’t lose the screws or pieces!).
Sanding and Finishing
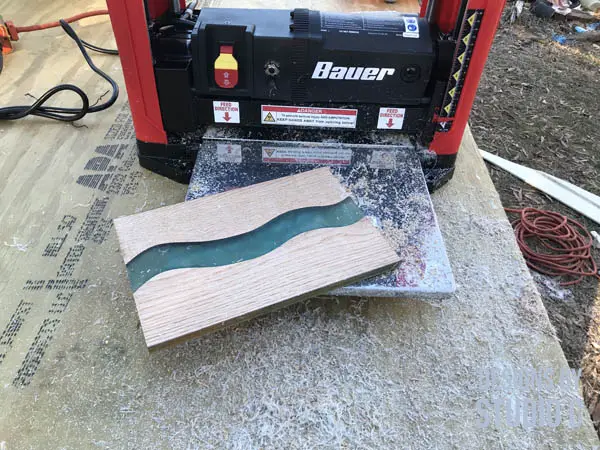
Once the resin is cured, start sanding the entire piece using 120 grit sandpaper moving to 220 then finishing with 300 or finer. I used a thickness planer and made a couple of passes to plane the boards and remove excess resin.
I squared the edges of the board using a miter saw (on the narrower edges) and a table saw. I also cut a very slight chamfer along the edges of both sides with a router, then finished with a beeswax/mineral oil combo.
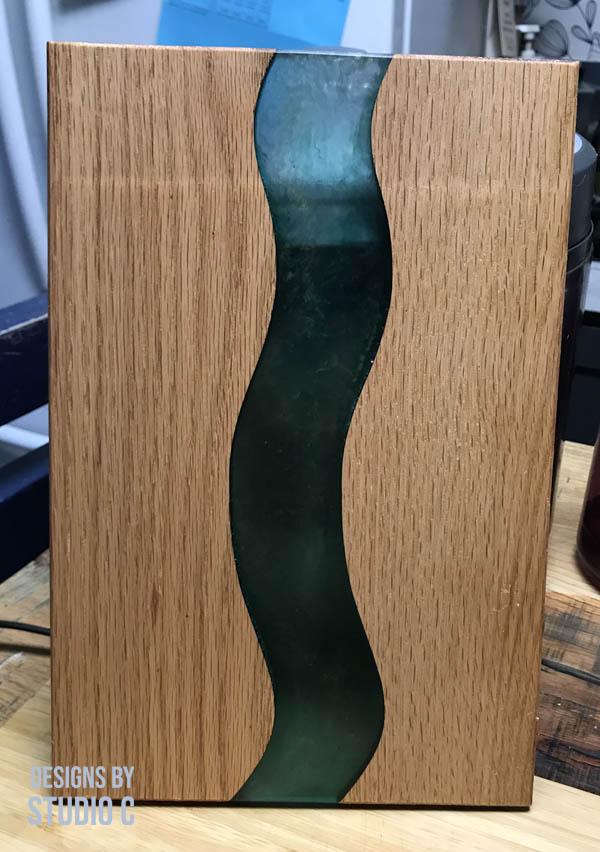
That’s it! Super-easy, right? I am super-crazy about this project and can’t wait to give it to my daughter! Have questions about the cutting board with resin? Additional tips, maybe? Leave a comment below!


Comments are closed.