An Easy to Make Accessory for the Home!
Are you looking for a fun and easy DIY project to spruce up your home decor? If you’re someone who enjoys repurposing materials, why not try making these DIY bookends from drawer fronts? It’s a perfect way to upcycle old materials and create something new and useful. These bookends are not just practical but also add a touch of rustic charm to your bookshelves. All you need are some drawer fronts, a saw, sandpaper, and some paint or stain, and you’re all set for a weekend project that yields beautiful and functional bookends. Give it a try and see how your new bookends transform your space!
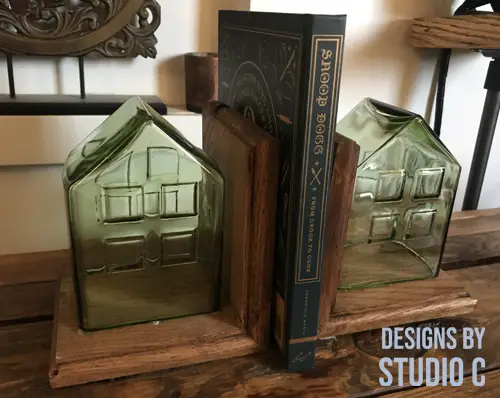
We have a tremendous ton of books in the house and any sort of bookends are a great idea. The cool part about these drawer fronts is that the edges are already routed and they’ve at least been partially sanded. Plus, they are a great size to make these easy DIY bookends.
As always, the bookends can be made from scrap boards, or any regular lumber. And yes, the Snoop Dogg cookbook is mine – I received it as a gift from the hubs. Word to tha D-O-Double-G…
Materials:
- Two drawer fronts measuring approximately 6″ x 12″ (or a 1×6 board)
- 2″ brad nails
- Wood glue
- Corner clamps (<– affiliate link!)
- Sandpaper (80, 120, 220 grits)
- Finishing supplies
Notes About the Project:
- Thoroughly sand the pieces before assembly
- I used a miter joint to make these but butt joints will work equally well and are outlined in the post
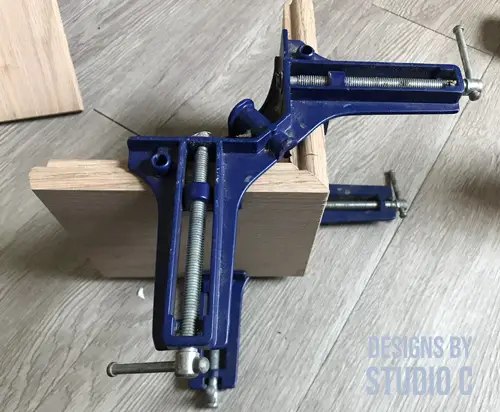
- The clamps are critical to keeping the pieces at a 90° angle while the glue dries
Step One
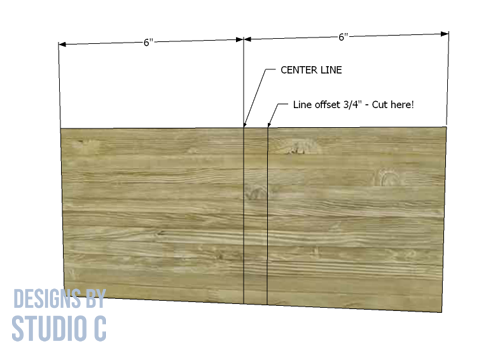
Mark the center of the drawer front, then draw a line 3/4″ off the center (this is the cut line so that the “legs” are even – see the drawing). Cut the board in half along this line.
Step Two
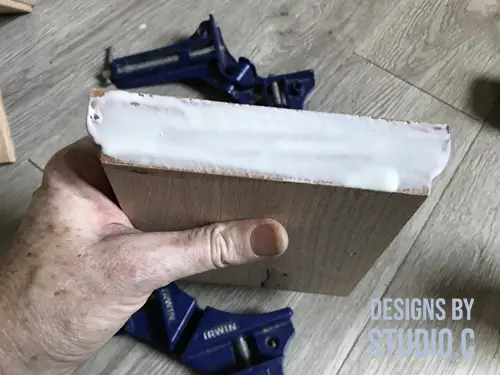
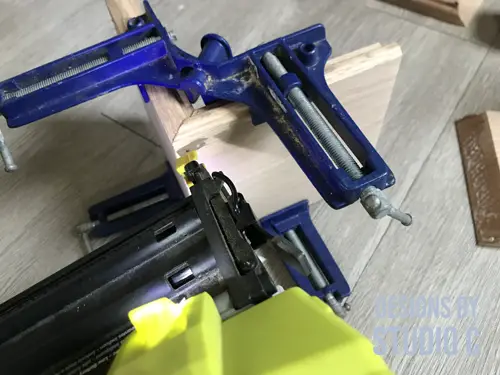
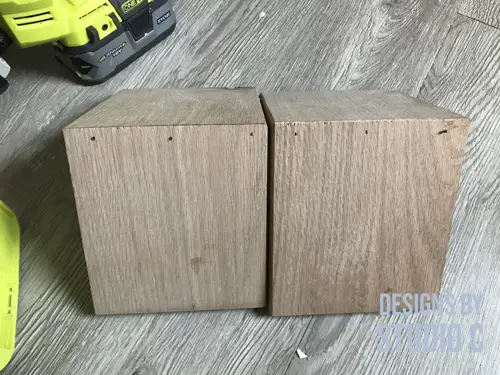
Apply a bead of glue on the edge of the shorter piece. Butt the other piece against it to form a 90° angle, and use the corner clamps to hold the pieces together. Install a couple of the brad nails using a pneumatic nailer.
Step Three
When the bookend assemblies are dry, thoroughly sand the piece then finish as desired. I used Golden Oak stain then sealed with polyurethane. I also added felt pads to the bottom of the shorter leg to protect the surface where the bookends will sit.
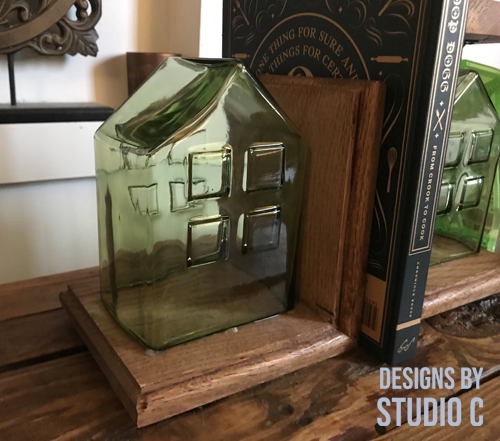
Now here’s where you can have fun with this project and make it your own… The bookends can be left plain or something like a small vase, ceramic figure or a candleholder can be added to the flat leg. I purchased these glass houses at Target and thought they’d be the perfect size for the bookends. I used a couple of beads of hot glue to attach the houses to the wood because we have cats (the Parkour Champs) and they like to knock stuff over on a regular basis.
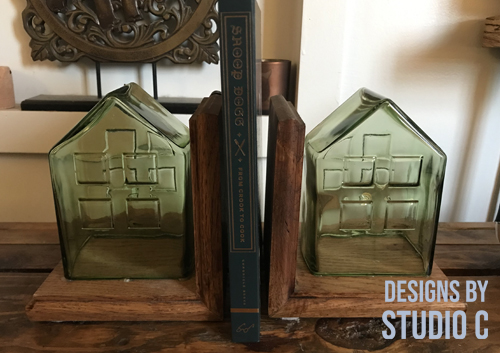
Here are a couple other ideas for bookends:
These simple wooden bookends are a really great project for any skill level, and can be completed in a few hours. Have questions about the DIY bookends using drawer fronts? Leave a comment below!
Originally posted 2022-09-06 13:44:44.

Comments are closed.