
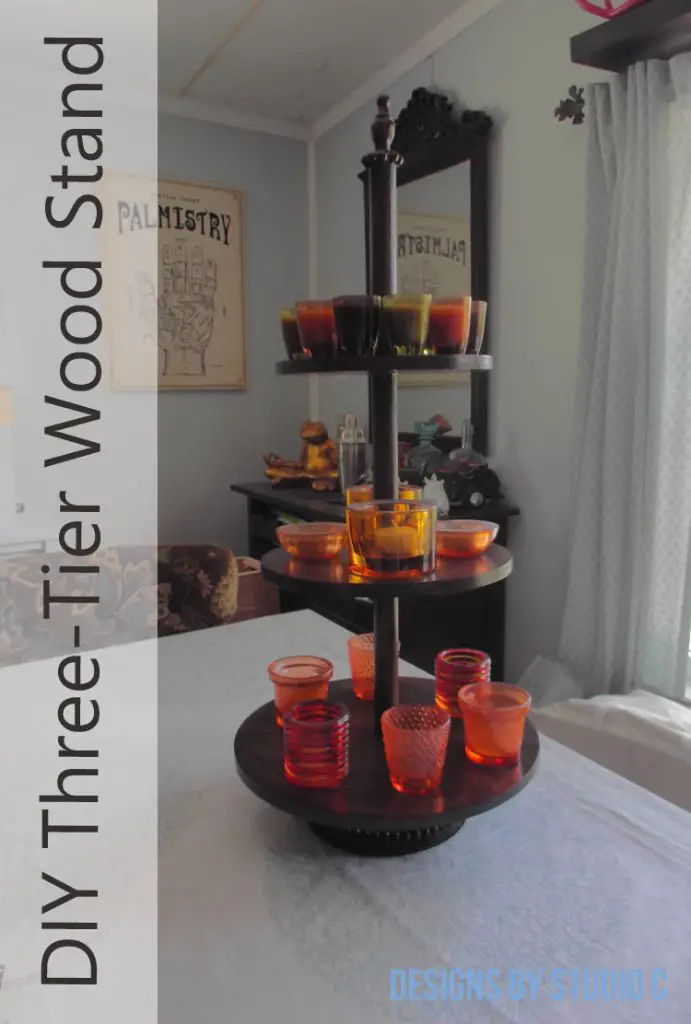
Build a DIY Three Tier Wood Stand
Get Crafty: Build Your Own Three-Tier Wood Stand for Ultimate Organization!
Hey there! How about creating your very own three-tier wooden stand? It’s a super fun and easy DIY project that you can totally tackle. All you need is some wood, a few tools, and a little bit of creativity. Trust me, it’s a great way to add some charm and functionality to your space. So, why not give it a go? You’ll have a fantastic three-tier wooden stand in no time!
Materials:
- 3/8″ dowel pins, at 1-1/2″ long
- DAP® Weldwood Instant Adhesive (<– affiliate link!)
- 3/8″ wood balls
- Wood Finial with a 3/8″ post
- 6″ wood base
- 1″ felt pads
- Sandpaper (100, 150, 220 grits)
- Finishing supplies (primer & paint, or stain, sealer)
Tools Needed:
- Miter saw or handsaw
- Jigsaw or Bandsaw
- Drill with a 3/8″ drill bit
- Sander
Lumber:
- 1 – 2′ x 2′ sheet of 1/2″ plywood
- 1 – 1″ round dowel rod at 3′
Cut List:
- 3 – 1″ round dowels at 7″
- 1 – 1″ round dowel at 2″
- 1 – 1/2″ plywood circle at 12″ in diameter
- 1 – 1/2″ plywood circle at 9-1/2″ in diameter
- 1 – 1/2″ plywood circle at 8″ in diameter
Step One
Draw the circles on the sheet of plywood and cut them out with a jigsaw. They can also be cut out using a jig and a bandsaw. Drill a 3/8″ hole all the way through the center of each circle.
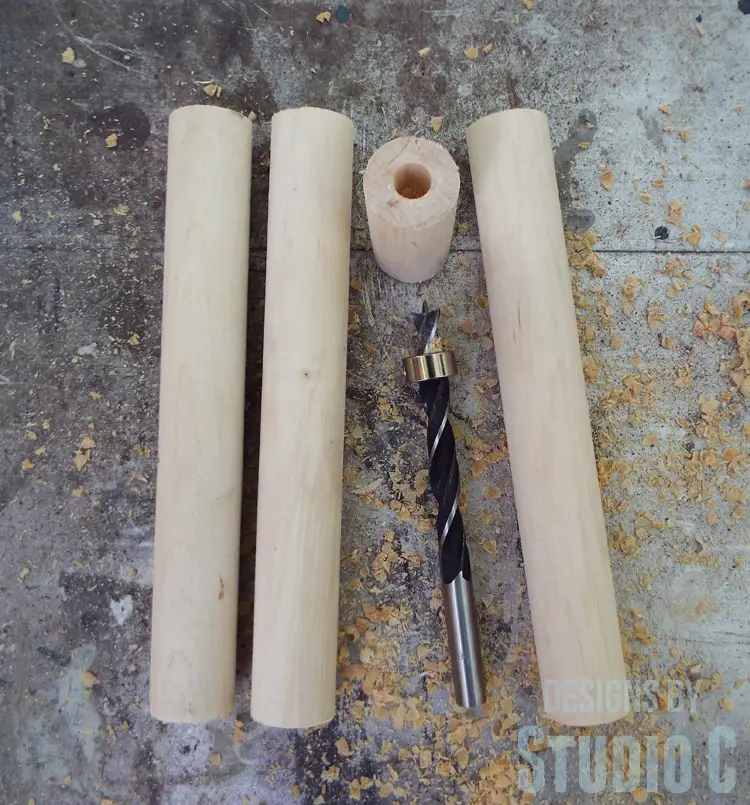
Step Two
Cut the pieces of 1″ round dowel rod. Drill a 3/8″ hole (approximately 1/2″ deep) in the center of each end of the dowel pieces.
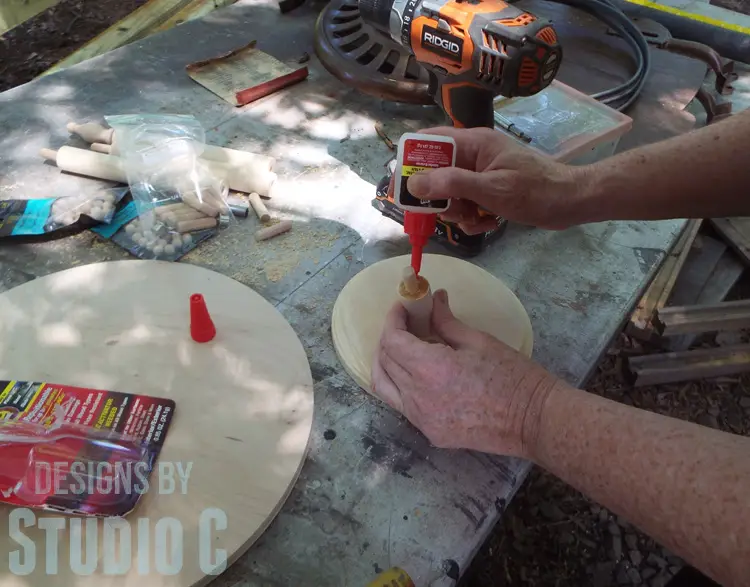
Step Three
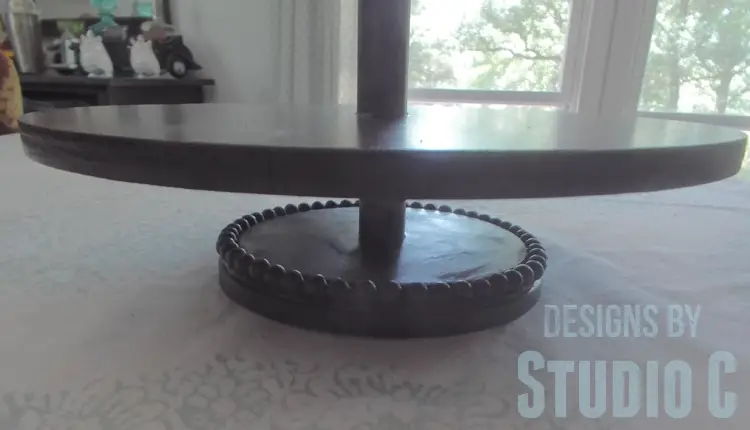
Drill a 3/8″ hole in the center of the wood base. Use a handsaw to cut one of the dowel pins to approximately 1-1/4″ long. Insert one end of the dowel pin into one end of the 2″ long piece of round dowel. Apply a thin bead of adhesive around the dowel pin on the bottom of the dowel, then position the round dowel piece on the base (with the other end of the dowel pin in the hole). Let the adhesive set.
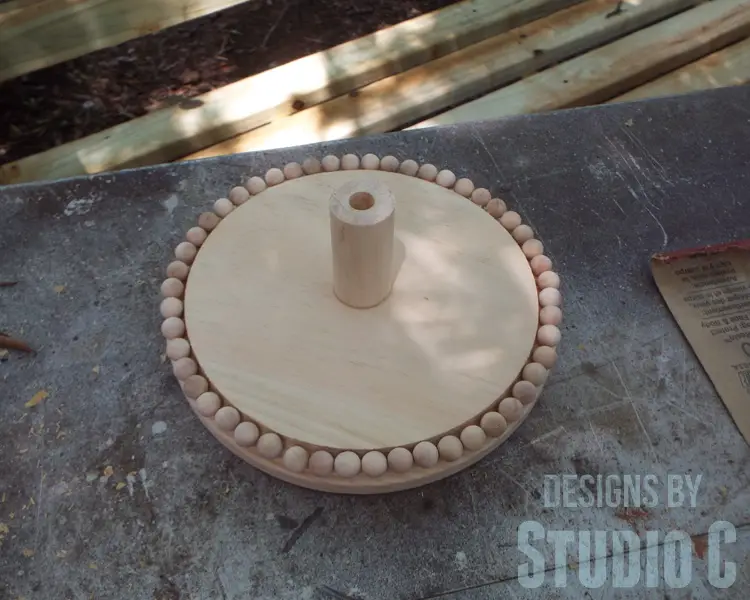
Apply a thin bead of adhesive along the edge of the base and secure the wood balls in place. The base I used has a routed edge and the balls fit perfectly inside.
Step Four
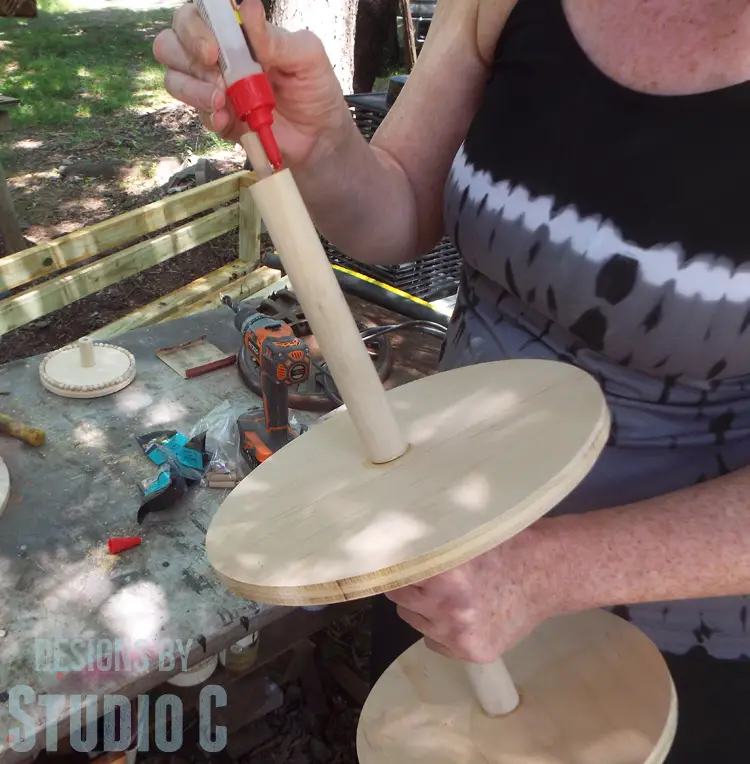
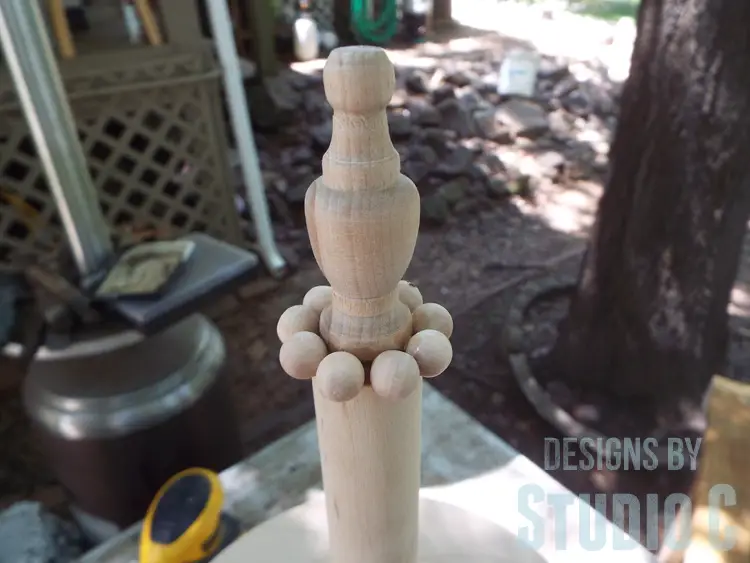
Insert a dowel pin into one end of each round dowel piece. Insert the finial into the end of one of the round dowel pieces (opposite the dowel pin). This will be the top piece.
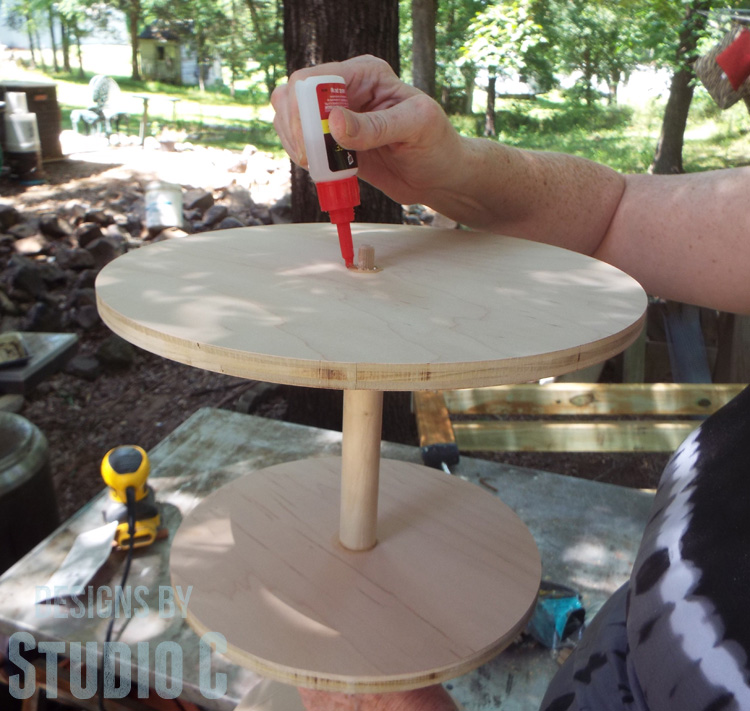
Apply a thin bead of adhesive around the dowel pin on the bottom of the round dowel piece then insert the dowel pin through the hole in the 8″ round plywood piece. Allow the adhesive to dry. Apply a thin bead of adhesive to the open end (the end opposite the dowel pin) of another round dowel piece, then insert the dowel pin that is sticking out from the bottom of the 8″ circle seating the dowel rod firmly against the bottom of the circle. Repeat with the 9-1/2″ circle and ending with the 12″ circle, layering the pieces and ending at the base.
I also used adhesive to secure a few of the wood balls around the bottom of the finial where it meets the round dowel.
Finish the stand as desired. I used a dark brown stain to give the stand a rustic look. Add the felt pads to the bottom of the base.

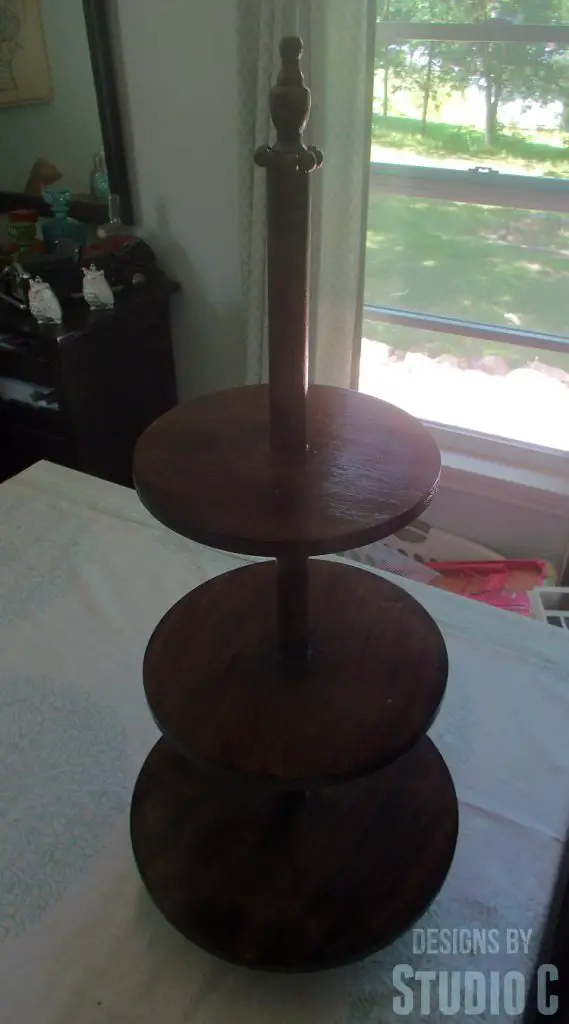
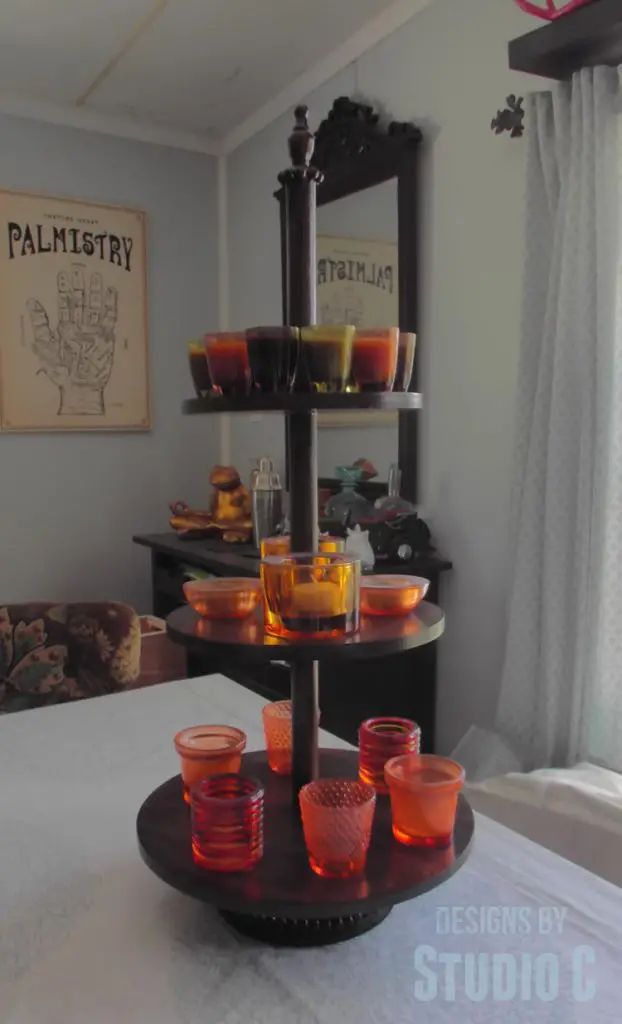

This is a great project for displaying candles and other decor. Or… Line the tiers with parchment paper and place cupcakes or other treats on them! Have any questions on how to build a DIY three tier wood stand? Leave a comment below!