
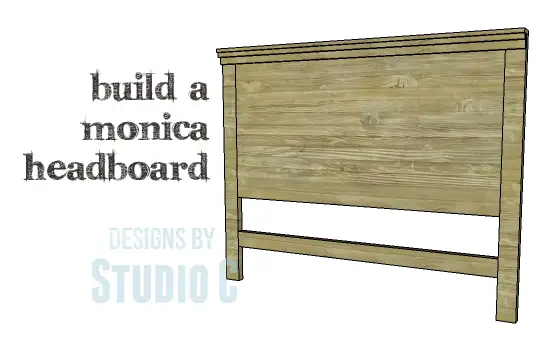
DIY Plans to Build a Monica Headboard
A Plain Headboard to Customize to Fit Your Style
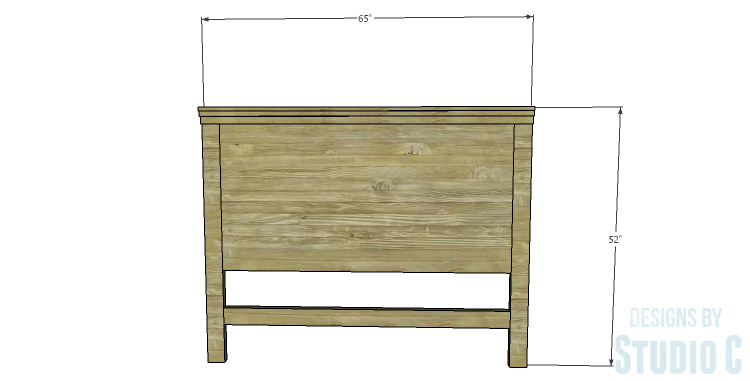
Are you in the market for a new headboard? The DIY plans to build a Monica Headboard are plain and simple – the detail and finishing are entirely up to you! The headboard can be stenciled, painted, stained, decoupaged, upholstered, or even made beautiful with the glue-resist technique! A router and a decorative bit will be used to create the upper trim. The plans are written for a queen headboard but other sizes can be made with just a few adjustments.
Materials:
- (<– affiliate link!)
- 2-1/2″ pocket hole screws (<– affiliate link!)
- 1-1/4″ brad nails
- Wood glue
- Sandpaper (100, 150, 220 grits)
- Finishing supplies (primer & paint, or stain, sealer)
Lumber:
For a Queen sized headboard:
- 1 – 1×4 at 6′
- 1 – 1×6 at 6′
- 3 – 2×4 at 6′
- 1 – 4′ x 8′ sheet of 3/4″ plywood
Cut List:
- 2 – 2×4 at 51-1/4″ – Legs
- 1 – 2×4 at 58″ – Lower Stretcher
- 1 – 3/4″ plywood at 32″ x 58″ – Headboard Panel
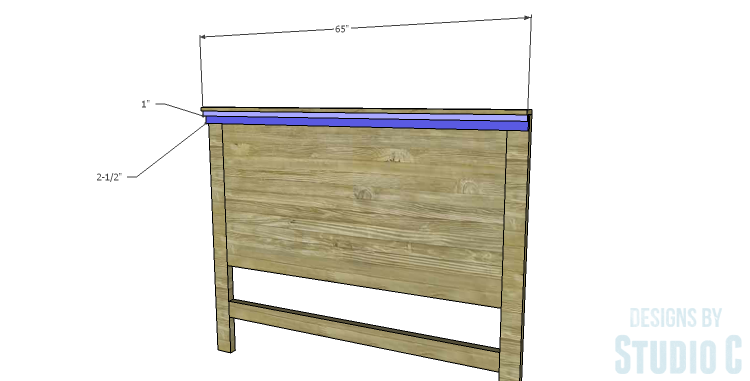
- 1 – 1×4 at 65″ – Top Trim
- 1 – 1 x at 1″ wide (cut from 1×6) at 65″ – Trim
- 1 – 1x at 2-1/4″ wide (cut from 1×6) at 65″ – Trim
Click on the drawings for a larger view!
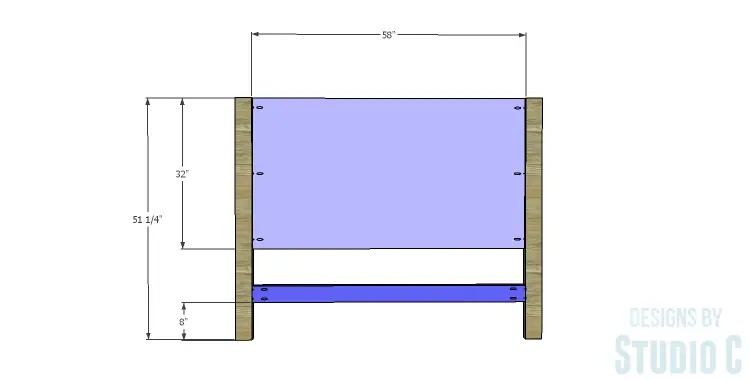
Step One
Cut the pieces for the legs, stretcher, and panel. With the pocket hole jig set for 1-1/2″ material, drill pocket holes in each end of the stretcher. Secure the stretcher to the legs using glue and 2-1/2″ pocket hole screws.
Set the pocket hole jig for 3/4″ material and drill pocket holes in the side edges of the panel. Secure the panel to the legs using glue and 1-1/4″ pocket hole screws. The front face of the panel will be flush with the front face of the legs.
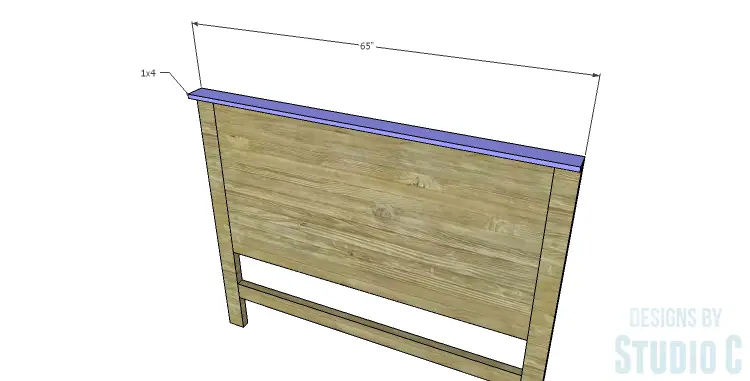
Step Two
Cut the piece for the top. Secure the top to the top of the legs and the panel using glue and 1-1/4″ brad nails.
Step Three
Cut the 1×6 board to ” long. Using the router and a decorative bit of your choice, cut a decorative edge on each long side of the board. Rip a 1″ wide piece off of the 1×6 for one of the trim pieces, then rip the remaining piece to 2-1/4″ wide. See this post for more information on making your own trim!
Secure the wider trim to the front of the headboard under the top using glue and 1-1/4″ brad nails, then layer the narrower piece on top.
Finish as desired.Secure the headboard to the wall or the bed frame. If securing the headboard to the bed frame, additional holes may have to be drilled.
To make the headboard wider for a king size, add 16″ in length to the top, trim, stretcher, and the length of the panel. To make the headboard narrower for a full size bed, subtract 6″ in length from the top, trim, stretcher, and the length of the panel. Have any questions about the DIY plans to build a Monica Headboard? Leave a comment below!
Originally posted 2014-11-25 08:00:40.
[…] though these free woodworking plans are for a queen sized headboard, the plans can be altered to fit any size […]