
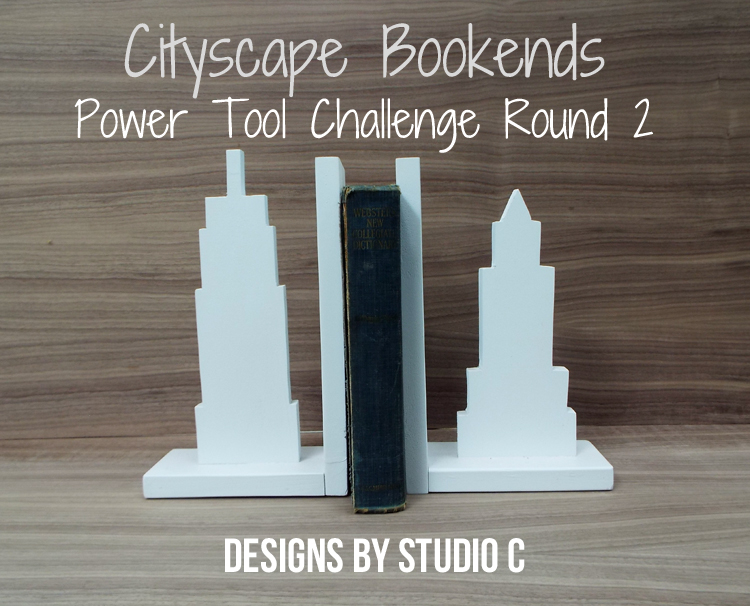
Plans to Build the Cityscape Bookends
Unique Bookends That Are Easy to Make – Power Tool Challenge
During the first Power Tool Challenge, I got together with fellow bloggers to create a project using one power tool – a drill. I made a wall mounted light fixture that was really easy and looks fabulous! After taking the summer off, we are back with a new project, this time using a jigsaw. I chose to create the plans to build Cityscape Bookends for the Power Tool Challenge complete with full-scale templates. The “buildings” use only straight cuts making this the perfect project for those new to the jigsaw!
Tools & Materials:
- 1 – 1×3 at 4′
- 1 – 1×6 at 4′
- Printer & paper
- Spray adhesive
- Sandpaper (80 grit, 120, grit, 220 grit)
- Jigsaw with a scrolling blade
- Drill with a Phillips bit, and a countersink bit
- Pocket hole jig, optional
- 8 – 1-1/2″ screws (or pocket hole screws)
- Wood glue
- Paint (I used spray paint)
- Adhesive felt pads
Cut List:
- 1 – 1×6 at 12″ – Building 1
- 1 – 1×6 at 12″ – Building 2
- 2 – 1×3 at 6″ – Bookend Bottom
- 2 – 1×3 at 10-3/4″ – Bookend Side
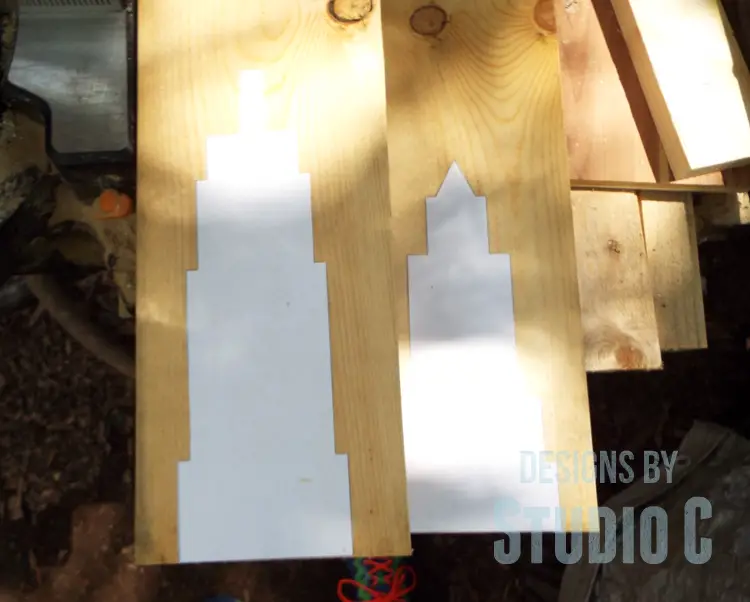
Step One
Cut pieces of the 1×6 to length using the jigsaw. Print the templates and align the registration marks on the taller building then tape the sheets together. Cut out the buildings. Spray the back side of the paper templates with the spray adhesive, then position the templates on the 1×6 pieces.
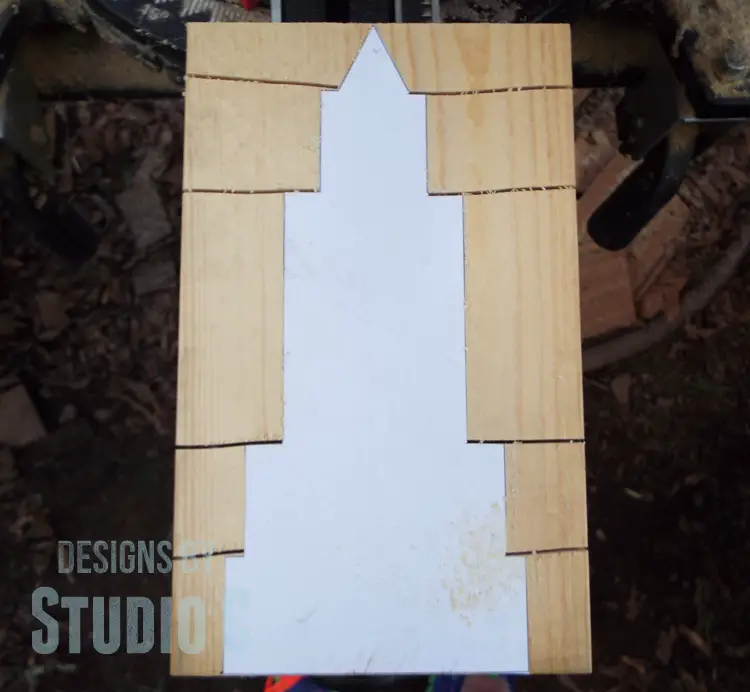
Step Two
Cut out the buildings using a jigsaw and a scrolling blade. The scrolling blade is narrower, and is generally used for cutting curves. To me, I get better control of the jigsaw by using a scrolling blade for projects like this.
Make the horizontal cuts first stopping just short of the template, then make the vertical cuts. (Ignore my not-very-straight cuts!)
Step Three
Peel as much of the template off as possible. If there is any paper left, it can be sanded off. Thoroughly sand the edges and the faces of the buildings, starting with the 80 grit sandpaper, moving to the 120 grit, then finishing with 220 grit.
Step Four
Cut the 1×3 pieces with the jigsaw and sand the pieces thoroughly. With the pocket hole jig set for 3/4″ material, drill pocket holes in one end of the shorter boards.
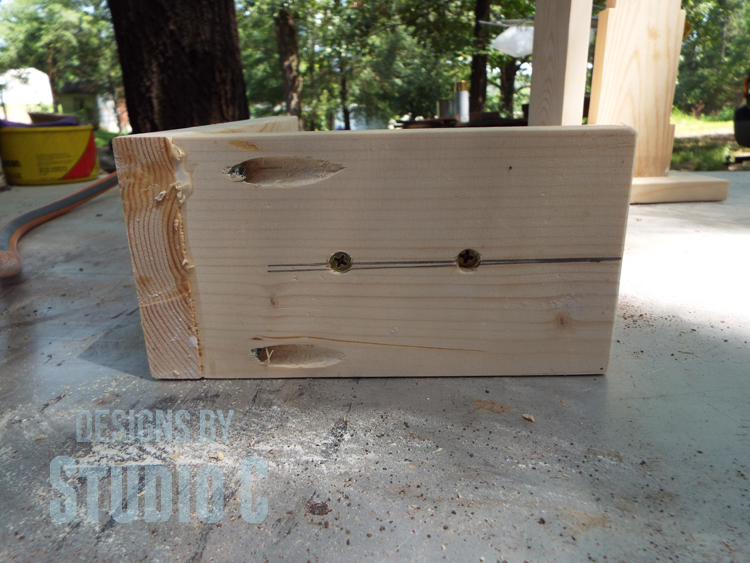
Draw a line down the length of the shorter boards in the middle of the pieces (on the bottom face). Drill two holes along this line approximately 1″ from the center of the line.
Secure the longer boards to the end of the shorter boards using glue and 1-1/4″ pocket hole screws.
If you do not have a pocket hole jig, countersunk 1-1/2″ screws can be used to secure the pieces to each other. Draw a line 3/4″ up from the bottom edge of the longer boards, and drill two countersunk holes between the line and the end of the board. Secure the longer board to the shorter board using glue and 1-1/2″ screws.
Secure the buildings to each of the shorter pieces using glue and 1-1/2″ screws through the bottom.
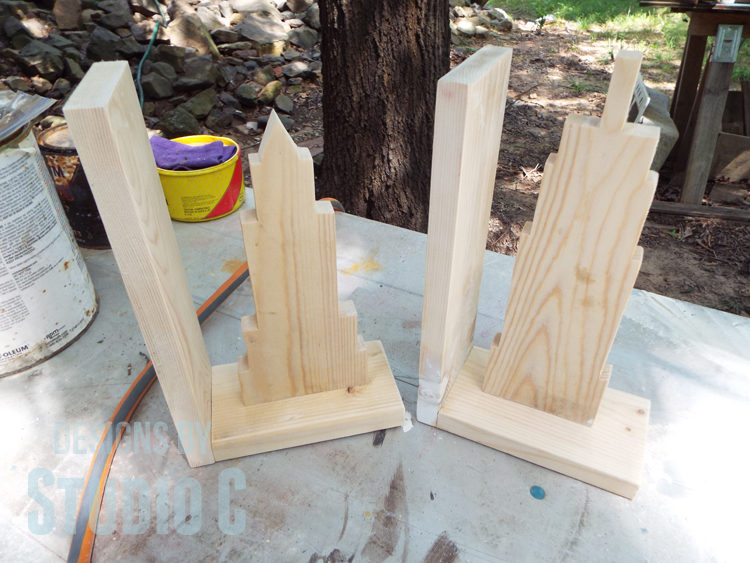
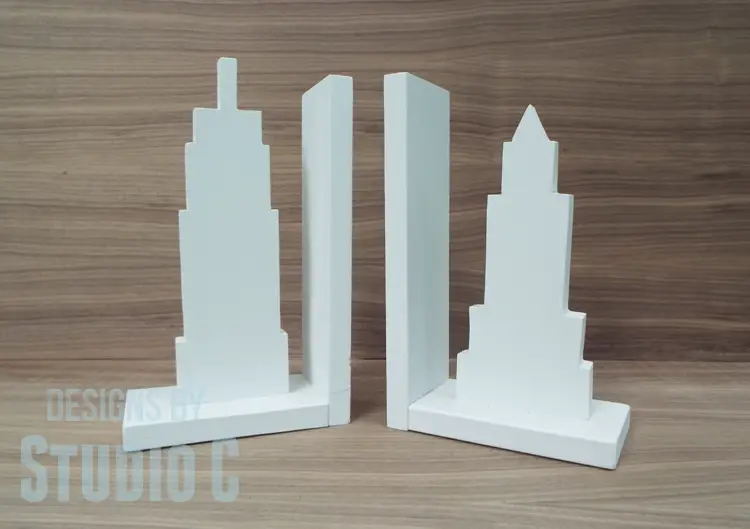
Step Five
Finish the bookends as desired. I used three coats of a flat white spray paint, with a light sanding in between each coat. Add the adhesive felt pads to the bottom.
Take a look at some of the other projects for the Power Tool Challenge:
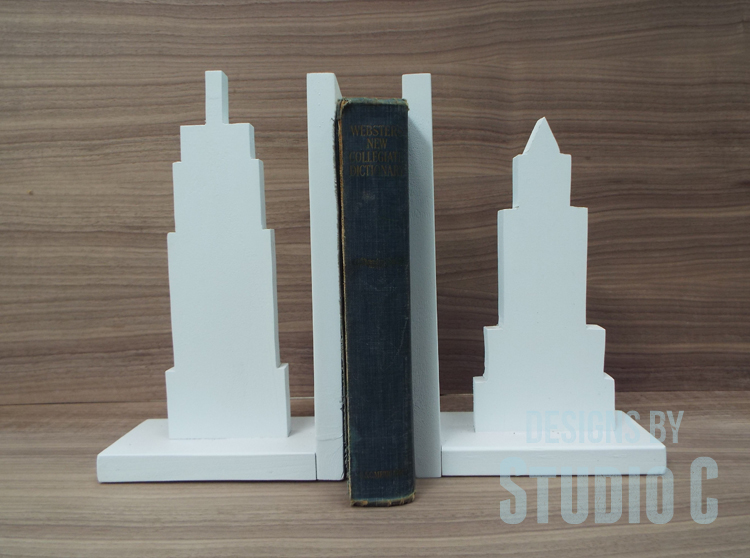
Great inspiration, right? There are all kinds of great projects including the plans to build the Cityscape Bookends! They are great for a college dorm, a kid’s desk, or even a home office! Have any questions? Leave a comment below!
Originally posted 2015-08-13 05:00:28.

You are so darn smart gluing the paper template to the wood! I love that I’m always learning from you…and love these bookends too! Super project my friend:) XO-Wendi @H2OBungalow
Thanks so much, Wendi! It works really well but they can be a bear to get off… I used the cheap spray adhesive, too – you know, the kind that doesn’t ever work when you want it to work!
Love the versatility of this project and it’s simple design. Great job, Cher! Pinning…
Thanks so much, Larissa! I love them – they are one of the few projects I won’t be parting with!
How creative! I love these, Cher! XO
Thank you, Christy, I appreciate it!
Your bookends are unique and so creative. Using spray adhesive to hold the template in place is a great tip. I know I would have traced around it and then my lines wouldn’t have been straight. Love this project!
Thank you, Paula! I used the template and my lines still weren’t straight, ha ha!, but that is how I roll!
What a cool project! Just think of all the things you can cut out and use as bookends. Love that!
Exactly, Serena! A great big “S” to match your killer notebook!
I LOVE your cityscape bookends, Cher – so creative! The simplicity of the design is what makes them so special. Added to my Want List!
Thanks so much, Marie! They were by far one of the easiest projects!
This is such a fun idea – you could really do any design! Love it!!
Thanks so much, Krista! You really could use any shape!
I love these! You were so creative in thinking this project!
Thank you so much, DeDe! I actually saw them in a catalog and was totally inspired to make my own!
[…] Cityscape Bookends […]