A Great Alternative to Curtains
I recently installed new windows in my bedroom, however, I was having a hard time decided what to use as a covering. I just cannot decide on curtains. I don’t care for Roman shades. I’m tired of mini-blinds. I really wanted a shutter-type door of sorts but didn’t want to spend money on special order shutters. Boo! While I was installing bifold doors at the Rebel house, inspiration struck… Why not build and install bi-fold doors for the windows??
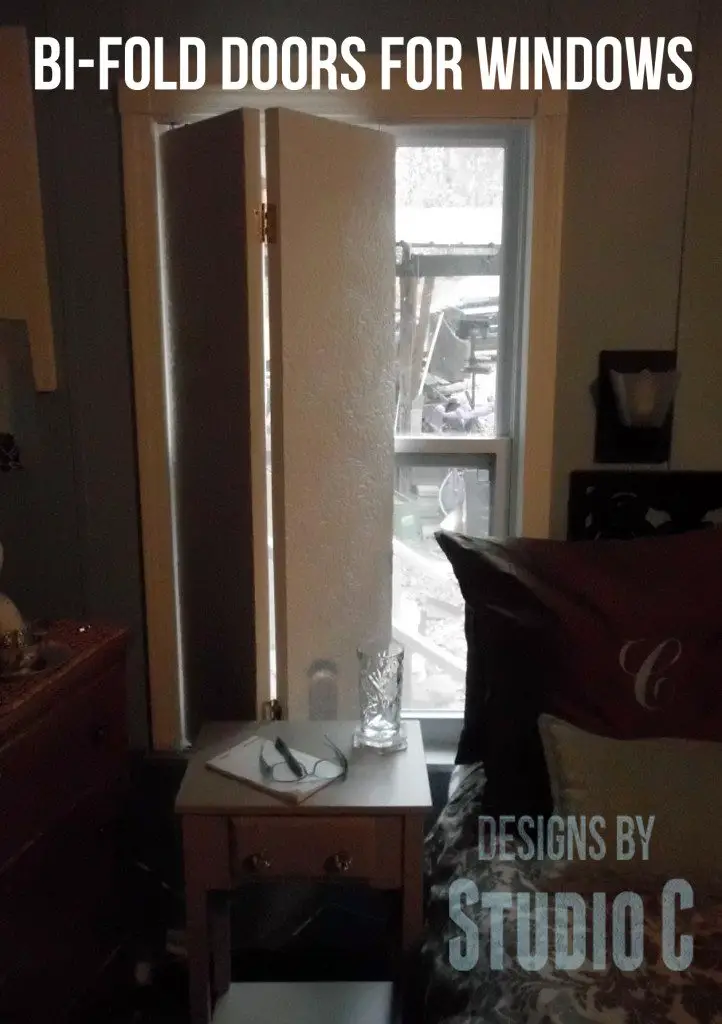
This would be a very easy and inexpensive process! The tracks and hardware kits are readily available at any home improvement store, and the doors themselves would be easy to construct using 1×3 lumber and 1/4″ plywood.
What You’ll Need:
- Bi-fold door track
- Bi-fold door hardware
- Hacksaw
- 1×3 lumber
- 1/4″ plywood
- 1-1/4″ pocket hole screws
- 3/4″ brad nails
- 1″ screws
- Wood glue
- Sandpaper (100, 150, 220 grits)
- Finishing supplies (primer & paint, or stain, sealer)
- Non-mortise hinges
- Cabinet pull
To determine the height and width of your doors, measure inside the window frame where the doors will be located. For the height, subtract 1-1/2″. This will be the finished height of the doors. For the width, subtract 5/8″ (1/2″ to allow for movement when opening and closing, 1/8″ to allow for the hinges in between the two doors), then divide by two. This will be the finished width of each door – two will be required.
For one door set, two frames will be constructed from the 1×3 material. Cut four pieces of the 1×3 at the finished height of the doors. Cut six pieces of the 1×3 material at the finished width minus 5″ (the width of each of the 1×3 pieces). Drill pocket holes in each end of the shorter pieces. Locate the pocket holes for the top and bottom pieces close to one end as shown so the screws will not interfere with holes drilled for the pivot and guide hardware. Assemble the frame as shown using glue and 1-1/4″ pocket hole screws.
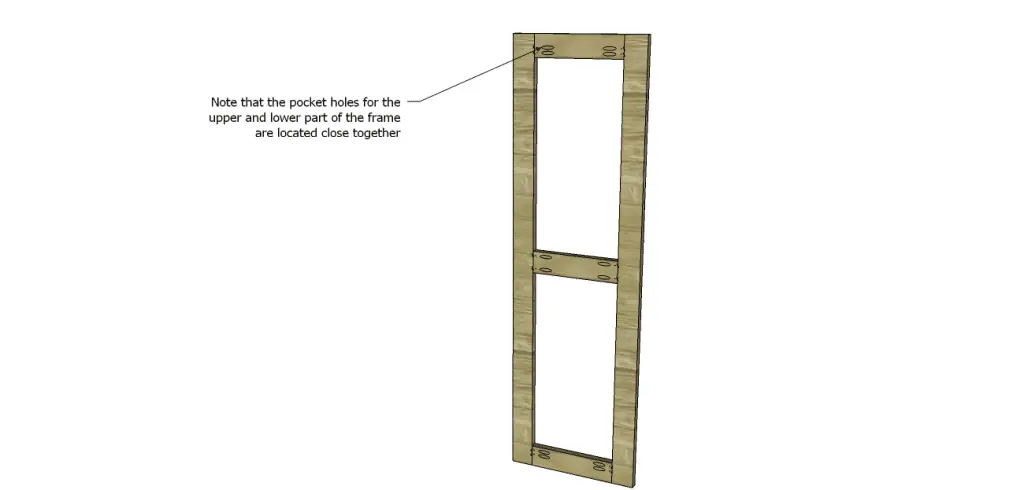
Bore a 3/8″ hole in the top and bottom of each frame locating it 1-3/8″ in from one side, and 1″ deep. This is to insert the pivot and guide hardware. (I used my Beadlock system – a type of joinery – because it enabled me to get the correct size and a straight hole!) (I failed to photograph this step but you catch my drift, right??)
Measure the overall height and width of the frames and cut four pieces of 1/4″ plywood for each side of the frames. Fasten in place using glue and 3/4″ brad nails. It may be necessary to use a router with a flush cutting bit.
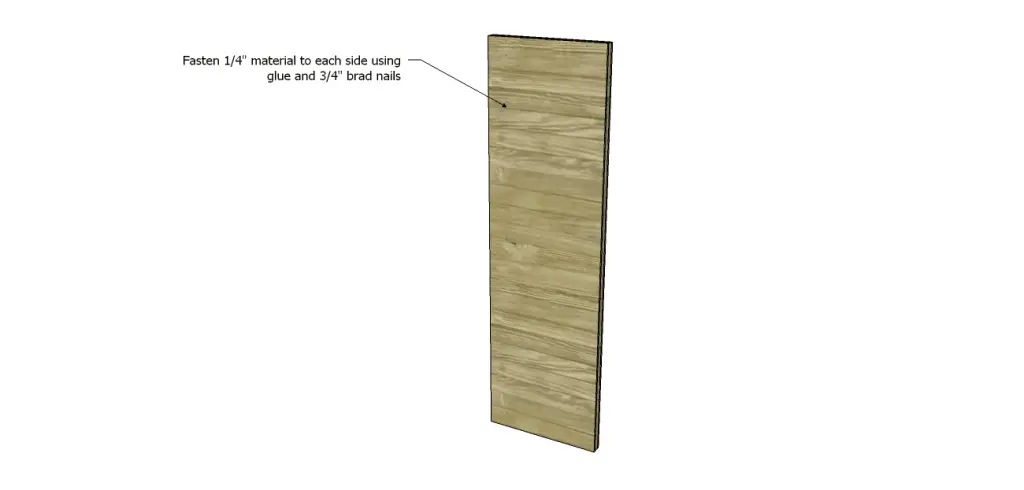
Thoroughly sand and finish the doors as desired. I painted mine white – Silky White by Behr, to be exact! Here is where you can have a little fun with the doors… They can be stenciled, decoupaged with a vintage movie poster, covered with fabric, etc. I decided to add textured wallpaper to the inside (the side that will face the room) of my doors. I used a sponge roller to apply Mod Podge, then positioned the unpasted wallpaper, then trimmed the excess away when dry. It worked beautifully! (And I failed to photograph this step. also!)
Install the hinges according to the manufacturer’s instructions positioning them so that when folded, the outside of the doors face each other.
Measure the track and cut to length using the hacksaw, if necessary. Install the track at the top of the window framing using 1″ screws. The front edge of the track will be located approximately 1/8″ from the outside of the framing.
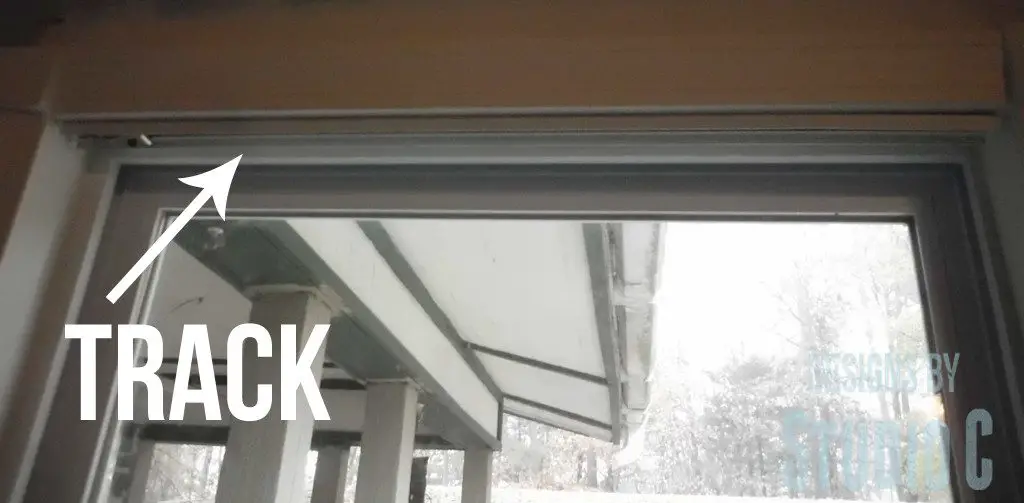
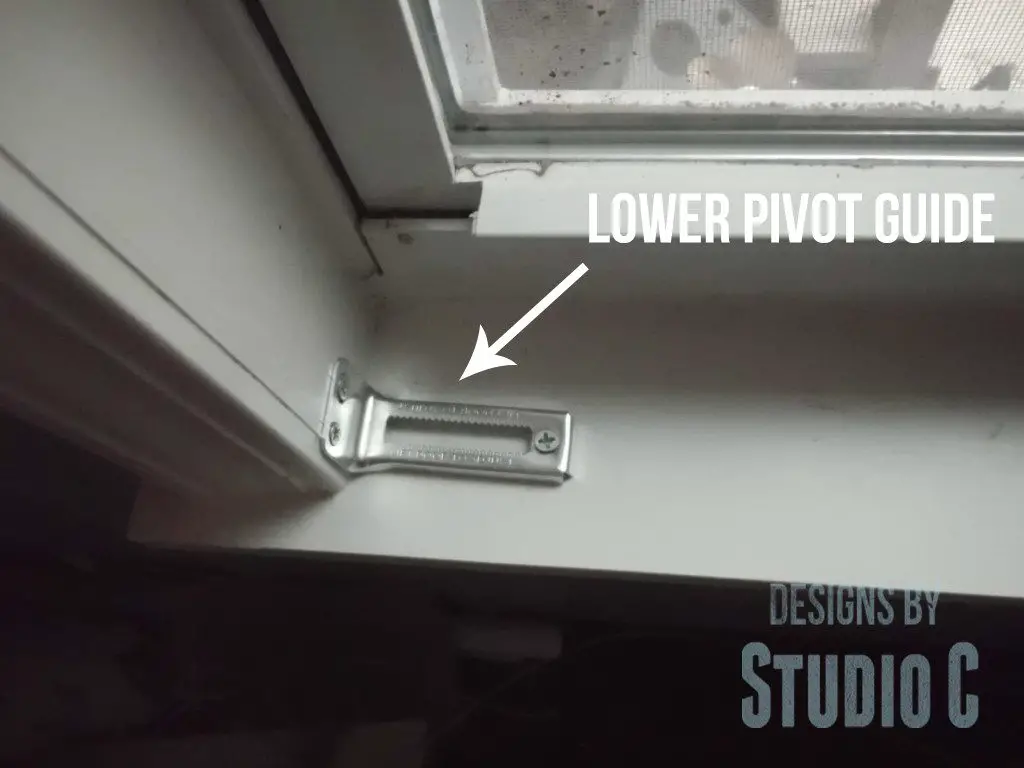
Position the bottom pivot guide and secure it to the side of the window framing aligning it with the track.
Insert the pivot and guide hardware into the holes drilled in the door frame. The “cupcake” shaped piece and the straight springy piece are the pivot hardware. The “cupcake” piece will be inserted on the bottom while the straight piece will go on the top. The wheel (the guide hardware) will be inserted in the top of the opposite door and run along the track when opened and closed.
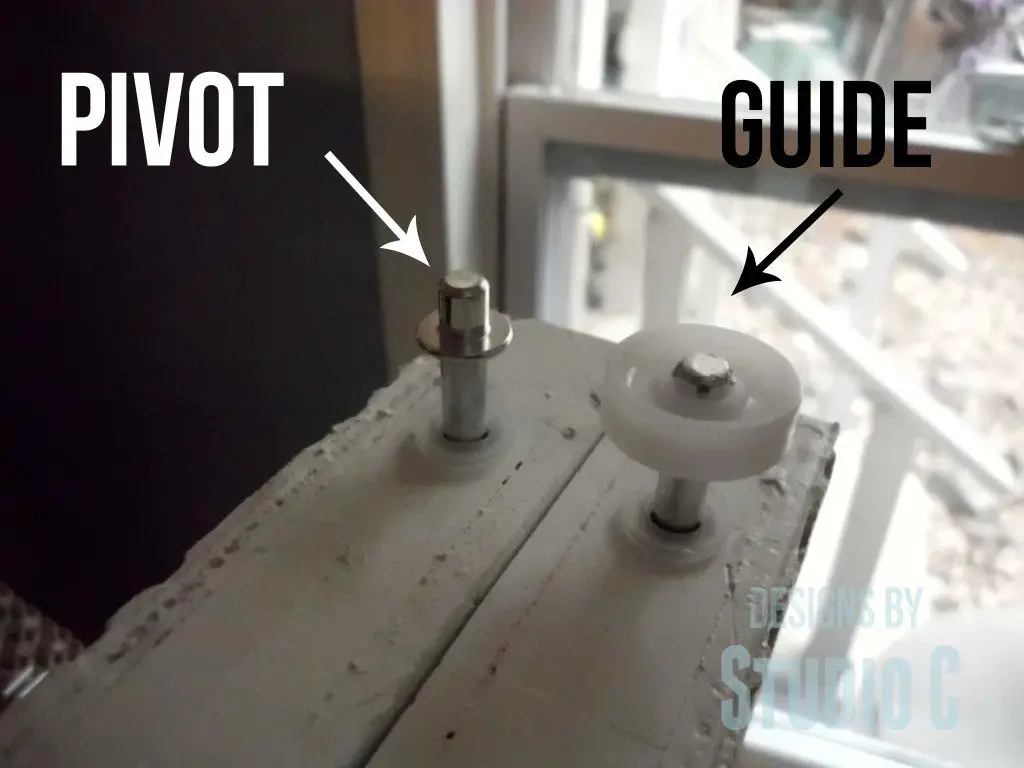
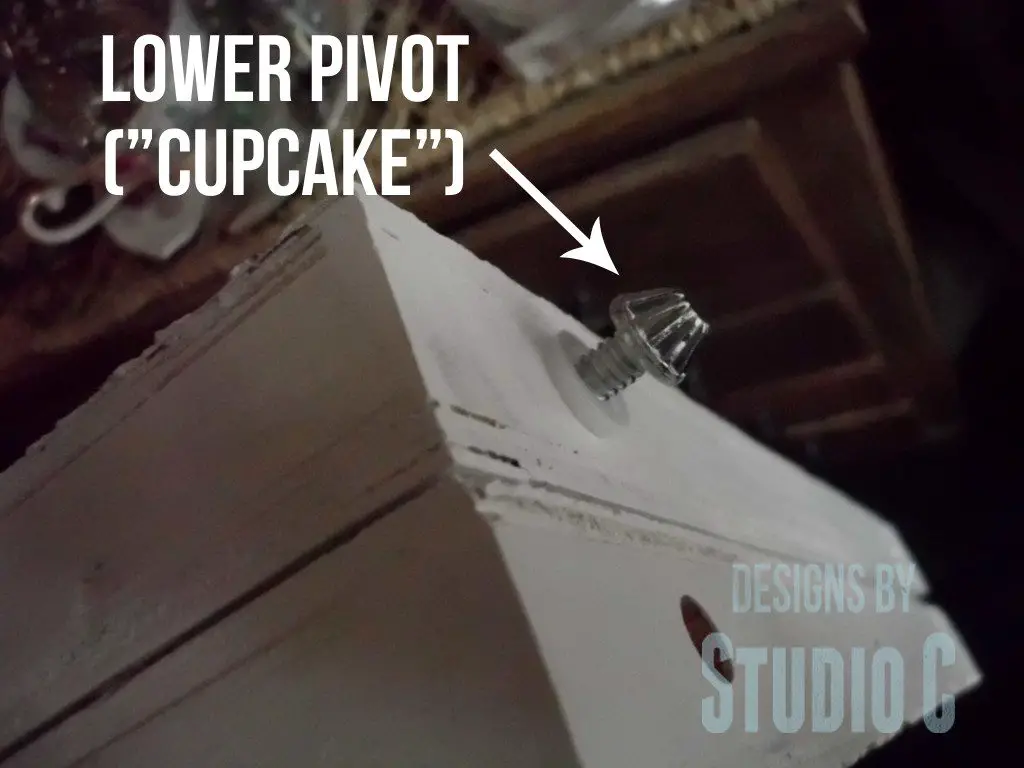
Place the “cupcake” in the bottom pivot guide and snap the straight piece in the hole in the pivot guide in the track. The guide wheel piece will ride in the track. Adjust the pieces vertically by turning the “cupcake” piece to the left or right to lower or raise the doors. Adjust the pieces horizontally by readjusting the “cupcake” piece as well as loosening the screw in the top pivot piece in the track.
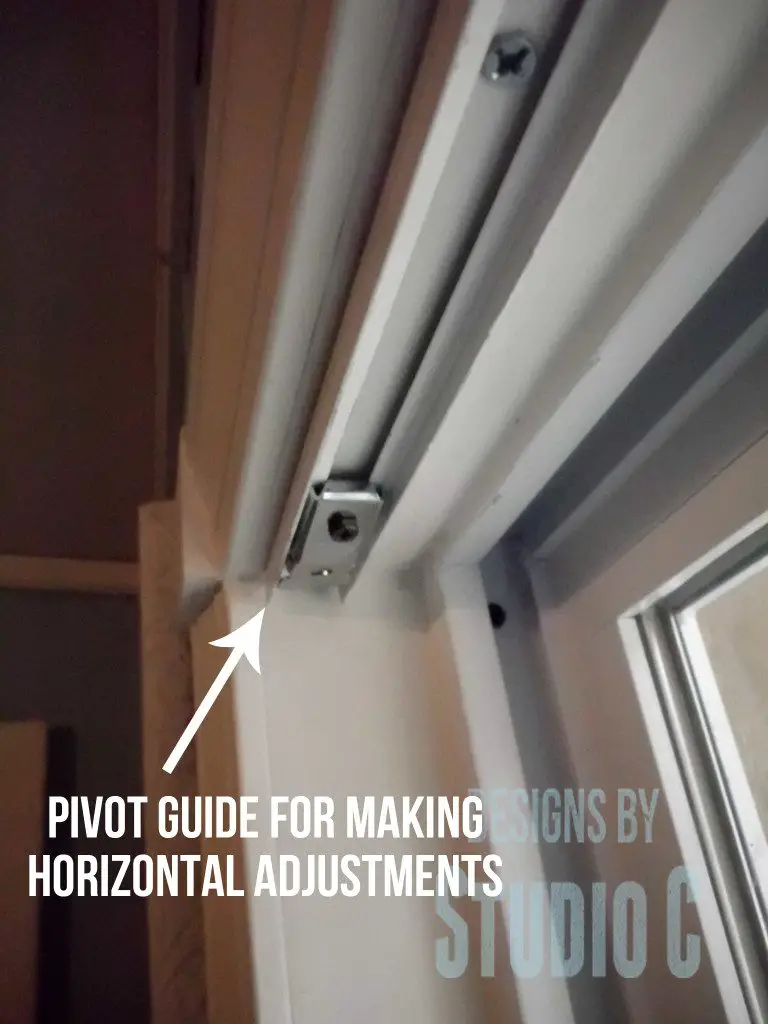
Mark the location for the cabinet pulls in the center of the guide door (with the wheel). I haven’t decided if I’d like to install a cabinet pull, yet! The doors should move freely along the track with no binding. Make any further adjustments, if necessary. (Completely ignore the fact that there is errant paint above the trim – I’m planning on repainting the room very soon!)

It is so easy to build and install bifold doors! The same concept can be applied to longer doors for a closet or pantry. The options for customization are endless! Need help? Let me know at cher {at} designsbystudioc {dot} com!
Originally posted 2013-12-05 08:00:51.



10 Comments
You make everything look so easy.
Thank you, Elle!
I am more interested in the ‘cupcake’ part of this DIY lol.. Jokes apart, you are such a smart DIY girl! Sorry, I have said it before, but can’t seem to get over it 🙂
LOL! I swear that part almost looked like a cupcake – it may be that I was craving cupcakes that day, too!
This is an ingenious way to also block out most of the light if you need to put your kids down for a nap!! Now, I just need to figure out where to put one of these, very cool!
Thanks so much, Rae! I’m really going to love it this summer to block a lot of the sun!
Excellent idea. This has really solved a problem. I loved the idea of covering with fabric or wall paper. Thanks so much.
Sorry for the delayed reply – thank you so much! They work so well for the windows in my bedroom since I have such a hard time finding curtains I like!