
Build a Gorgeous Wood Organizer
Plans to Build an Urban Outfitters Inspired Wood Organizer
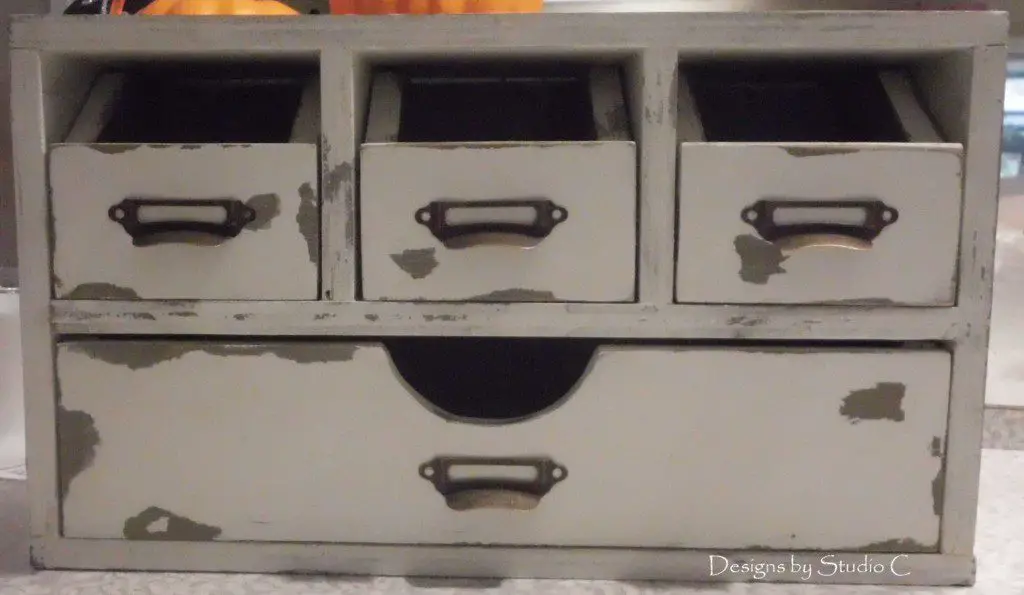
Hey there! I’ve got some awesome plans for a super cool scrap-raiding project to share with you! So, I had some leftover pieces of 1/2″ plywood lying around, and I decided to put them to good use by creating this amazing Urban Outfitters Inspired Wood Organizer. Trust me, it’s perfect for any room you can think of – whether it’s your craft room, bathroom, office, you name it! And the best part? You can whip it up in just one afternoon! Plus, you have the option to either place it on your desk or hang it on a wall. It’s seriously so simple to make, you won’t believe it!
It can also be finished in any way… I chose to use white chalk paint with a wax finish instead of a “reclaimed look”. Pallet boards would also work well with this design – make sure to alter the dimensions to accommodate the thickness of the pallets.

Materials:
- Scrap pieces of 1/2″ plywood
- Scrapbooking paper & spray adhesive (optional for back)
- Library Label Pulls (<– affiliate link!)
- 1-1/4″ brad nails
- Glue
- Paint or stain of choice
- Paste Wax
- Hanger to attach to the back
Cut List:
- One – 1/2″ plywood at 5″ x 13″ – Shelf
- Two – 1/2″ plywood at 3-5/8″ x 5″ – Dividers
- Two – 1/2″ plywood at 5″ x 7-1/4″ – Sides
- Two – 1/2″ plywood at 5″ x 14″ – Top & Bottom
- One – 1/4″ plywood at 8-1/4″ x 14″ – Back
- Three – 1/2″ plywood at 2-7/8″ x 4″ – Small Drawer Bottoms
- Six – 1/2″ plywood at 3-1/2″ x 4″ – Small Drawer Sides
- Three – 1/2″ plywood at 3-1/2″ x 3-7/8″ – Small Drawer Back
- Three 1/2″ plywood at 2-1/4″ x 3-7/8″ – Small Drawer Front
- One – 1/2″ plywood at 4″ x 11-7/8″ – Large Drawer Bottom
- Two – 1/2″ plywood at 3″ x 4″ – Large Drawer Sides
- Two – 1/2″ plywood at 3″ x 12-7/8″ – Large Drawer Front & Back
Step One
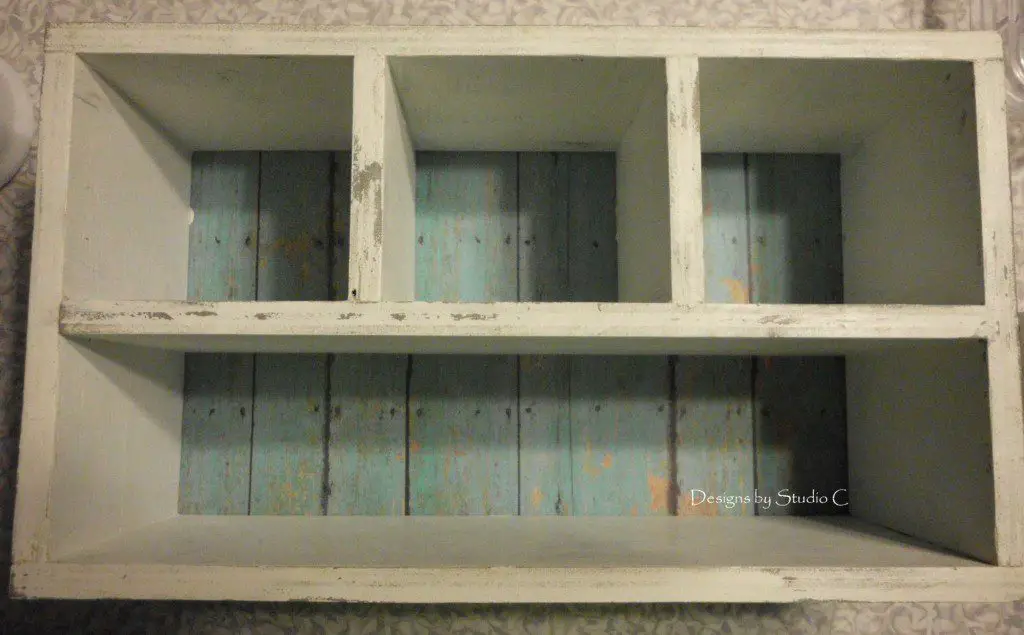
Cut the pieces for the shelf and the dividers. Attach the dividers to the shelf at the spacing shown using glue and 1-1/4″ brad nails.

Step Two
Cut the pieces for the sides. Attach to the shelf using glue and the brad nails.

Step Three
Cut the pieces for the top and bottom. Attach to the sides (attaching the top to the dividers, also) using glue and the brad nails.

Step Four
Cut the pieces for the small drawers. Attach the drawer sides to the bottom first, then attach the front and back.


Step Five
Cut the pieces for the large drawer. Assemble the drawer in the same manner as the small drawers.


Step Six
Paint or stain the box and the drawers. Cut the piece for the back and apply the scrapbooking paper, if desired. Attach the back using glue and 1-1/4″ brad nails.

Step Seven
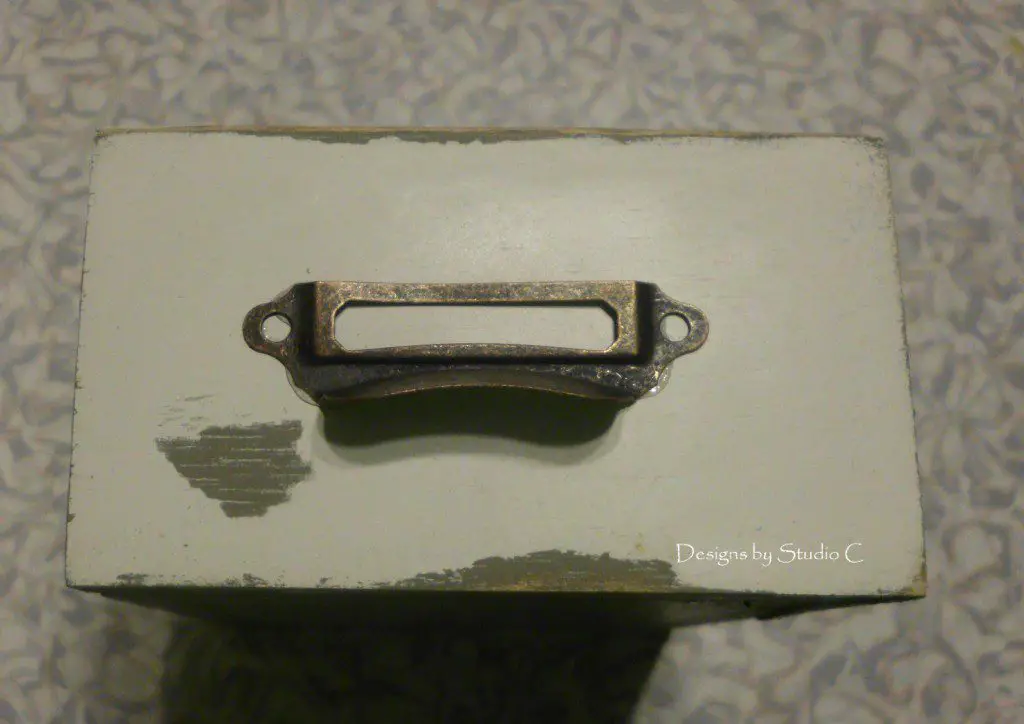
Attach the library label pulls to the front of the drawers.
Step Eight
Attach the hanger to the back. (I like to use soda can tabs with a washer and a screw.) Apply a coat of paste wax to the bottom of the drawers to help them slide smoothly in the openings.
I love this Urban Outfitters inspired wood organizer! It is sitting on my desk and helps keep all of my stuff in order! Need help with the plans? Let me know at cher {at} designsbystudioc {dot} com!
Originally posted 2013-12-27 08:00:11.
