A New Tool to Speed Up Productivity
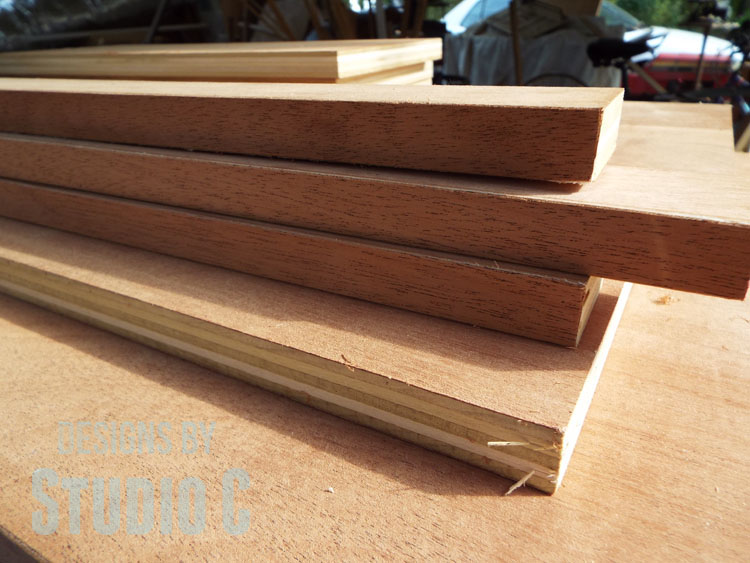
Most of the projects I build are with plywood. In my opinion, plywood is a very economical choice especially if I want to build a project using a species of wood other than pine or oak (my favorite is walnut!). There are several ways to cover the edges of plywood but my favorite method is edge banding. The only thing I don’t like about edge banding is that it is tedious! One time, I spent three hours applying edge banding to a project! Ugh! I decided it was time to invest in an edge banding machine.
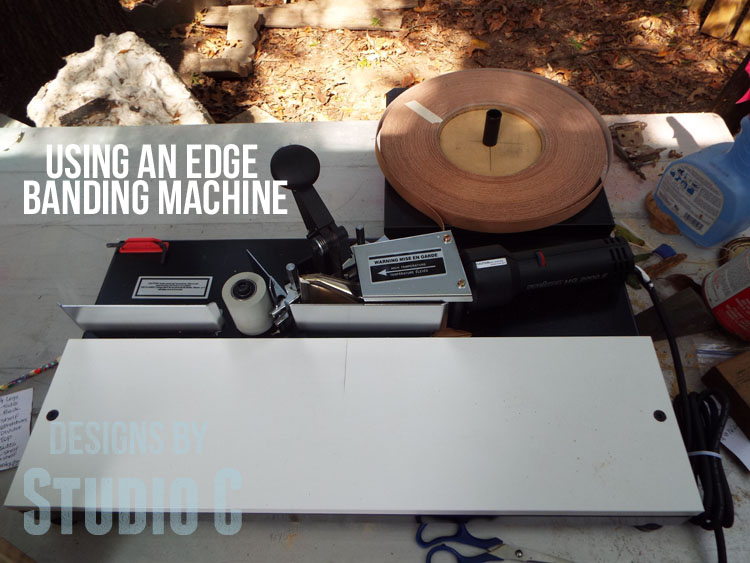
What is it?
What is an edge banding machine? It is basically a platform with a couple of fences and a heat gun mounted to it. Though it is pricey, to me it is well worth the expense because I can apply the edge banding to my projects in a relatively short amount of time. I can get my freelance projects done a whole lot quicker!
How it Works
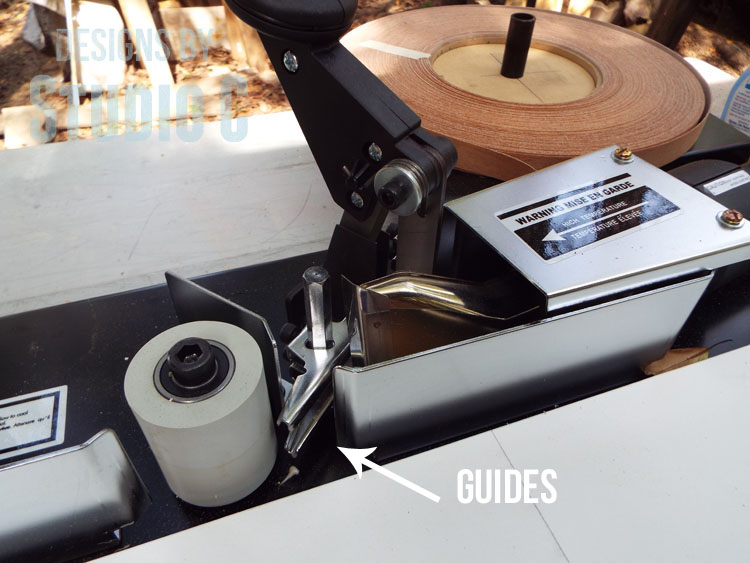
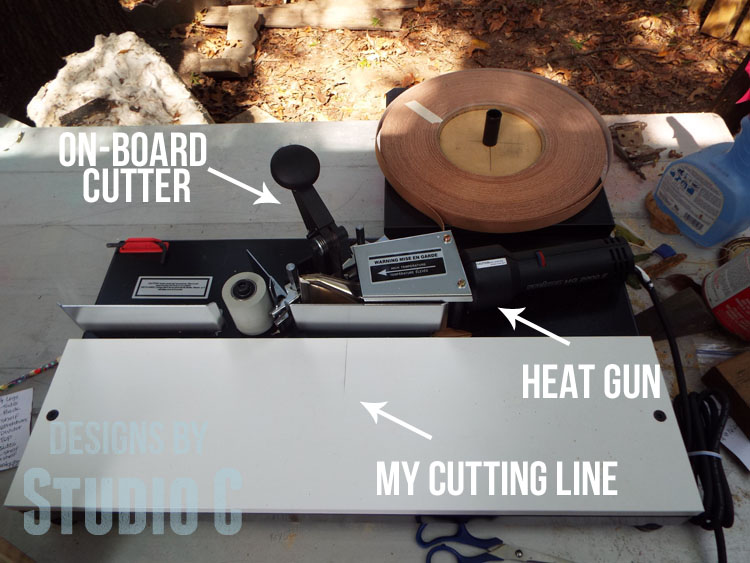
Let me explain a little about how it works… The edge banding roll sits on its own platform and the edge banding is fed through a couple of guides so the heat gun can heat the adhesive with forced air. The work piece slides along the fence, and makes contact with the heated edge banding at a roller, then slides along the opposite fence. There is an on-board cutter, as well a temperature adjustment on the heat gun.
Tips and Tricks
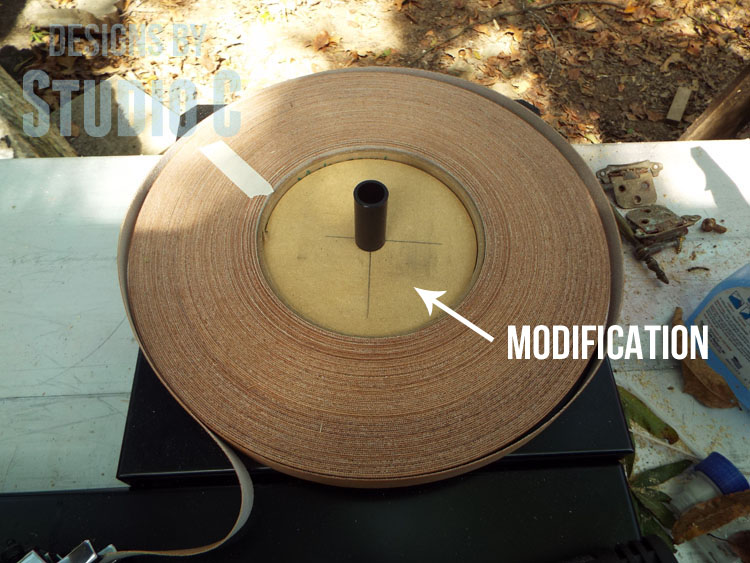
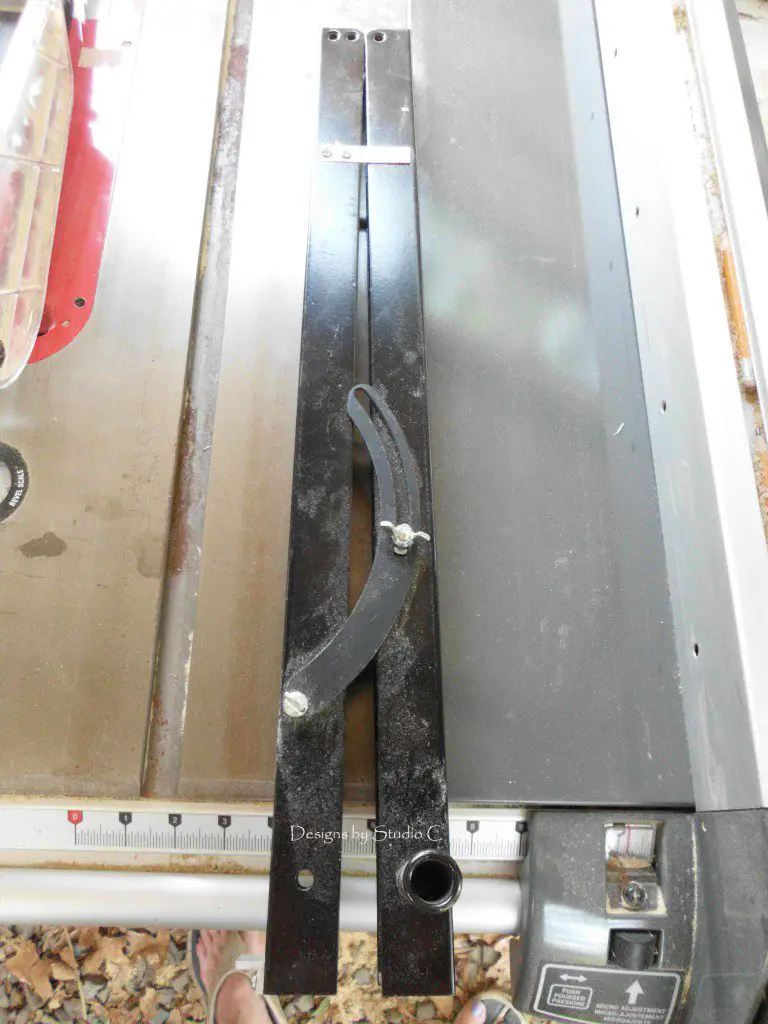
There are a couple of drawbacks, though, but nothing that can’t be remedied with a bit of ingenuity! The platform where the roll of edge banding sits, has a small 1″ diameter post. there is nothing to hold the roll in place and it can get hung up on the side of the platform making a mess of things! The rolls of edge banding I purchase have a cardboard roll that measures 5-5/8″ in diameter. I cut a circle from MDF and drilled a hole in the center to fit over the post which helps my roll feed a whole lot better.
The guides are a pain to fiddle with… The edge banding has to feed just below the platform table. It takes a whole lot of trial and error to get the guides in just the right position. I found that cutting a piece of thin cardboard and running it through the guides helps align them. Once the lower guides are set into the correct position, they will never have to be moved again!
The on-board cutter is a really neat feature, as well, but because of where it is located, a lot of edge banding can be wasted. I drew a line on the platform table so that when the workpiece passes the line, it is safe to cut the banding and still have enough to finish the piece without being short.
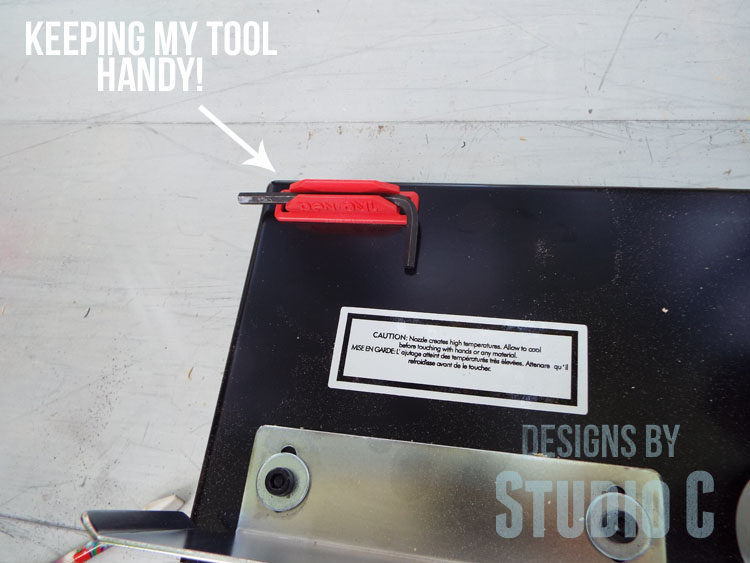
Keep a few cotton swabs handy because the adhesive can drip on the guides and has to be cleaned frequently. A quick (and I mean quick – that heat gun is HOT!) swipe with the swab through the guide cleans up the adhesive easily! I also added a pen holder to hold the allen wrench for quick adjustments to the top guides.
Where to Buy
This particular model, I bought from Rockler.com and they can also be purchased through Amazon(<–affiliate link!). Though I’ve had to make a few modifications, I really like this machine! The machine will accommodate edge banding up to 2″ wide which is perfect for me because I like to make furniture legs from plywood!
Of course, I’m not saying you have to buy an edge banding machine… Not everyone can afford it but this is a worthwhile investment for cabinet makers or those who build projects for other people or companies from plywood on a regular basis like me! I really like it and thought I’d share with you. Build on, my friends!
Disclaimer:
I purchased the edge banding machine myself with my own money. I was not asked nor compensated by Rockler.com or the manufacturer of the machine to write this post. This post does contain an affiliate link or two – if the link is clicked and a purchase is made, I will receive a commission!
Originally posted 2014-10-01 08:00:34.

Comments are closed.