Plan and Create Custom Kitchen Cabinets
For some DIYers, the thought of remodeling a kitchen can seem overwhelming. Trust me, there is a lot of work involved but it is so worth it! A couple of years ago, I completely gutted my kitchen to the drywall. I tossed the old cabinets (which were very cheap and horrible) and built brand new cabinets myself. I used oak plywood and couldn’t be happier with the results. In fact, I still walk into the kitchen and am amazed at the fact that I did it myself!
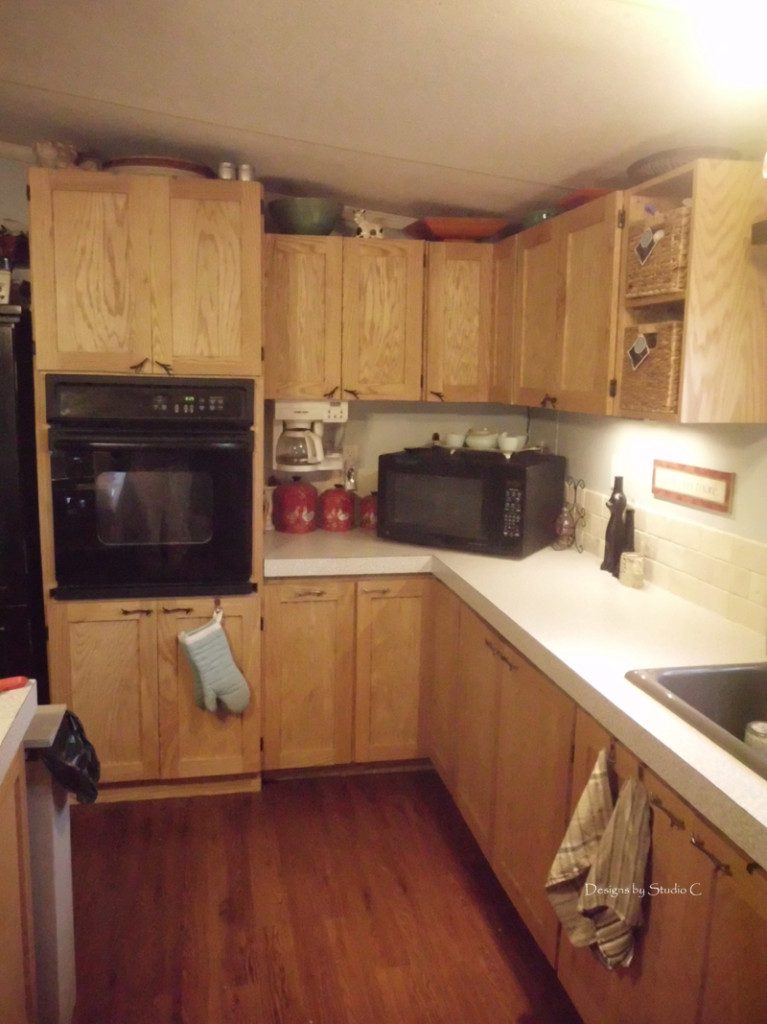
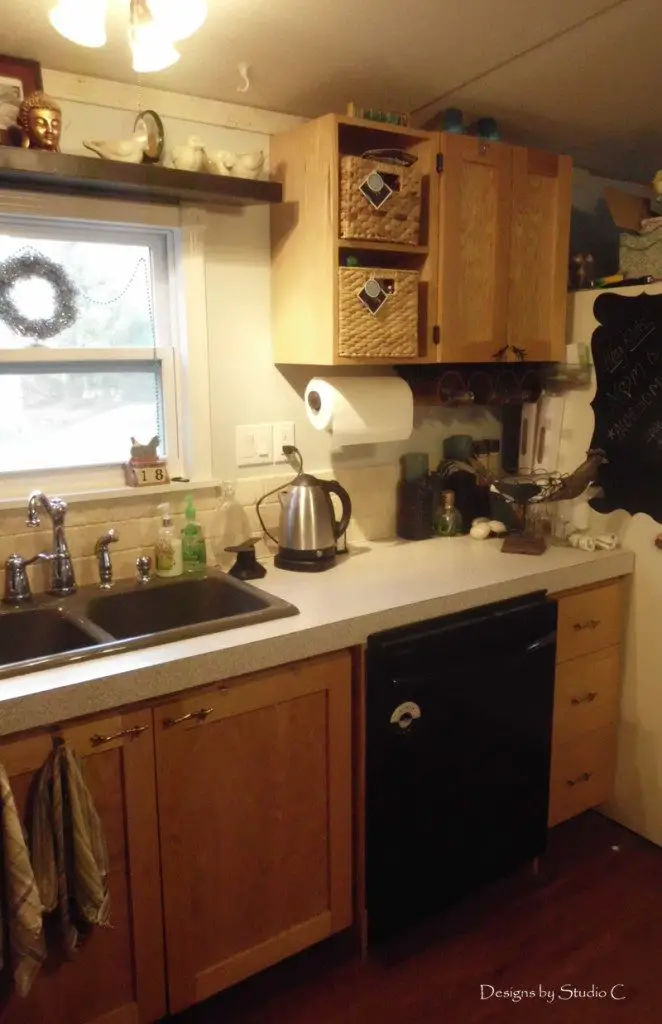
At the time I started the kitchen, I was in the final semester of college earning my degree in drafting. As part of the program, I had to take classes on residential drafting. The information I learned in the classes is actually what prompted me to take on the kitchen project. In fact, I kept the book because there was a lot of helpful information.
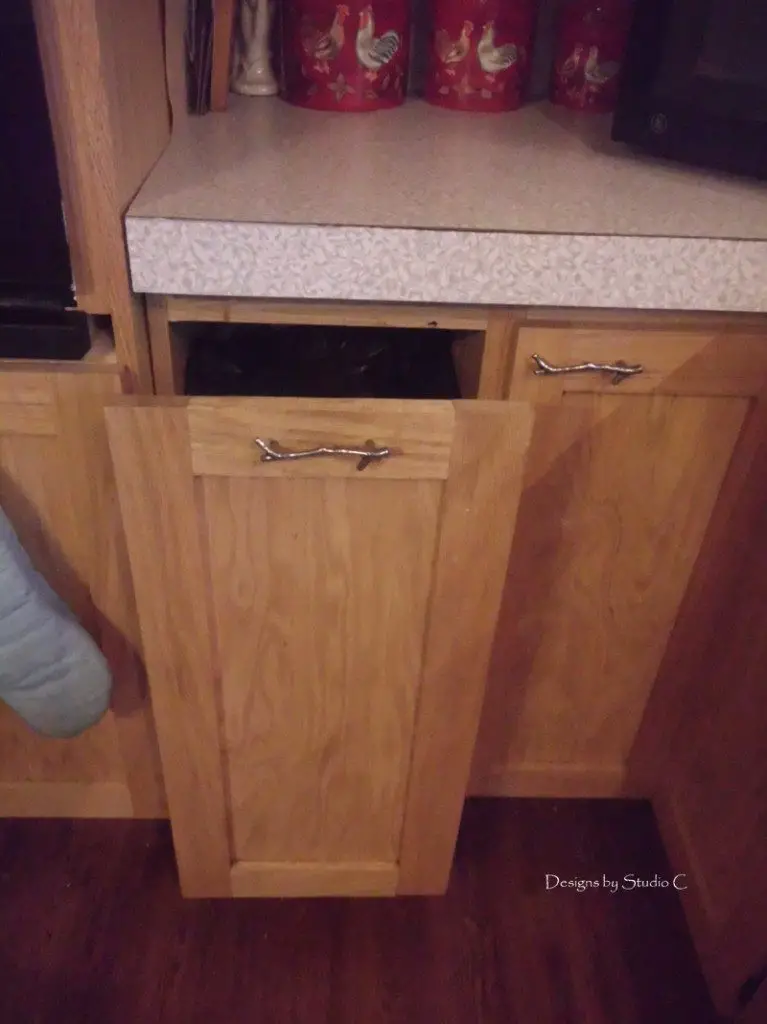
I watch a lot of DIY shows on remodeling kitchens and I am amazed at the amount of money spent. One show had a budget of $50,000 for the kitchen! Wow, I can buy a fixer-upper house in my area for that amount! I did look at cabinets in some of the big-box home improvement stores for ideas. There was no way I was going to spend a ton of money on mine when I knew I could build custom cabinets myself, out of oak, for a fraction of the cost. I spend less than $2000 including a new dishwasher and a new smooth cooktop.
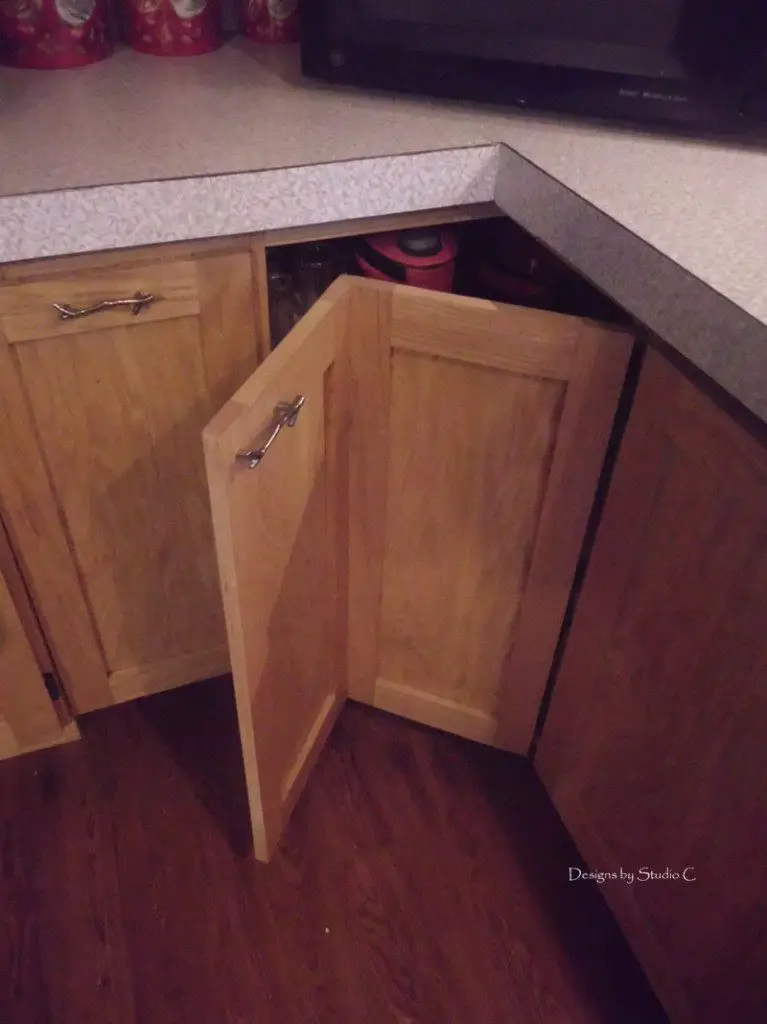
Planning of the cabinets is a very simple task but there are a few “standards” used in cabinet building…
- 1. The height of a base cabinet with a countertop is 36″ from the floor.
- 2. The depth for a countertop is 24″.
- 3. The “toe-kick” (lower indentation part of a cabinet) is 4″ high by 3″ deep.
- 4. The distance between a countertop and the underside of the upper cabinet is 18″ – 24″, depending on the height of the ceiling.
- 5. The upper cabinets are generally 24″ long and 12″ deep.
When I started building my cabinets, I built them one at a time. In other words, I started with the cabinet for the sink, built it, then installed it. To me, it was the best way to get an accurate measurement of the remaining cabinets to be built. Next, I moved on to the corner base cabinet which measures 36″ long (each way from the corner) and 22″ deep. Then, I created a space for the dishwasher. After that, I “filled in” the remaining areas with cabinets. I did the same thing with the upper cabinets. I built open cabinets on either side of the window, then built the corner cabinet.
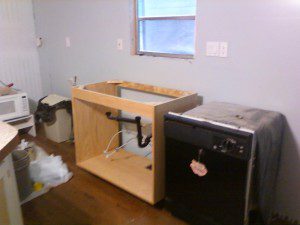
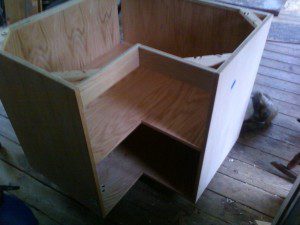
Another thing to keep in mind is that the cabinets should not rest directly on the floor. Just like no corner is ever square, no floor is ever totally flat. I used adjustable cabinet legs (<– affiliate link!) that I purchased. This way, the cabinets and countertop would be level. If I ever had a water leak, I would not want my cabinets to be ruined and I adjusted these legs so the cabinets sit 4″ off of the floor.
I used Purebond plywood for the cabinets. Purebond is formaldehyde-free plywood with a fantastic grain pattern in the veneer. I did not use stain, I applied a coat of satin polyurethane in order to let that beautiful grain show through!
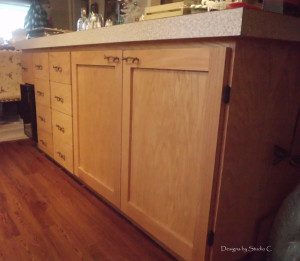
There are numerous ways to assemble the cabinets. I used the Kreg pocket hole jig. It was easy, quick, and buying the screws in bulk is very economical! There are plenty of kitchen cabinet drawings and kitchen cabinet DIY plans on the site, as well.
See? Planning and building kitchen cabinets is very easy but there is one extremely important tip to remember – make sure the cabinet will fit through the door before it is assembled!! Don’t ask me how I know this!!
If you have any questions, leave a comment below! I’m here to help!

56 Comments
You have got to be kidding me! You have amazing talent to take on such a project and get such great results! Congratulations on a job well done. I just stopped by from SITS to say hello; hope you find time to return the visit.
Thank you so much for the kind words! It was a massive undertaking but it was worth it!
Wow, what a beautiful job you did! I feel overwhelemed just looking at your project, but I think given the right situation, I could see myself doing something similar. I am VERY impressed that you were able to redo your kitchen with $2000! Having only seen things like this on TV, it seems like a newly remodled kitchen is out of reach of most of us “regular” folks, but this post makes me think otherwise!
http://livingfierce.blogspot.com
Thank you so much! I think some of those TV shows are unrealistic and i am always shocked at how much they spend! Stop by again soon!
This is beautiful! I am looking forward to when I can redo my kitchen. Stopping by from SITS today. fortheirtenderhearts.com
Thank you so much! Stop by again soon!
Great job! I need to design and build my kitchen island. (And a closet near the front entry, and more bookshelves…) I’m just waiting for the perfect ideas to come to me. You did a fantastic job!
Thank you so much! Stop by again soon!
They look beautiful! How wonderful that you can do the work yourself!
Such an amazing job! Have a great SITS Day, Cher.
Thank you so much! I’m glad you could stop by!
Your cabinets are beautiful! What an amazing job you did.
Wow! I’m totally impressed! Happy SITS Day!
Thank you so much! Have a great day!
Very cool! My dad figured out the door frame thing when I was a kid–he built a kitchen table. In the kitchen. When it was time to move he had to rip it apart! Which is even sillier when you know that the house was a rental while he built our “real” home, so he knew we’d be there less than a year!
Oh no! I built the lower corner cabinet for my kitchen and it wouldn’t fit through the door. I had to take it apart to get it inside. I’m not going to think about what I’ll have to do when I have to remove it!! Thanks for stopping by!
You go girl!! =) Love it! Doing something yourself like that in your home brings SO much more satisfaction to coming home at night! I can’t wait to see what else you can do! Happy SITS Day! =)
Thank you very much! I really appreciate it!!
This is amazing you have got a VERY special Talent!! I love this! Enjoy your SITS Day
Thank you so much! It is something I love to do! Stop by again soon!
Happy SITS Day! Your talent is amazing. I only wish you lived closer to work with you but there is always e-design, right? will definitely be hitting you up for some work in the coming future. (I think we’ve spoken about this before….) Enjoy your day!
We have! I do remember! Let me know when you’re ready! Thanks for stopping by again!!
Beautiful cabinets. Glad you kept the book. Too many good ones are tossed aside. Enjoy your SITS Day.
Fabulous! You are so talented!
Thank you so much! I really appreciate that!!
Happy Sits Day!!! I am printing this article, because I REALLY want cabinets in my laundry room. Love your work.
Blessings~
Alethea
Thank you so much! You’ll be obsessed with it in no time – Ha ha!! Stop by again soon!
WOW!!! You are amazingly gifted! happy SITS day!!! 🙂
Thank you so much! I really appreciate it!! Stop by again soon!
I have one about installing tile with Simple Mat. http://designsbystudioc.com/installing-tile-using-simple-mat/ It’s almost the same method! Thanks for stopping by!!
My husband would leave me for you. I think I’d leave me for you too. This is AWESOME. Happy, happy SITS day!
Wow, I am so flattered! Thank you so much! Stop by again soon!
I expected to come over here and get tips on hanging my ikea cupboards but you actually BUILT THE CUPBOARDS?!?! That is insane! And they’re beautiful too!!
Ha ha! I get the “sure you did” looks when I say I built my own cabinets! I actually get a kick out of it! You could certainly do any of these projects! Thanks for the tip on the Raspberry Mocha… I feel a new addiction coming on!!
So this is probably a stupid question, but what do you do with your kitchen stuff while you have no cabinets?
Not a stupid question at all… I created a giant mess of boxes and stuff stacked everywhere. At that time, I could have been featured on Hoarders. The mess helps me forgo the “design ADD” I seem to suffer from and focus on getting the job completed! Thanks for stopping by!!
They look great! I love that you raised the cabinets off the floor as well. Happy SITS Day!
Thanks so much! I had nightmares of potential water leaks ruining my hard work (Murphy’s Law)! Thanks for stopping by!
happy SITS day!!
Thank you so much! Stop by again soon!
Happy SITS Day! This is a great post. It doesn’t seem so scary when you explain it all. Thanks!
Thanks so much, that is very kind of you to say! Stop by again soon!
Happy SITS day and it has to be said WOW indeed, so impressive, I wish I had your skills and patience! I have recently got into DIY crafts, so a complete newbie. My Hubby bought me a sewing machine for Christmas so I’m just learning how to sew 🙂
That’s wonderful! I love to sew, also! Have fun with it and thank you for stopping by!
So impressed with your skills. Love your workshop talents! Happy SITS Day too!
Thank you very much! Stop by again soon!
Wow, your cabinets look amazing! I’m so intimidated by this kind of stuff but you make it actually sound easy! Not that I’m going to attempt to gut my kitchen any time soon…lol! Happy SITS Day! =)
It really is easy… A lot of work though but totally worth it! Thanks so much for stopping by!
Gorgeous cabinets! I’m going to have to send this to my sister – she is trying to redo a kitchen soon 🙂
Thank you very much! Have a great day!
I so want to refinish my cabinets! Happy SITS day!
Thank you so much! Not sure if you’ve heard of it but Rust-Oleum has a Cabinet Transformations kit that is supposed to be pretty good! Have a great day!
Cool stuff!!! I want to redo our counters.
Hello! Rust-Oleum has a Countertop Transformations kit that I hear is pretty great stuff… I haven’t used it myself! Thanks for stopping by!
Beautiful work! How did you make the drawers?
Hello! I do have an article on the site about drawers – http://designsbystudioc.com/how-to-build-a-drawer-box/ . Hope this helps! If not, please let me know!!