An Easy Tutorial on Repairing Drywall
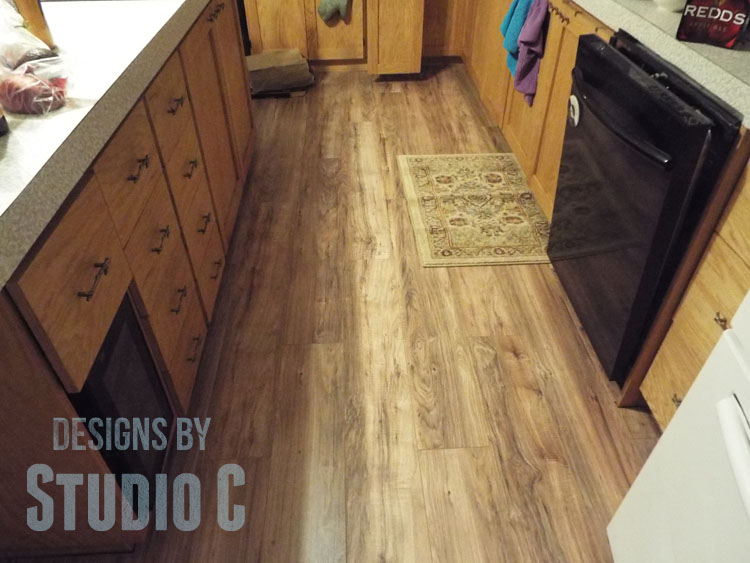
I was finally replacing the windows in my dining room (the final three in the whole house!!), and laying new flooring in the kitchen and dining room. When I removed a sort of “built-in” corner cabinet, there was a giant, gaping hole in the drywall. As I share my tale of woe, I will also share how to patch a large hole in drywall.
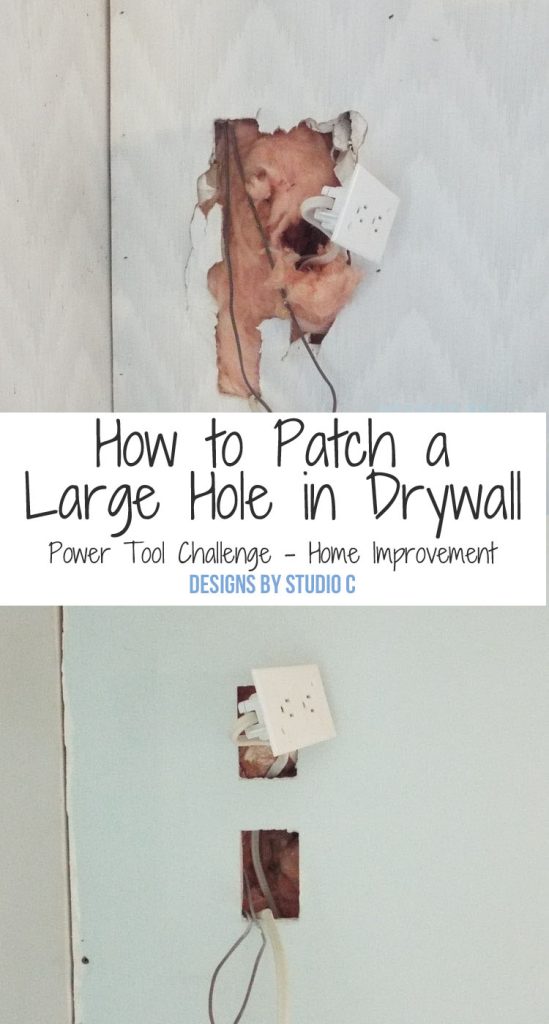
To fix a hole in drywall is really, really easy. It is also really, really time consuming. Why? When repairing a hole in drywall, the transition between the existing wall and the patch has to be seamless in order for it to look right. In other words, it is the same process as taping and mudding drywall, and takes longer than paint to dry since the mud (joint compound) takes approximately 24 hours for each coat to dry (which is why I don’t get to share the fabulous windows and flooring!).
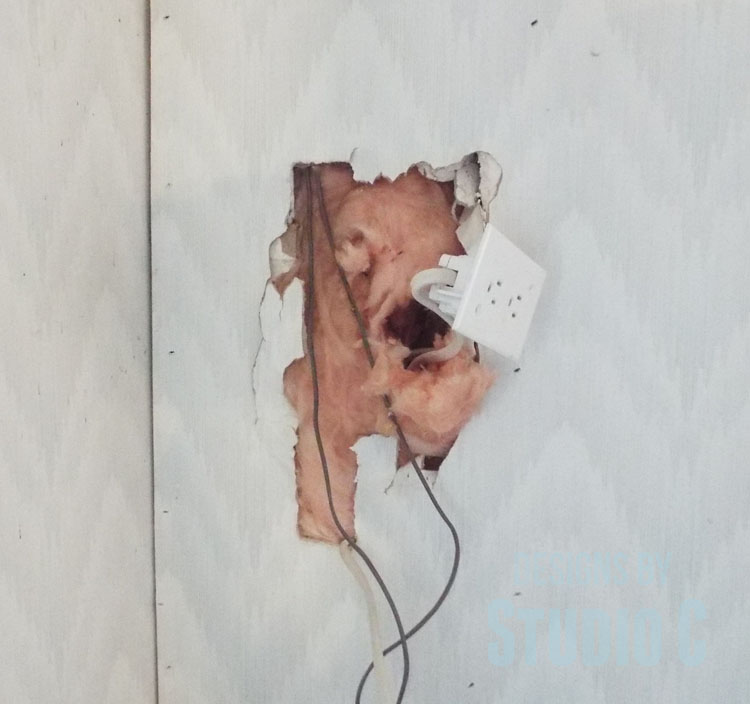
It looks as if the person putting in the outlet decided it was in the wrong place and instead of cutting a new hole with a saw and patching the other hole, they just used their hands and ripped the drywall out. Yay me. On a positive note, I know there is insulation in the wall. I started by drawing a rectangle around the hole, and I cut the drywall out, trying making the hole as square as possible.
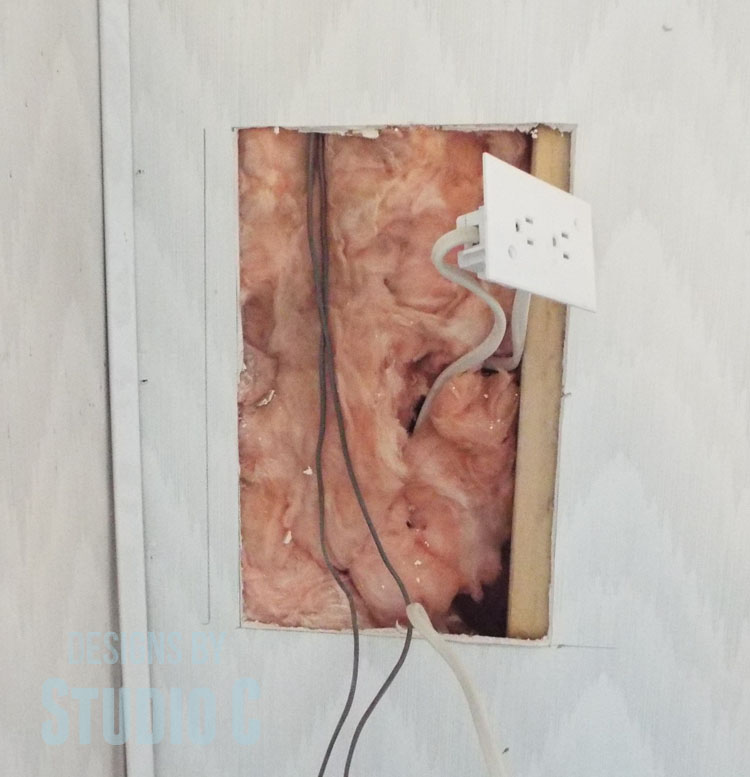
I measured the newly square hole and cut a piece to patch the hole out of scrap drywall. Because I am not a glutton for punishment, I measured the new electrical boxes I was going to add and cut the holes for those in the patch before I installed it.
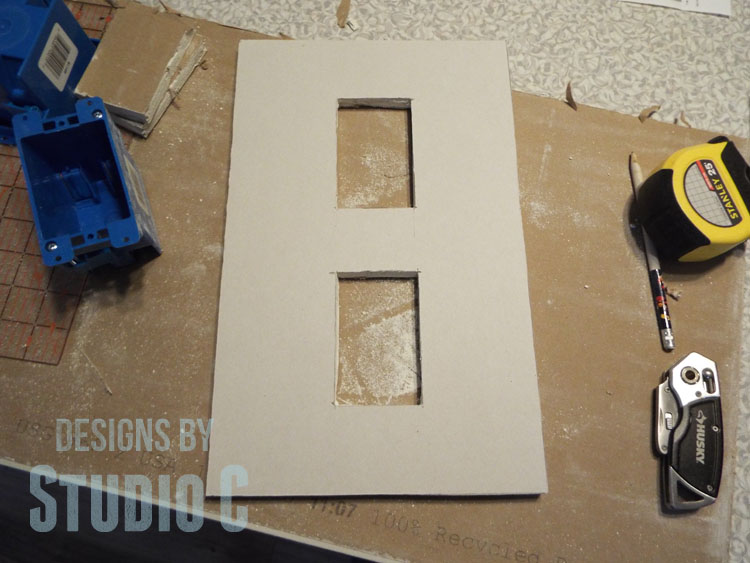
I cut scrap pieces of furring strips (1×4) and screwed them to the back of the existing drywall with a portion of the strips visible in the hole. I screwed the patch to the furring strips. Make sure the screws are sunk slightly below the drywall surface. This makes it easier to hide them with the mud. (I forgot to photograph this step!) A drywall bit (<– affiliate link!) makes this step super-easy!
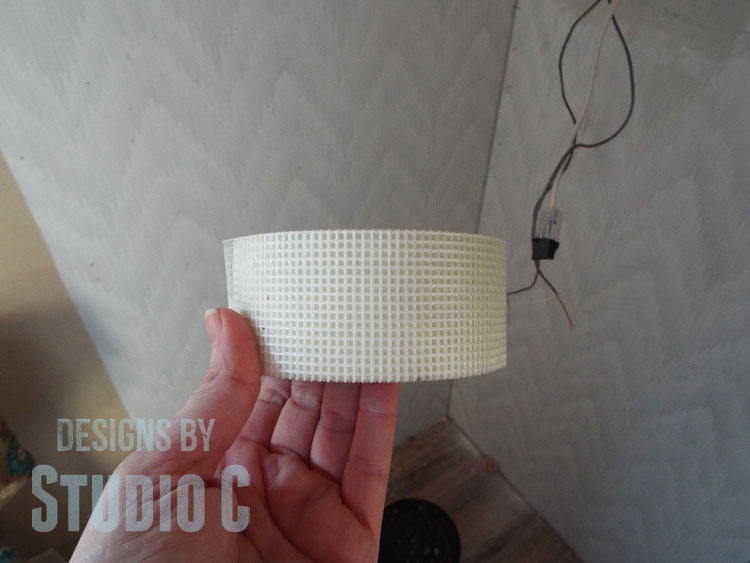
I added mud to the seam between the new patch and the existing drywall, then placed mesh tape over the mud and added another coat of mud. The tape will help stabilize the seam and keep it from cracking. I normally use paper tape instead of mesh but I put the paper tape “in a place where I could find it” which means it will never be seen again.
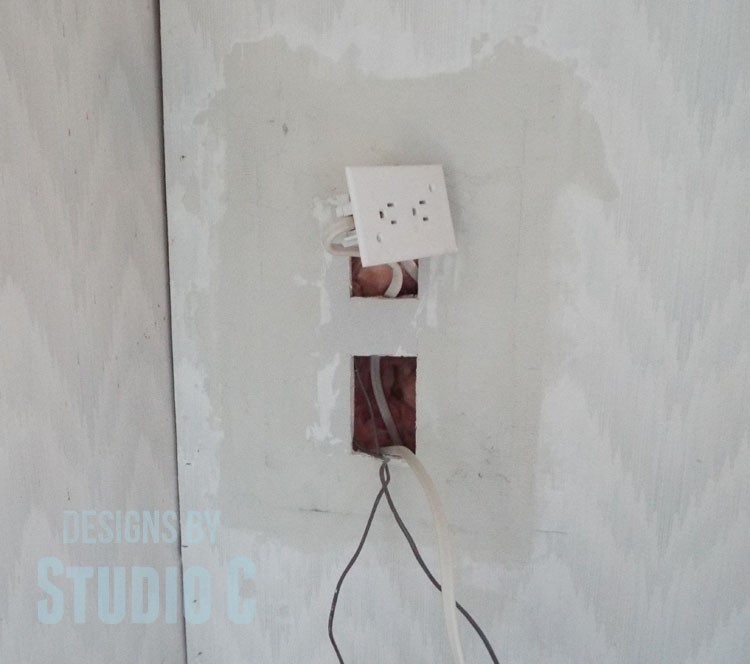
The next day when the mud was dry, I used a sanding sponge to sand it and smooth it out, then applied another coat. Rinse and repeat.
When the final coat was dry, I could paint… I must say, the patch doesn’t look as bad as I thought it might – mainly because I was frustrated and just want to get this remodel over with! I guess I will save that for another post. All I have left to do is to install the electrical boxes and wire the new outlet.
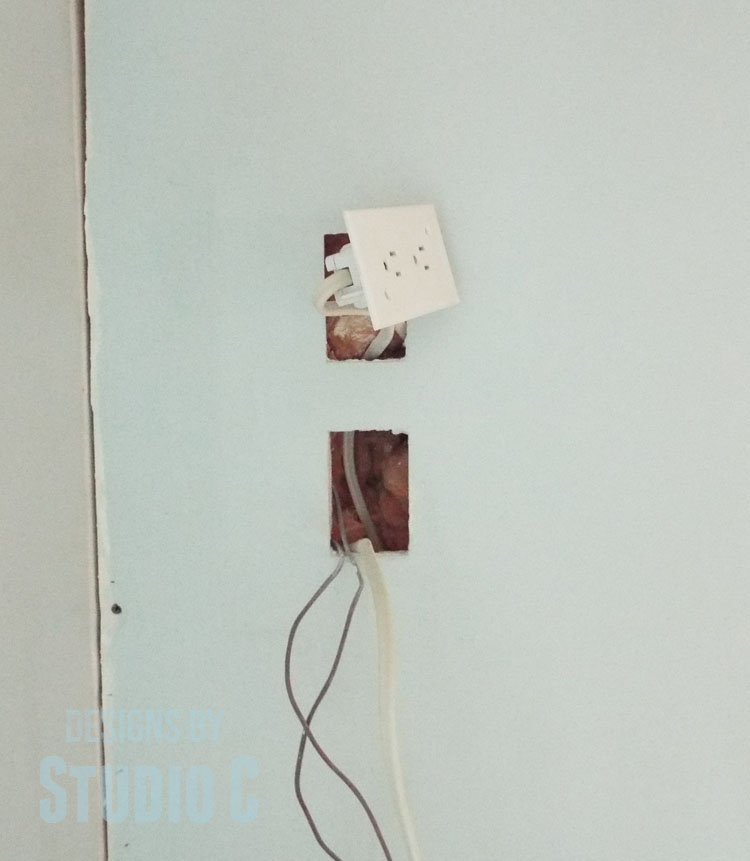
Hopefully, this won’t happen to you but if it does, you can always ask me questions about how to patch a large hole in drywall. I have a bit of experience…
This project was originally shared as a team effort for the Power Tool Challenge. Other projects included: DIY Shutters by Create And Babble, DIY Fireplace Mantel Shelf by Her Tool Belt, Industrial Paper Towel Holder by Virginia Sweet Pea, Blanket Ladder by Refresh Restyle, Cedar Hose Planter by Kim Six Fix, DIY Vanity Sliding Drawer by Interior Frugalista, Wall Mount Staghorn Fern by A Piece Of Rainbow, DIY Painted Stairs Makeover by Thrift Diving, and DIY Modern Rustic Mirror by H2OBungalow
Originally posted 2016-02-18 07:00:05.


18 Comments
This is such useful information! We had several of those crazy holes in our walls when we moved in! There are few left yet to do, and I plan on DIYing them myself. Thanks so much for sharing your skills in this months Power Tolol Challenge!
Thank YOU, Wendi, for putting everything together! The patch doesn’t look too bad now that the paint is dry!
Wow! It looks great now.. (and safer too)
I think drywall patching is a skill every home owner should have.. and your explained it great!
Thanks so much, Kim! It is really easy to do but seems to take forever!
I appreciate this tutorial Cher because living in a 60’s fixer upper, we are always unveiling new surprises. I am pinning your tutorial to share and refer back to for our next drywall patching escapade.
Ha ha, I love that – “unveiling new surprises”! I am the only owner of this home and find surprises all the time!
we are house hunting, and this will come in handy i am sure! great tutorial Cher! saved! =)
Thanks, Ananda, I appreciate that!
Drywall is one project that intimidates me, but you make it seem doable! Thanks for sharing!
Thank you so much, Christy! It really is easy!
You make patching drywall seem like a project that I could actually do. I hope I won’t need your tips but if I do, I’ll know where to go to refresh my memory of the “how to”.
Thank you so much, Paula! Let me know if you ever have any questions about it – I’d be glad to help!