DIY Furniture Plans – An Easy to Build Spool Table Inspired by a Catalog Retailer
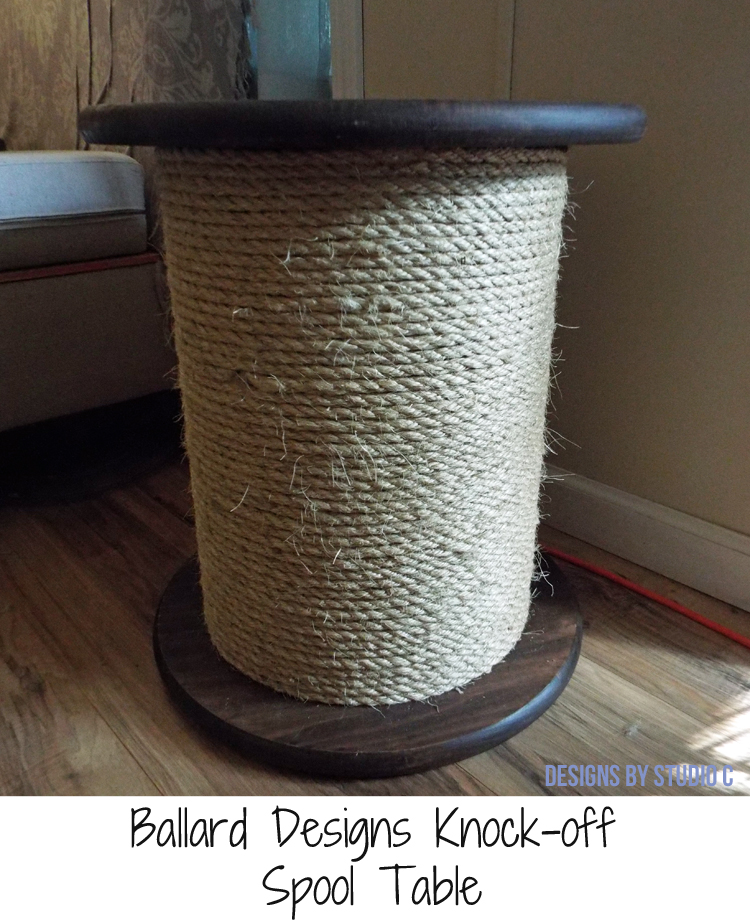
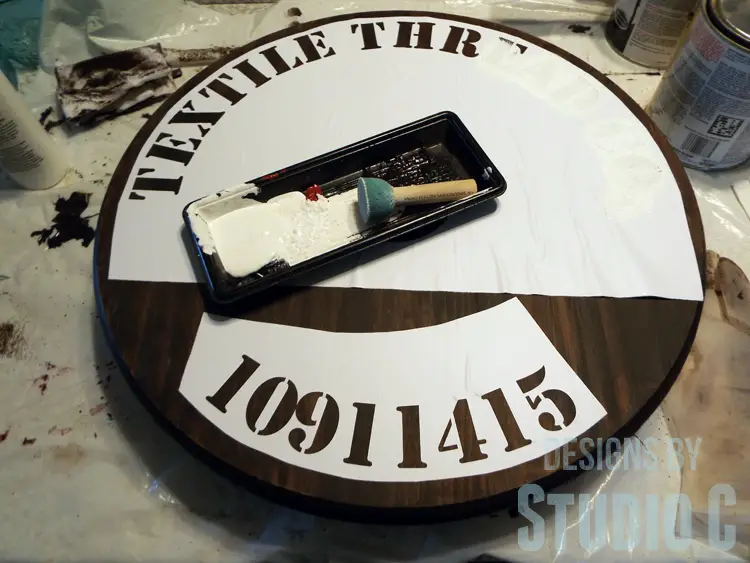
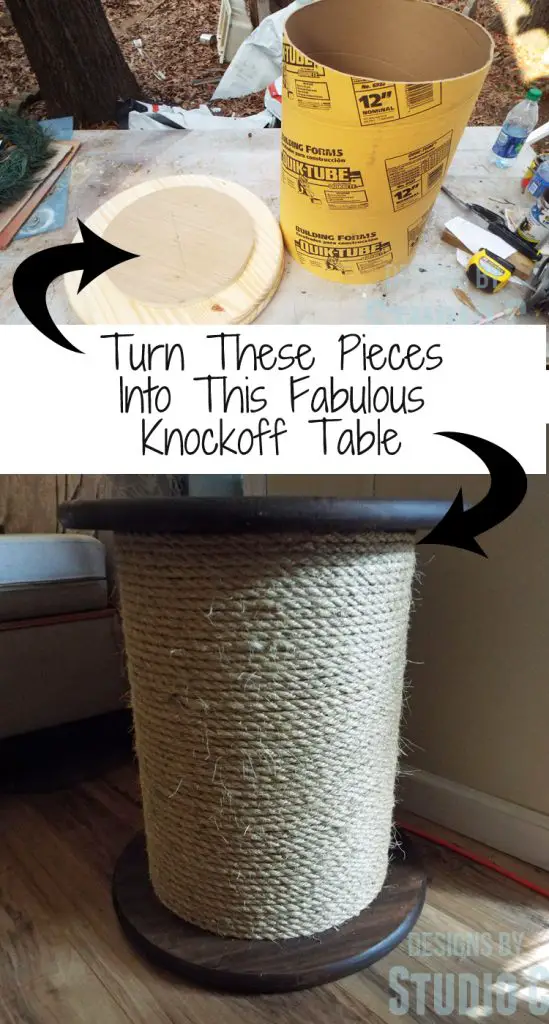
Sometimes, I love a good knock-off project. As I was looking through the Ballard Designs catalog, I came across this awesome spool table. I created the DIY furniture plans to build a Knock-Off Spool Side Table that looks just like the original piece and it can be built for a fraction of the cost of the original. I used narrower rope than the original and to me, it looks more like a spool of sewing thread. I also used wood rounds from the home improvement store and a concrete tube form for the center. I added nail-on furniture glides to the bottom to protect the floor and stenciled the top with a few words and numbers.
Materials:
- 2 – 17-3/4″ diameter wood rounds
- 1 – 12″ concrete tube form
- 2 – 13″ square scrap pieces of plywood
- 8 – 1-1/2″ screws
- Wood glue
- 1″ staples for a pneumatic stapler or 3/4″ screws
- Stain and sealer of choice
- 4 – Nail-on furniture glides
- Spray paint (for tube)
- 4 rolls of 3/8″ x 50ft. sisal rope
- 2 tubes of Liquid Nails
- Stencil of choice and craft paint, optional
Tools Needed:
- Jigsaw
- Drill with a Phillips bit
- Pneumatic stapler with compressor
- Caulking gun
Step One
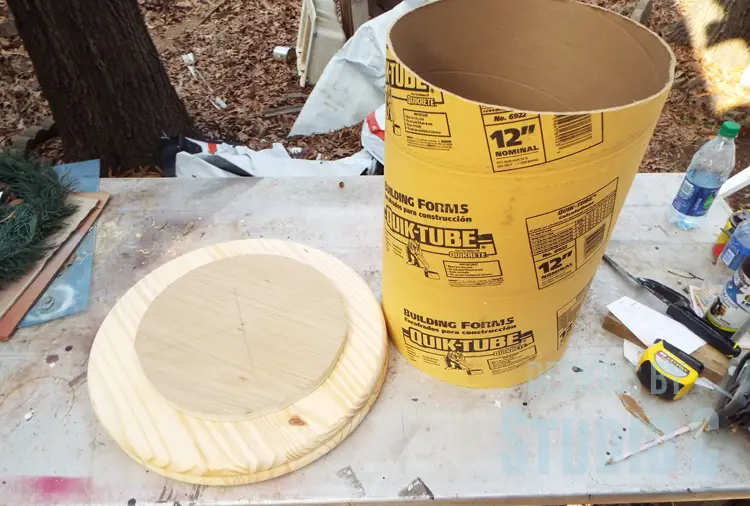
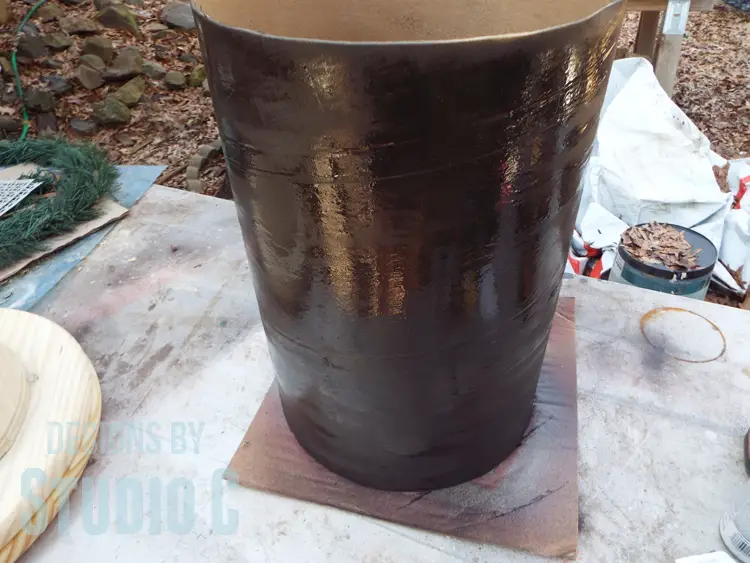
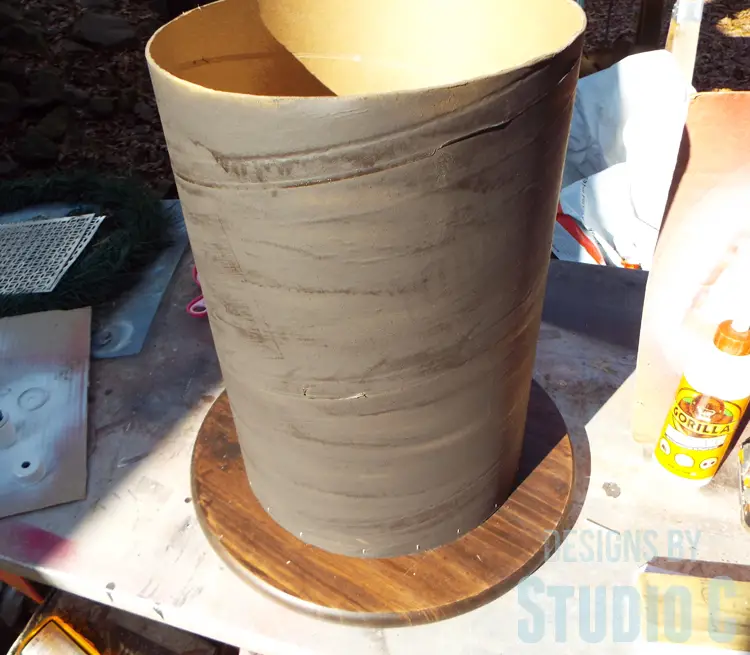
Cut a piece of the tube at 18″ tall. I drew a line around the tube, then used a hacksaw to start the cut. I used my jigsaw to finish the cut. Spray paint the tube. I used brown spray paint and it doesn’t have to be perfect, it just has to cover the gold color of the tube in case there are gaps in the rope when it is applied.
Step Two
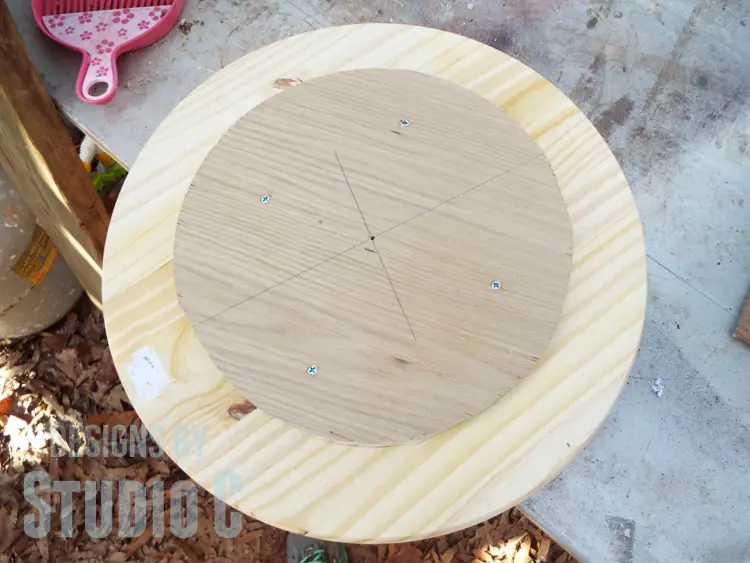
Mark the center of each of the plywood pieces by drawing diagonal lines across the boards. Measure the inside diameter of the tube – this measurement may vary from tube to tube. Draw a circle on the plywood pieces using a string, pushpin and pencil at the radius of the tube. Cut out the circles with a jigsaw. Test fit the circles in the ends of the tube. Trim as necessary.
Step Three
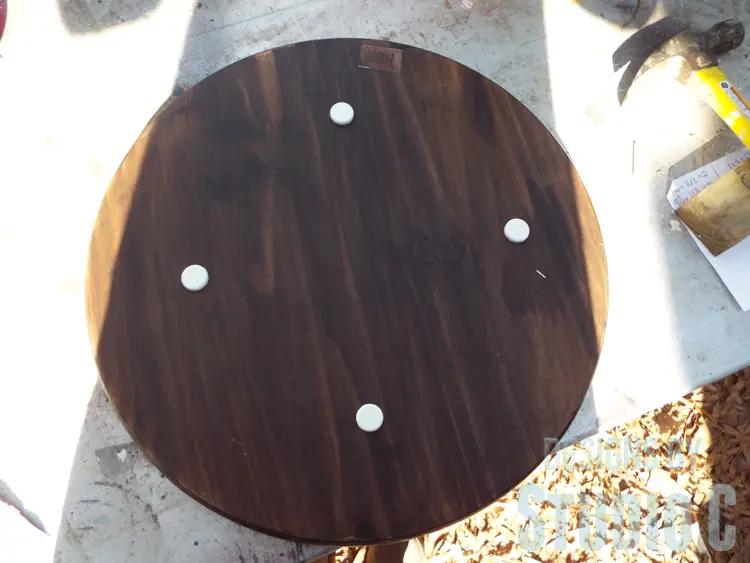
Center the smaller plywood circles on the wood rounds. Secure in place using wood glue and 1-1/2″ screws. Stain and seal these pieces as desired. Add the nail-on furniture glides to the piece that will be used as the bottom.
Step Four
Place the tube on one of the wood rounds, over the plywood circle. It should fit snugly. Secure the tube to the plywood circle using a pneumatic stapler and 1″ staples or 3/4″ screws. Install the nail-on glides on the bottom of the wood round.
Step Five
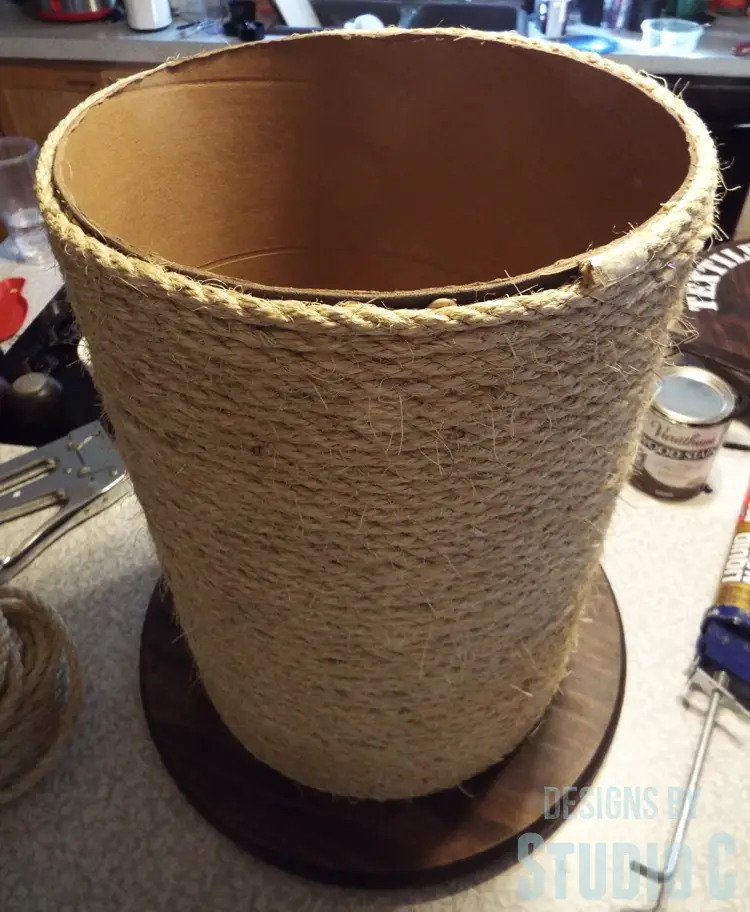
Apply a bit of Liquid Nails on the tube and start wrapping the rope around the tube covering the raw end of the rope. Continue wrapping the rope around the tube butting the ends as you go and applying the Liquid Nails as needed.
Set the top round on the tube with the plywood circle inside the tube. Add a stencil to the top as desired.
The top lifts off of the tube for storage and can house a couple of light afghans or small pillows. Super-easy, right? This table would be fabulous built as a pair and used as nightstands in a bedroom! Have any questions about the DIY furniture plans to build a Knock-Off Spool Side Table? Leave a comment below!
(This project is one I originally created for Domestically-Speaking.com)


Comments are closed.