DIY Plans to Build an Outdoor Campfire Stool
A Fabulous Stool Perfect for the Outdoors
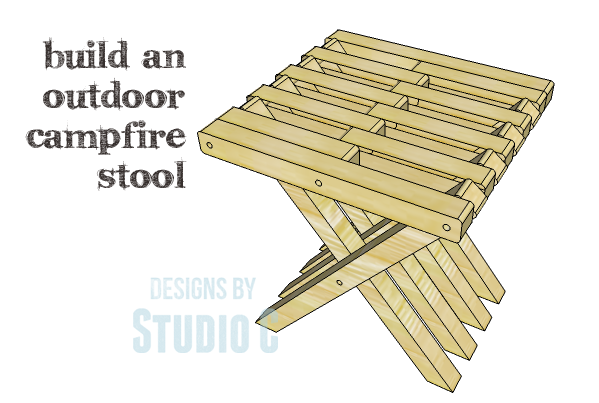
This nifty rustic stool is the perfect accessory for relaxing or roasting marshmallows by the fire… The DIY plans to build an Outdoor Campfire Stool feature pieces joined by threaded rod and connector bolts. Each piece is finished prior to assembly for the best results! The stool is a really super easy build and several can be made in a weekend!
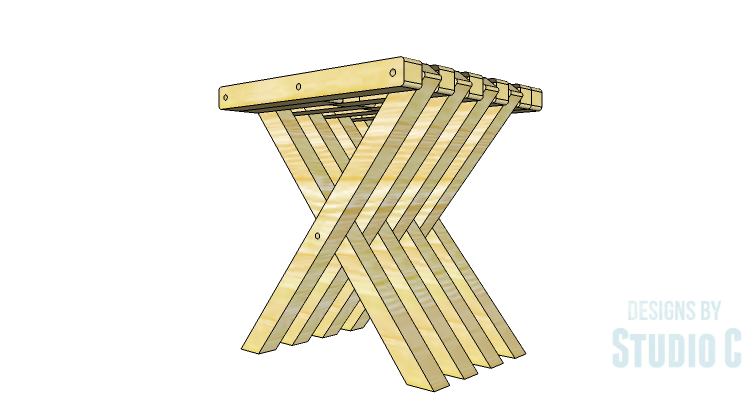
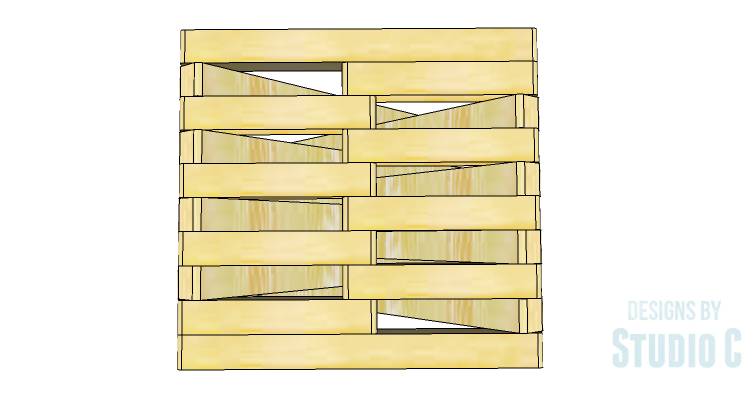
Materials and lumber listed are to build ONE stool.
Materials:
- 2 – 1/4 in. – 20 x 36″ threaded rods (<– affiliate link!)
- 8 – 1/4 in. – 20 x 12mm connector nuts
- Hacksaw
- Drill with 1/4″ and 3/8″ bits
- Sandpaper (80, 150, 220 grits)
- Finishing supplies (stain and sealer for the outdoors or primer and exterior paint)
- Allen wrench for the connector nuts (preferably two of the same size!)
Lumber:
- 3 – 2×2 at 8′ OR
- 2 – 2×4 at 8′
Cut List:
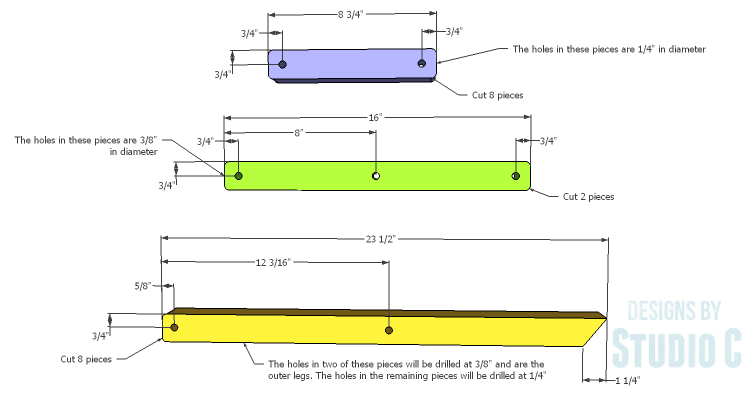
- 8 – 2×2 at 8-3/4″
- 2 – 2×2 at 16″
- 8 – 2×2 at 23-1/2″
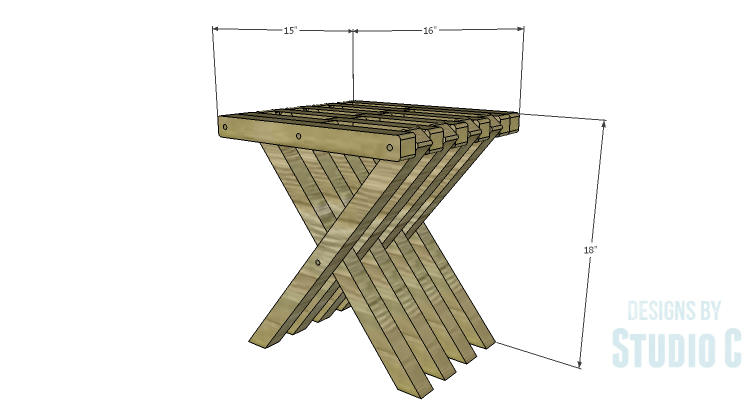
Click on the drawings for a larger view!
Step One
Cut each of the pieces to length. Drill the holes in the pieces as shown in the drawings. The 8-3/4″ pieces will have 1/4″ diameter holes. The 16″ pieces will have 3/8″ diameter holes. Two of the leg pieces will have 3/8″ pieces – these pieces will be the outer leg pieces – and the remaining pieces will have 1/4″ holes.
Step Two
Using a sander with a coarse grit sandpaper, round the edges as desired. Thoroughly sand each piece and finish as desired. Staining and sealing with spar urethane will help protect the stool from the elements!
Step Three
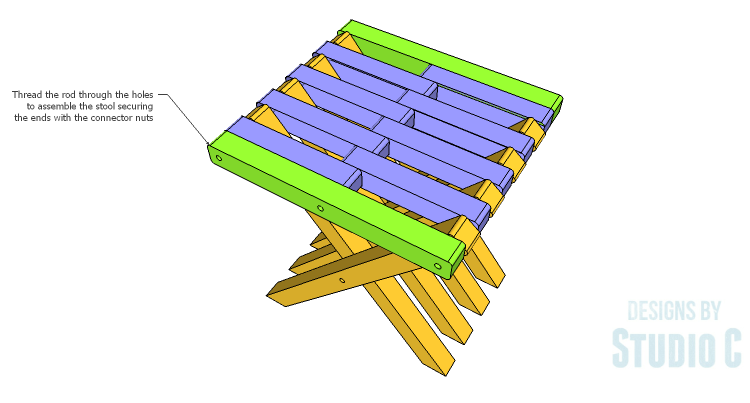
Assemble the stool on a flat surface with the seat top facing down. Cut the threaded rods in half with the hacksaw and add one connector nut to one end of each piece. The shaft of the connector nuts will fit through the 3/8″ holes with the head of the nut resting on the outside. Thread the pieces on the rods and make a mark on each rod just below the hole in the last piece. Remove the rods and cut at the mark with the hacksaw. Thread all of the pieces on the rods again, then add the outer connector nuts. Use an Allen wrench on each end to tighten the nuts.
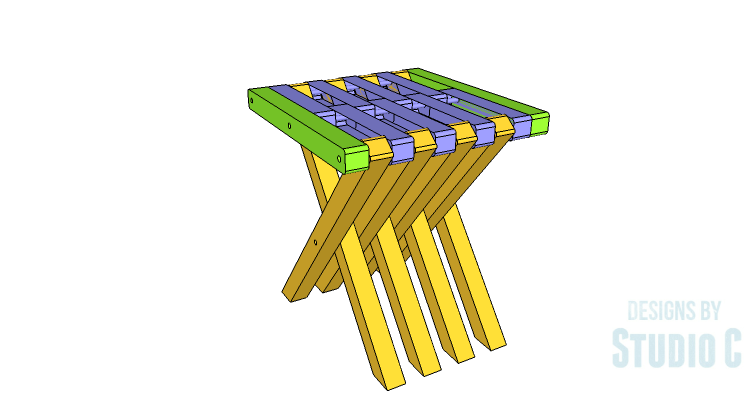
While these particular stools do not fold, they would still be an excellent choice for camping or a day at the lake! The stools would also make excellent plant holders on a porch or deck. Have any questions about the DIY plans to build an Outdoor Campfire Stool? Leave a comment below!
Originally posted 2015-06-08 08:00:08.

[…] a few of these wooden stools for sitting around the campfire. Here are the free plans with step-by-step […]