
DIY Wall Mounted Shelf with Crown Moulding
Easy to Build Wall Mounted Shelf
When I made the decision to construct the wall mounted desk using plans that were previously shared, I realized that I would have an empty space above the desk on the wall. I wanted to create something that was simple and straightforward, while also making use of the leftover crown moulding pieces that I had collected. This DIY wall mounted shelf with crown moulding is another project that is incredibly easy to build and doesn’t cost much. I utilized scrap plywood for the base and combined it with the leftover crown moulding. To add a decorative touch, I included a reverse stenciled scroll on the front and attached cobalt blue glass knobs for hanging items. The shelf is the perfect size for displaying photo frames or other small objects.

Materials:
- 1-1/4″ pocket hole screws (<– affiliate link!)
- 1-1/4″ brad nails
- Fast-drying adhesive such as DAP® Weldwood Instant Adhesive
- Wood glue
- 3 large cabinet pulls
- 2 outside mount keyhole hangers with screws
- Stencil or vinyl cutout, optional
- Sandpaper (100, 150, 220 grits)
- Finishing supplies (primer & paint, or stain, sealer)
Tools Needed:
- Miter saw
- Circular saw
- Drill
- 1/4″ drill bit
- Pocket hole jig
- Crown Moulding jig, optional
- Pneumatic brad nailer with compressor (or battery operated model)
- Sander
Lumber:
- 1 – 1×4 at 6′
- 1 – 2′ x 4′ sheet of 3/4″ plywood
- 1 – 8′ piece of crown moulding
Cut List:
- 1 – 3/4″ plywood at 12″ x 46-1/2″ – Shelf Base
- 1 – 1×4 at 54-1/2″ – Shelf Top
- Crown moulding is cut to fit
Notes about the project:
I used a crown moulding jig to cut the crown for the shelf. There are several other ways to cut crown moulding – use the method you’re most comfortable with!
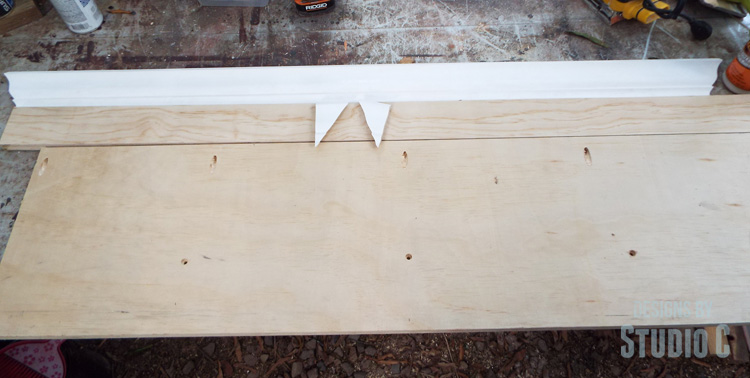
Step One
Cut the pieces for the shelf base and top. Mark the center of each piece (along one long edge of each piece). Set the pocket hole jig for 3/4″ material and drill pocket holes along one long edge of the base piece. Line up the marks and secure the base to the top using glue and 1-1/4″ pocket hole screws.
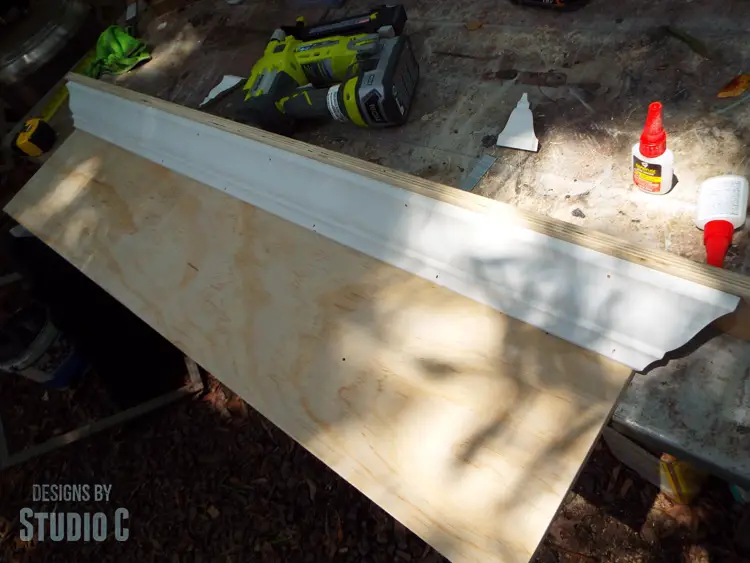
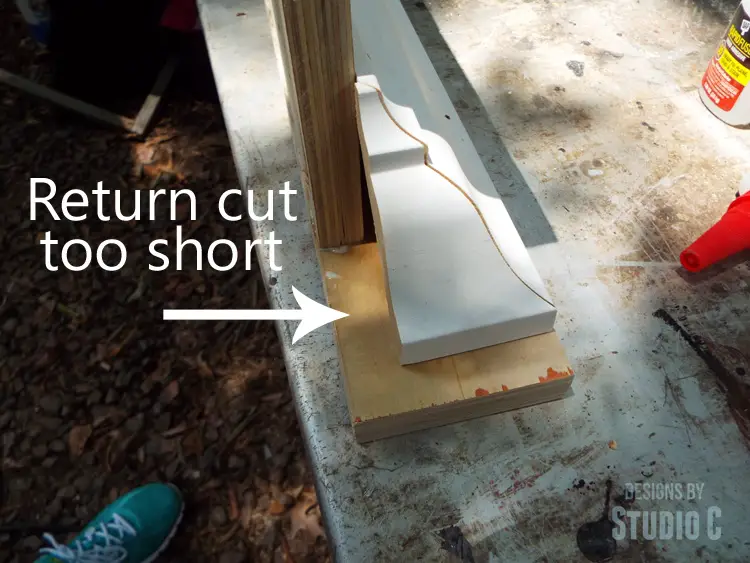
Step Two
Cut the crown moulding. There are a couple of options for this shelf… If you don’t want to mess with cutting the outside corners or angles or basically giving yourself a headache, the crown moulding can be cut straight then secured to the base and top, and the length of the top can be shortened. Since I like to “challenge myself”, I cut the crown moulding with angles on each side and added a return so that it wrapped around the sides of the shelf. The only problem is that I cut the returns too short. I left them that way and it still looks fine! I secured the longer piece of crown with 1-1/4″ brad nails, then secured the side pieces with the DAP® Weldwood Instant Adhesive (this stuff is awesome!).
Step Three
I pre-drilled the holes for the knobs then decided to used a swirly design on the front of the shelf base. I painted the base grey, then applied the vinyl swirl and painted everything white. Once the paint was dry, I removed the vinyl.
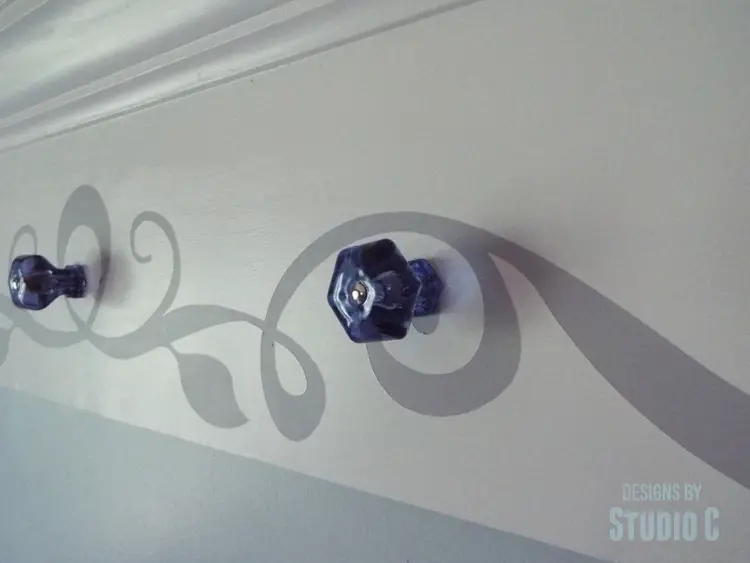
Step Four
I installed the keyhole hangers on the back of the shelf, then installed the knobs. (Here’s a how-to on painting clear glass knobs!)
When it came time to install the shelf on the wall, I used auger anchors in the drywall, then hung the shelf on screws. I added a couple of old (really “old” by the kids’ standards) family photos!

Have any questions about the DIY wall mounted shelf with crown moulding? Leave a comment below!
Originally posted 2016-08-01 08:00:33.
I love projects where I can put my scrap wood to good use. And… I also love that no one would have a clue that this beautiful piece was made with scrap wood! Great job!!!
Thank you very much, Scott! I have a bad habit of hoarding scraps and am glad when I can put them to use!
[…] Wall Mounted Shelf with Crown Moulding […]