
Sanding and Repainting the Legs of a Chair
A Leather Chair Gets a New Life
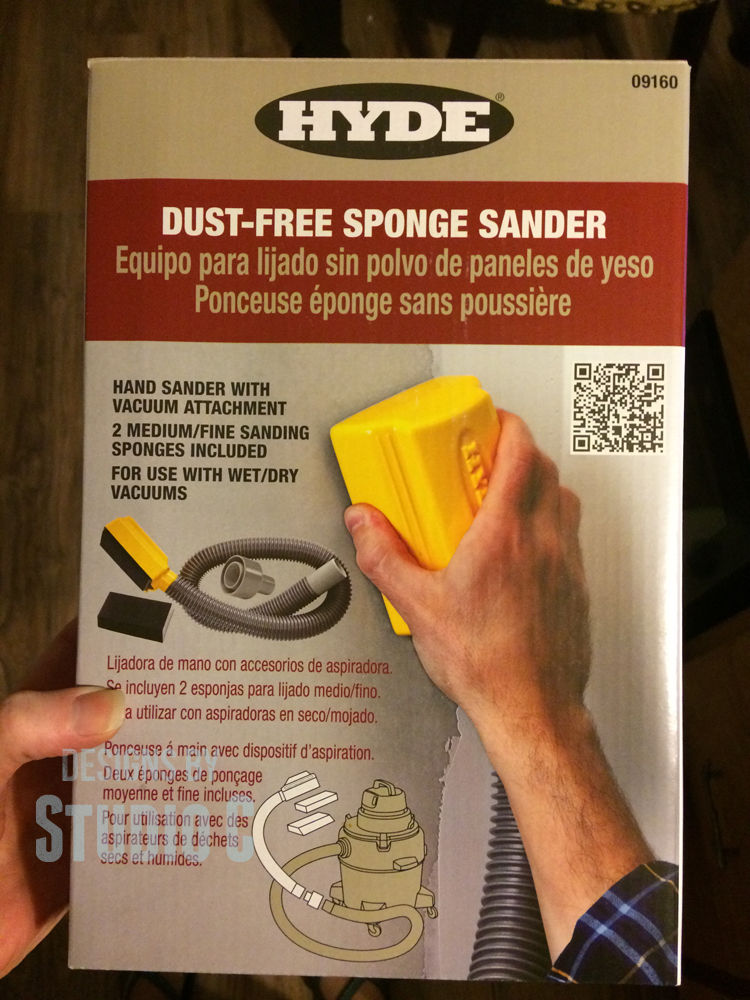
A huge shoutout to Hyde Tools for providing the Dust Free Sponge Sander used in this post! Thank you!
So I scored a fabulous leather wingback chair at a thrift store. The chair is large and solid (I had a hard time getting it through the front door of the house) but it needed a lot of TLC. I had a fabulous idea of how I wanted the chair to look but before I tackled the leather, I started by sanding and repainting the legs of the chair.
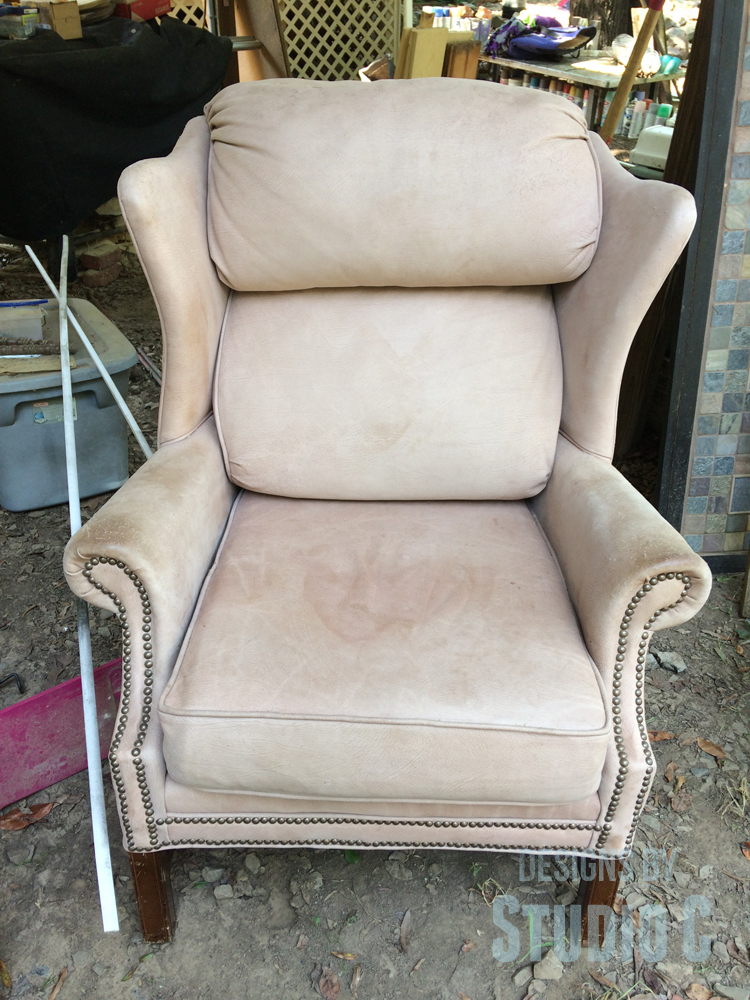
The leather was in fair condition but was seriously attacked by a cat with huge (probably 10″ long or so – ha ha) claws. In another post, I will detail how I repaired and dyed the leather of the chair.
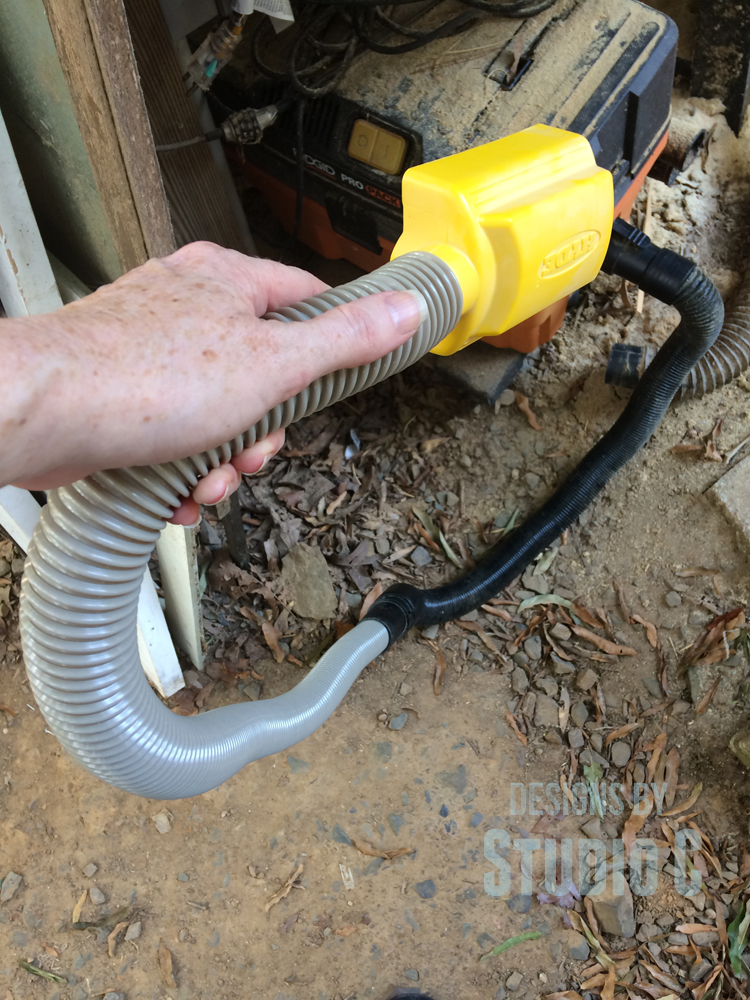
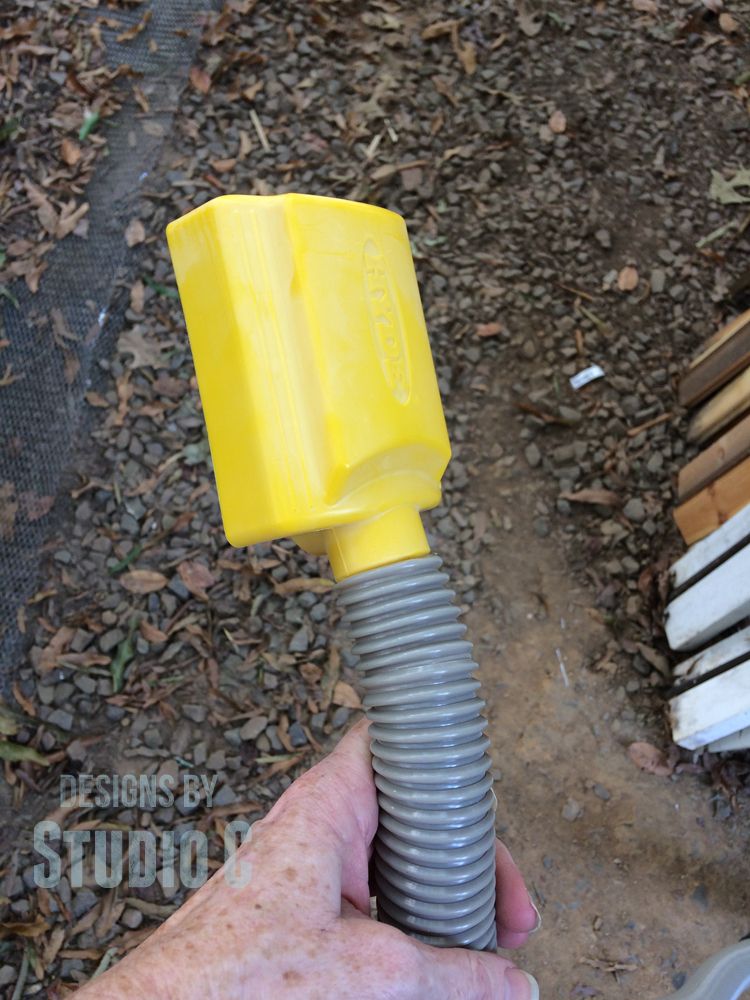
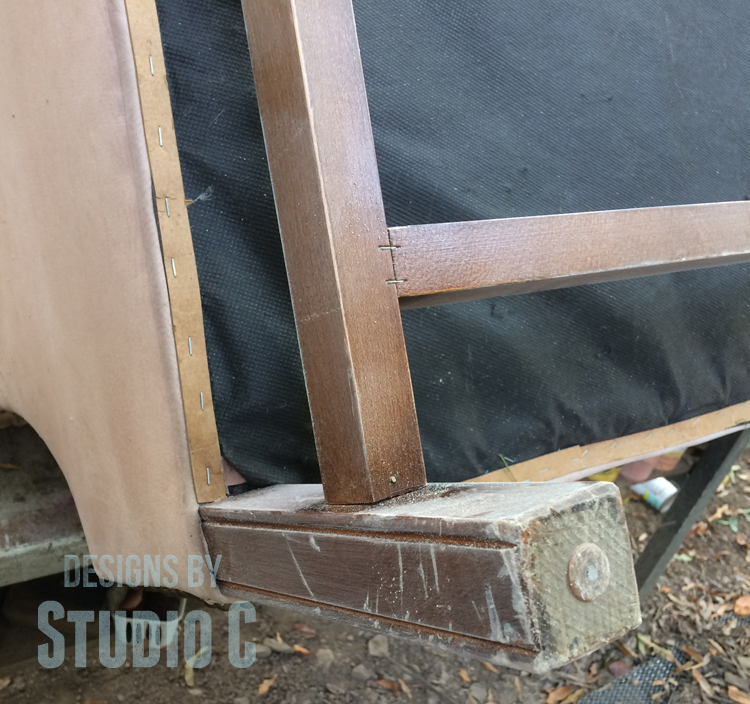
The legs were truly in fair condition. One leg did have a large scratch in it, but overall they looked pretty good. In order to repaint them, I needed to sand them. I used this super-cool Dust Free Sanding Sponge from Hyde Tools (<– affiliate link!) to prepare the legs for paint. The Dust Free Sanding Sponge attaches to a utility vacuum with a hose and adapter. A sanding sponge is inserted in a hood at the other end of the hose and removes the dust as you sand. It is a pretty handy tool to have! (Hyde Tools is awesome!!)
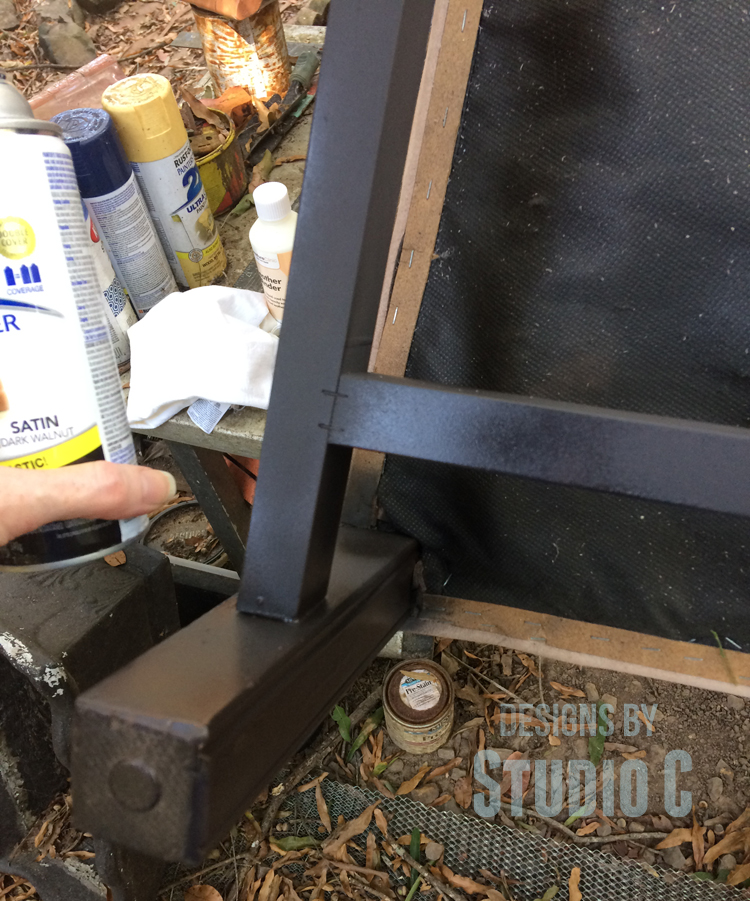
Once the legs were sanded, I used a satin spray paint in a dark brown to color the legs. I was in a hurry to get this chair finished and really didn’t want to take the time to stain the legs. The spray paint went on smoothly and quickly, and looks great – exactly the look I was wanting!
Now that I’m finished sanding and repainting the legs of the chair, it is time to move on to repairing the leather. Stay tuned – this became a really fun project!