
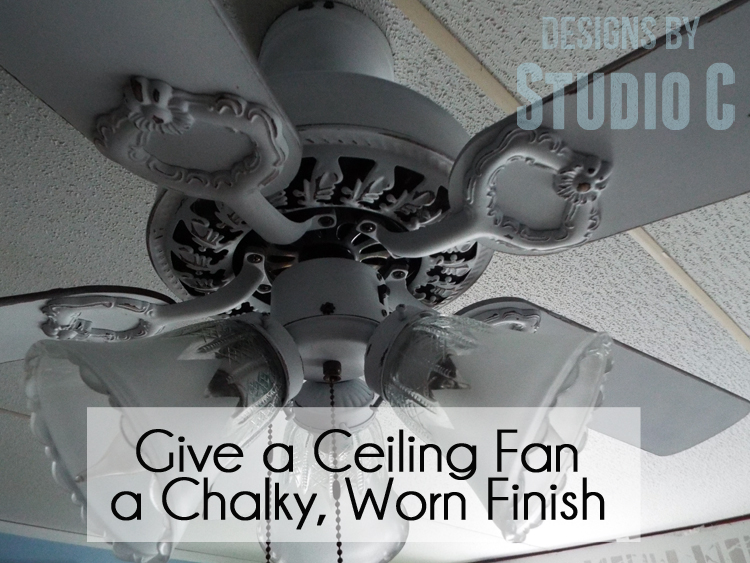
Painting the Ceiling Fan with a Chalky and Worn Finish
How to Paint a Ceiling Fan: A Step-by-Step Guide
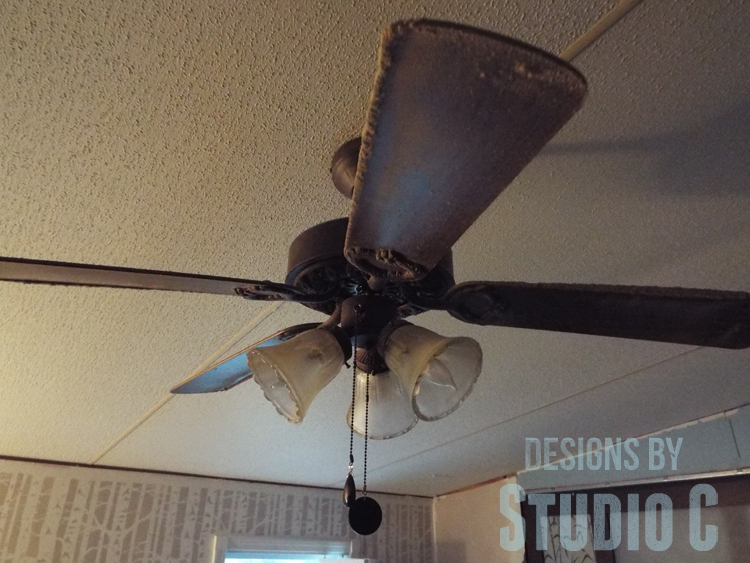
I’m trying to give my bedroom an update and one of the things I needed to update was the ceiling fan. The ceiling fan in the bedroom generally runs non-stop. Multiply that by 10+ years and needless to say, it was completely packed with dust! Before painting the ceiling fan, it needed a seriously deep cleaning! After giving the fan a makeover, I am thrilled with the results.
I started by turning off the power at the breaker. I took the ceiling fan down, by removing the blades and brackets first. I made sure that I capped off the wires at the ceiling then turned the power back on. (See the dust??)
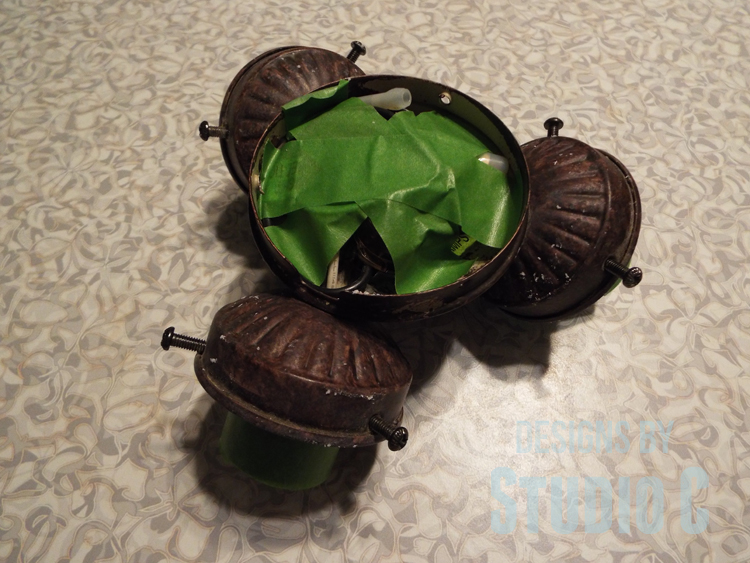
I dismantled the ceiling fan (storing the screws in a plastic container with a lid) and washed every piece except for the motor itself in soapy water.
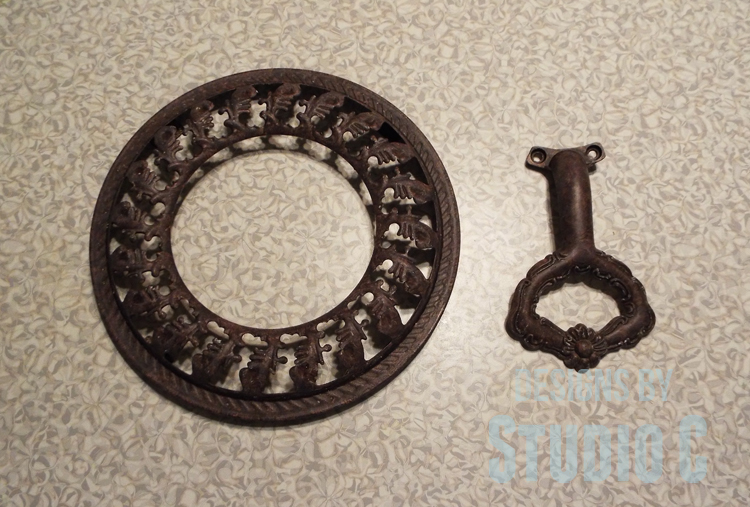
I taped off the wiring and any areas that I did not want painted.
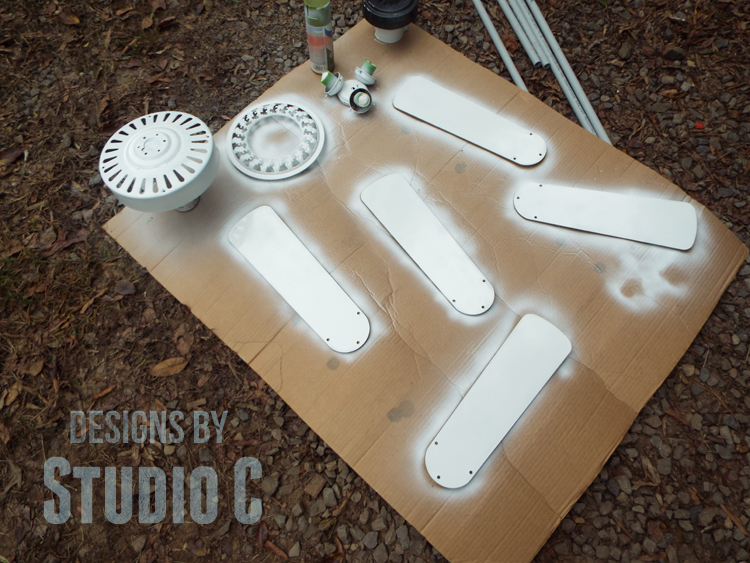
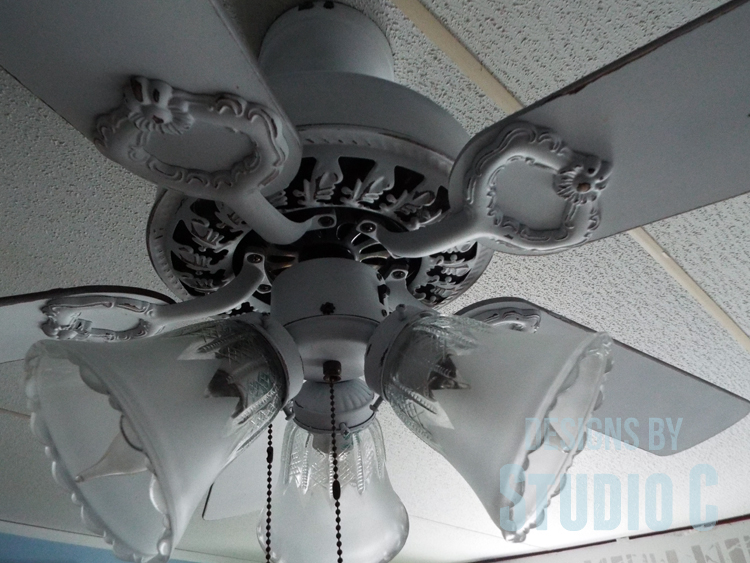
I really wanted a chalky, worn look to the fan but I don’t think it is a good idea to put multiple coats of paint on a ceiling fan, especially the blades. The motor is calibrated to work with a specific weight to the blades. If the blades are made heavier, the fan will not run as well as it designed and will eventually lead to the burn-out of the motor.
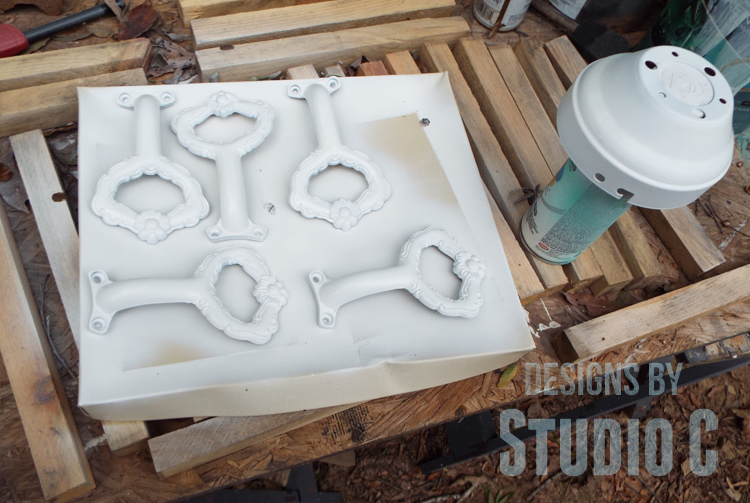
I figured that flat spray paint would help me achieve the look I wanted! I used one coat of spray paint on all of the pieces including the blades. One coat of spray paint would not alter the weight of the of the blades by much.
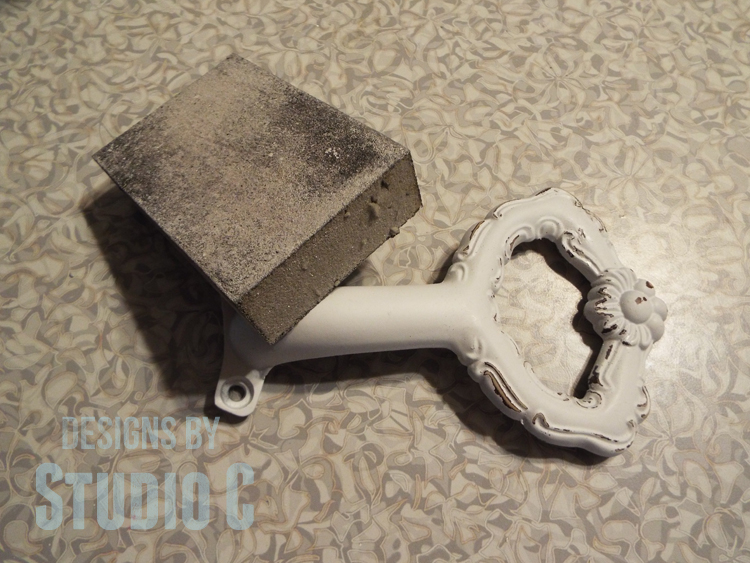
I let the paint dry for a couple of days, then used a sanding sponge (<– affiliate link!) to remove the paint from the edges of the blades and the raised edges of the other fan parts. I reassembled the fan, then hung it back on the ceiling.
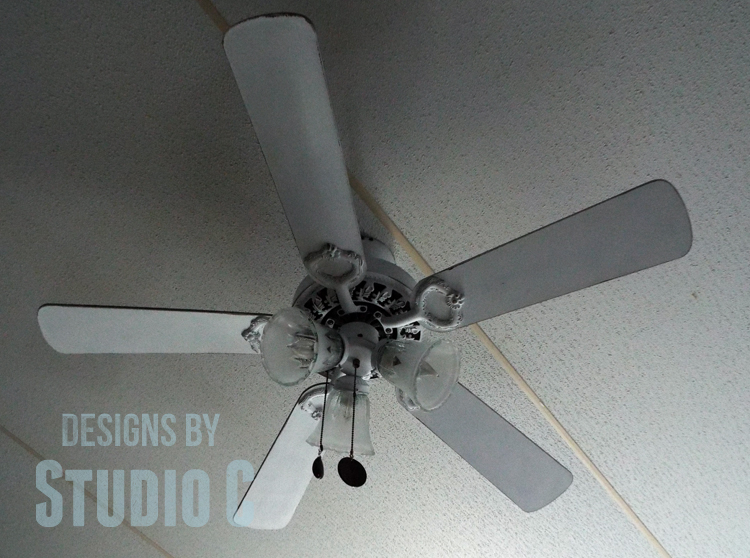
I love it and am thrilled with the way the fan came out – it was exactly what I wanted and I know that the fan will run for another 10+ years after that deep cleaning!
Are you thinking about painting the ceiling fan? Have questions about how to paint a ceiling fan? Leave a comment below!
Originally posted 2014-10-28 08:00:57.
[…] An Easy and Inexpensive Way to Give a Ceiling Fan a Makeover […]