
Step-by-Step Tutorial: Installing Vinyl Tile with Grout
Vinyl Tile – An Inexpensive and Beautiful Flooring Option
If you’re looking to install vinyl tile with grout, you’ve come to the right place. This step-by-step tutorial will walk you through the process, providing you with all the information you need to achieve a professional-looking finish. Whether you’re a seasoned DIYer or a beginner, you’ll find this guide helpful in achieving a beautiful and durable vinyl tile installation.

Gather Materials and Tools
Before you begin installing vinyl tile with grout, it’s important to gather all the necessary materials and tools. Here’s a list of what you’ll need:
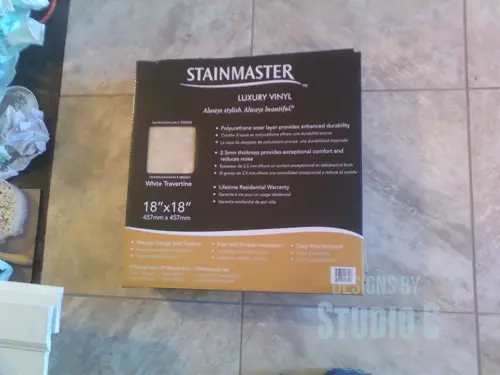
- Vinyl tiles: Choose the style and color that best suits your space.
- Grout: Select a grout color that complements your vinyl tiles.
- Adhesive: Use a vinyl tile adhesive that is recommended for your specific type of vinyl tiles.
- Notched trowel (<– affiliate link!) : This tool will be used to spread the adhesive evenly.
- Grout float: A grout float is essential for applying and smoothing the grout.
- Sponge: You’ll need a sponge for cleaning excess grout from the tiles.
- Bucket: Use a bucket to mix the grout according to the manufacturer’s instructions.
- Measuring tape: Measure the dimensions of your space to determine the amount of vinyl tile needed.
- Utility knife: A utility knife will be used to cut the vinyl tiles to fit around edges and corners.
- Level: Ensure that your installation is level by using a level tool.
Once you have gathered all the necessary materials and tools, you’re ready to move on to the next step of the installation process.
Prepare the Subfloor
Before you can begin installing vinyl tile with grout, it’s important to prepare the subfloor. Start by removing any existing flooring and ensuring that the subfloor is clean, dry, and level. Use a level tool to check for any uneven areas and make any necessary repairs. If there are any cracks or holes in the subfloor, fill them in with a patching compound and allow it to dry completely. Once the subfloor is in good condition, you can move on to the next step of the installation process.
Apply Adhesive and Install Tiles.
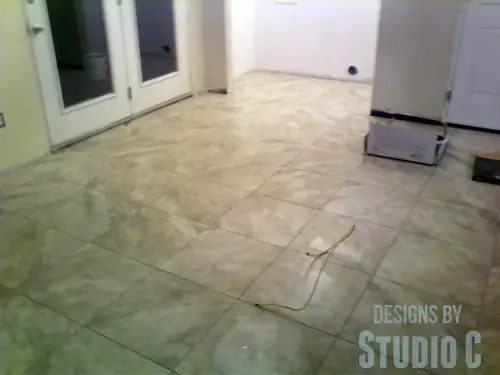
After preparing the subfloor, it’s time to apply the adhesive and install the vinyl tiles. Start by mixing the adhesive according to the manufacturer’s instructions. Use a trowel to spread the adhesive evenly on the subfloor, working in small sections at a time. Make sure to follow the recommended drying time for the adhesive before moving on to the next step. Once the adhesive is ready, begin placing the vinyl tiles on the subfloor, starting in one corner and working your way across the room. Press each tile firmly into the adhesive, making sure they are aligned and evenly spaced. Continue this process until all the tiles are installed.
Cut Tiles to Fit.
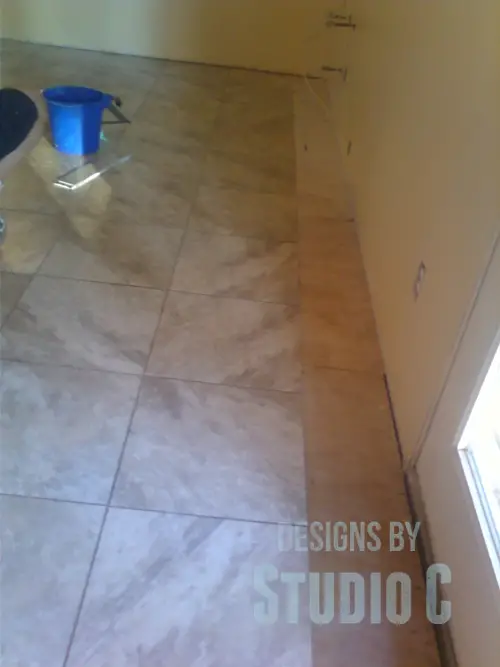
After installing the majority of the vinyl tiles, you may find that some tiles need to be cut to fit around edges, corners, or obstacles in the room. To do this, measure the space where the tile needs to fit and mark the measurements on the tile. Use a straight edge and a utility knife to score the tile along the marked line. Then, carefully snap the tile along the scored line. If necessary, use the utility knife to trim any rough edges. Fit the cut tile into place, making sure it aligns with the surrounding tiles. Repeat this process for any additional tiles that need to be cut to fit.
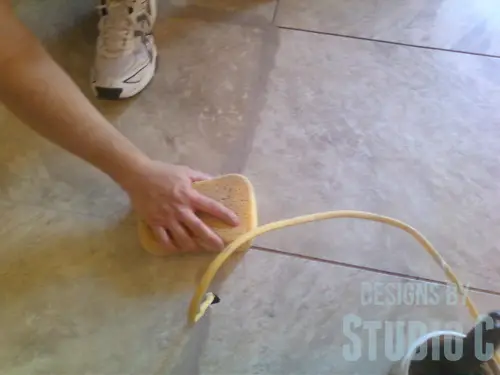
Using Grout.
When installing vinyl tiles with grout, it is important to use a grout specifically designed for vinyl tile. This type of grout allows for the expansion and contraction of the flooring and remains flexible when dry. Using the wrong type of grout, such as acrylic grout, can lead to damage to the tiles, including bubbles, lifting, and other issues, as the grout will not be able to move with the vinyl.
Buy a Little More Than You Need
It is recommended to have extra tiles on hand in case any need to be replaced or if a complicated pattern requires cutting. It is also worth noting that unopened boxes of tiles can typically be returned to the store if they are not needed.
Take Your Time and Do It Right
While installing self-adhesive vinyl tile is quick and easy, proper preparation will result in tiles that will last quite a long time!
So the next time you are in the market for new flooring, take a look at the vinyl tile and try your hand at installing vinyl tile with grout. Who knows, you may find something you like! Any questions? Contact me at cher {at} designsbystudioc {dot} com!
I would definitely consider vinyl if it is reasonably priced and worth for the money spend. Great information Cher.
I have it in most areas of my house and love it! Thanks for stopping by, Vinma!
Who new vinyl could look this good?
Thanks, Elle! We used it in the house we are renovating and it looks fabulous!
Vinyl is easy to clean and it has certainly come a long way baby!
I had no idea that vinyl could be grouted! Thanks for this post! I currently have carpet in our basement, but I’m looking for other options.
This is what I want to do! This is what I want to do! I had no idea you could use grout!
K, can you tell I’m excited?
I am such a freak, I bought a large sheet and just placed it on my living room floor like a carpet. Too lazy to fix it permanently. I love that it can be simply washed off!
LOL, Vidya! That is probably what I would do in my own home!
This flooring looks beautiful! Love that it’s vinyl, looks easy enough to install, which I also love!
Thank you so much! It came out so great – I still can’t believe it is vinyl! Thank you for stopping by!
Love this! I just put hardwood floors down and it was a pain!
I’ve never laid hardwood floors, myself, but have heard it is not the most fun job! The vinyl tile is easy to install and easy to replace. Thank you for stopping by!!
[…] are those of us who know a little bit about a lot of things, right? Well, I’d say Cher with DESIGNS BY STUDIO C knows an awful lot about most any project she tackles. We found this article […]