
Easy DIY: How to Replace a Wall Oven
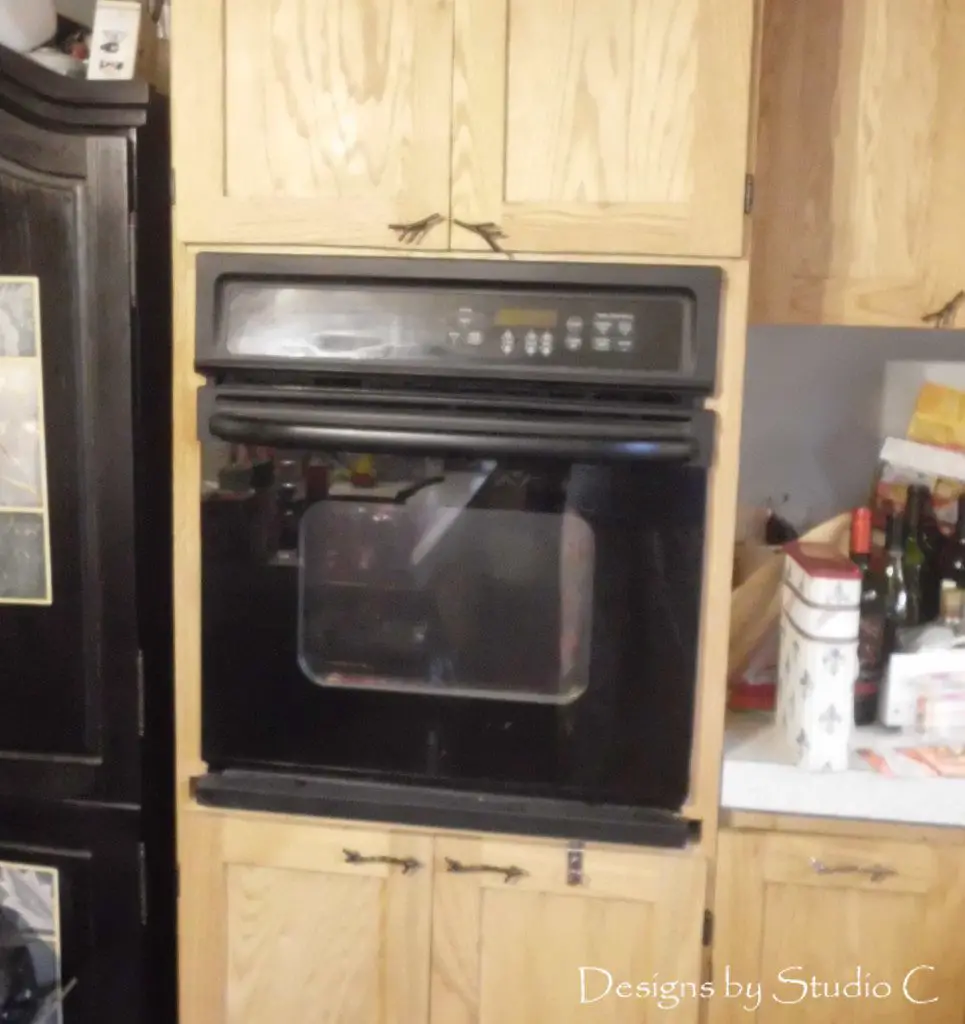
About a month ago, my wall oven died. At this point, I’d had it for twelve years and it was acting funny (“F” codes on the screen, shut itself off during cooking, etc.) so I kind of figured the end was near. I already had an idea on what brand I wanted to buy to replace it because I started doing research long before the end.
Replacing a wall oven, at least for me, was extremely easy. The old one was out then the new one was in and connected in about an hour! Today, I’ll share a few steps I used when I replaced the oven.
First and foremost, do your research! Not only do you want the best value for the money but you want one that is going to last for awhile. Plus you want to make sure it will fit in the existing opening without any major modification! If the installation manual for the old oven is available, review the cabinet diagram and compare it to the installation manual for the new one. Most of the installation manuals can be found online. Check the manufacturer’s website.
Once the new oven arrives, read the instruction and installation manuals thoroughly. I like to study them so I know what I’m getting into before hand!
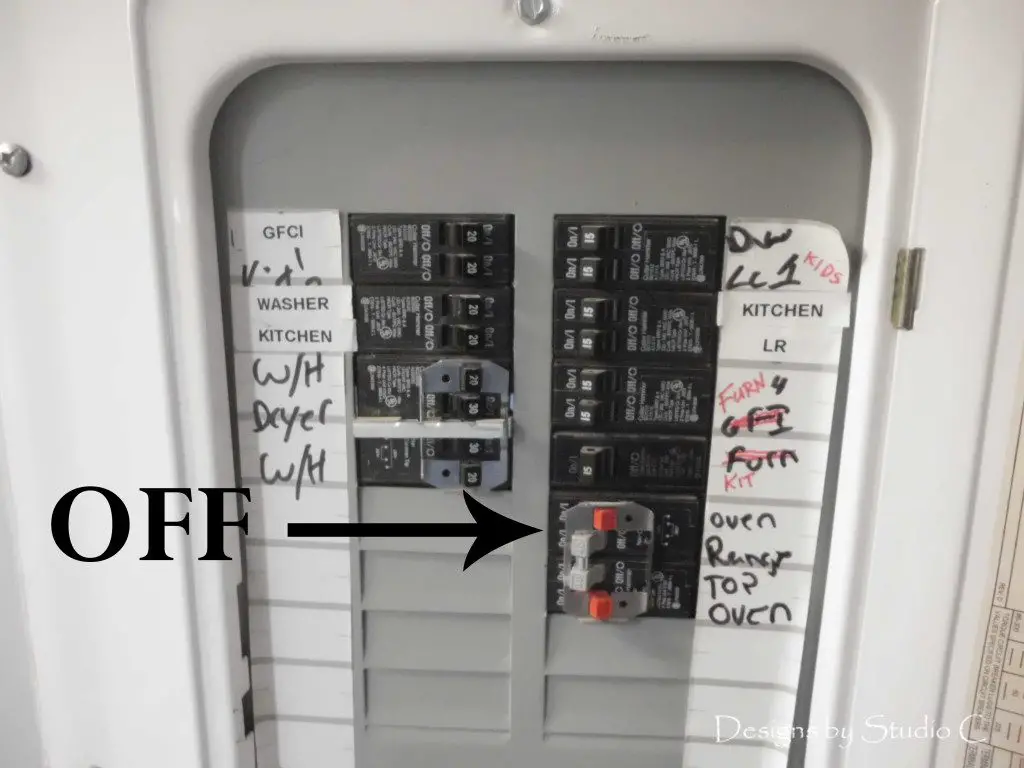
Ready to install? Shut off the power at the breaker – for obvious reasons, right?
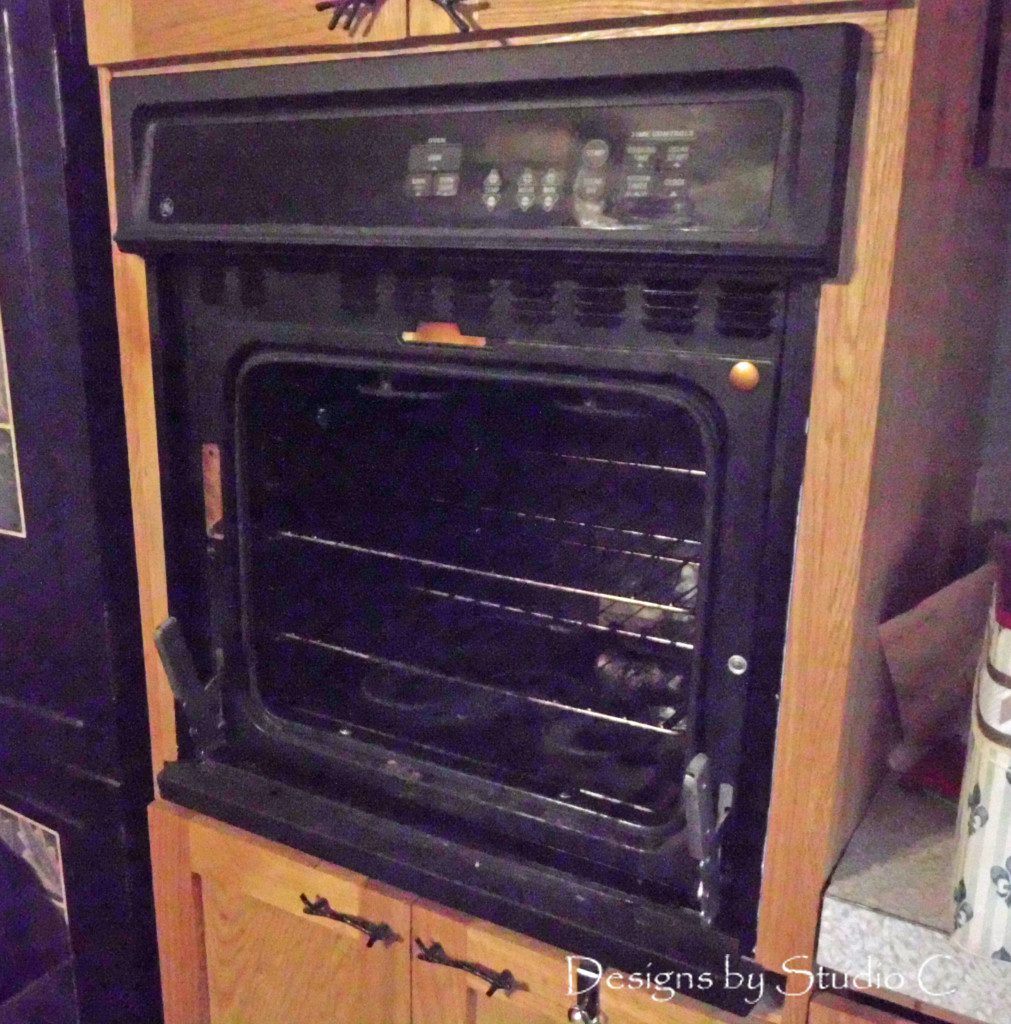
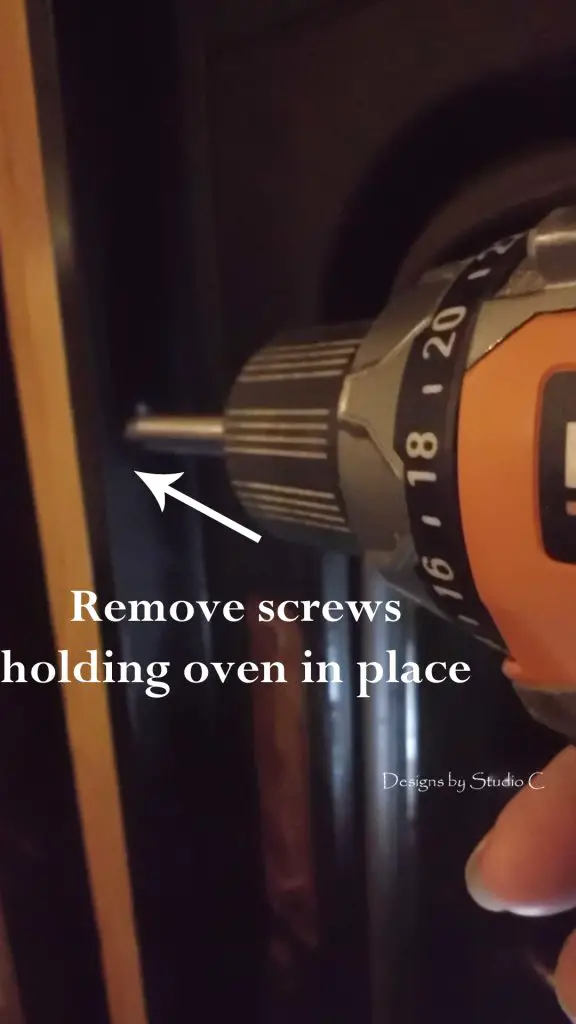
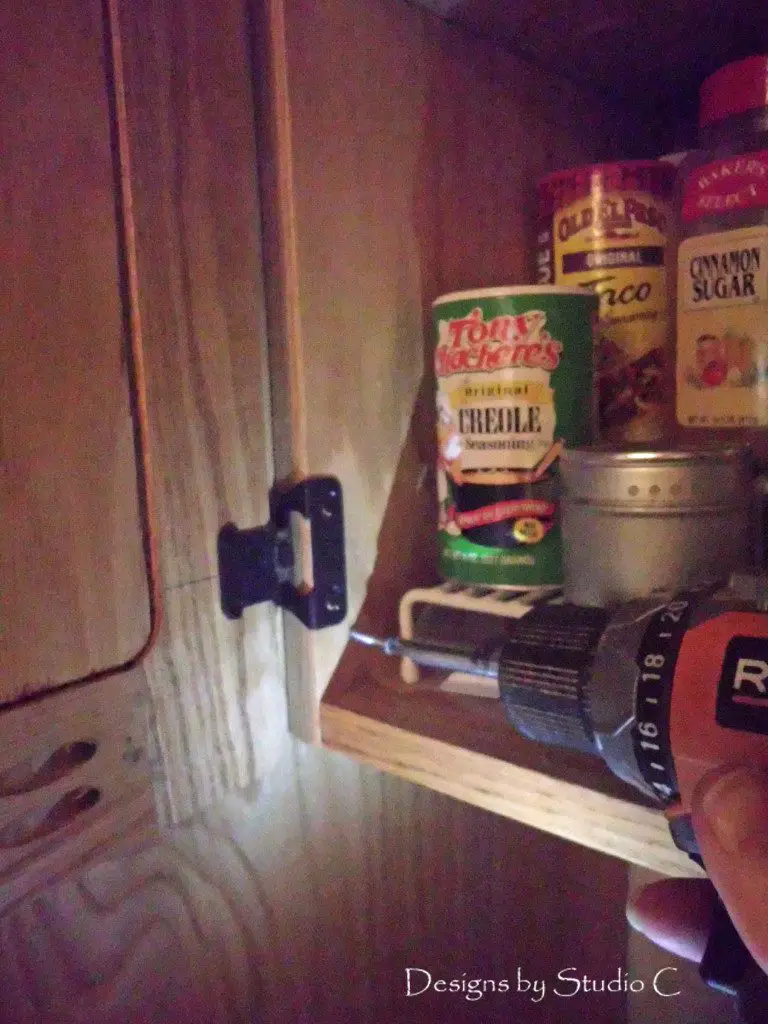
Remove the door, if possible, and loosen the screws at the front that hold the old oven in place.
In my case, I had to remove everything from the cabinet and loosen the screws that secure the adjoining cabinet in order to slide the oven cabinet out to get to the junction box.
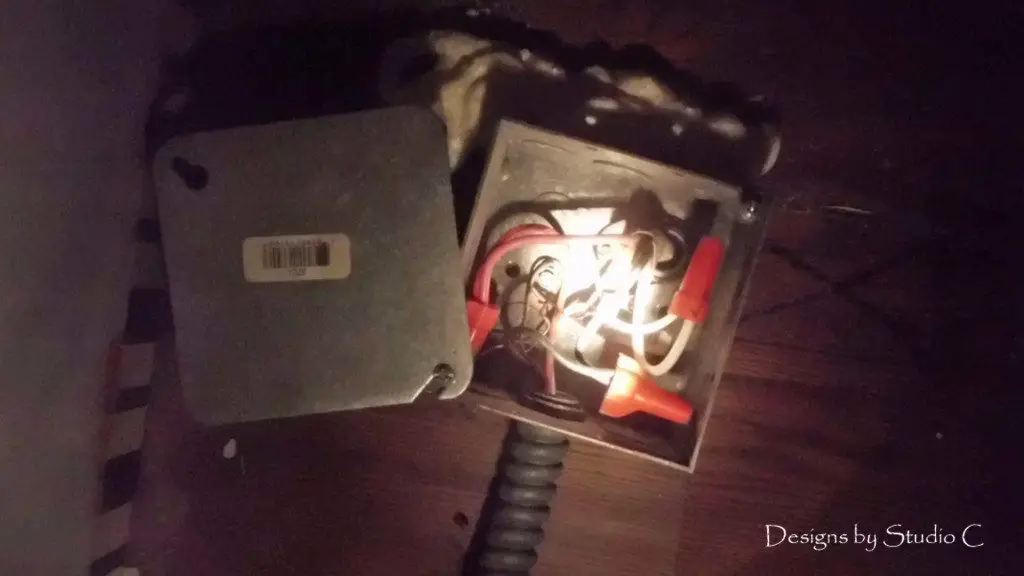
Loosen the cover on the junction box and disconnect the wiring.
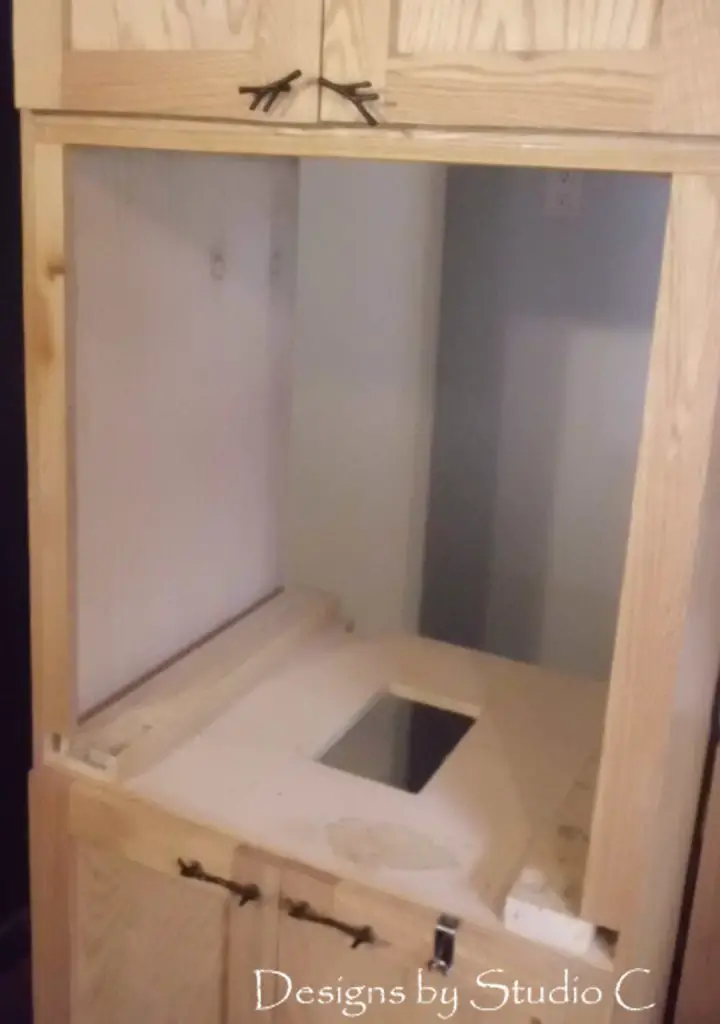
The old oven should slide right out with minimal effort.
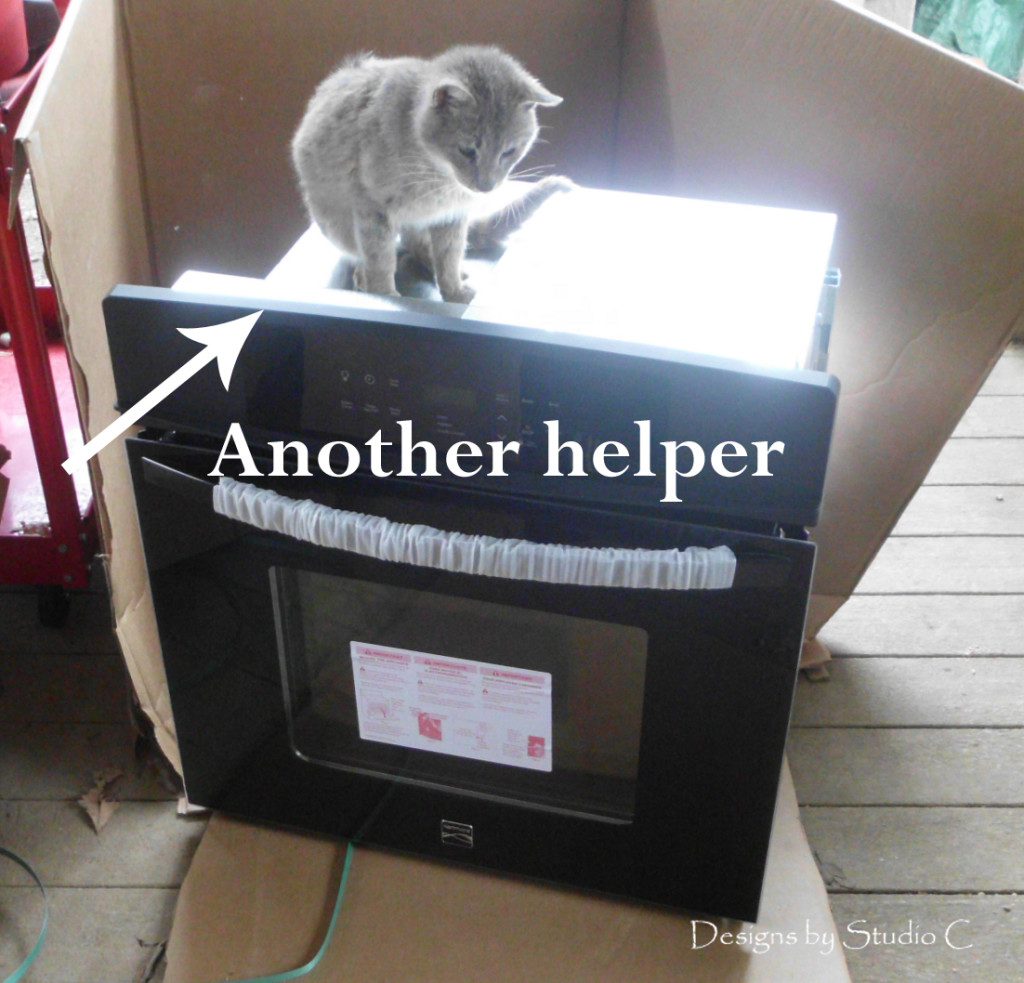
Believe it or not, there are also specific unpacking instructions printed on the outside of the box… I guess they don’t think the box should be opened with a chainsaw – Ha ha! Unpack the new oven and remove the packing material, tape, wrappers, etc.
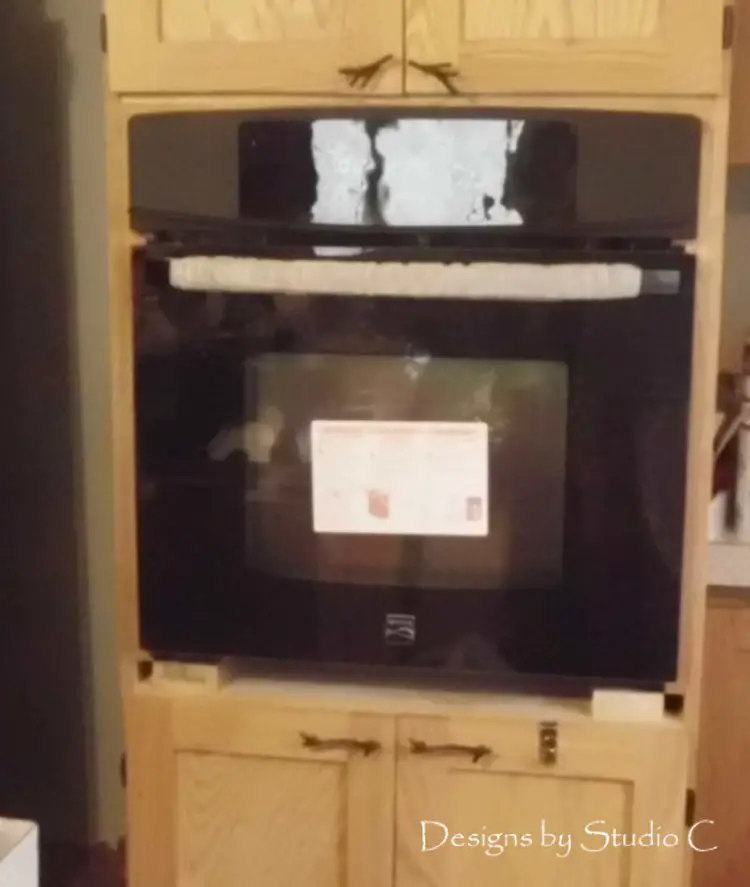
Slide the new oven in and reconnect the wiring. Install the screws that hold the oven in place (at the sides of the opening) and install the bottom trim piece.
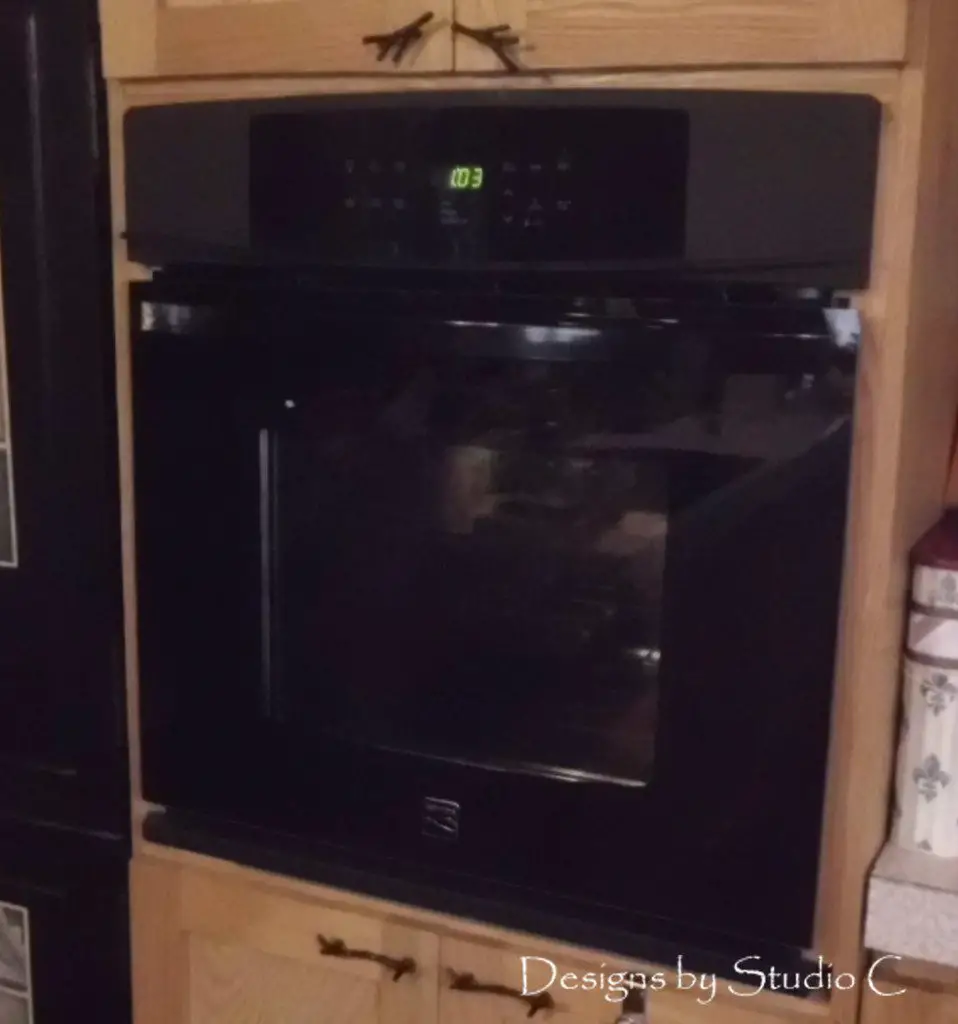
That’s it! The instructions for my oven suggested heating it to 400 deg. and letting it run for approximately 30 minutes to sort of “season” it. Good timing on the installation, too, because it is too windy to use grill to cook any food today! Hot meal tonight, kids!
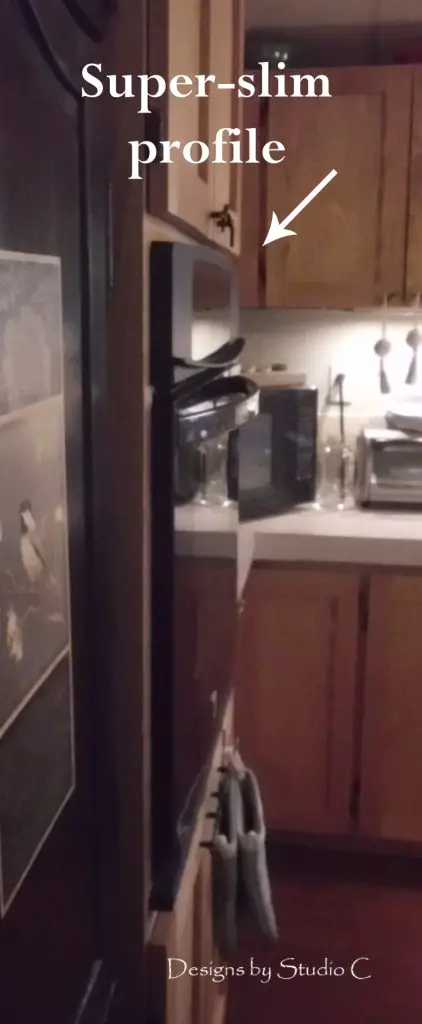
I absolutely LOVE the slim profile! The front is only as thick as the cabinet doors with the exception of the handle, of course!
Share your fabulous work with me… Send photos to cher {at} designsbystudioc {dot} com or designsbystudioc {at} gmail {dot} com. I would love to feature your work on DbSC!