
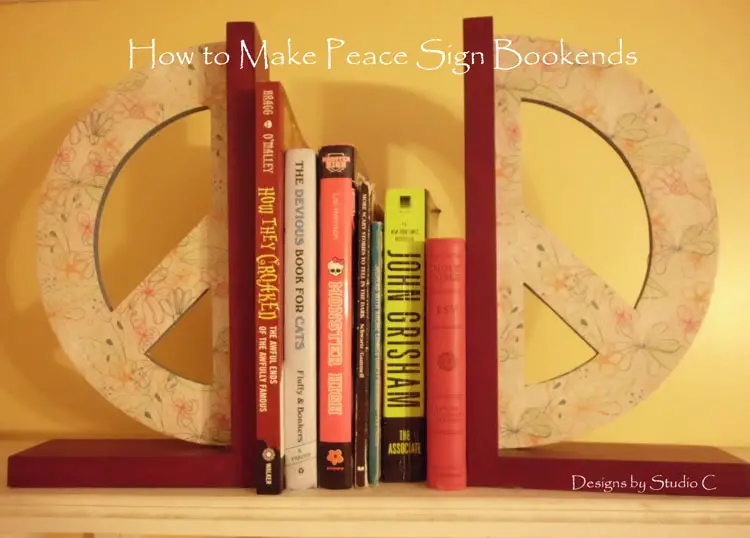
How to Make Peace Sign Bookends
Originally posted 2012-08-12 08:00:51.
Make a Great Set of Bookends for Any Decor!
My daughter, The Han, is a bookworm. She could honestly open her own library because she has so many books! I can’t complain about a child who loves to read, though, but since she has so many books, organization seems to be a problem.
I saw these cute bookends in one of the high-end catalogs and decided to hack this design! The Han helped me with this project so we could customize it to match her room. It is very simple and can be completed in a weekend. The height is totally customizable to match the peace sign (or any other chipboard piece) being used. (Mine was extremely large!) Let me show you how to make Peace Sign bookends for yourself…
Materials:
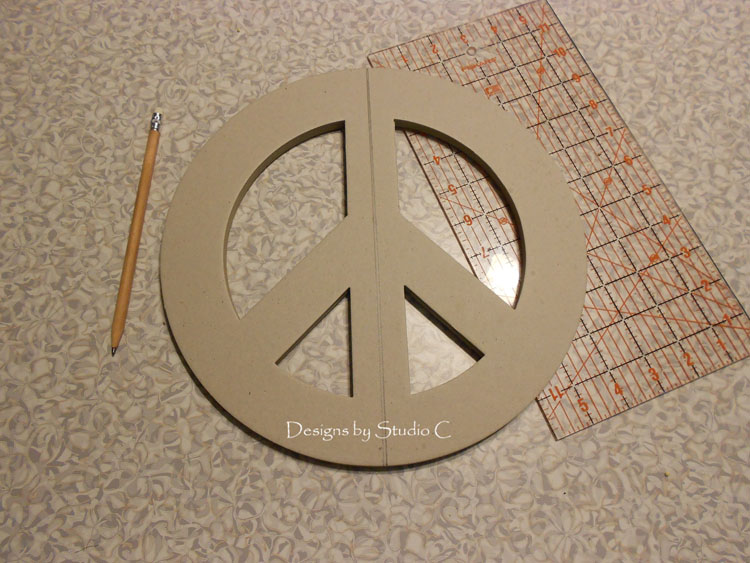
- Chipboard peace sign (or any other initial or symbol)
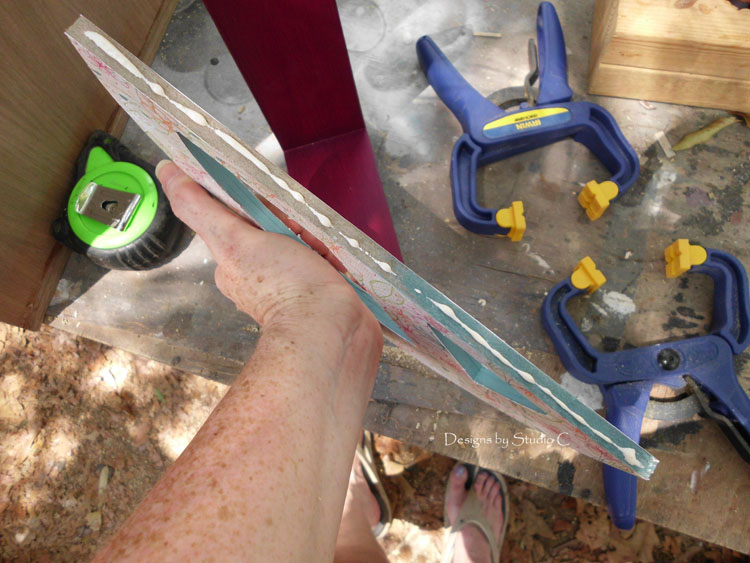
- 1×3 board at 3′
- Paint
- Scrapbooking paper
- Mod Podge (<– affiliate link!)
- Brad nailer & 1-1/4″ brad nails
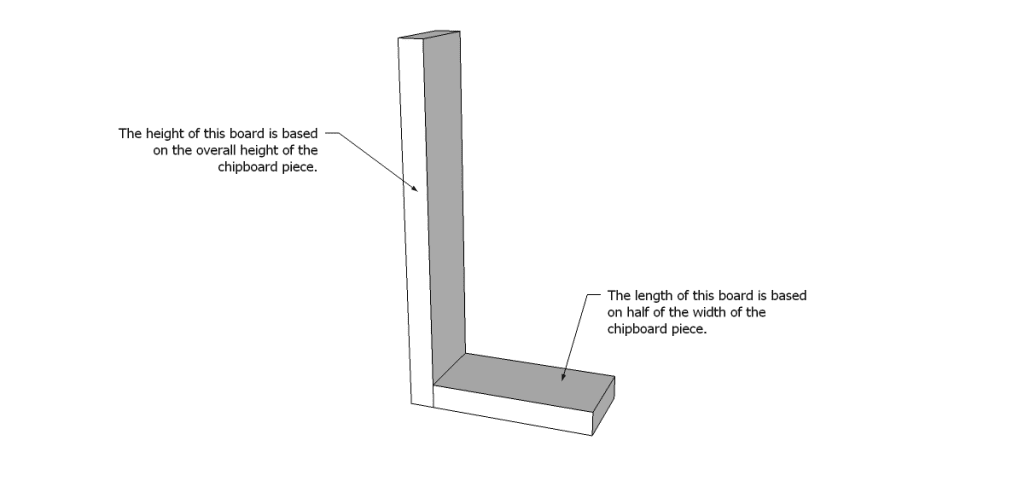
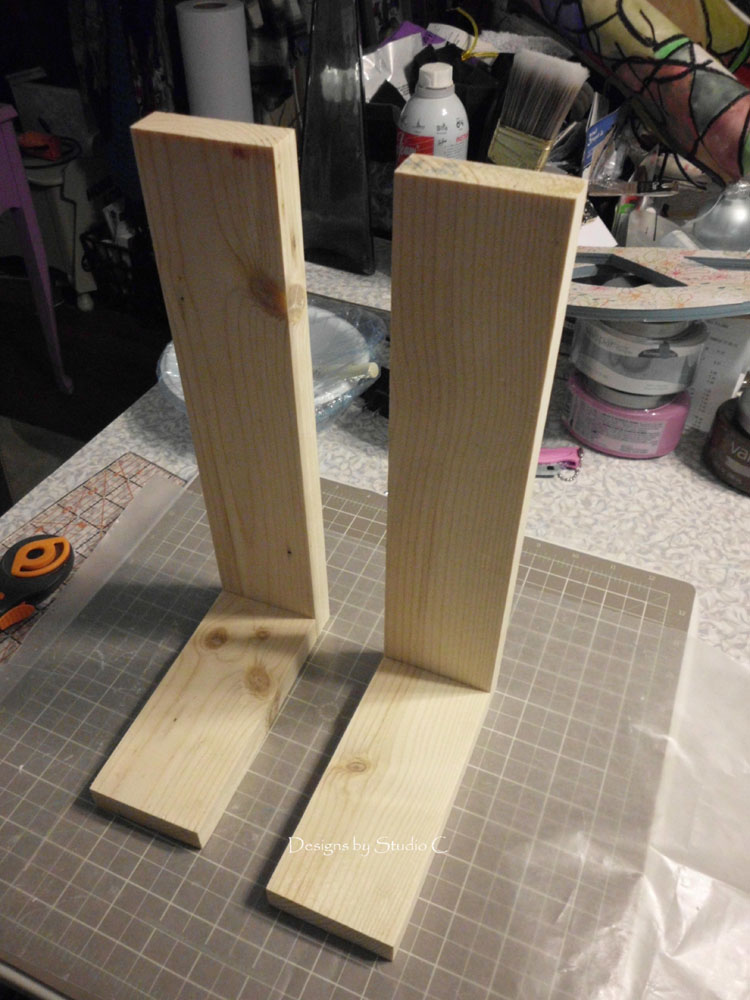
Cut the pieces for the bookends as determined by the height and the width of the chipboard piece. If using a peace sign, it will be cut in half (each half will sit on a bookend) so the width will be based on half of the total width. If using an initial or another symbol, it will not be cut in half so the width will be based on the total width of the piece.
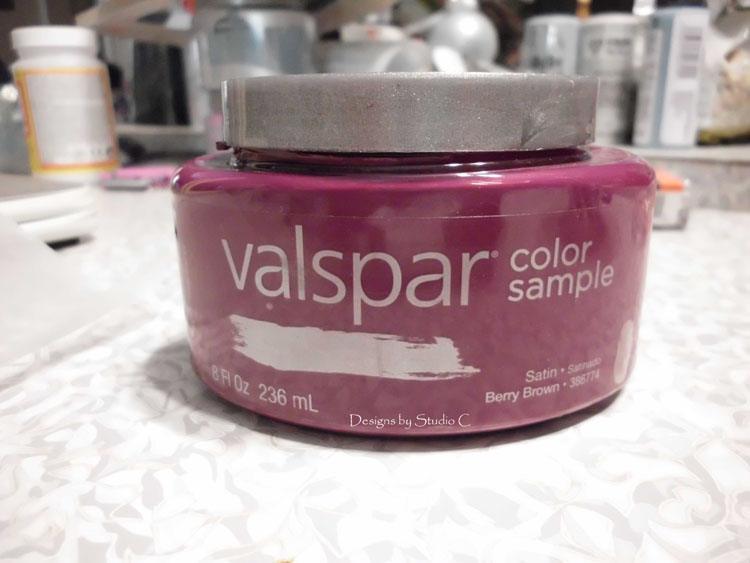
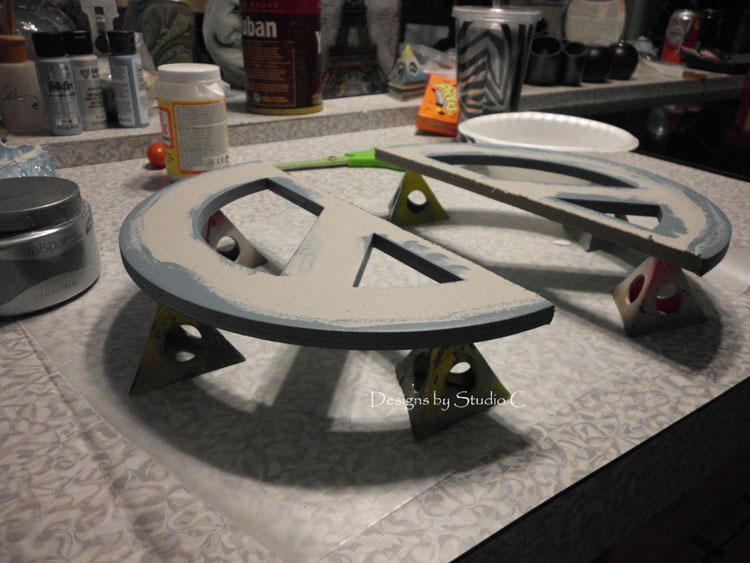
Paint the bookends. I used three coats of paint on mine.
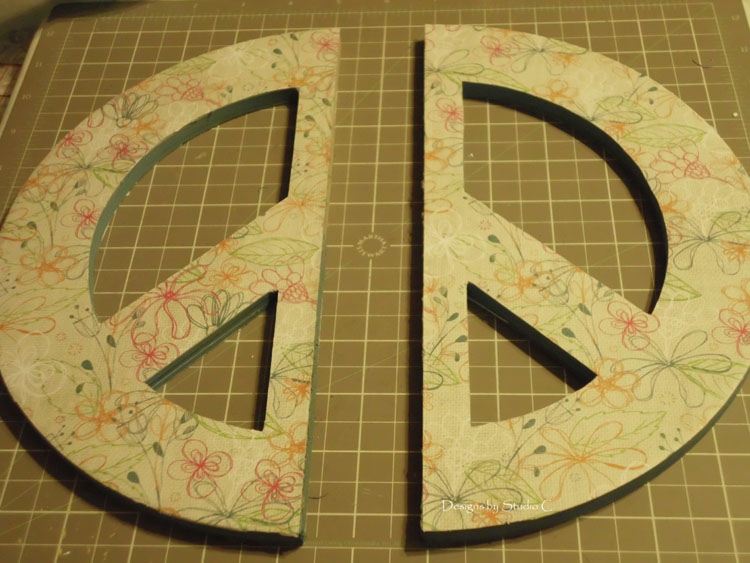
If using a symbol like I did, mark the center and cut the piece in half with a jigsaw.
Paint only the edges of the chipboard piece.
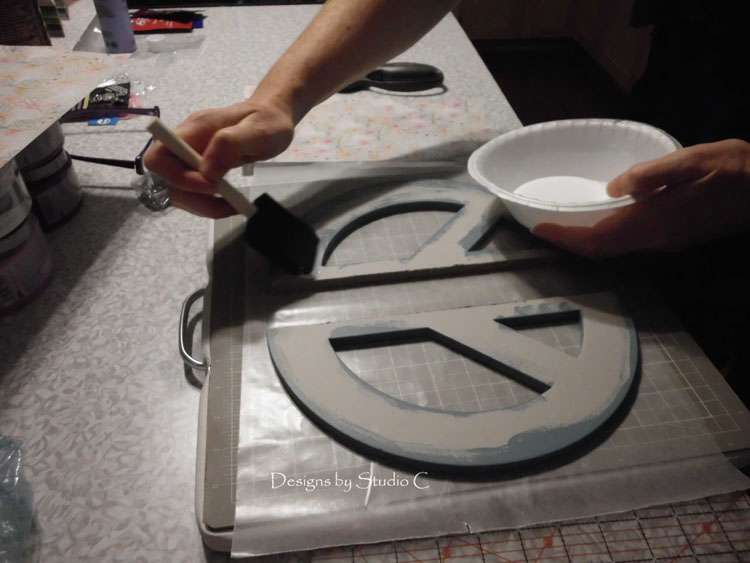
After the paint dries, spread a coat of Mod Podge on one side of the chipboard piece and position the scrapbooking paper.
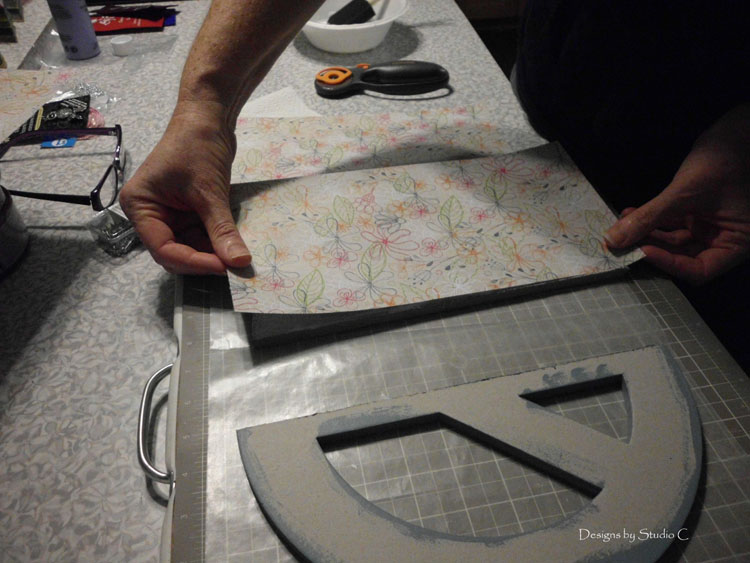
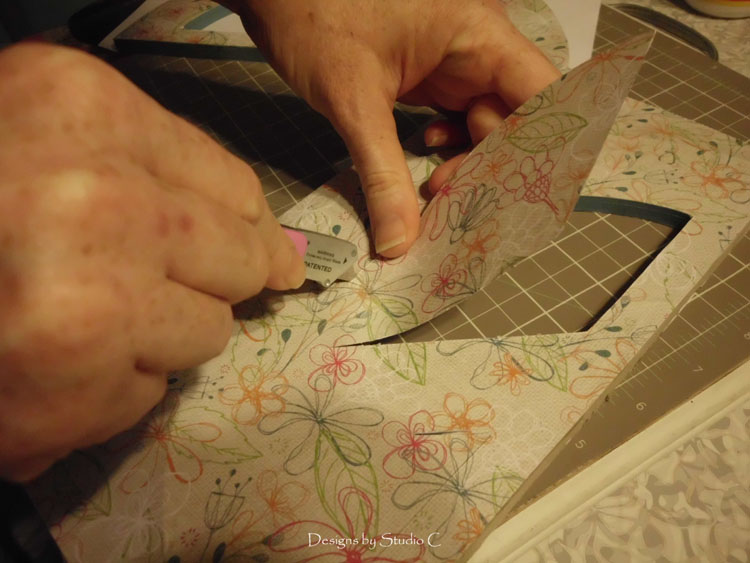
Let it dry, then use a craft knife to trim the excess paper away. Repeat the process for the other side.
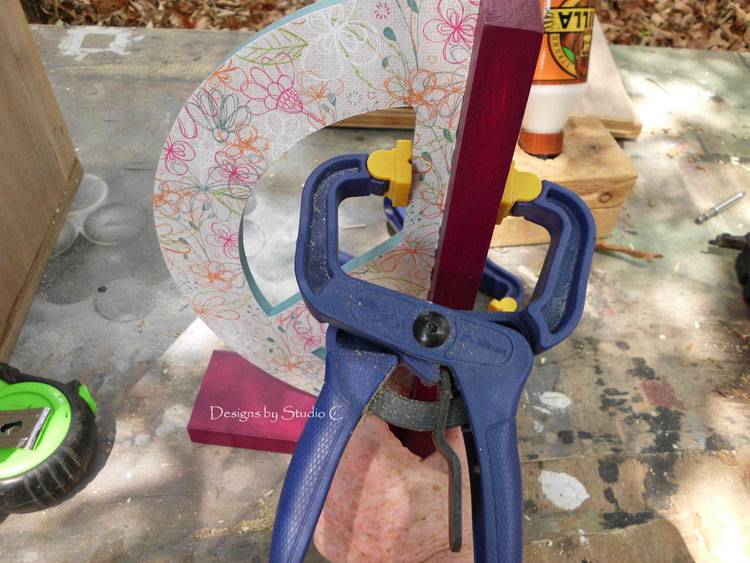
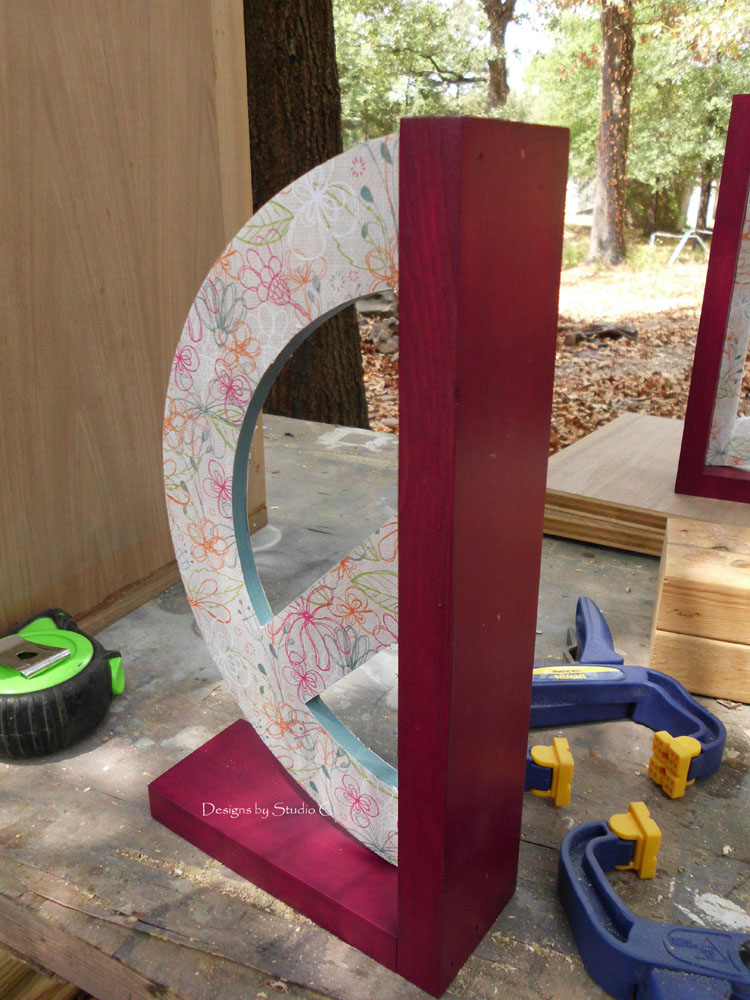
To attach the chipboard pieces to the bookends, I ran a thin line of glue along the straight edge and clamped it in place. Then I kept my fingers crossed (and out of the way) while I used the brad nailer to attach the chipboard piece to the bookend.
So cute! I’d like to try these for myself using – what else – the letter C!
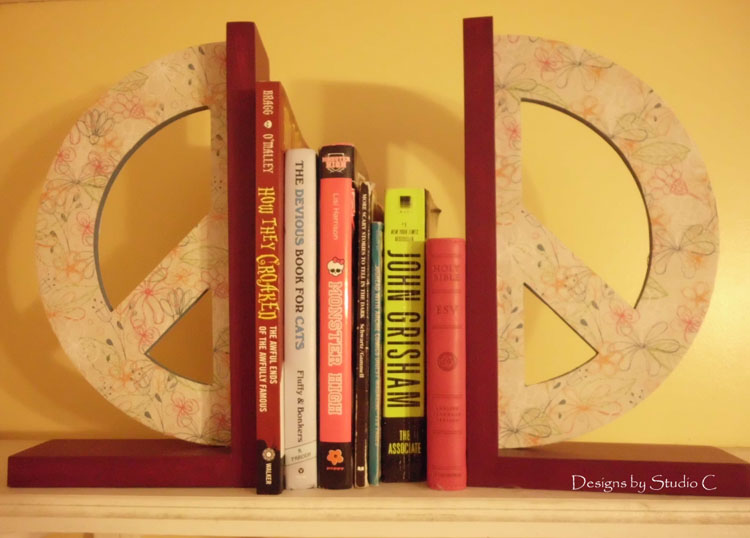
The bookends are so easy and my daughter really loves them! (Yes, she really does read John Grisham – she loves him!) For more tween or teen decor, check out this Sunburst Wall Art! Have any questions on how to make Peace sign bookends? Leave a comment below!
[…] used the Peace symbol for these bookends but you could use just about anything. Free instructions at the […]
[…] Peace Sign Bookends […]