
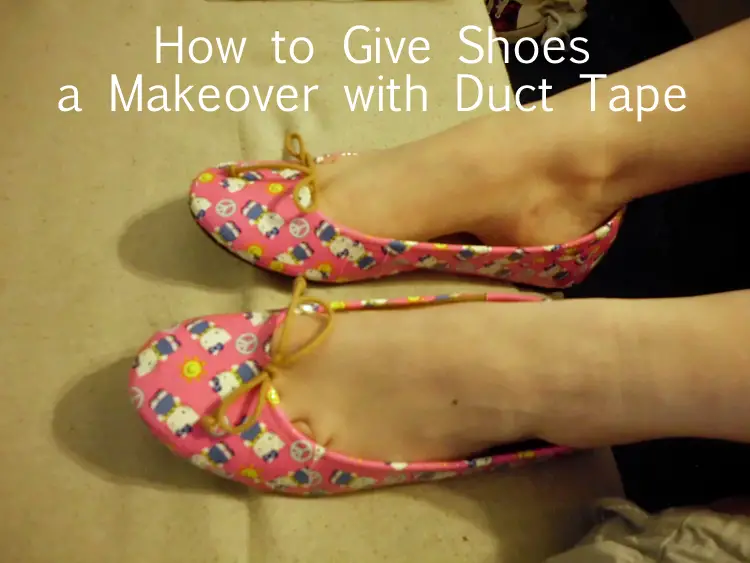
How to Give Shoes a Makeover with Duct Tape
Originally posted 2012-05-02 08:00:28.
Give a Funky Update to a Pair of Shoes
Not long ago, duct tape was only available in the grey/silver color but now with the variety of patterns and colors, duct tape is a fun part of my crafting world! My teenaged daughter LOVES anything pink and with Hello Kitty on it so when I came across a roll of duct tape that was – you guessed it – pink with Hello Kitty, I had to buy it for her! On my way home, I was thinking about the things we could make… I may make myself one of those cute little coin purses to keep in the car! Then I came across a stellar idea – why not cover an old pair of flats with the pink Hello Kitty duct tape? My daughter is quirky and definitely her own person, so I knew that these made-over flats were for her! Let me show you how to give shoes a makeover with duct tape…
Materials:
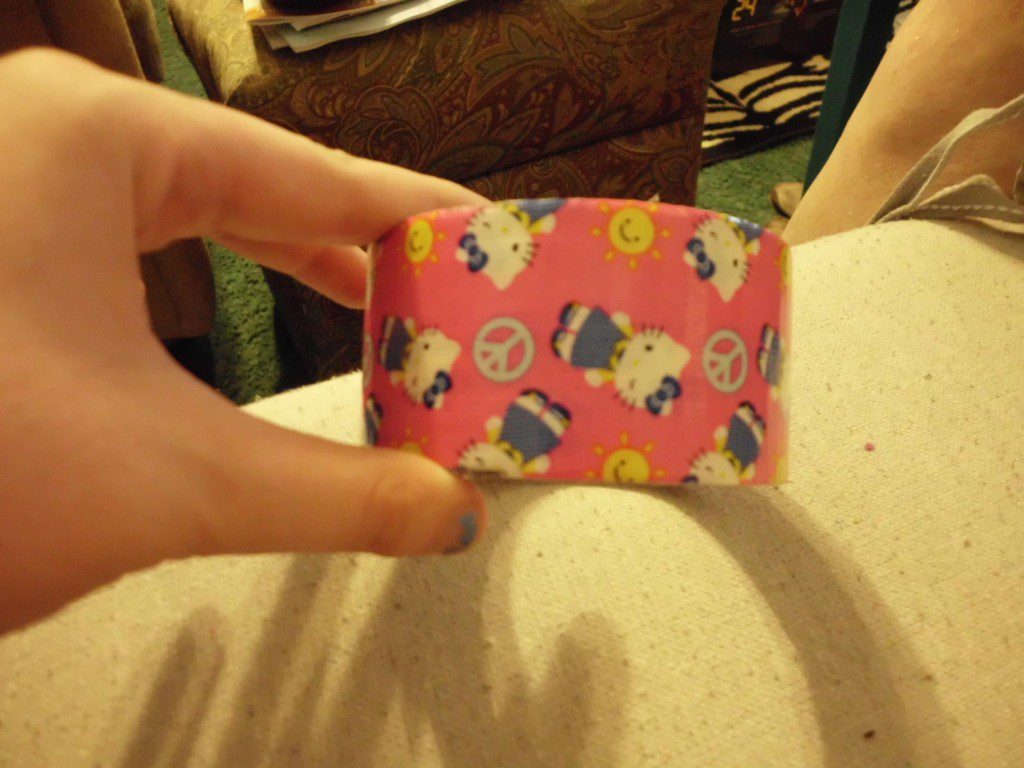
- One roll of duct tape
- One pair of old shoes (we used ballet flats)
- An X-Acto knife (<– affiliate link!)
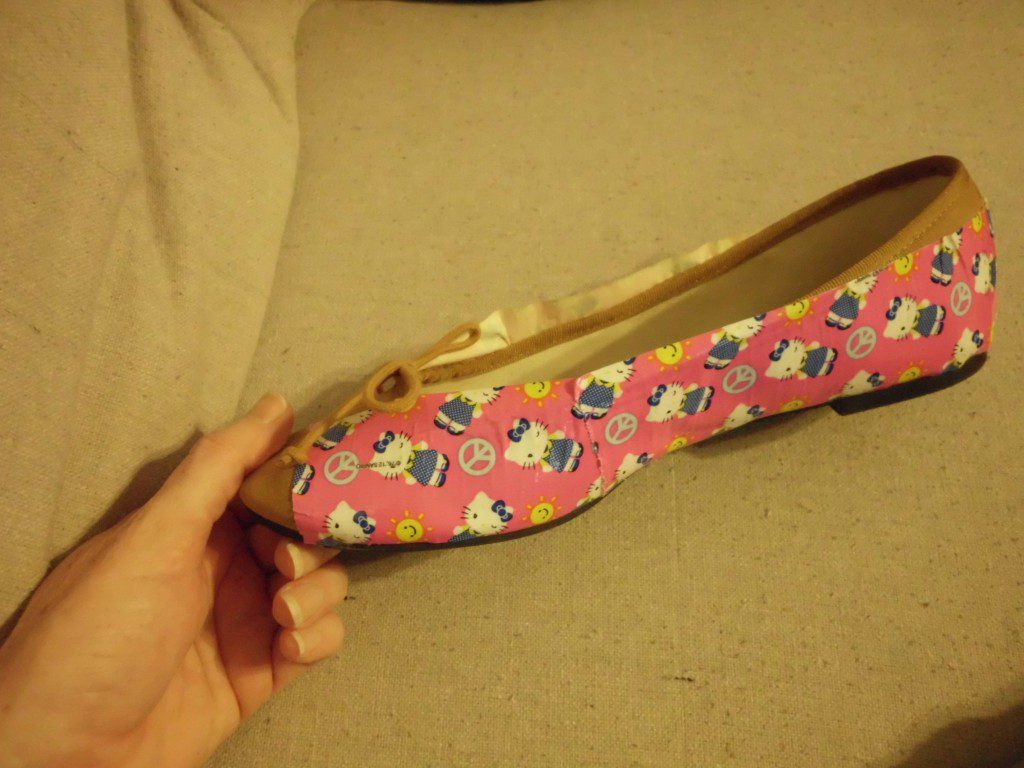
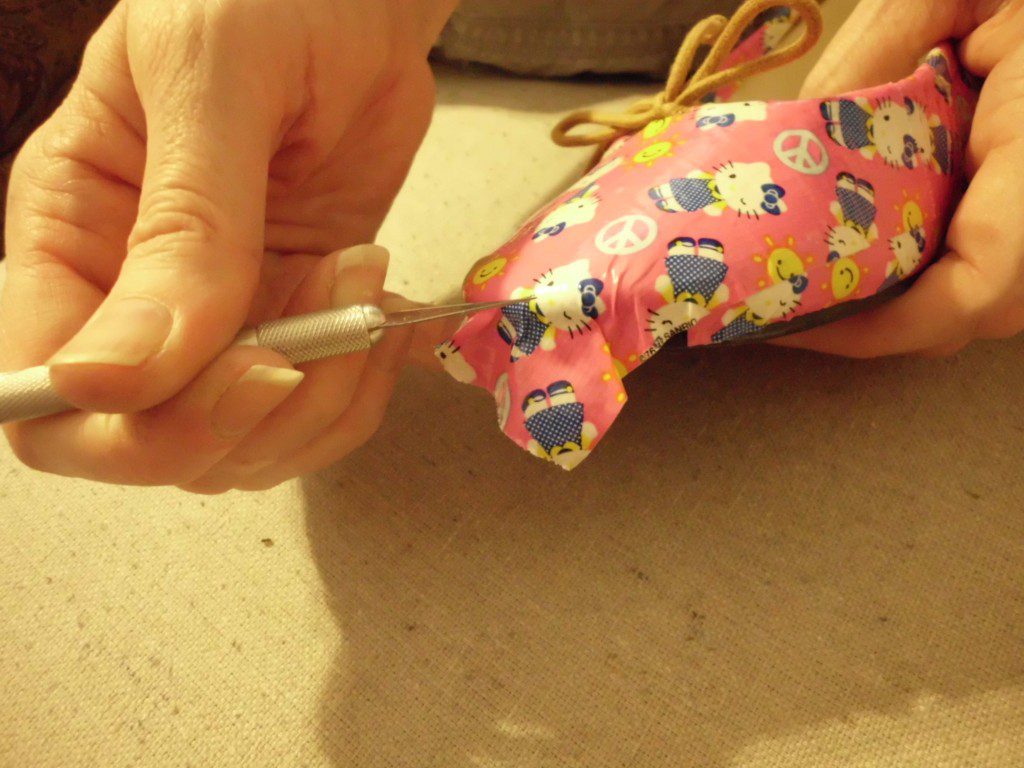
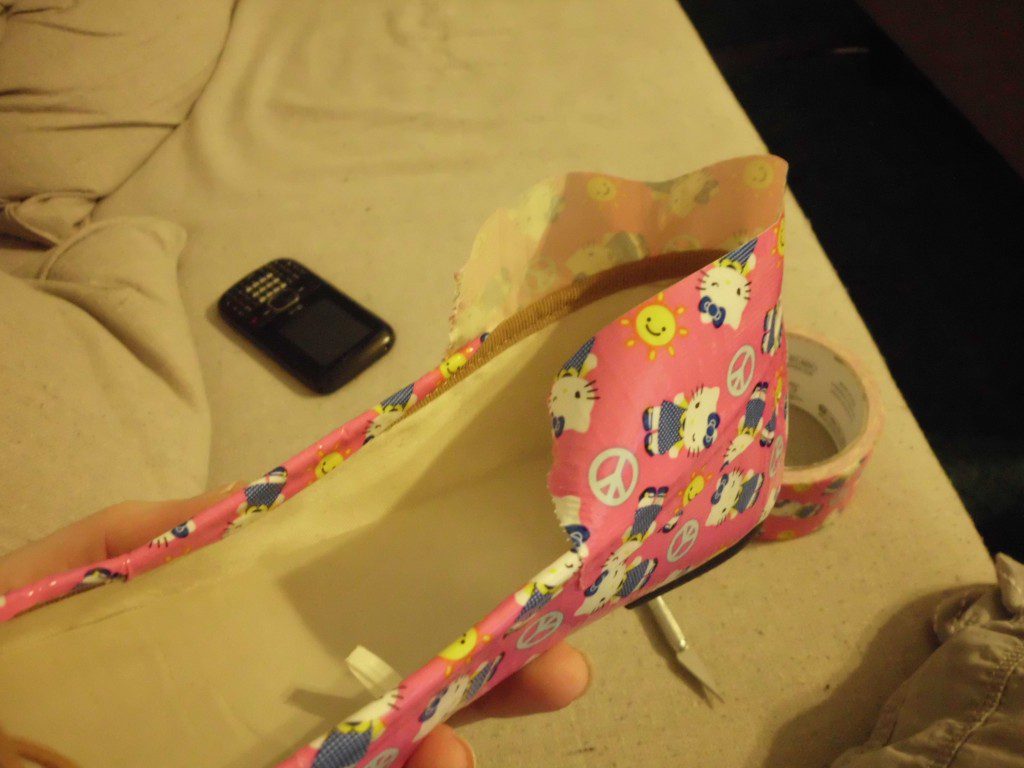
This is so easy, we had the shoes done in about 15 minutes! Start at the toe and continue to the arch area of the foot. Because of the curve, I had to tear it off and continue with a second piece around to the other side of the toe. Try to keep the tape in line with the sole of the shoe the best you can but in some places it is impossible – that’s where the X-Acto knife comes in! Trim away any excess.
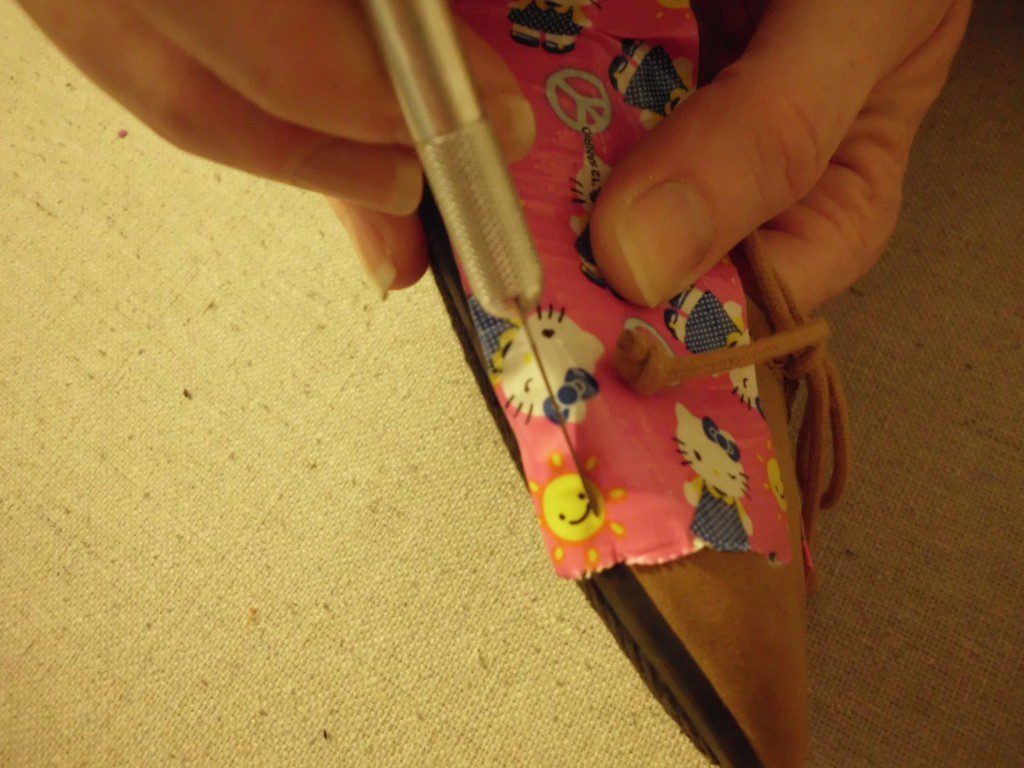
Trim away any at the top of the shoe but leave enough to fold over the top to the inside. You may have to notch the tape to get it to lay correctly. Firmly smooth the tape all around.
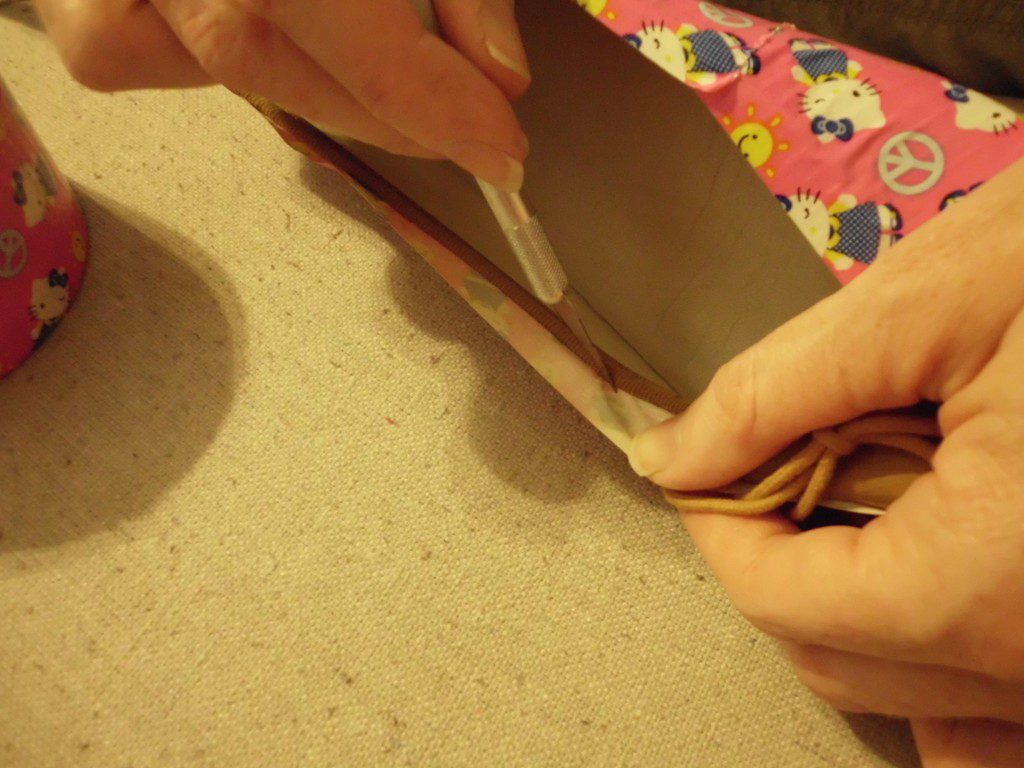
These particular shoes had a small string bow. I believe it serves some kind of purpose with the shoe so I decided to keep it intact. Tear a small piece of the duct tape and place it as close to the bow as you can.
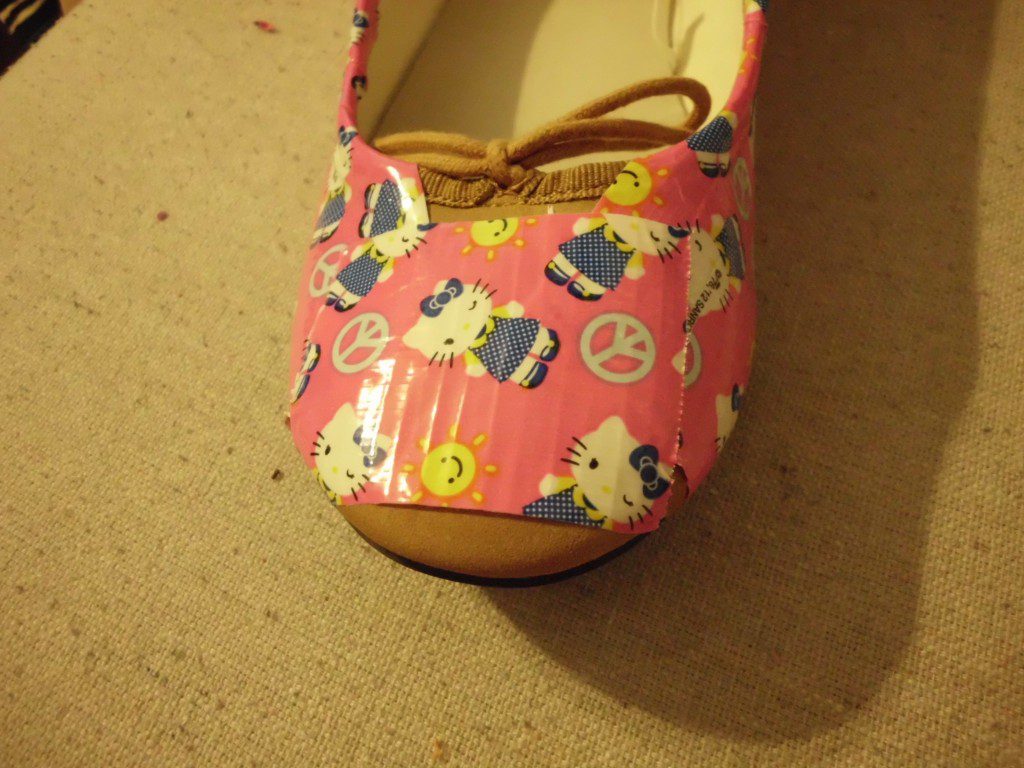
Tear a piece to cover one side of the toe. Smooth it at the curved part of the toe and trim away any excess.
Tear another piece to cover the other side of the toe. I like to match up the pattern here because this is the part where most people will see! Firmly smooth it out, also, and trim away any excess.
Tear one more piece to cover the heel. It doesn’t matter if the pattern matches or not… Most likely no one will see this part! Trim it at the top and allow enough to fold over to the inside.
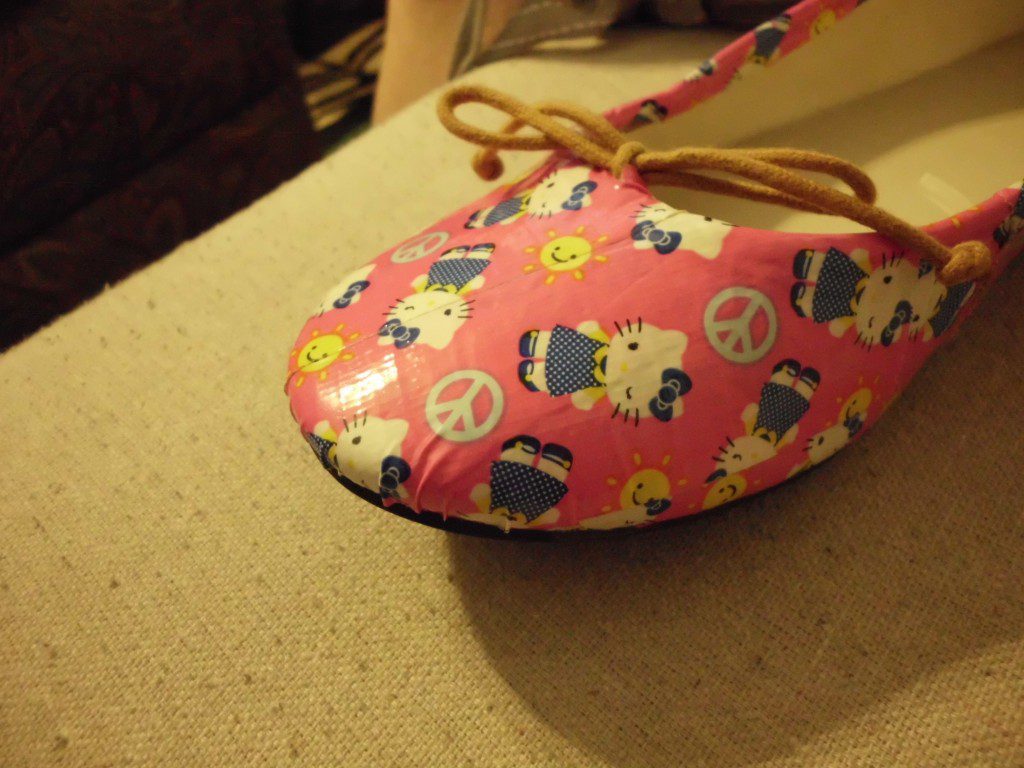
Give the entire shoe a firm smoothing and you should be ready to show off your newly made-over shoes! The shoes came out so cute and the duct tape sticks better to vinyl than to fabric. For another shoe idea, check out my post on how I covered another pair of flats with fabric! Like my tutorial on how to give shoes a makeover with duct tape? Leave a comment below!
Awesome! That is so cool! Now I know what I am going to do with Julia Gulia’s scuffed up shoes!
The Han’s shoes came out so cute! Can’t wait to try it with another pair… If you do it, send me a picture!
Will do!!! We were recently at K-Mart, where they had tons of different pattern duct tapes to choose from. 😀
Too cute! My daughter will love Hello Kitty flats. I should try this out.
xoxo,
Melissa
t-g-life.blogspot.com
They are so fun! My daughter’s were a hit at school the next day!
[…] ago, I covered a pair of flats with Hello Kitty duct tape for my daughter and she loved them but I find this to be a much better option because of the […]