
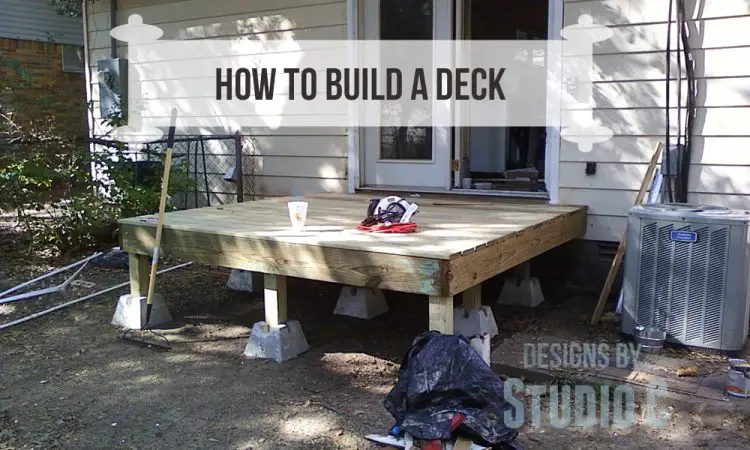
How to Build a Deck – Super Easy!
Building a Deck for the First Time
I have to admit it… I’ve done a lot of different DIY and Home Improvement projects but I have never built a deck! I was so nervous about it and have procrastinated at building one for my house. I knew how to build a deck but at the time, I was still a bit hesitant in the process. I was downright nervous and kept putting it off! Little did I know how easy it was going to be!
I wanted to build a small deck off the back door at the Rebel house (the house my friend and I were remodeling) and I was told I could take full charge of the project. I’ll let you in on a little secret – we winged it! I’m not kidding! The only plan I had in mind was that it was to be built 8′ x 8′ and that was that. No drawings. No list of measurements. Just my friend, me, treated lumber, a few concrete piers, lag screws and exterior screws, and the circular saw. It turns out that “winging it” was the best way to go!
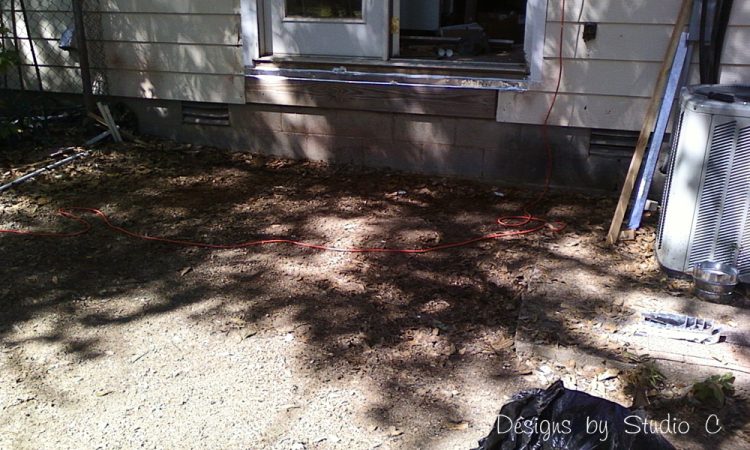
We started by clearing the area in the back where the deck was to be built. The yard was terribly uneven so every single leg supporting the deck is a different height and this is where a level comes in very handy! We cut and installed a ledger board under the door. A ledger board is attached to the house using lag screws and is the starting point of building any deck. We used a 2×8 treated board with eight 3-1/2″ lag screws to secure it to the house.
Next, we installed one of the side frame boards and the first set of legs. We pre-drilled the holes in the ends for the lag screws, then fastened the frame board to the ledger board. I sat on the ground supporting the board while my friend leveled the piers and cut each leg. (I think I had the easy job!!) Once the frame and legs were completed, we checked for square and made minor adjustments, the tightened the lag screws in the frame. 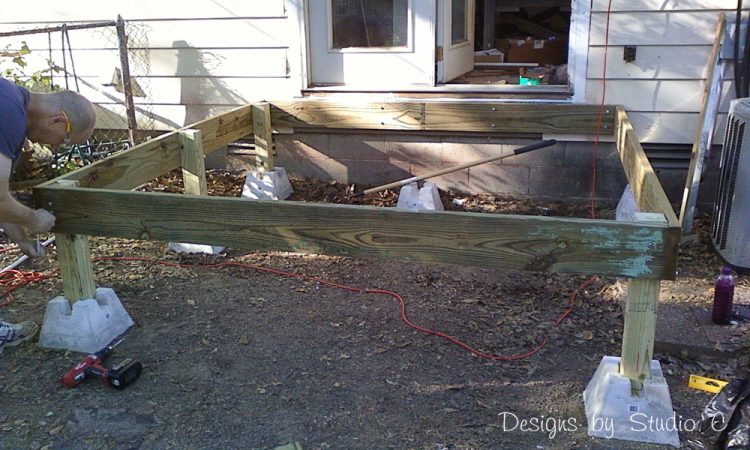
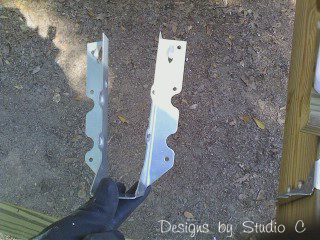
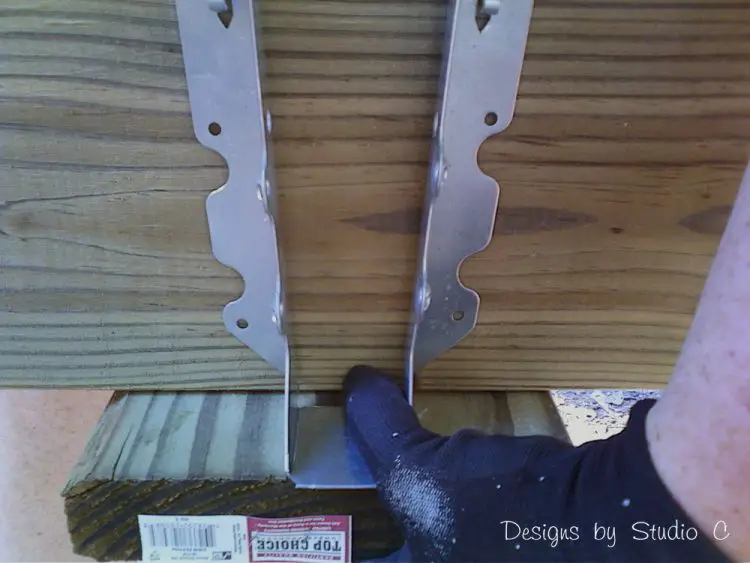
Once everything was checked for square and level, installed the joist hangers to hang the center joist. The joist hangers are so easy to install! Just make sure the bottom of the hanger is flush with the bottom of the ledger board or framing piece (I used a scrap piece of the framing board), then nail it in. The joists “hang” on it, then are secured with four nails that criss-cross through the joist into the frame or ledger board.
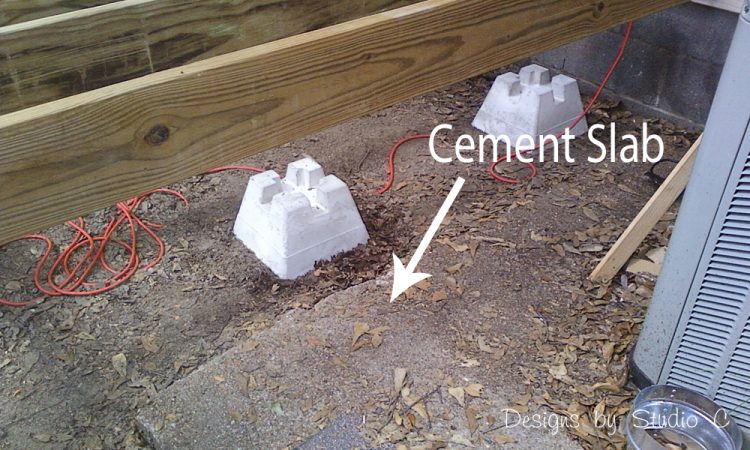
We actually had a bit of an issue with the legs on one side of the deck – the air conditioning unit sits on a cement slab which was located right where we needed to install the legs and piers! Ugh! While we didn’t think about it at first, there was really nothing we could have done about it anyway. Changing the position of the deck would have put it way off the opening of the door. We ended up installing the remaining legs and piers under the next joist over from the side which we located at 16″ on center. In fact, we probably went a bit overboard on the legs and piers. There are a total of nine – three on each side with three in the center! We wanted to make sure it was solid!
Finally, it was time for the deck boards! We purchased 5/4 x 6″ x 8′ boards. 5/4 x 6 boards actually measure 1″ x 5-1/2″. We added an approximate 3/8″ space between boards for expansion and contraction, and got so lucky with our placement that we didn’t have to rip any boards to fit! Yahoo!! How’s that for wingin’ it??
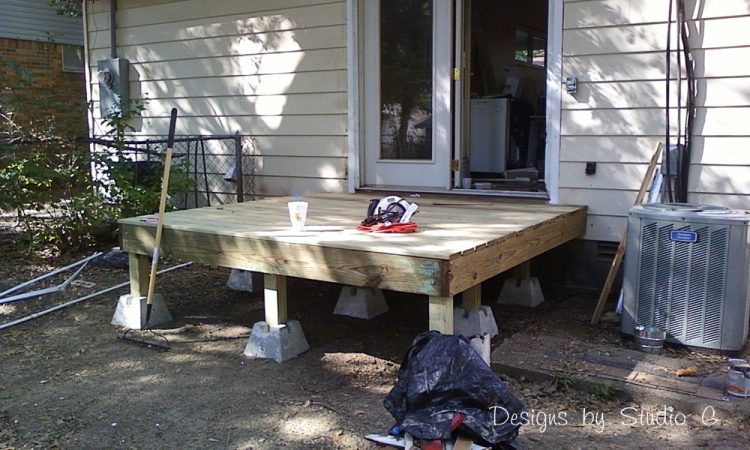
See? That seems easy enough, right? It was so fun, we had it completed in a day! Now, I am so excited to start building the deck on my own house! Check out the easy how to build a deck tips I’ve compiled –
- Pre-drill all holes for the lag screws (<– affiliate link!). Not only will it be easier to insert and tighten the screws, but it will prevent cracking of the ledger board later on.
- Build the frame (supporting it with the legs and piers) first, then make sure it is square before hanging the joists and tightening the screws.
- Never fasten the deck boards against each other – always leave a space between them. There has to be room for expansion and contraction, as well as water and any other debris (soil, pet food, etc) to fall through.
- Have fun! This is the most important tip – it may not be perfect (I’m really very hard on myself with my projects) but what counts is that it is safe, sturdy, and looks fabulous!
Originally posted 2013-10-15 08:00:37.
[…] and I are in the process of building the railing for the deck at the Rebel house. I’ll tell you what – the materials for a deck are expensive! We […]
[…] friend and I are were building a railing for the deck at the Rebel house. I’ll tell you what – the materials for a deck are expensive! We didn’t […]