
Easy to Build Hair Accessories Storage
Inspired by Pottery Barn Teen
This hair accessories storage piece from PB Teen is so cute! $99.00 seems kind of steep so I figured I could hack it and make one myself! It cost me nothing… the plywood I used was sheathed around two sheets of walnut plywood I special ordered so it was free! (I’m sure I paid for it somewhere!)
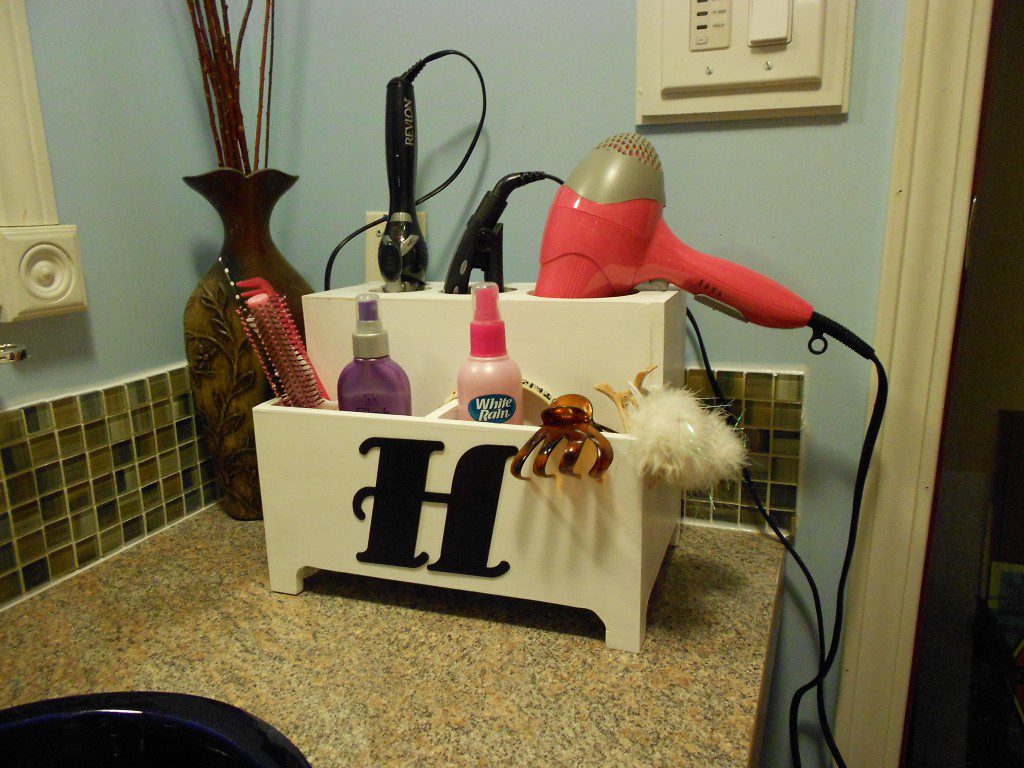
Today, I’ll show how I built this and include the plans I drew up in case you’d like to build one for yourself or as a gift! We all know that Christmas is right around the corner and this would make a great gift!
I used plywood for the body and glue with 1-1/4″ brad nails to hold it all together! I omitted the drawer as I thought it might be a little too frustrating complicated to build correctly!
Materials:
- 1/2″ plywood (Quarter sheet)
- Glue
- Brad nailer & 1″ brad nails
- Jigsaw, Table saw, and/or Miter Saw
- Square & a pencil
- Tape Measure
- Drill & 1″ paddle bit
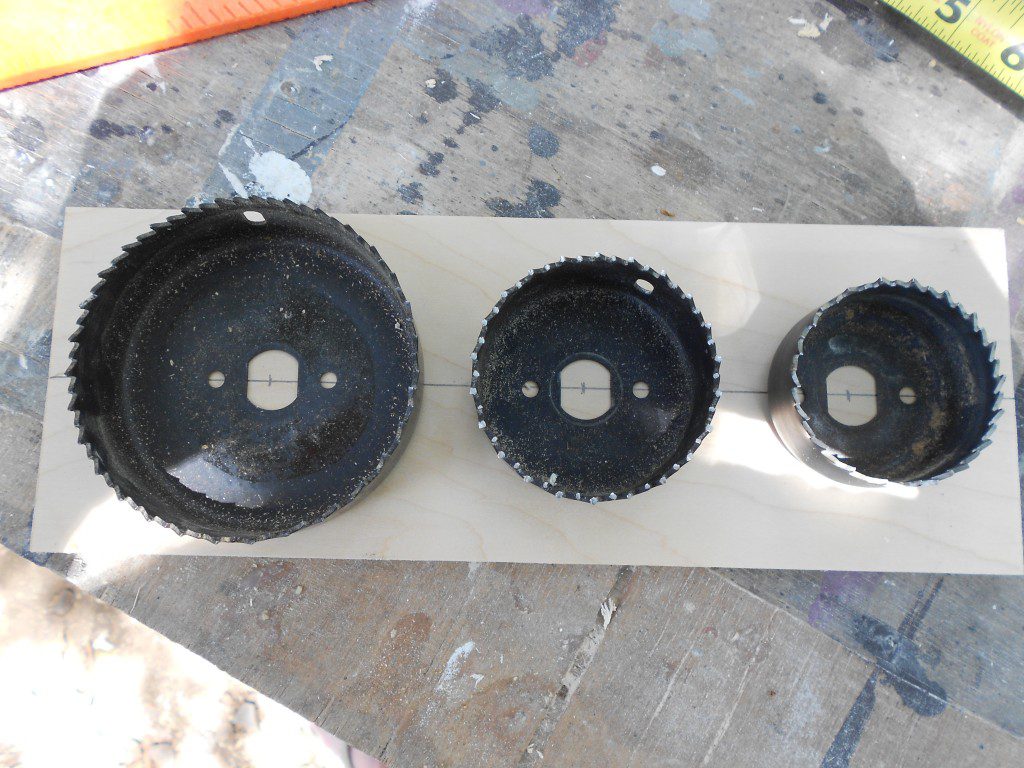
- Hole saws – 3.5″, 2.5″, 2″ (<– affiliate link!)
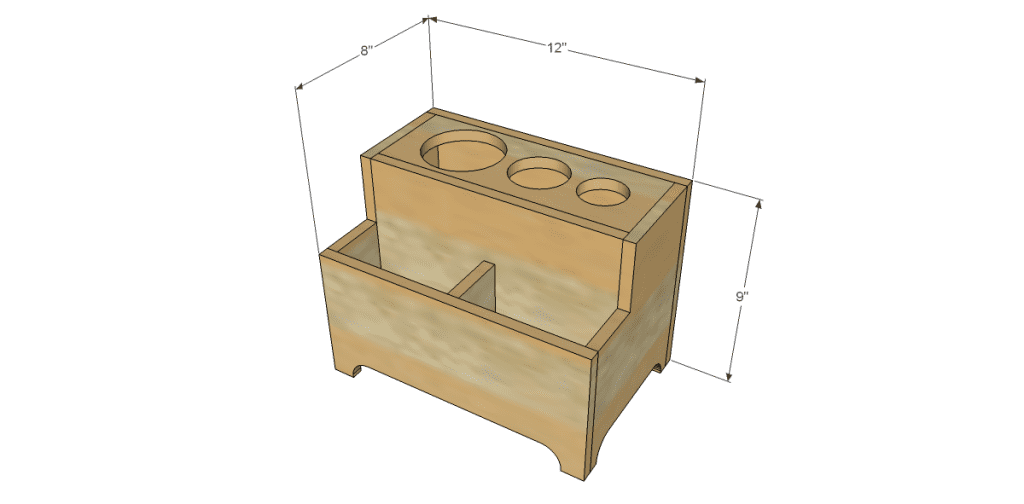
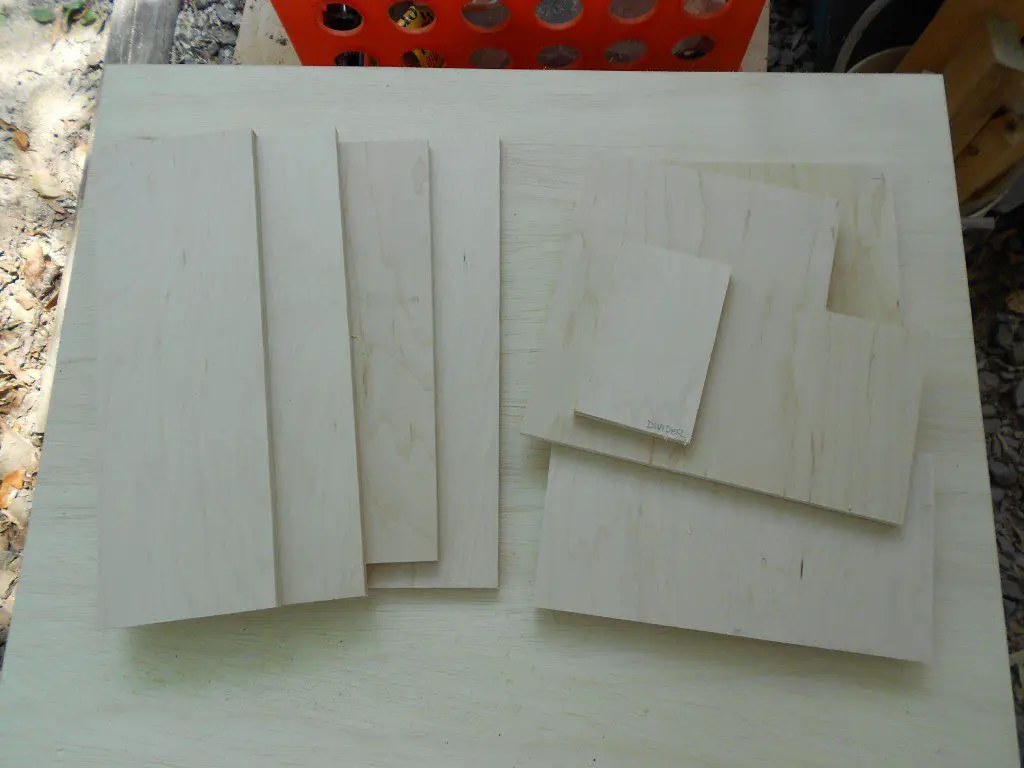
Begin by cutting the pieces as follows:
- 2 @ 7″ x 9″ – Sides
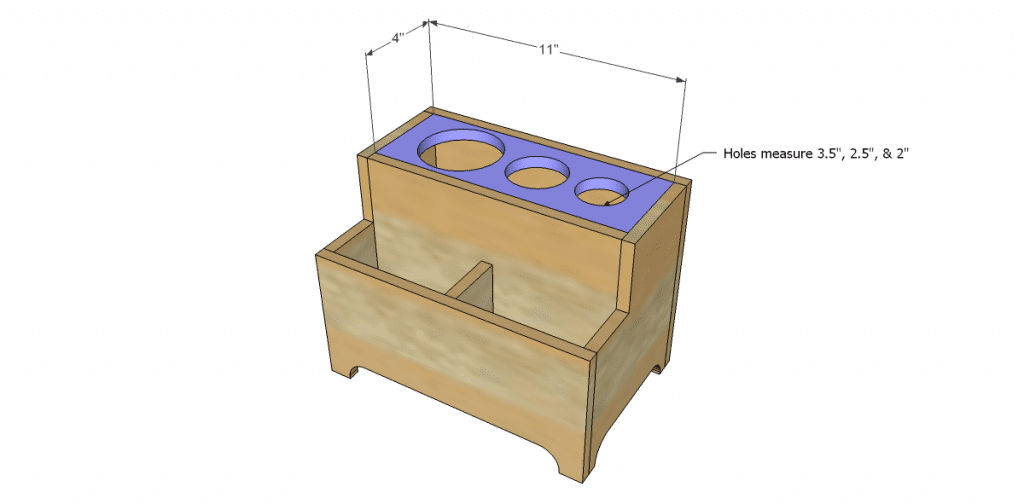
- 1 @ 4″ x 11″ – Top
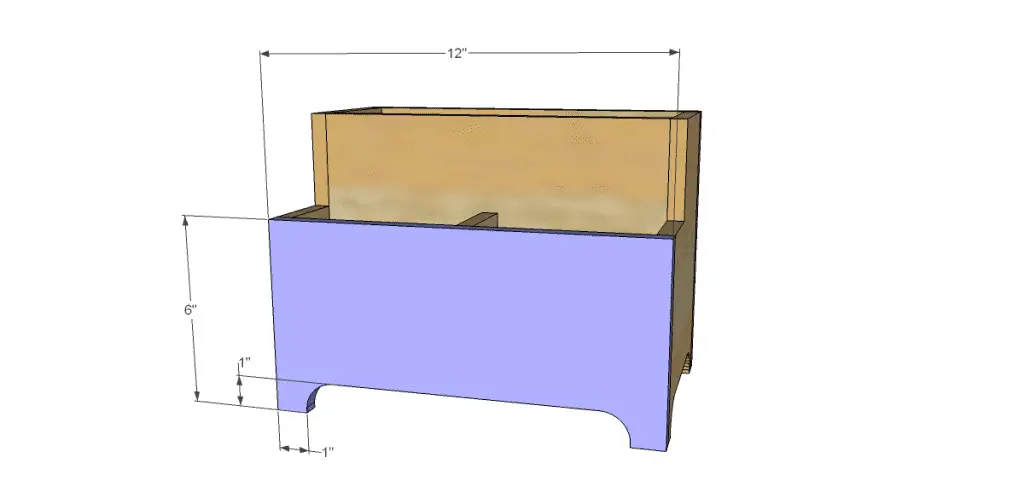
- 1 @ 6″ x 12″ – Front
- 1 @ 7-1/2″ x 11″ – Large Divider
- 1 @ 2-1/2″ x 4-1/2″ – Small Divider
- 1 @ 7″ x 11″ – Bottom
- 1 @ 9″ x 12″
It is a whole lot easier to sand each piece before assembly. I start with 80 grit, then 120 grit, and finish with 220 grit.
Step One
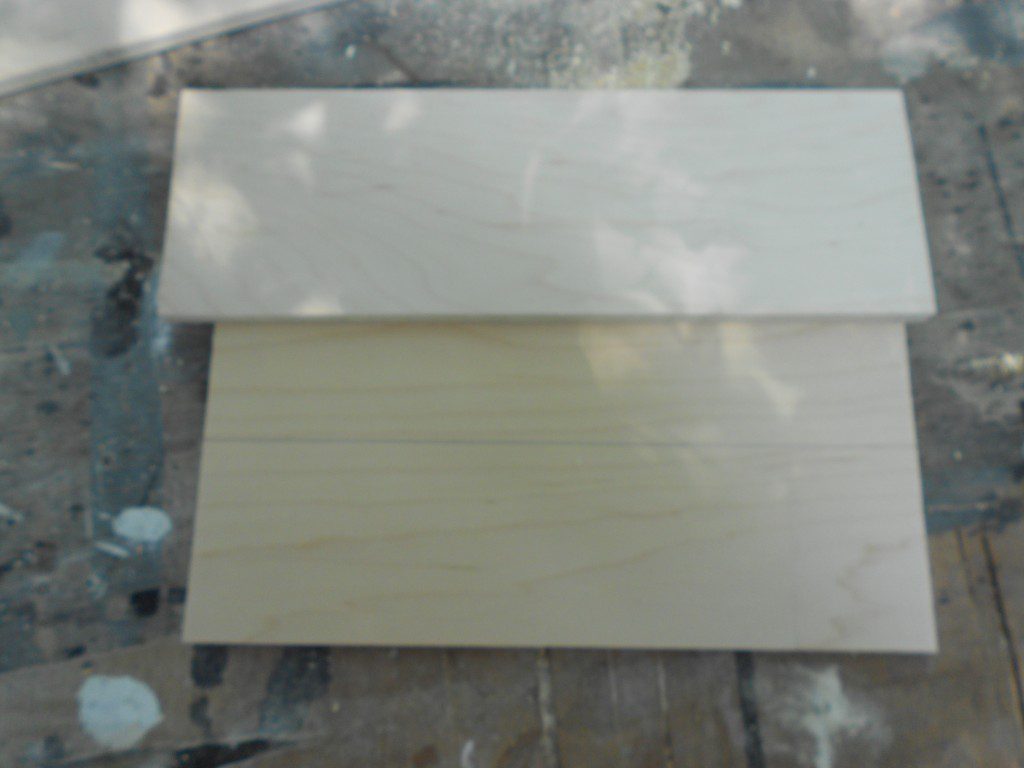
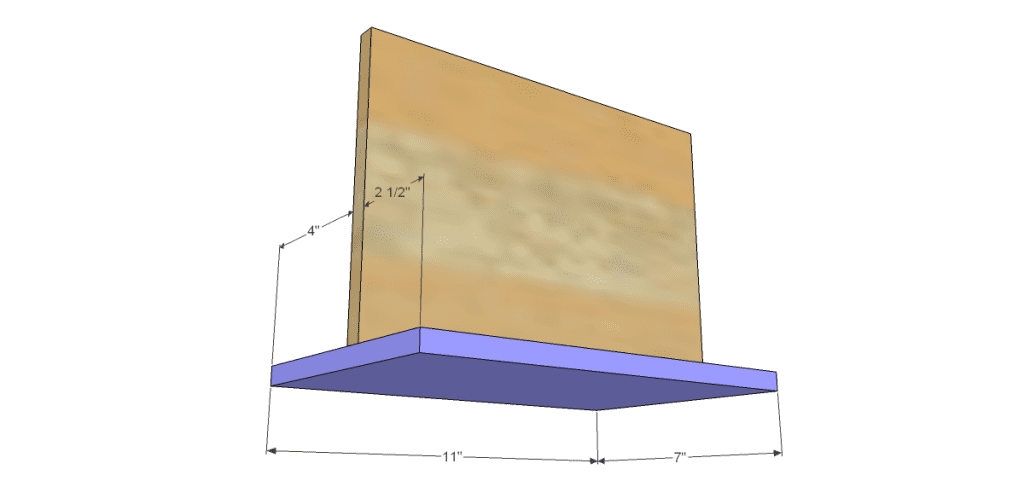
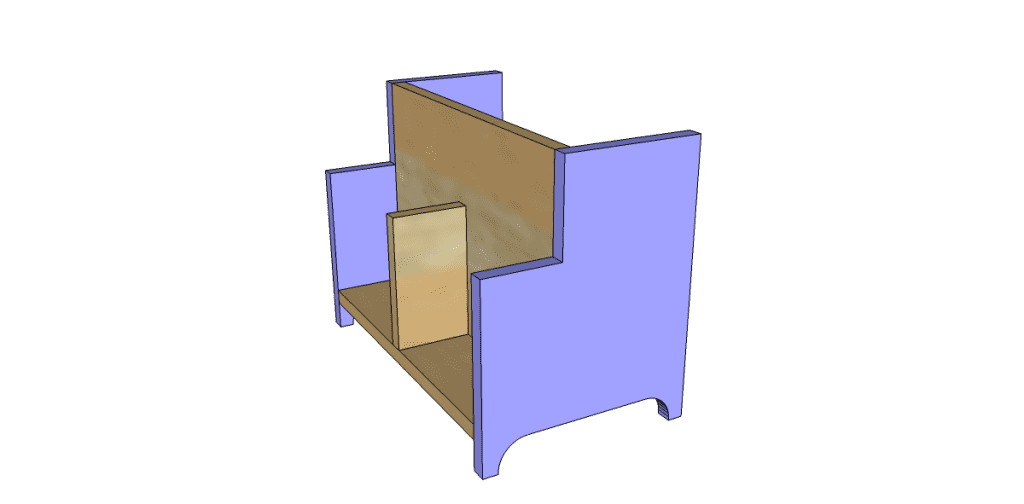
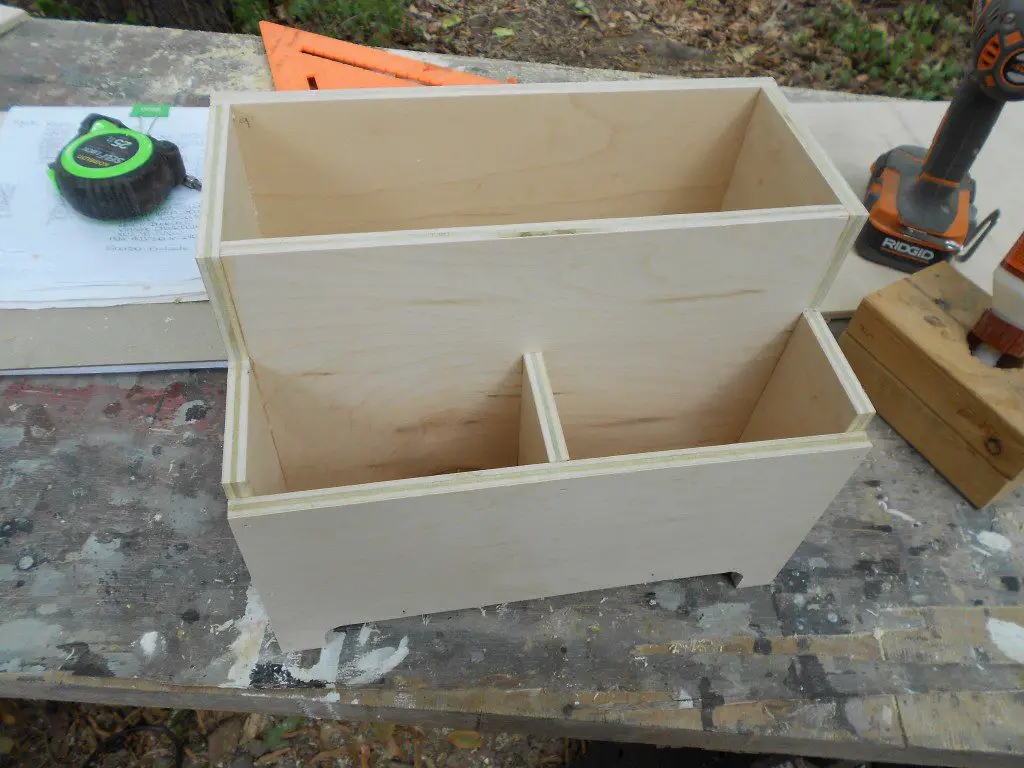
Cut the pieces for the bottom and both dividers. I drew a line on the bottom piece 4″ from the back for placement of the larger divider. Attach the divider to the bottom with glue and 1″ brad nails.
Step Two
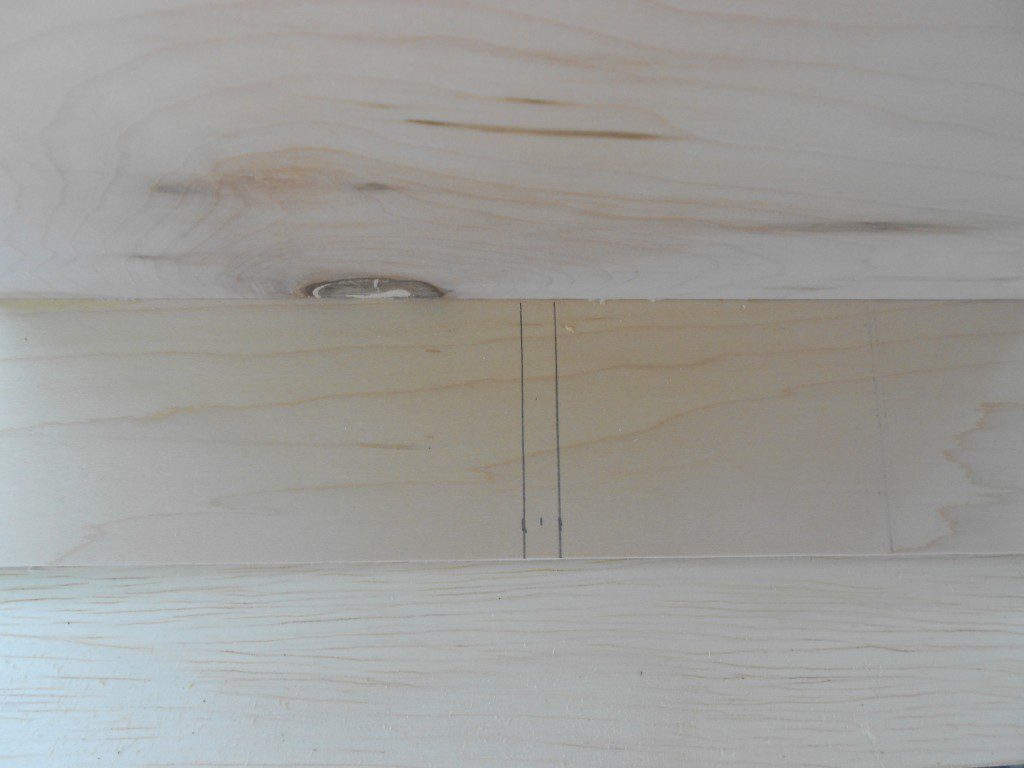
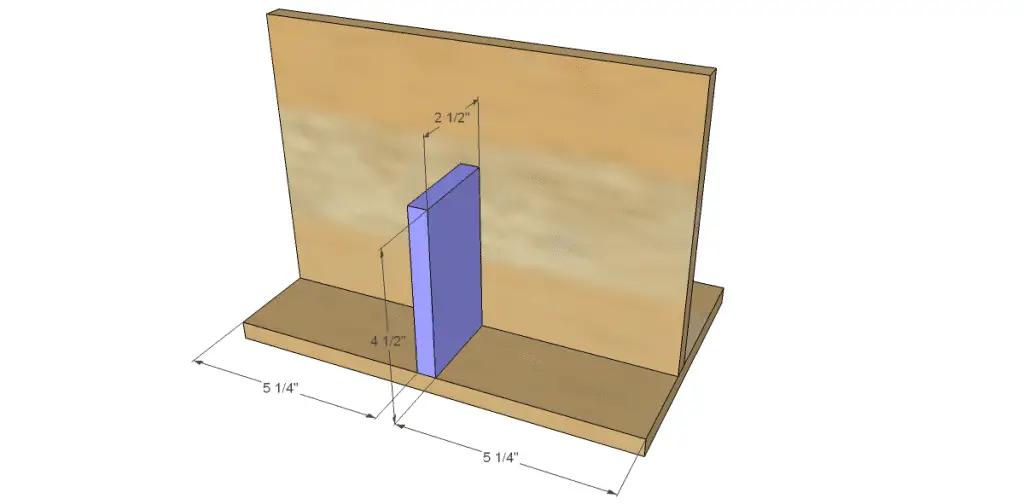
Mark the placement of the smaller divider and draw lines on the bottom as well as on the larger divider to center the pieces. (See the drawing above for placement measurements). Secure with glue and 1″ brad nails.
Step Three
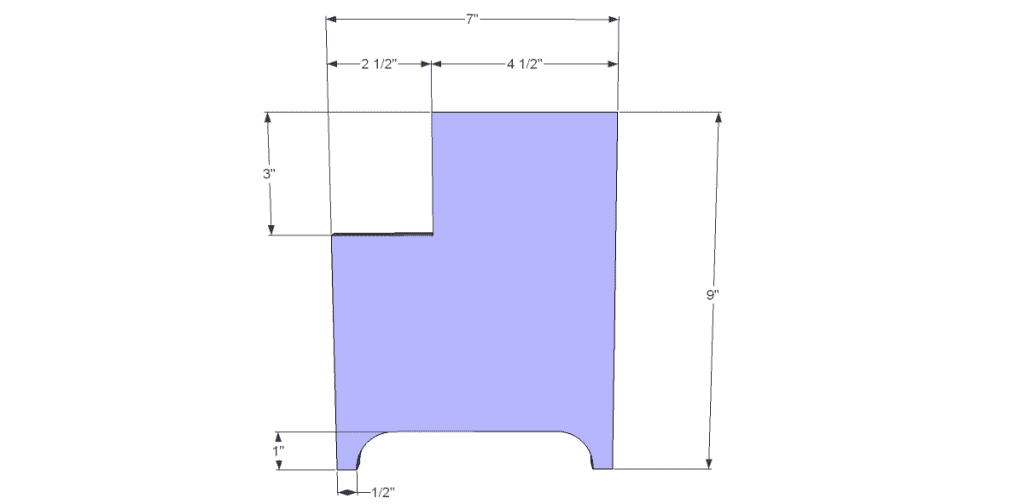
Cut the pieces for the sides. Cut a 3″ long x 2-1/2″ wide notch in each side (see drawing).
Step Four
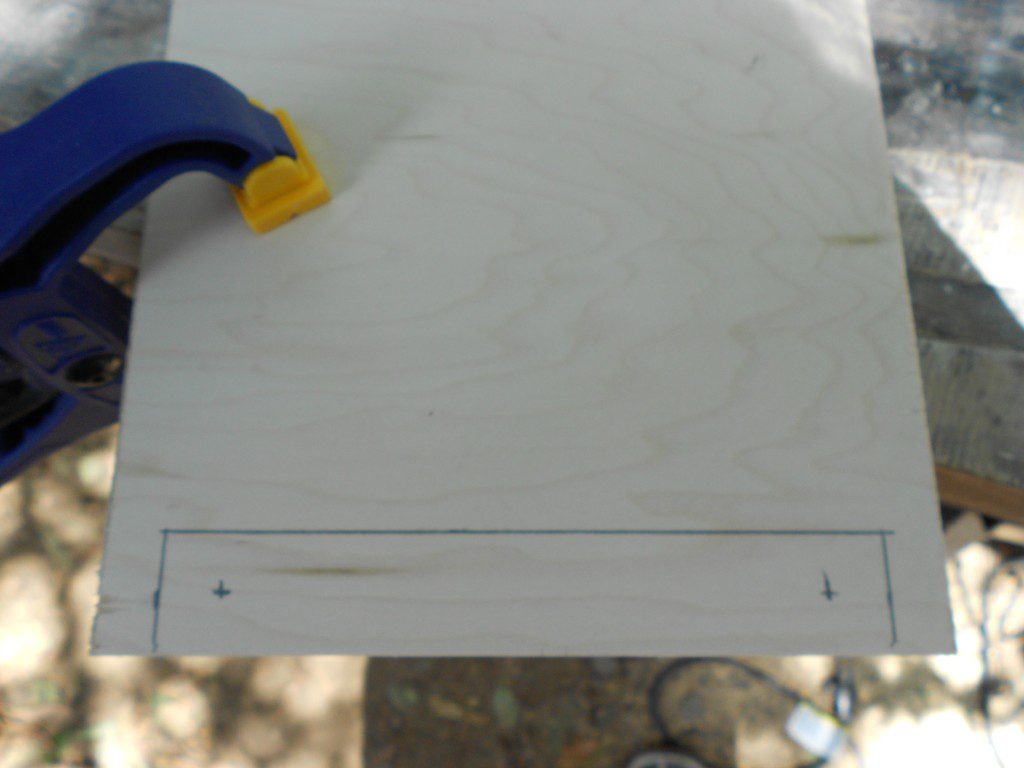
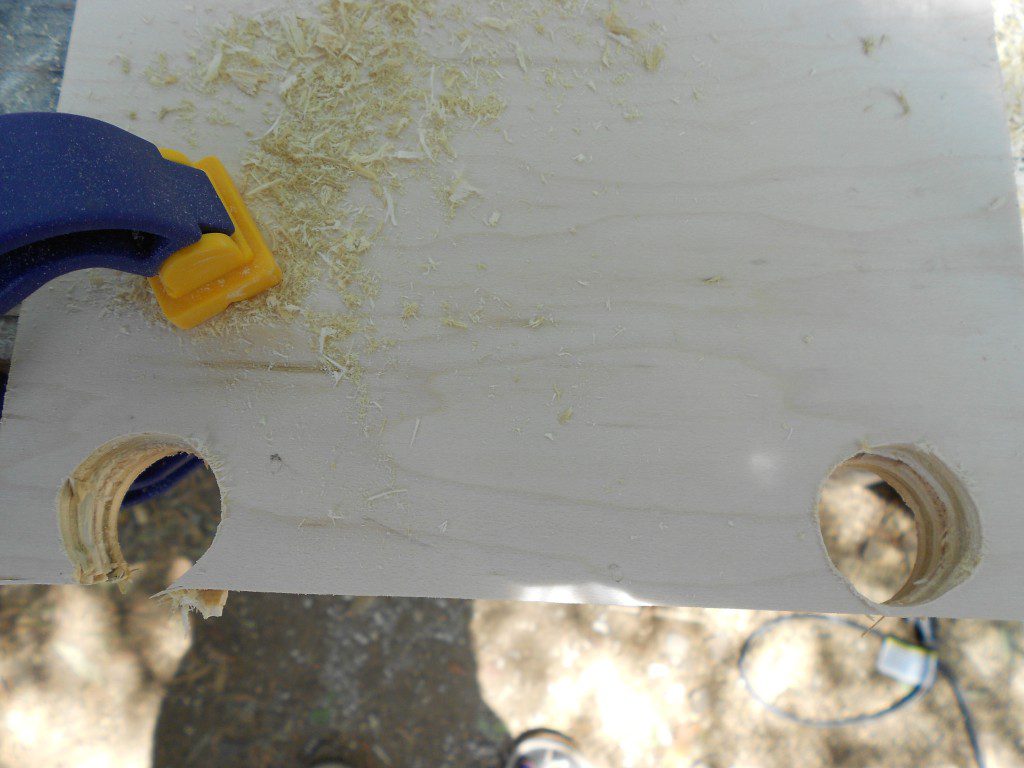
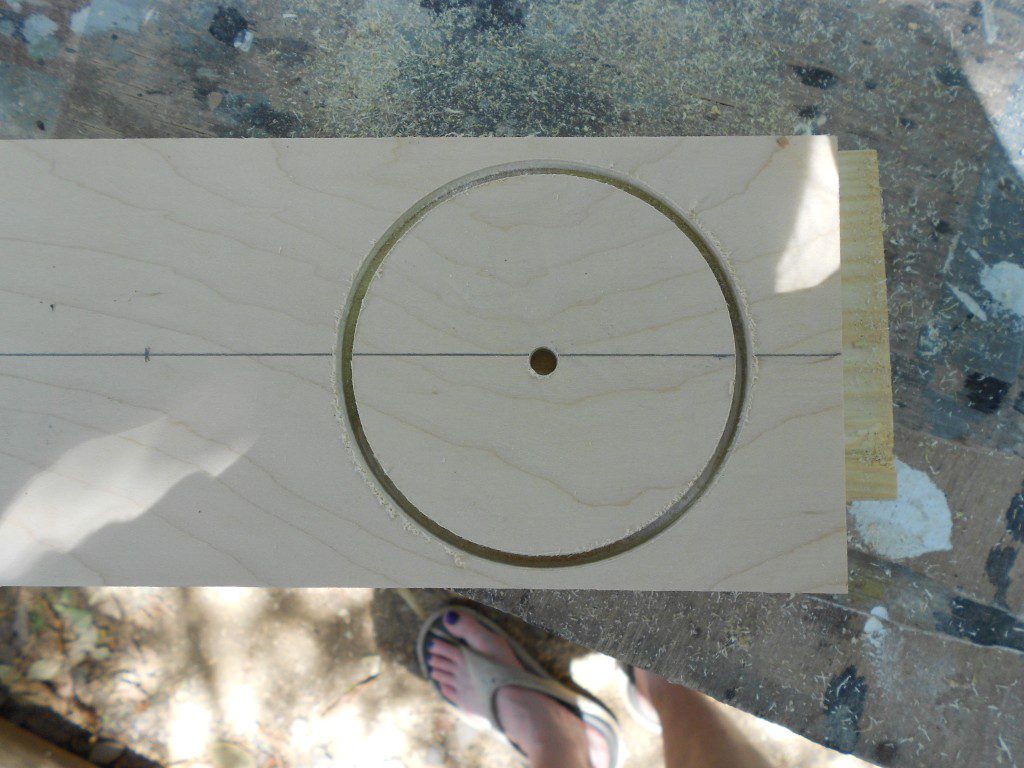
To cut the arch in the bottom, I clamped the sides together and drew lines where the cuts would be made. I used a paddle bit to drill a circle where I wanted the curved part of the arch to go.
Step Five
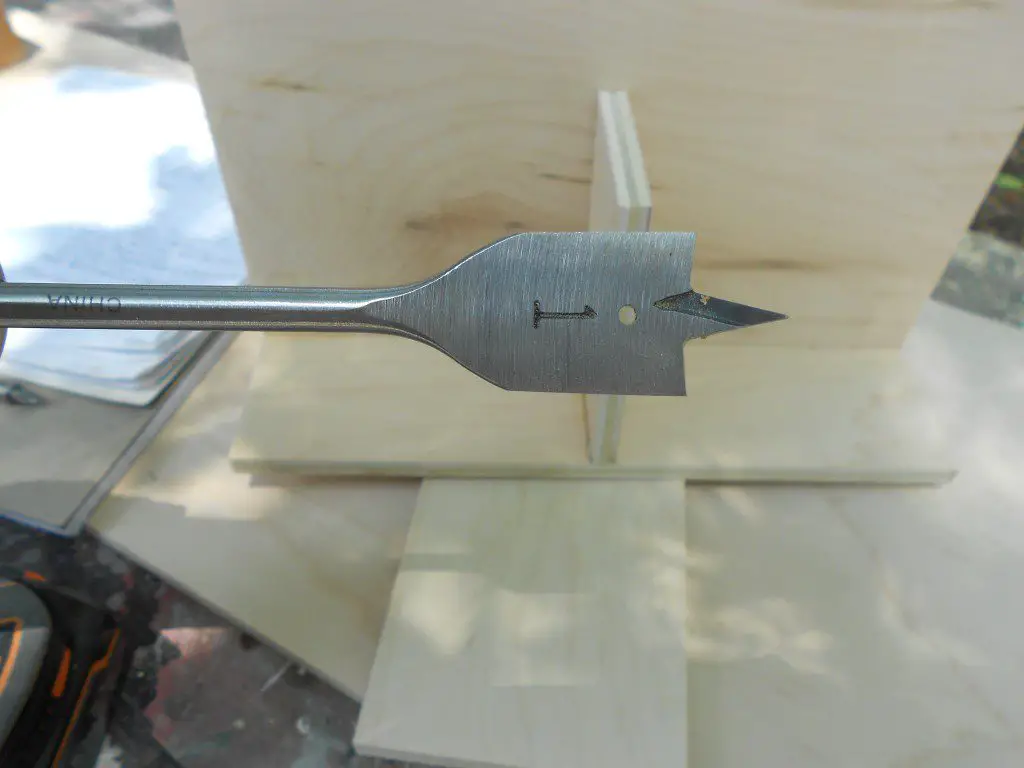
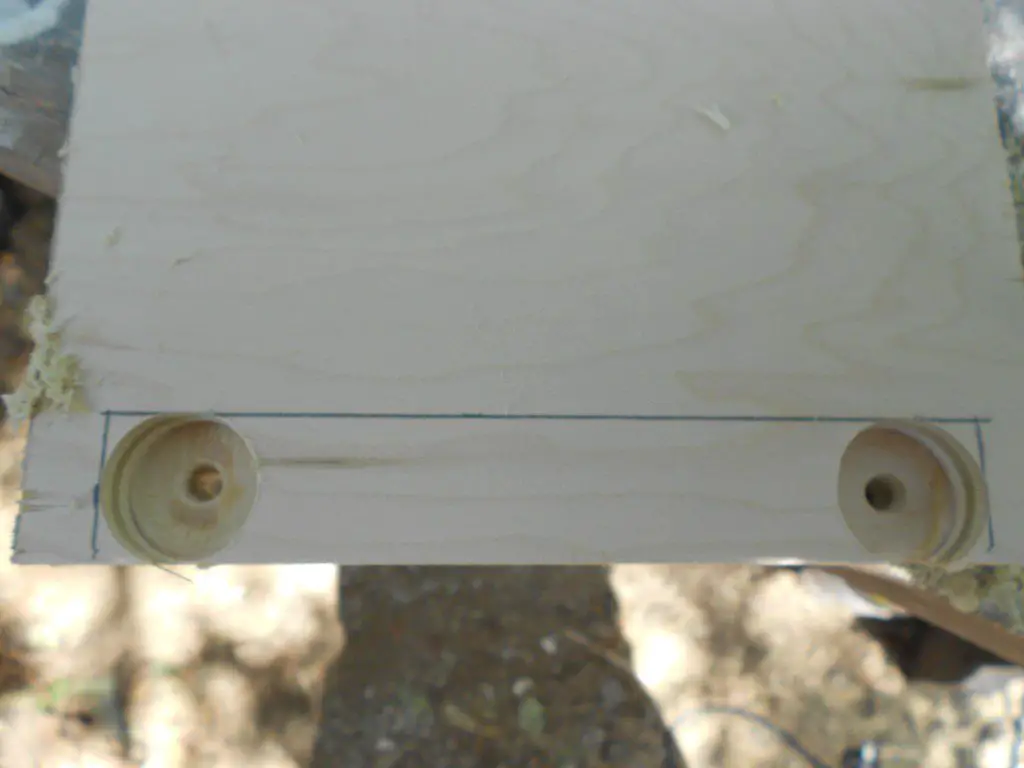
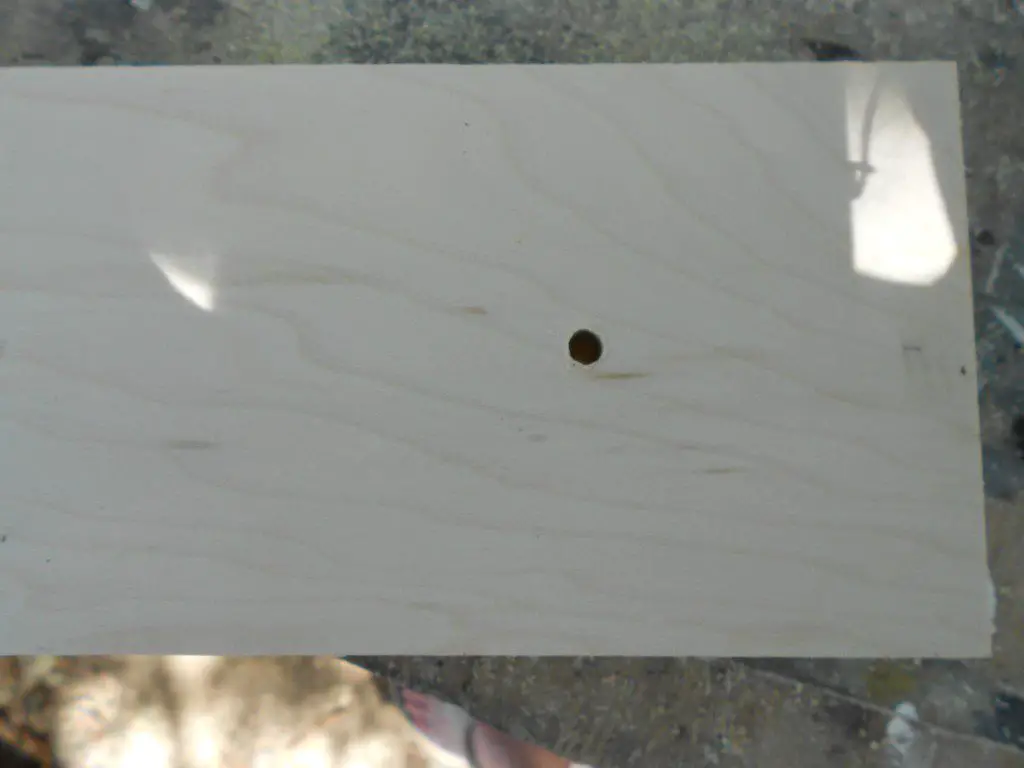
Using the paddle bit, I started to drill the holes at the mark I made until the pointed part of the bit went through both pieces. I then flipped the pieces over and continued drilling the hole from the other side. I get a lot less tearout by cutting holes this way…
Step Six
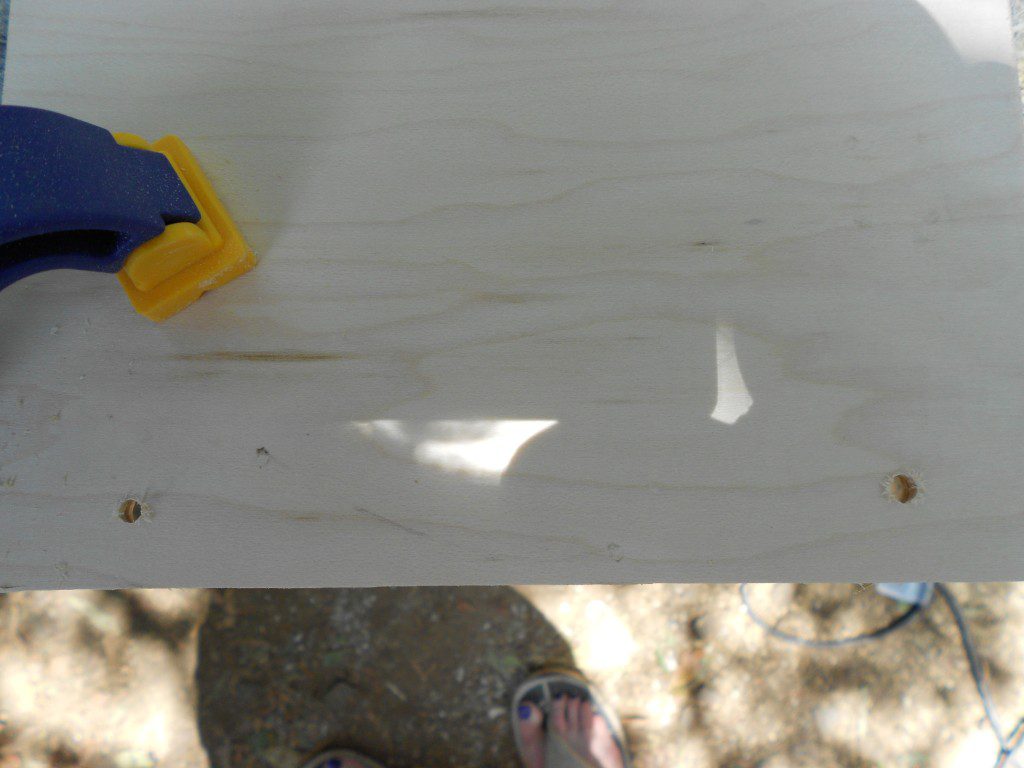
I used the jigsaw to cut the lines where they intersected with the holes.
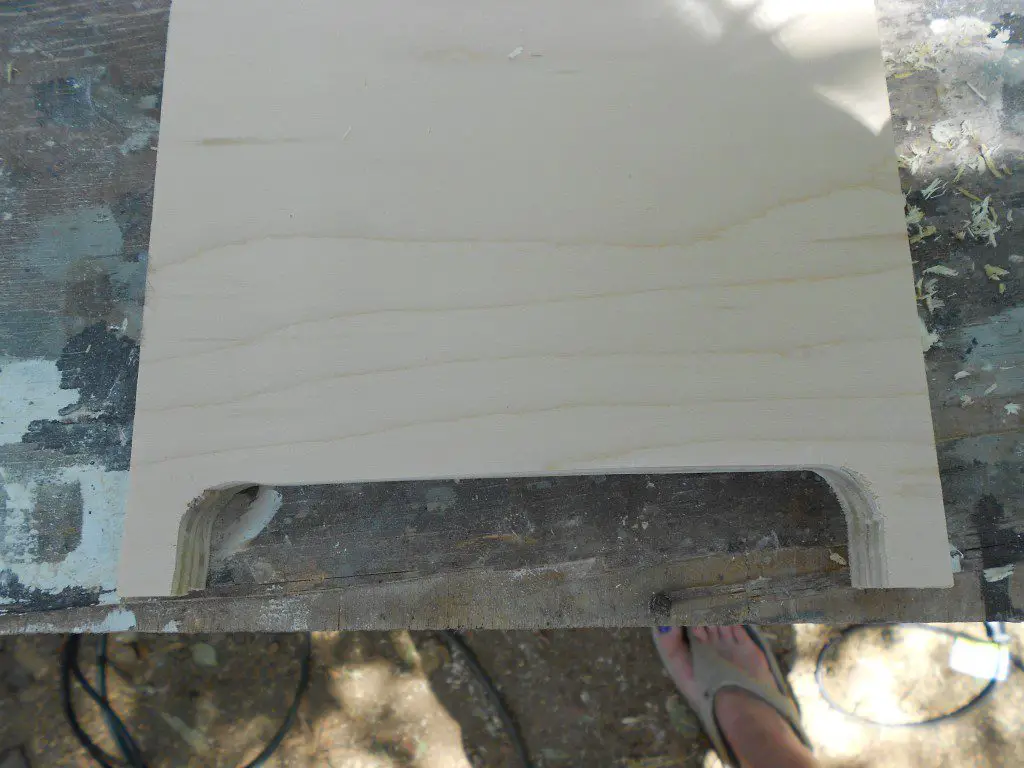
Step Eight
I then sanded any rough edges and attached the sides to the dividers as shown in the drawing.
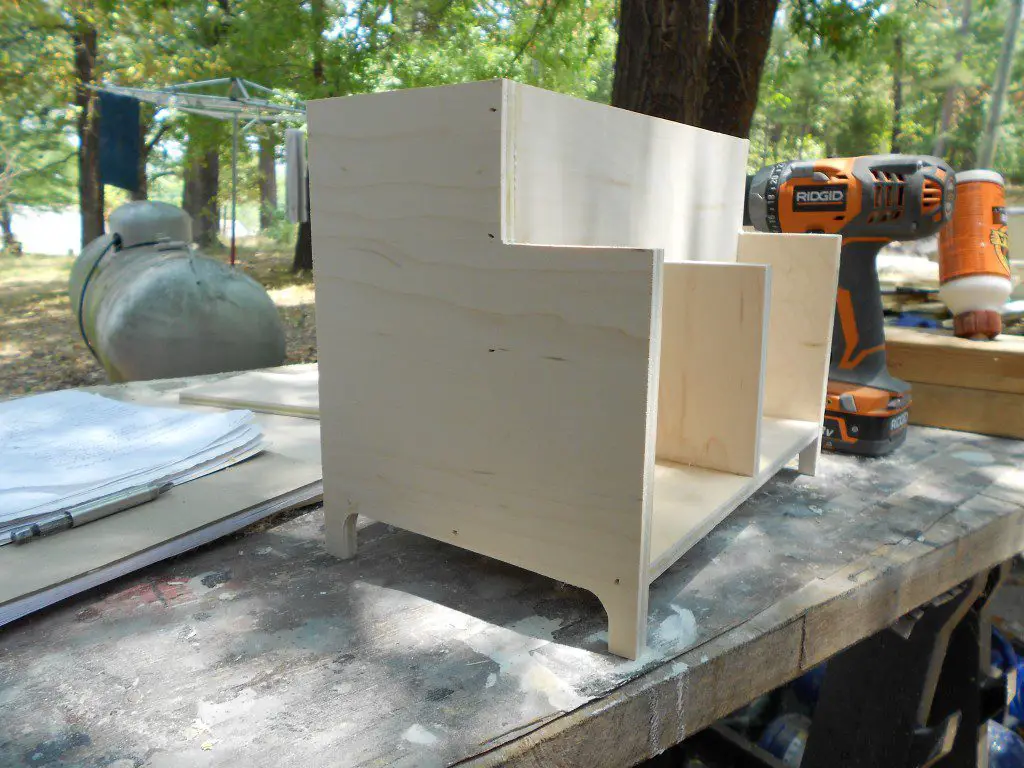
Step Nine
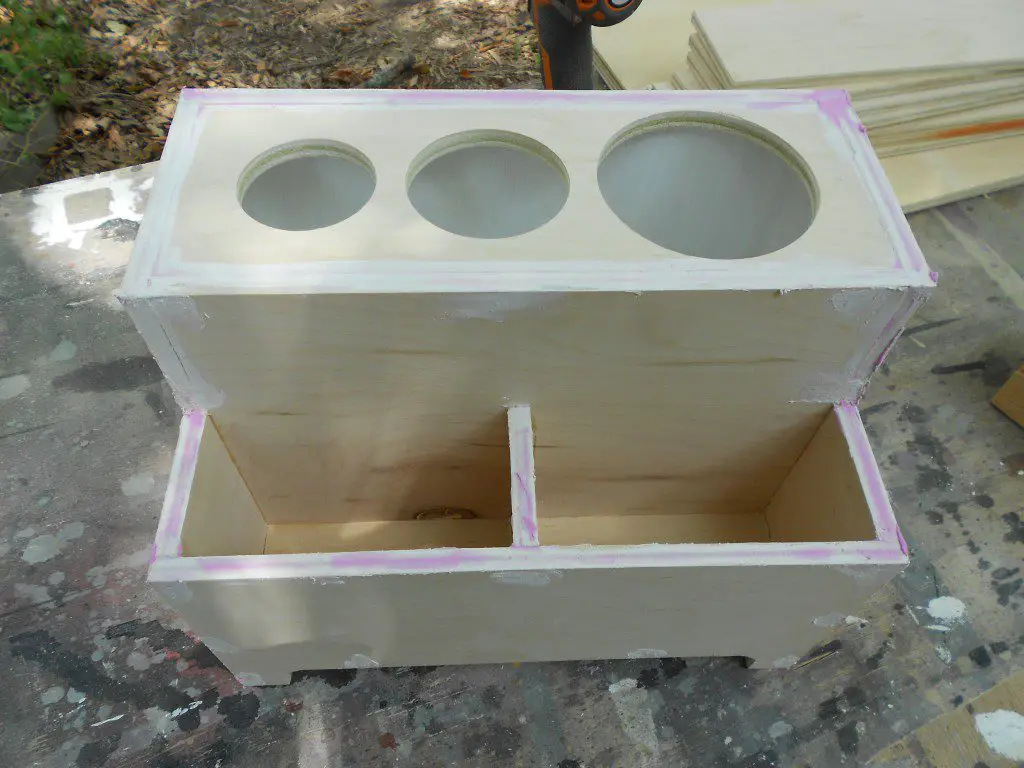
I repeated the arch-cutting process for the front and the back, then sanded any rough edges. I attached the front and back using glue and 1″ brad nails.

Step Ten
Before I worked on the final piece, I painted the inside. It didn’t have to be perfect but since the inside would be visible through the holes, I thought it might be a good idea to paint at least one coat on it!
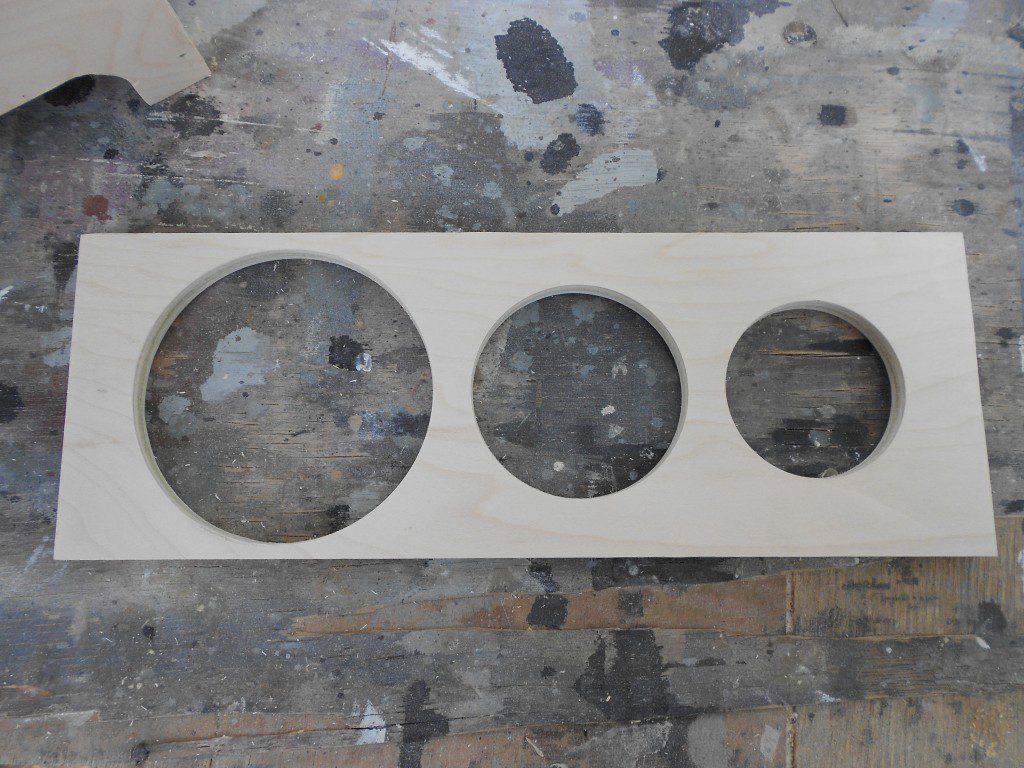
I marked the placement for the holes in the top by drawing a horizontal line across the board and lining up the hole saws until I was happy with the spacing.
Step Eleven
I used three different sized hole saws (3-1/2″, 2-1/2″, 2-1/8″) and a scrap board underneath. I started drilling from one side, then flipped the board over to finish the hole – this helps reduce tearout.
Step Twelve
I inserted the top piece, and held it in place so it was flush with the top of the sides, dividers, and back. I secured it to the box with 1″ brad nails. I filled in the nail holes and edges with Dry Dex, and sanded the entire piece with 220 grit sandpaper.
Step Thirteen
I painted the entire piece with Behr Ultra Premium Plus in Ultra Pure White Satin. Once it was dry, I sealed it with Rust-Oleum Ultimate Polyurethane in Matte Soft Touch. I had a hard time finding the perfect letter “H” for the front… I finally settled on a metal letter and glued it to the front with a couple dabs of Liquid Nails.

This is an easy project perfect for those new to project or furniture building, and can be completed in a weekend! Have questions about the hair accessories storage? Leave a comment below!
Originally posted 2012-07-09 08:00:03.
what are the measurements to cut the L- shape???
Hello! Are you referring to the notch in the side piece? If so, it is a 3″ x 2-1/2″ notch. You can click on the drawing to make it easier to see the dimensions. Hope this helps!
Thanks 🙂 I will be building this very soon!
Please share photos when you are finished – I would love to see!! Thanks!!
I think you messed up on listing the sizes of the parts to cut. You have the sides at 7 3/4″ x 9″, but when you show the picture of the side it is 7″ x 9″. Looking at how it goes together I’m guessing it should be 7″ x 9″ (especially since I cut the 7 3/4″ x 9″ from your cut list and it looks like it will be too big).
Ooops, sorry! it was a simple mistake and I will correct it ASAP. Thank you for pointing it out.
Curious to know why you didn’t use a 1″ hole saw to shape the bottoms, rather than a paddle bit. I find that paddle bits will tear the wood more easily than a good hole saw. Thanks for the plans here, I’m going to build this for my daughters birthday!
Hello, there! I don’t usually have any problems with tearout using either bit – I always make sure I only drill about halfway through the piece, then flip the piece over and continue drilling out the hole. This reduces tearout and creates a clean hole whether I use a paddle bit or a holesaw.
Good luck with your build and I’m sure your daughter will love it!