
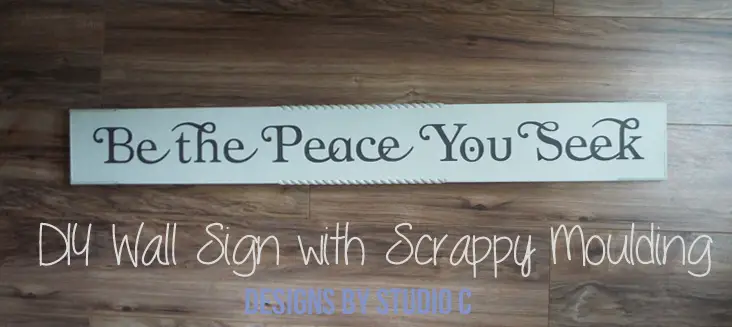
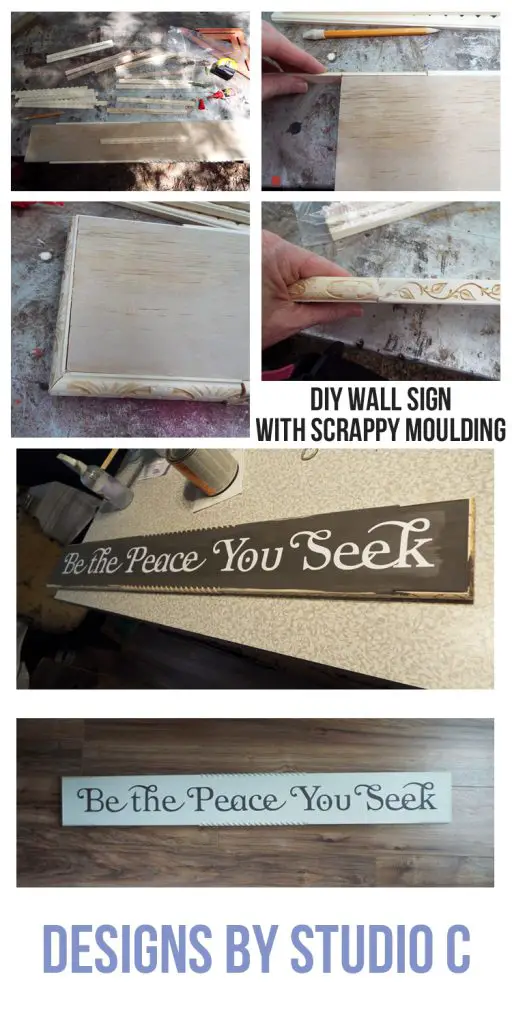
DIY Wall Sign with Scrappy Moulding
Power Tool Challenge – Anything Goes Edition
Hey there! Can you believe how quickly time is flying by? It’s already time for the Power Tool Challenge! This is a group of amazing bloggers, including myself, who create awesome projects using simple power tools. To be honest, I wasn’t sure if I would be able to participate this month because I have so much going on, but luckily I was able to whip up something really cool and easy! For this month’s challenge, I made a DIY wall sign using some scrap moulding and a reverse-stenciled quote on the front. It was super simple and turned out great! Trust me, you won’t find an easier project than this.
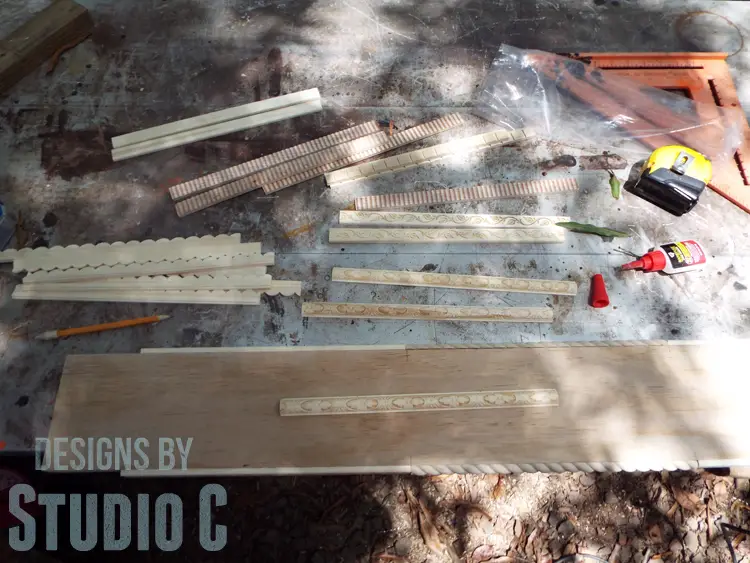
I already had strips of 3/4″ plywood that were offcuts from the round tables I built for the breakroom at work. The strips measure 5″ x 42″ which is the perfect size for a long sign!
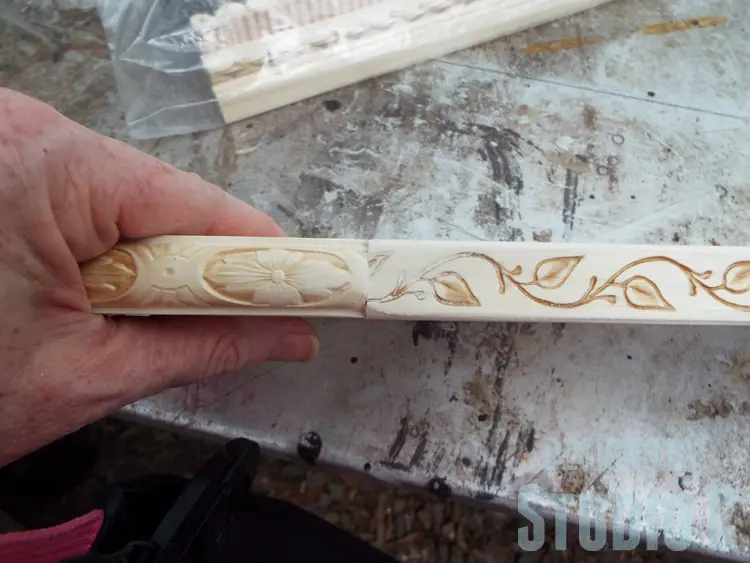
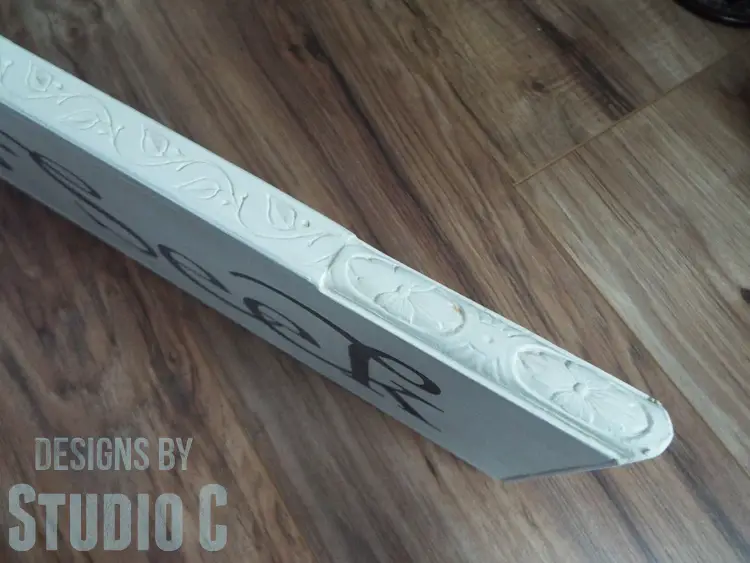
Previously, I shared a dresser where I repaired the damaged top and added small pieces of decorative moulding to the edges. I loved it so much, I wanted to use the same technique in other projects. I sanded the edges of the plywood, then added random strips of moulding to the edges secured with DAP® Weldwood Instant Adhesive (<– affiliate link!). The ends of the pieces were butted against one another. (I purchased the packages of moulding at Hobby Lobby.)
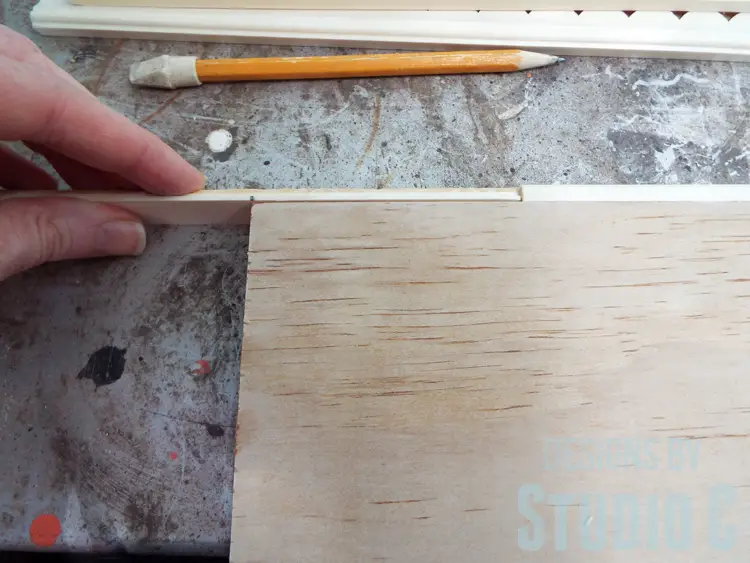
When I got to the corners, I marked the ends for miters and cut them on the miter saw. This is really easy to do since a spacer is used and the trim pieces are actually cut with the saw blade centered on the piece instead of on the upswing. I cut a piece with a miter in one end first, dry fit it to the miter on the piece already in place, then marked and cut the remaining miter.
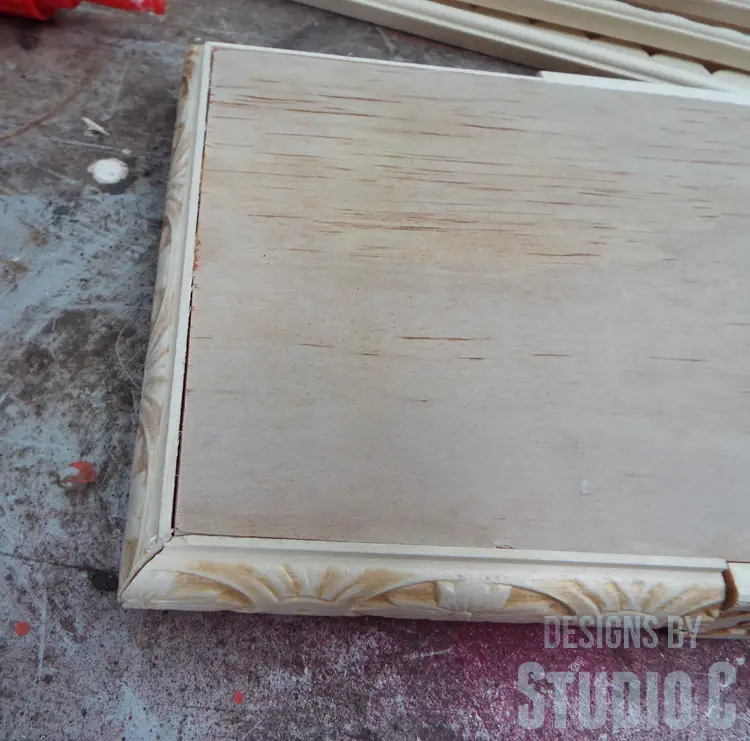
I also sanded the areas where the trim pieces meet to knock down any high spots and make the transition from piece to piece a bit nicer.
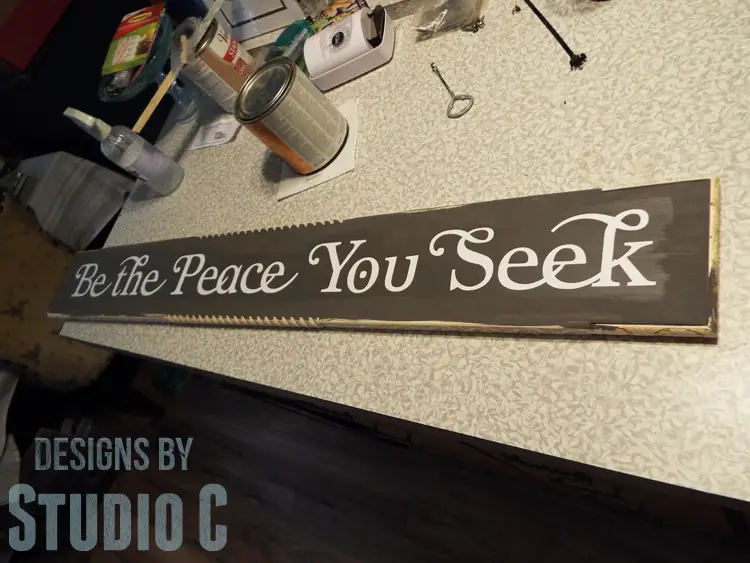
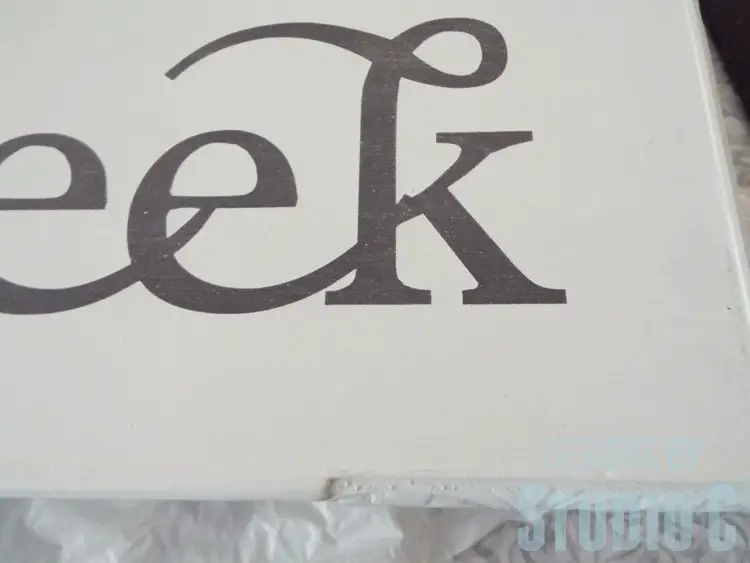
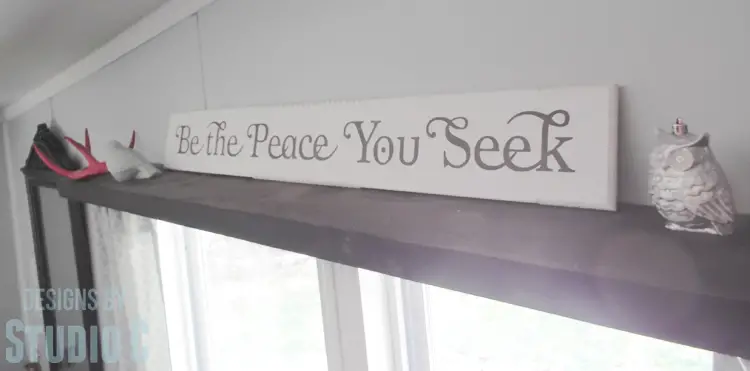
I applied a coat of dark gray chalk paint to the front of the piece, then I added a quote cut out of vinyl on top. I painted over the entire piece with three coats of white chalk paint, then removed the vinyl lettering to let the grey words show through.
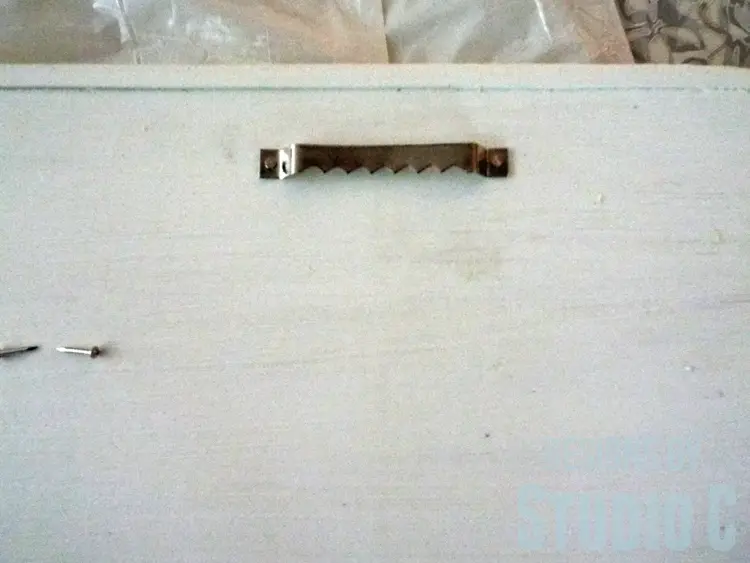
I applied a coat of wax then added two sawtooth hangers to the back to hang the sign.
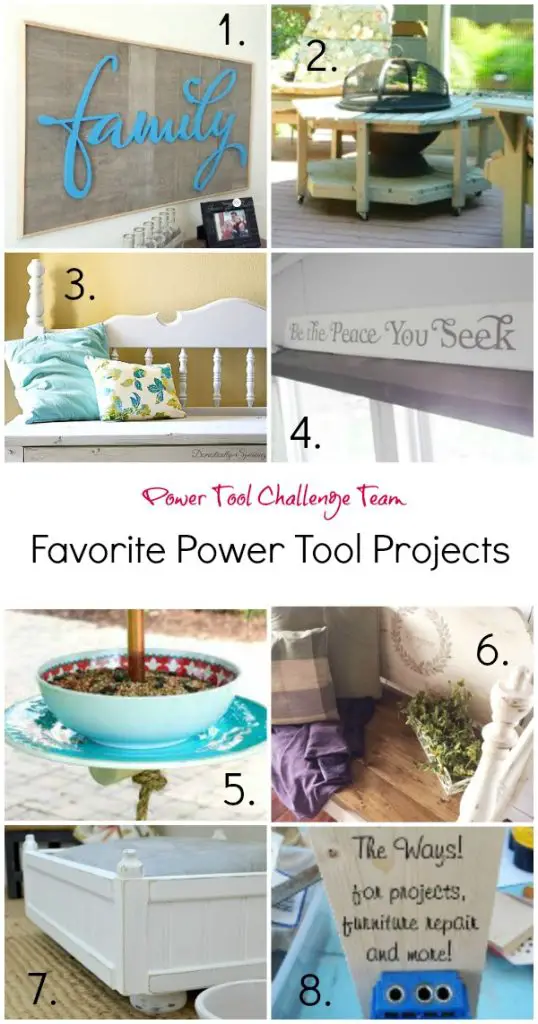
I think the sign is very swoon-worthy! Take a look at some of the fabulous other projects from my fellow bloggers:
DIY Family Sign by My Love To Create
DIY Aiderondack FireBowl Table by Interior Frugalista
DIY Headboard Bench by Domestically Speaking
DIY Wall Sign by Designs By Studio C
Easy Bird Feeder by Virginia Sweet Pea
DIY Headboard Bench by Designed Decor
DIY Small Pet Bed by H2OBungalow
How To Use A Kreg Jig by My Repurposed Life
This DIY wall sign with scrappy moulding would be perfect with a family name and “established date” on it for a gift or with a sweet quote on it and hung in a child’s room! Have any questions? Leave a comment below!