
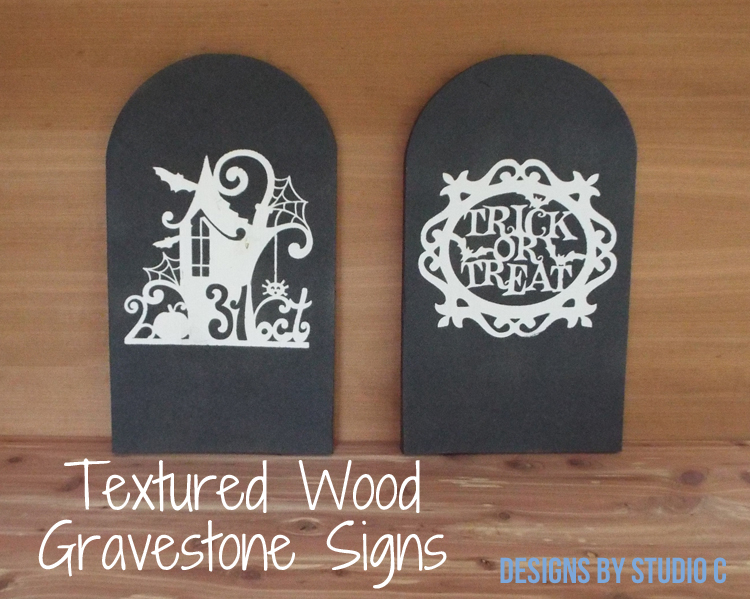
DIY Textured Wood Gravestone Signs
Power Tool Challenge: Frightful Edition!
For this month’s awesome Power Tool Challenge, my fellow bloggers and I are making something “frightful”. Halloween is my absolute favorite day of the year and I decided to make DIY Textured Wood Gravestone Signs using a scrap board, a jigsaw (or a bandsaw), and spray paint. The DIY headstone is created by using a reverse stencil technique where a vinyl design is positioned over the base coat of paint before the final coat of paint is applied. Plus, the design glows in the dark! These gravestones are so super simple, you can turn your yard into a cemetery in no time!
Materials:
- 1×10 board at 4′
- White paint
- Glow in the Dark Paint (<– affiliate link!)
- Textured metallic spray paint
- Sawtooth hanger or soda can tab with a screw and a washer
Cut the board into 18″ lengths. Draw an arc on the top, then cut with a jigsaw. I used a circle cutting jig on my bandsaw and cut the arc.
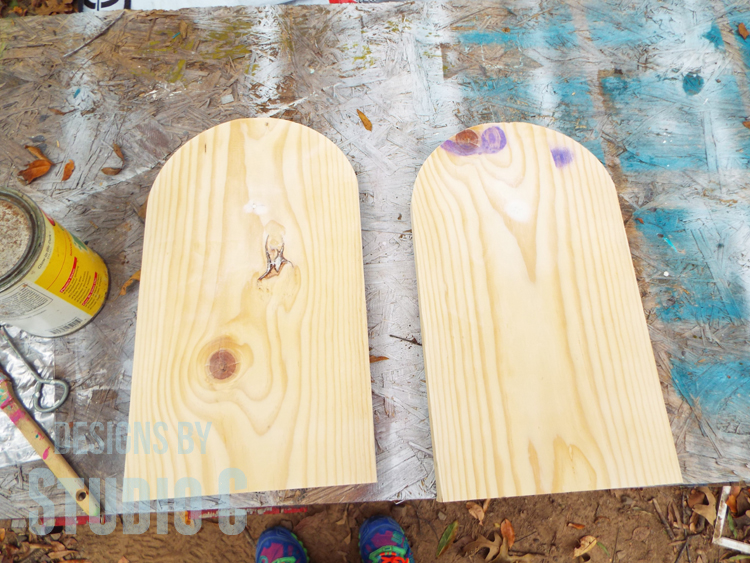
Paint the front of the board with the white paint. The white paint is necessary to create a base for the glow in the dark paint and also so that the design will be visible. Once the white paint is dry, apply the glow in the dark paint. I used three coats but only because my paint was fairly old.
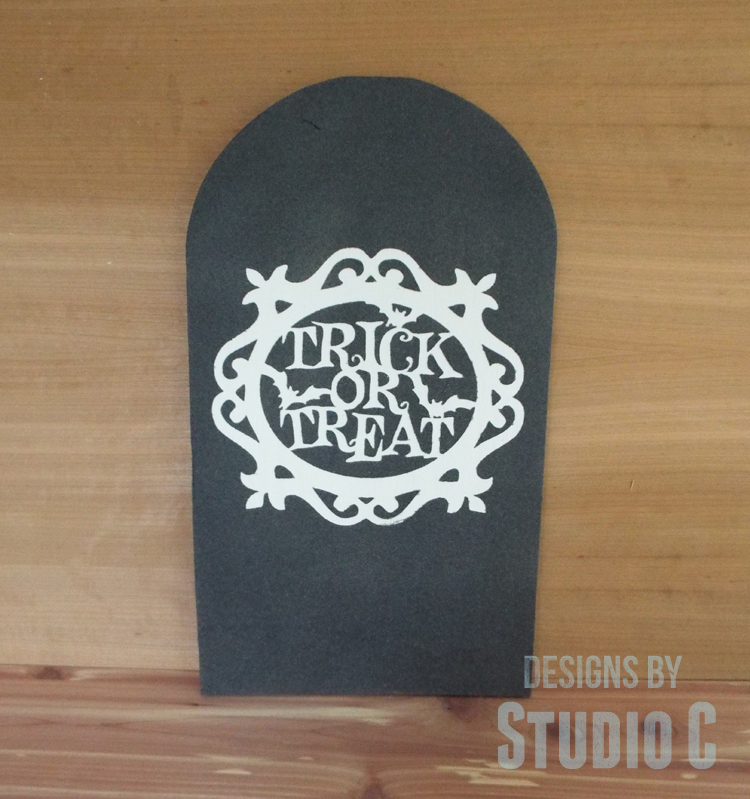
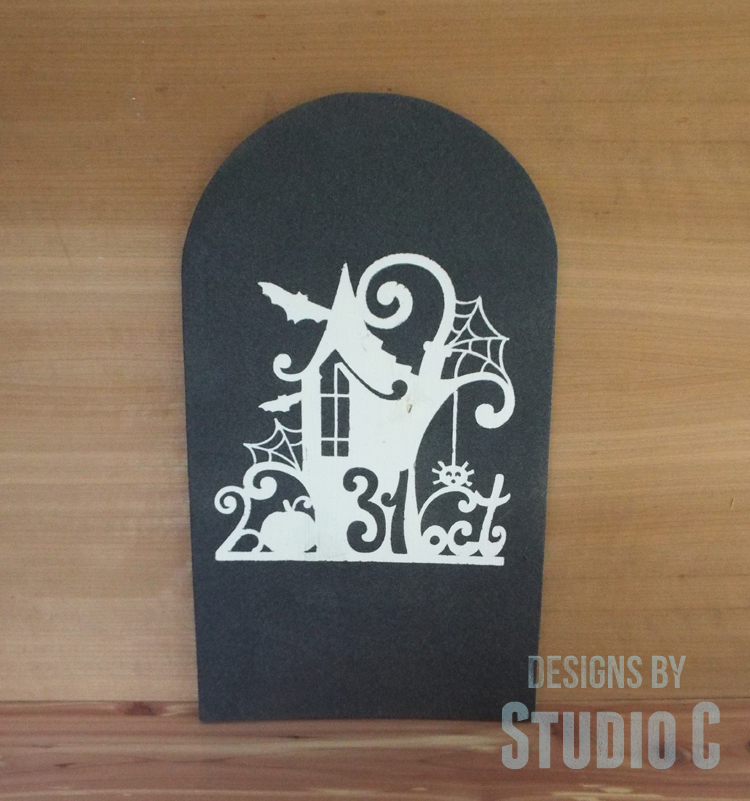
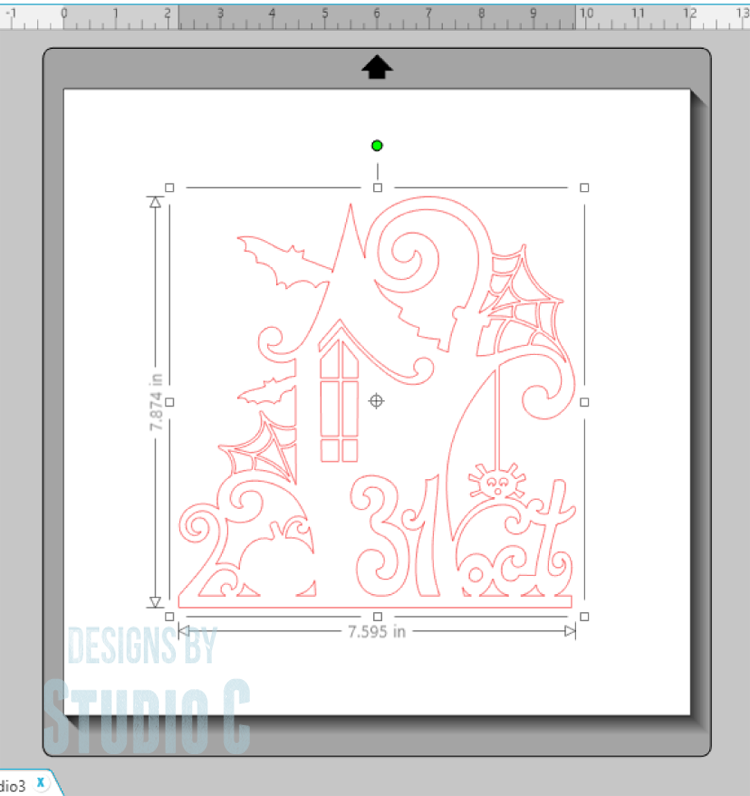
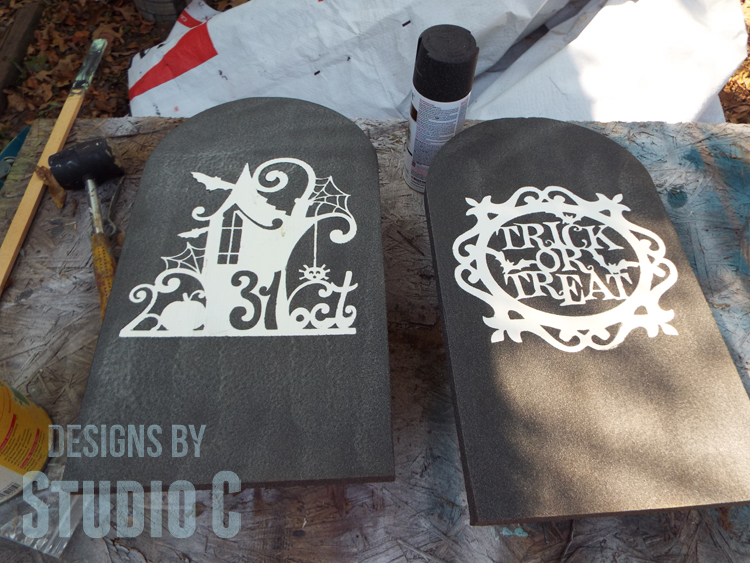
Once the glow in the dark paint is dry, apply the vinyl design. I cut the designs using my vinyl and paper cutter. If you do not have one of these machines, skip this step and keep reading for an alternative!
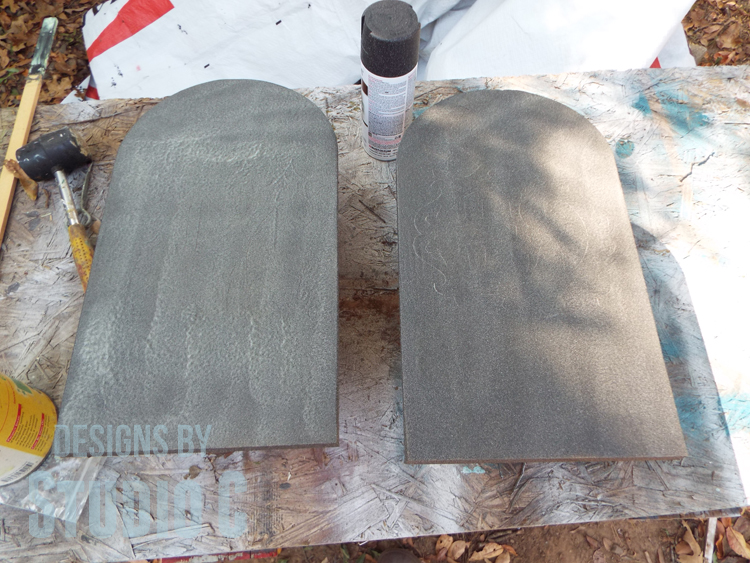
Spray the boards with the textured metallic paint. The textured paint adds dimension so that the boards feel more like gravestones. I used three light coats. While the final coat is still wet, remove the vinyl pieces, then let the paint fully dry.
Now, if you do not have a machine that cuts vinyl designs, I have an easy alternative… Paint the boards with the textured metallic paint and let it dry. Then stencil (or freehand) any design desired using white paint first and finishing with a few coats of glow in the dark paint. Super-easy, right?
Add the hanger to the back. Expose the gravestone to bright light in order to activate the glow paint. I tried to photograph this step but it couldn’t pick it up – it really does work!
Here are the inspiring projects from my fellow bloggers:
The DIY Textured Wood Gravestone Signs can also be placed in a flower bed or along a walkway making it extra frightful for visitors! Have any questions? Leave a comment below!
Originally posted 2015-10-15 06:00:00.