
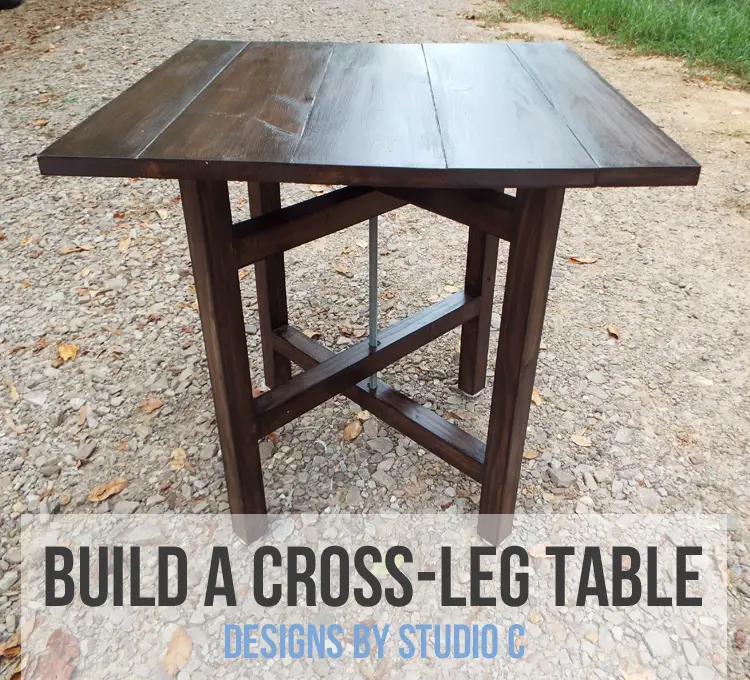
DIY Plans to Build a Cross-Leg End Table
An Easy to Build Industrial/Rustic End Table
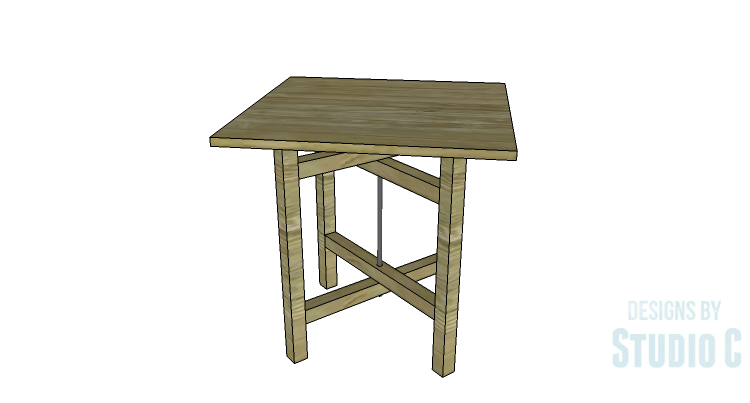
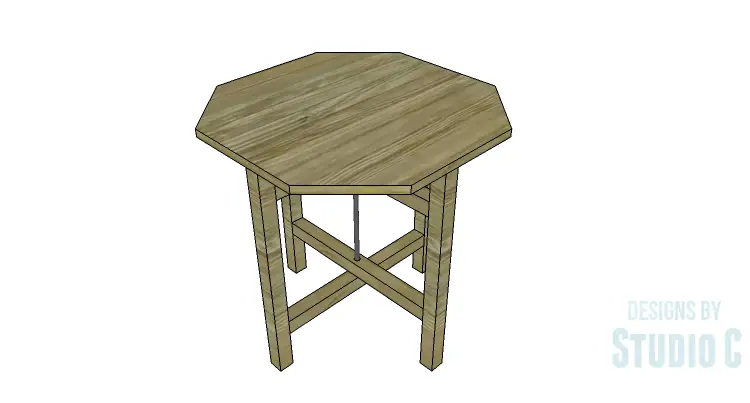
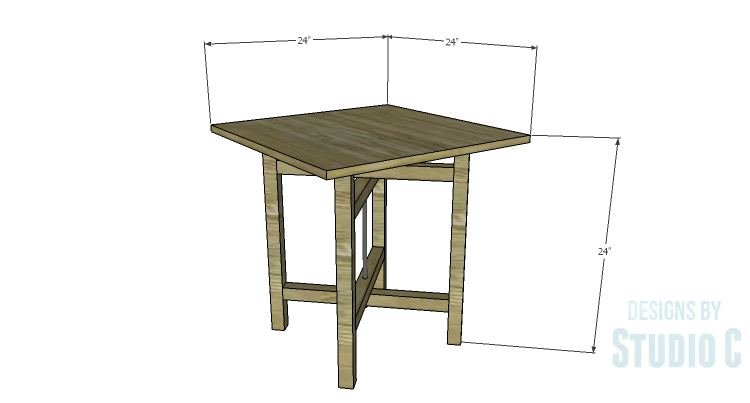
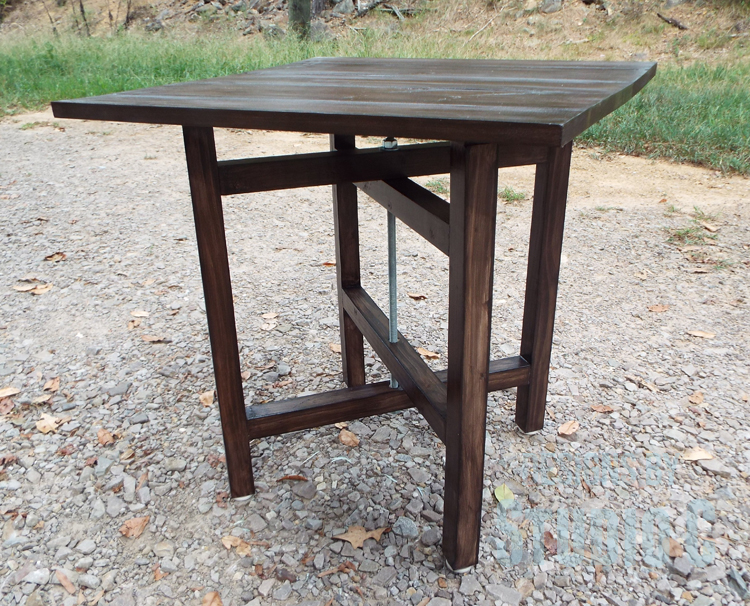
This table is certainly one of my favorite projects… Not only is the build incredibly easy, but it is inexpensive and fits in with an industrial/rustic style perfectly! The DIY plans to build a Cross-Leg End Table features leg frames that are connected at the top and “enhanced” (so to speak) with a threaded rod purely for decorative purposes. The top is a roomy 24″ x 24″ and can be constructed out of planked boards or a solid piece of plywood. It can also be cut in an octagon shape for a different look. This is a build that can be completed in an afternoon!
Materials:
- 1-1/4″ pocket hole screws (<– affiliate link!)
- 2-1/2″ pocket hole screws
- 1-1/2″ screws
- Edge banding (if using plywood for the top)
- 1/2″ threaded rod at 2′, with two nuts and washers
- Wood glue
- Sandpaper (100, 150, 220 grits)
- Finishing supplies (primer & paint, or stain, sealer)
Lumber:
- 1 – 1×2 at 4′
- 2 – 2×2 at 8′
- 2 – 1×6 at 8′ OR
- 1 – 2′ x 2′ sheet of 3/4″ plywood
Cut List:
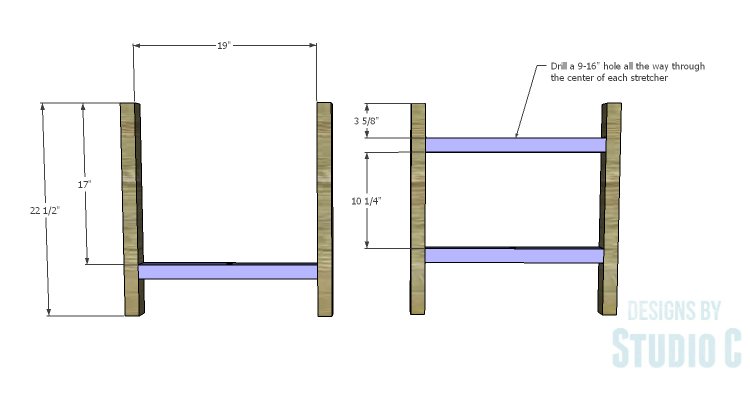
- 4 – 2×2 at 22-1/2″ – Legs
- 4 – 2×2 at 19″ – Stretchers
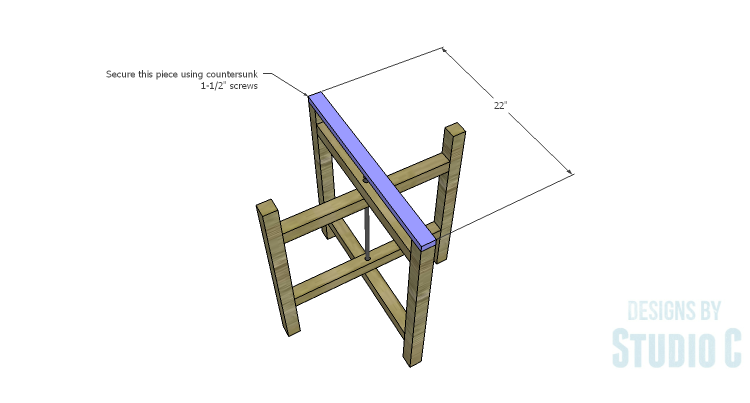
- 1 – 1×2 at 22″ – Top Support
- 2 – 1×2 at 10-1/4″ – Top Supports
- 5 – 1×6 at 24″ – Planked Top OR
- 1 – 3/4″ plywood at 24″ x 24″ – Top
Click the drawings for a larger view!
Step One
Cut the pieces for the legs and the stretchers. With the pocket hole jig set for 1-1/2″ material, drill pocket holes in each end of the stretchers. Secure the stretchers as shown in the drawing to the legs using glue and 2-1/2″ pocket hole screws.
Step Two
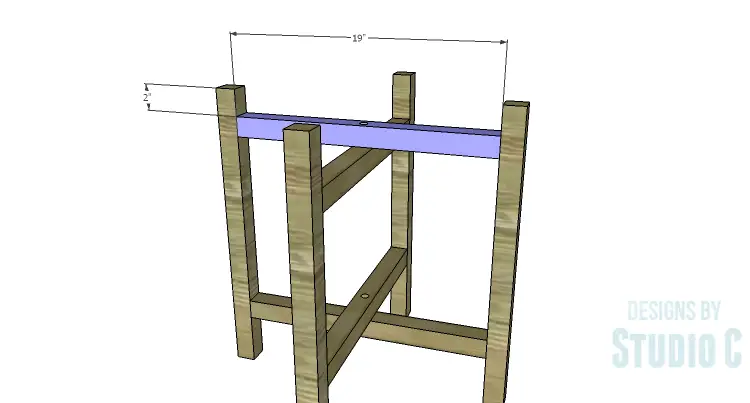
Position the leg assemblies as shown in the drawing, then secure the remaining stretcher to the legs.
Step Three
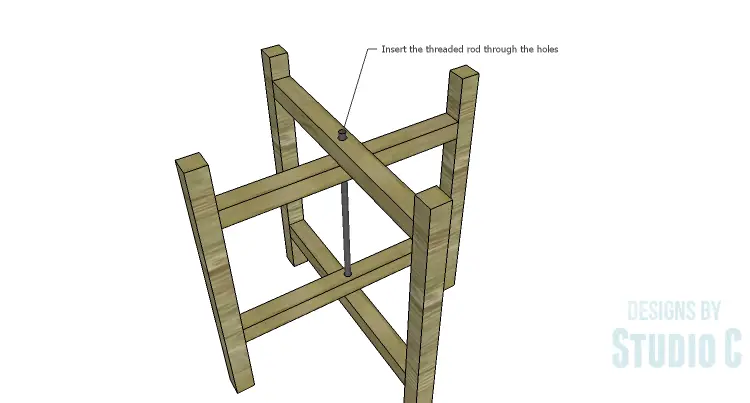
Cut the threaded rod to fit flush against the uppermost stretcher and the lower stretcher. Include enough rod to allow for a washer and a nut at each end (the rod will not extend past the nut on either end). The rod is purely for decorative purposes so the nuts do not have to be tightened to snugly against the stretchers.
Step Four
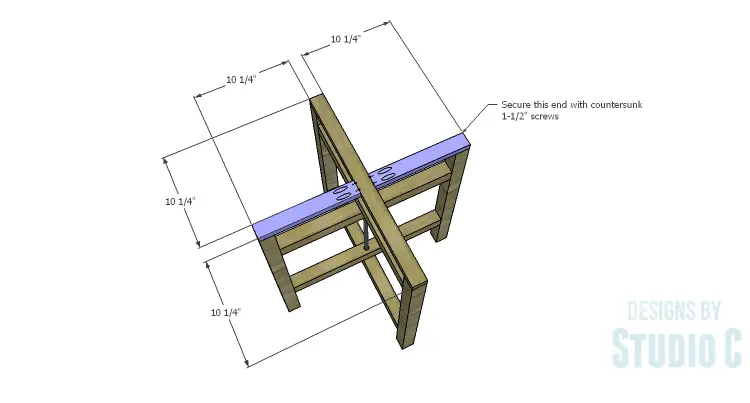
Cut the pieces for the top supports. Secure the longer support to the top of the legs using glue and countersunk 1-1/2″ screws.
Set the pocket hole jig for 3/4″ material and drill pocket holes in one end of each of the pieces. Secure the shorter pieces to the longer top support piece using glue and 1-1/4″ pocket hole screws, the secure the other ends to the top of the legs using glue and countersunk 1-1/2″ screws.
Step Five
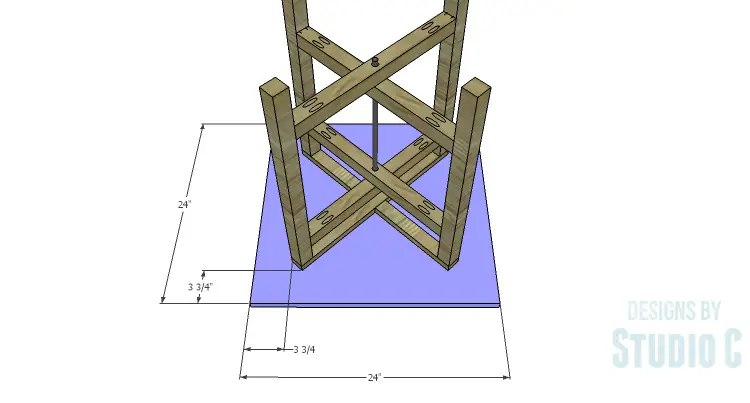
Cut the piece for the top. If using 1×6 planks, drill pocket holes along one long edge of four of the pieces. Assemble the top using glue and 1-1/4″ pocket hole screws. Rip the width of the top on the table saw to 24″ (subtracting approximately 1-3/4″ from each side).
If using plywood for the top, apply edge banding to all four edges.
Position the leg assembly on the underside of the top as shown in the drawing. Secure in place with toenailed screws through the top supports into the top.
Finish as desired. I found it easier to finish the leg assemblies with the top supports and top separate, then put everything together.

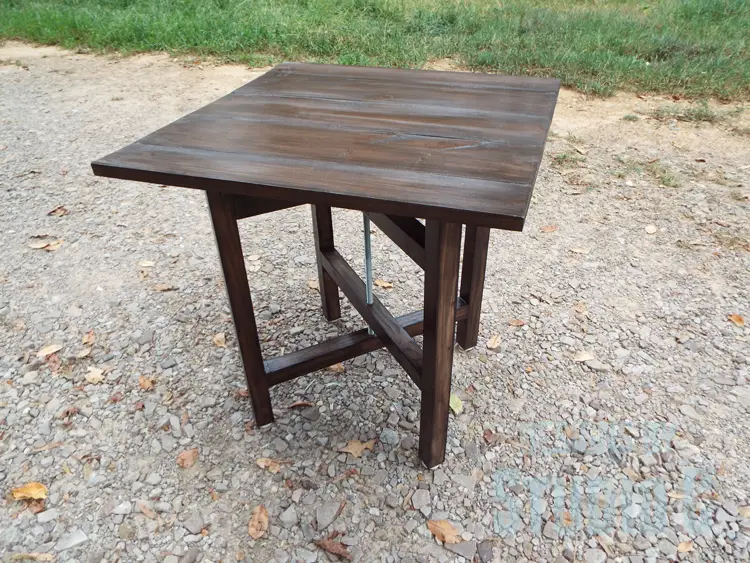
This fabulous end table will work well in any room – maybe even as a pair on either side of a bed as nightstands! Have any questions about the DIY plans to build a Cross-Leg End Table? Leave a comment below!
Originally posted 2015-09-25 08:00:46.
What kind of wood did you use? Looks like pine.
Hi, Brian! Yes, I used pine. 🙂
Cher, what do you use for the 2 x 2’s. All I can seem to find is the spruce furring strips, which don’t seem to be too sturdy; and treated 2 x 2’s, which you don’t want to use on indoor furniture. Thanks.
Hello, Brian! I use 2x4s and rip them into 2x2s. They are much straighter (and nicer looking) than the furring strips. I have to update the post but I wrote a tutorial on how to do this: http://designsbystudioc.com/how-to-cut-a-2×4-in-half/ Hope this helps! 🙂