
Customizing a Closet Organizer
Making Pieces of a Closet Organizer Work for a Small Space
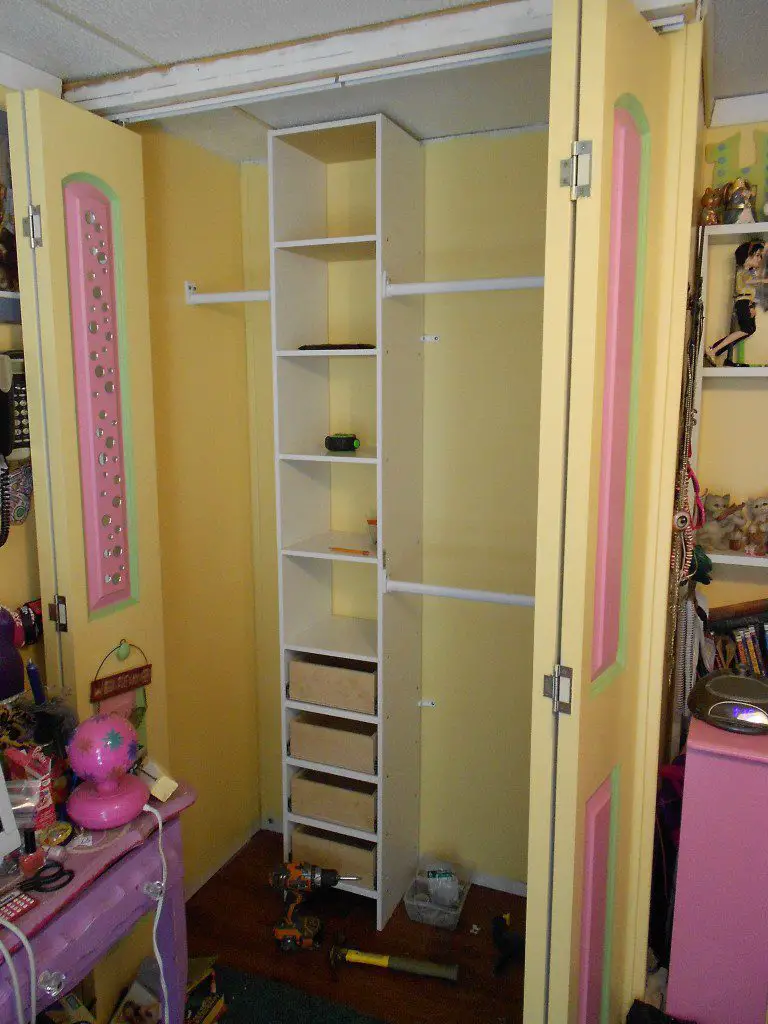
“Customizing a Closet Organizer” – is that an oxymoron?? Anyway, my daughter’s closet was a mess. I wanted to build a closet organizer for her closet but when I drew it out and totaled the cost of the lumber, I decided it was going to cost more than I really wanted to spend. I have other projects to do, too, and a lot of the pre-packaged closet organizers are for larger closets plus a whole lot more expensive! I decided to buy one piece then add custom features to make it fit the space. This was an easy and inexpensive process, and it worked well for the small closet space!
Anyway, I found this closet organizer at my local Home Depot and decided I could customize it using inexpensive materials or things I already have at home. I also wanted to add drawers to the main cubby tower and incorporate a few shelves and hanging rods on either side. Building the drawers to fit the organizer was a far better option than buying an organizer with drawers.
Materials:
- Closet organizer – I used Closetmaid 12″ #7033 but even a narrow bookcase will work!
- Melamine shelves & brackets
- Plywood for the drawers
- Auger Anchors (for securing into drywall where there is no stud)
- 10″ drawer slides (<– affiliate link!)
- Drawer pulls
- Drill
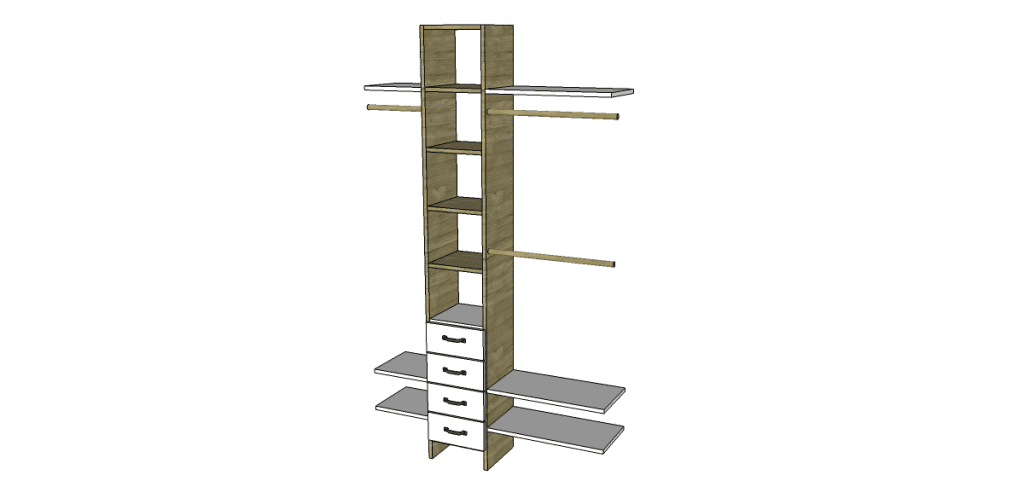
I drew a sort of “mock-up” in SketchUp… The wood grain represents the closet organizer and the white represents the modifications I’ll be making to it.
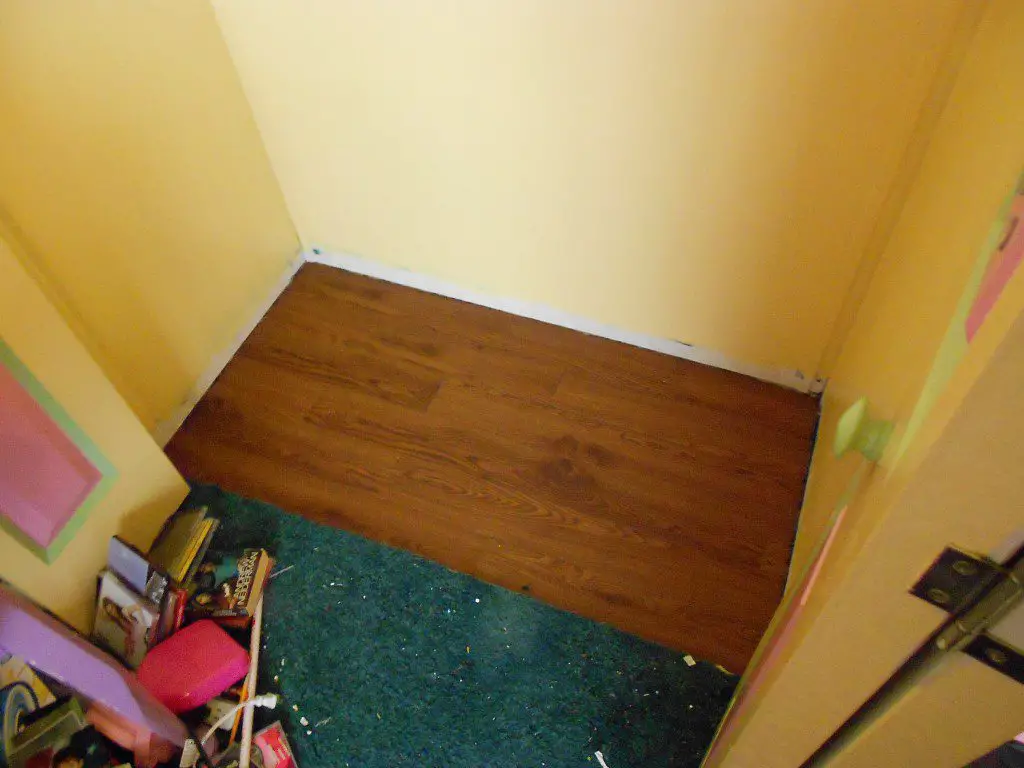
The existing closet had a shelf in it so I removed it and repainted the walls. I also removed the carpet and installed peel and stick vinyl planks…
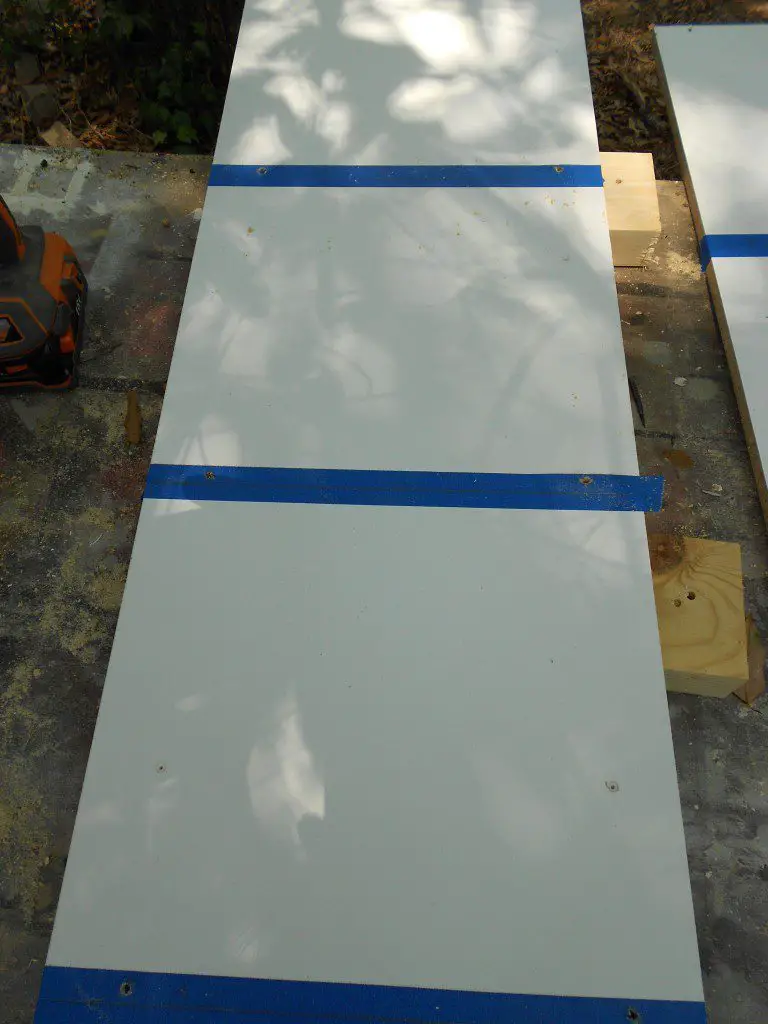
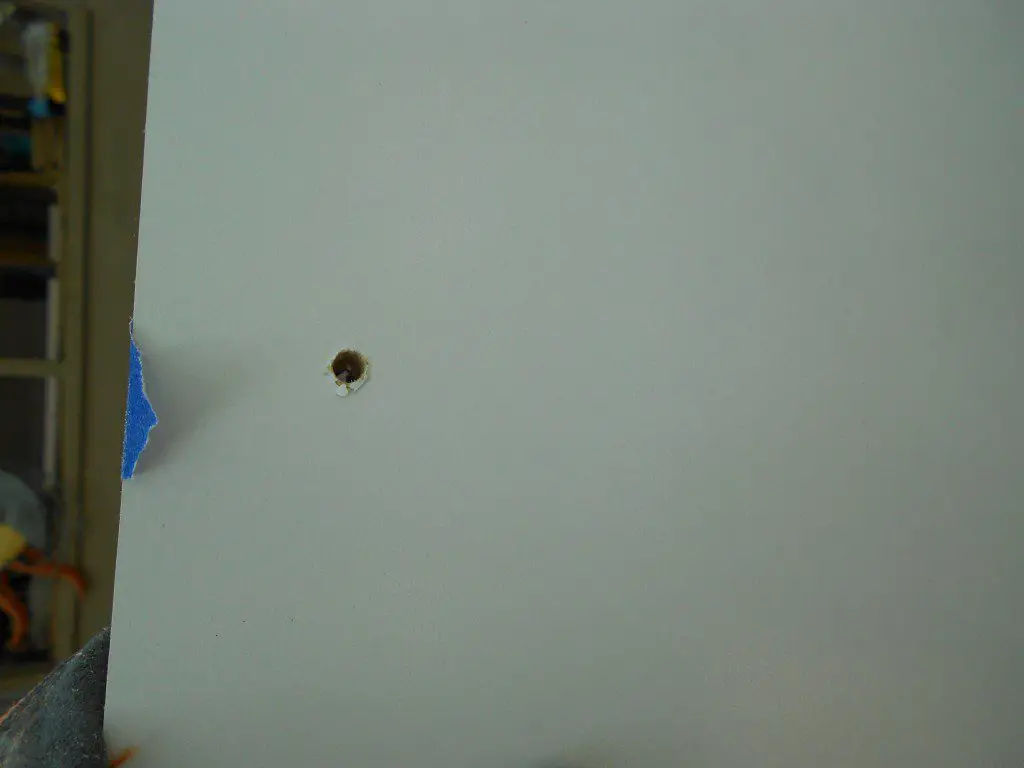
I decided to re-space the shelves so I could add drawers. To start, I filled the existing holes for the shelves except for the ones at the top of each cubby section. I drew a pencil line where the top of the new shelf spacing would be. I used blue painter’s tape to mark the line, then drew a mark where the holes for the new shelves would be drilled. I placed scrap 2x4s under each side where I was drilling the holes. The tape and the 2x4s keep the melamine covering from chipping and produces nice, clean holes.
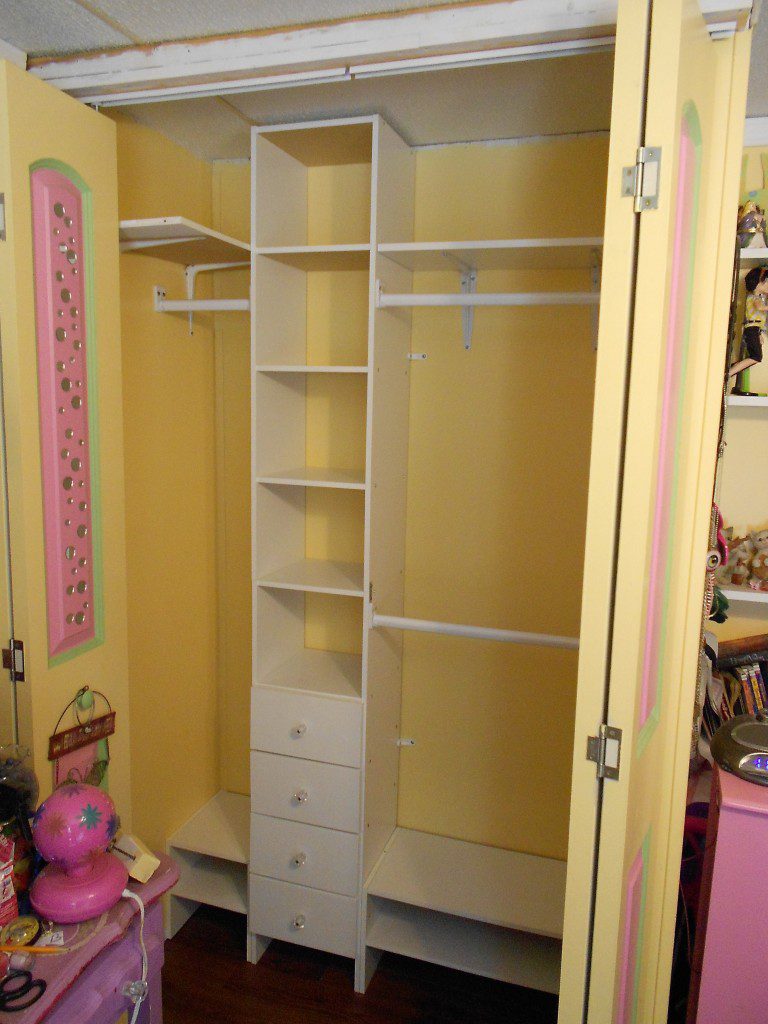
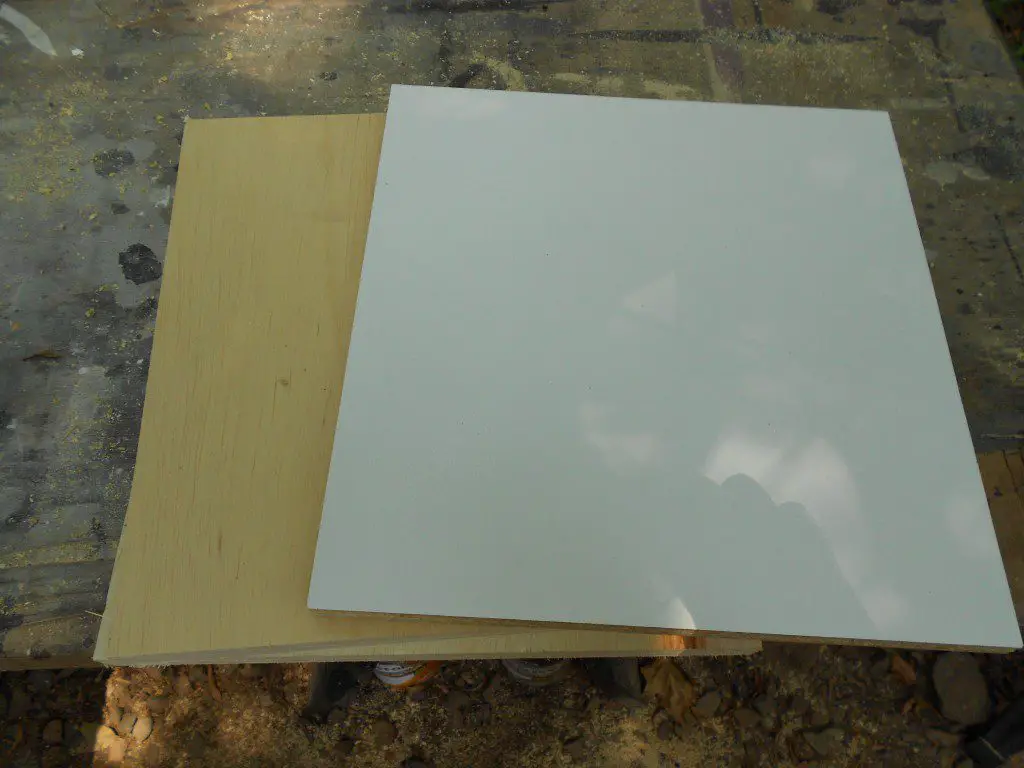
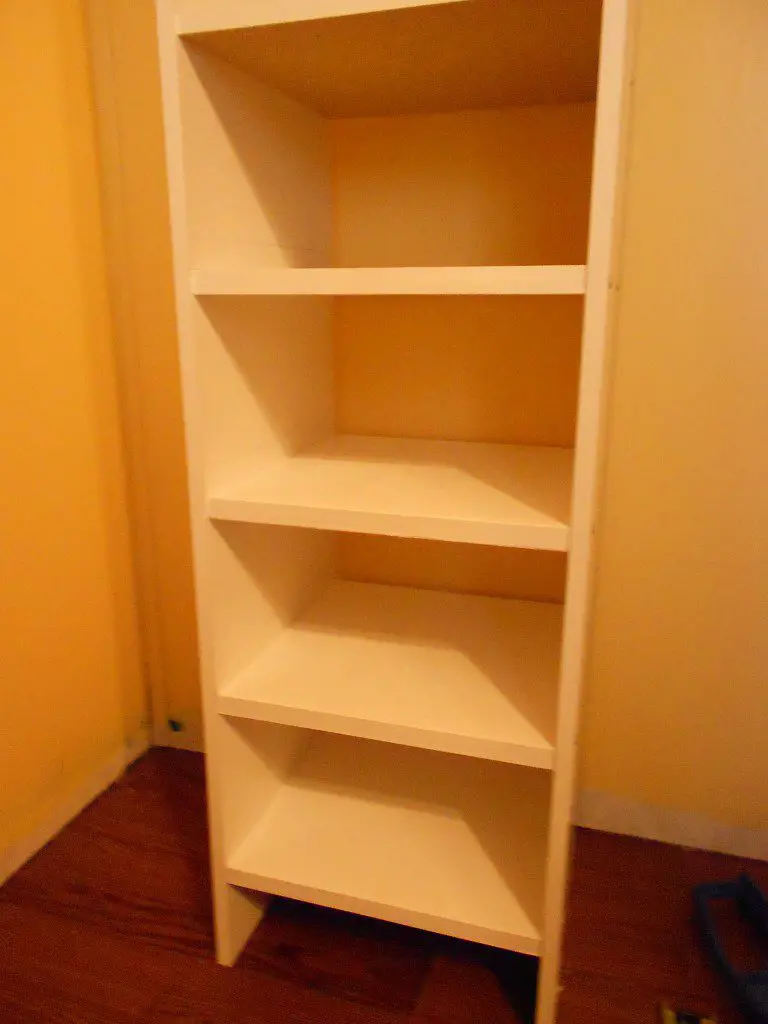
I cut the new shelf pieces (for the drawers) from plywood I already had on hand and sanded them. I added edge banding to one of the shorter edges, primed, then painted them and attached them to the sides with 1-1/4″ screws through the new holes I drilled. I put the tower in the closet and anchored it to the wall with the supplied brackets.
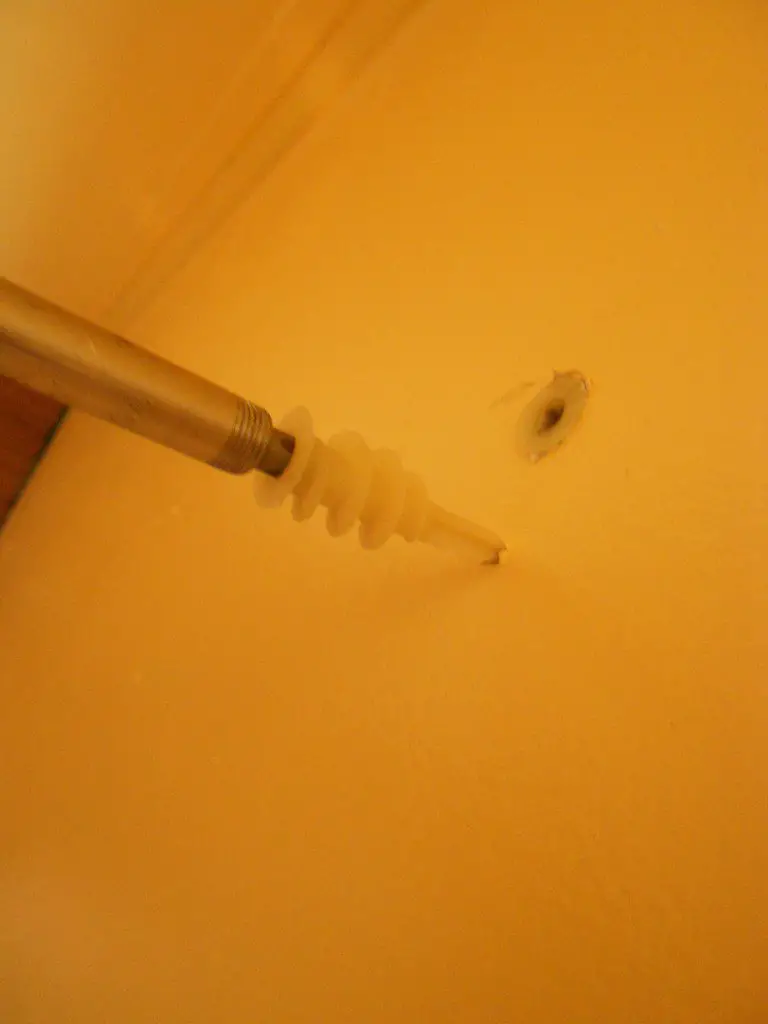
I cut the hanging rods down to size and installed them. I cannot cut a straight line with a hacksaw to save my life… Hopefully no one will notice! I used auger anchors to attach the rod hardware to the drywall. If you’ve never used these before, these are really awesome! The plastic anchor has threads on it that bore into the drywall, then they pop apart when the screw is inserted to hold everything securely!
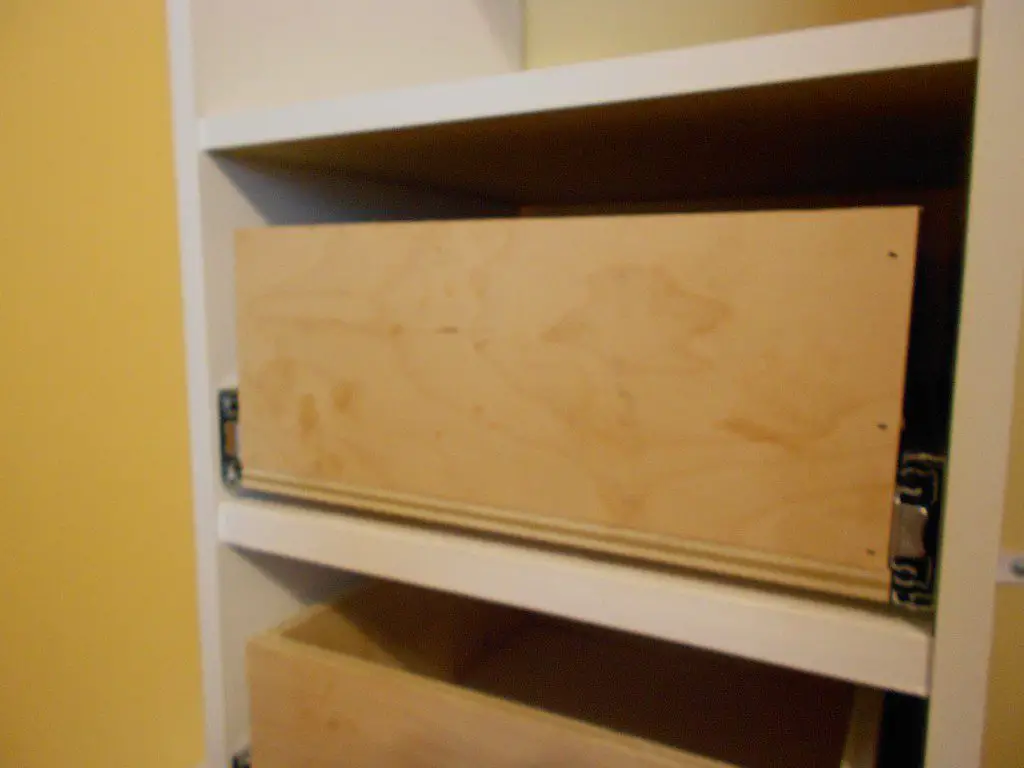
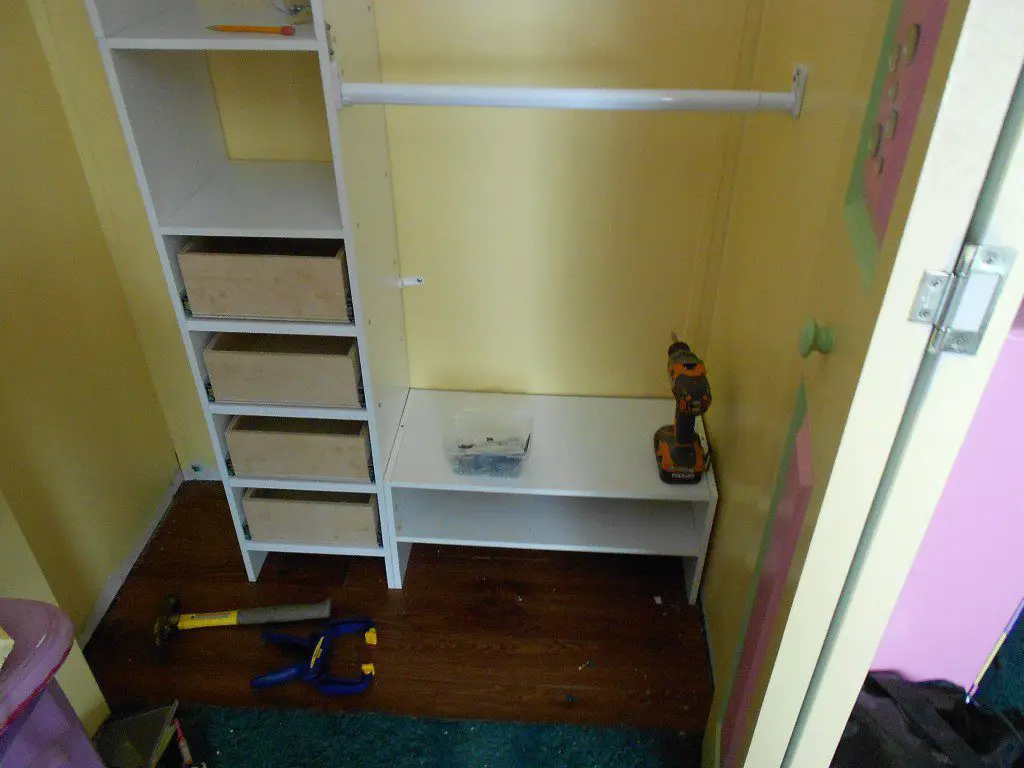
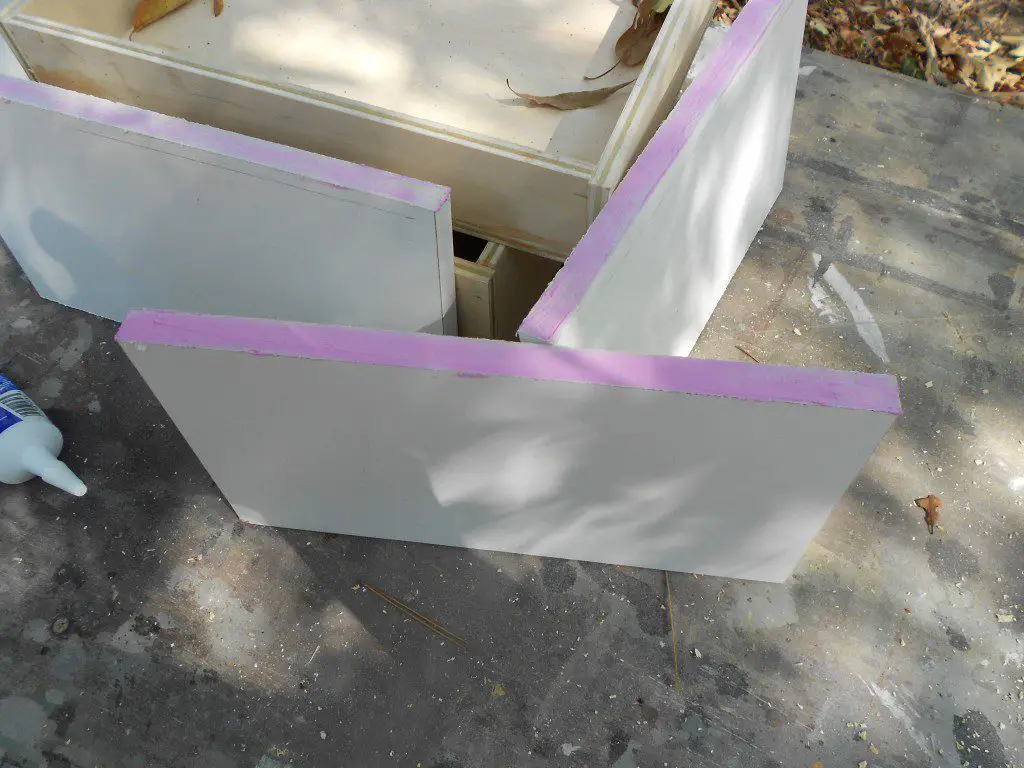
I constructed the drawer boxes from 3/8″ plywood for the “new” shelves. I installed the drawer slide hardware for each drawer. I have a post I wrote on how to build a drawer box that may be helpful!
I decided to repurpose the shoe organizers my daughter already had in her closet. The were the correct depth and one was the correct length but I had to shorten the other. I cut the shelves down and pre-drilled holes for the screws. Pre-drilling, especially in MDF or particle board is a must as this keeps the screws from splitting the material. I put the side pieces back on and anchored the organizers to the cabinet with a couple of screws through each side piece. I had one shelf left from the shoe organizer I cut down, so I used it as the shelf on the other side. (I forgot to take a picture of the shelf I cut down but you’ll see it in the “after” picture!)
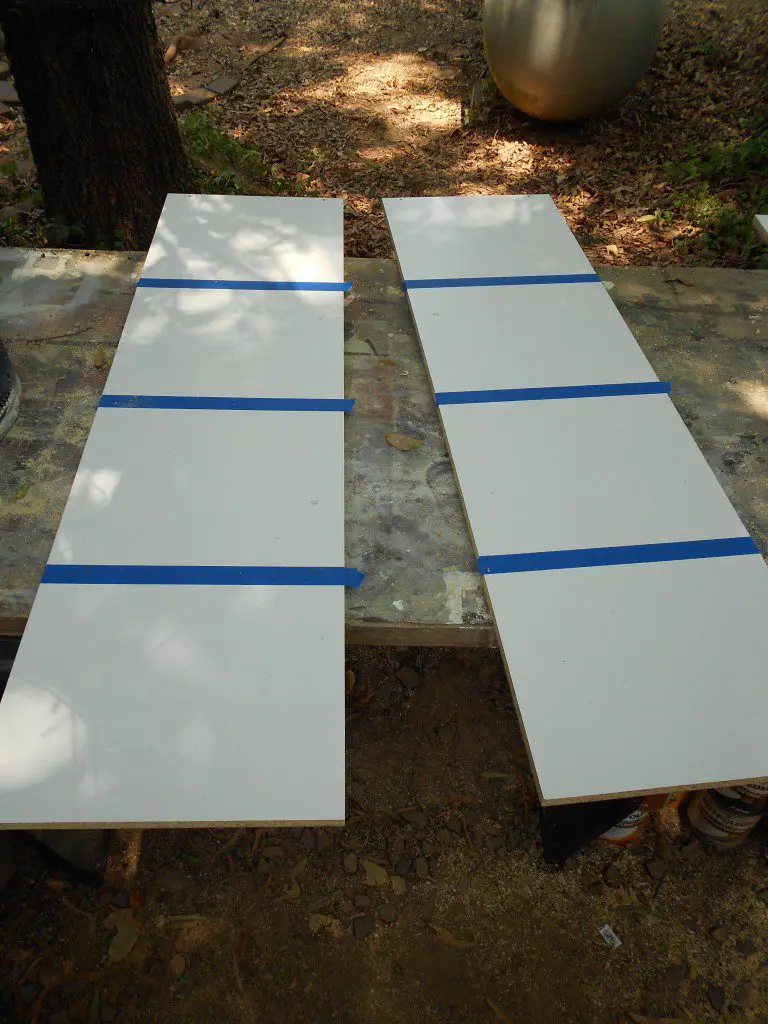
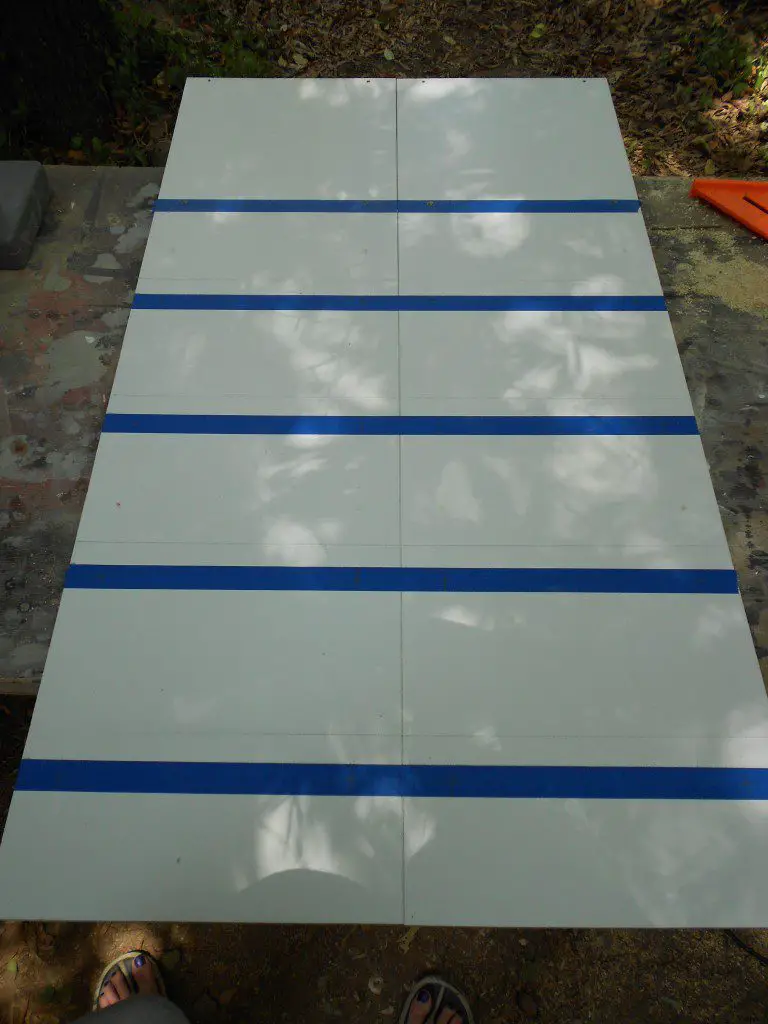
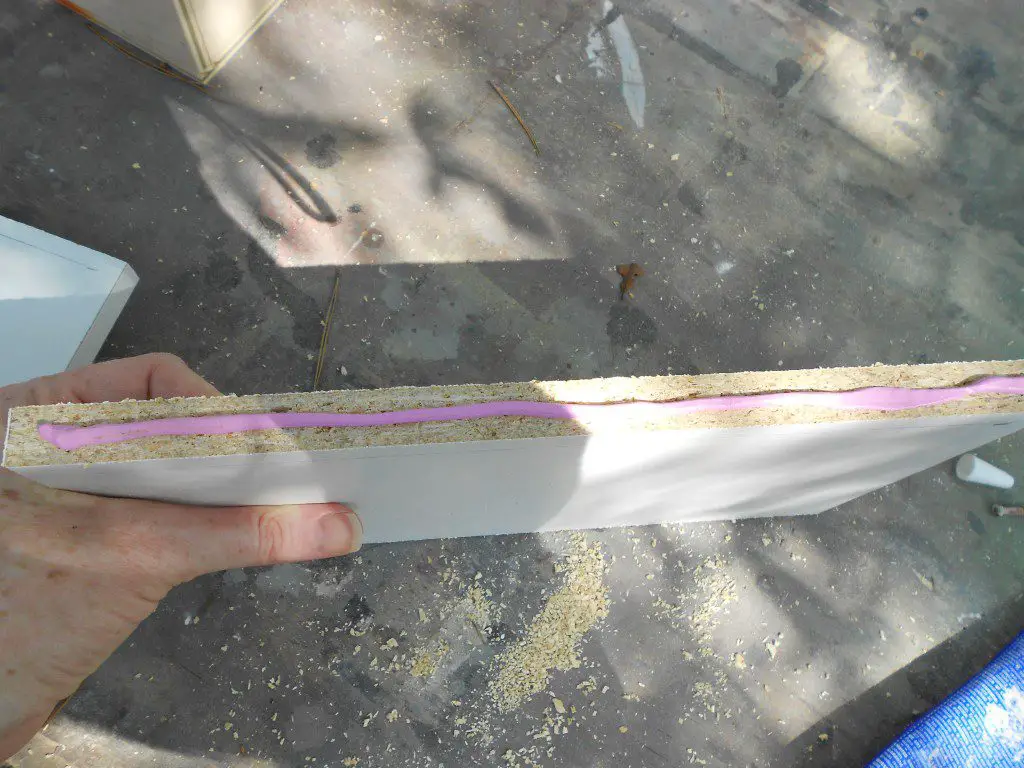
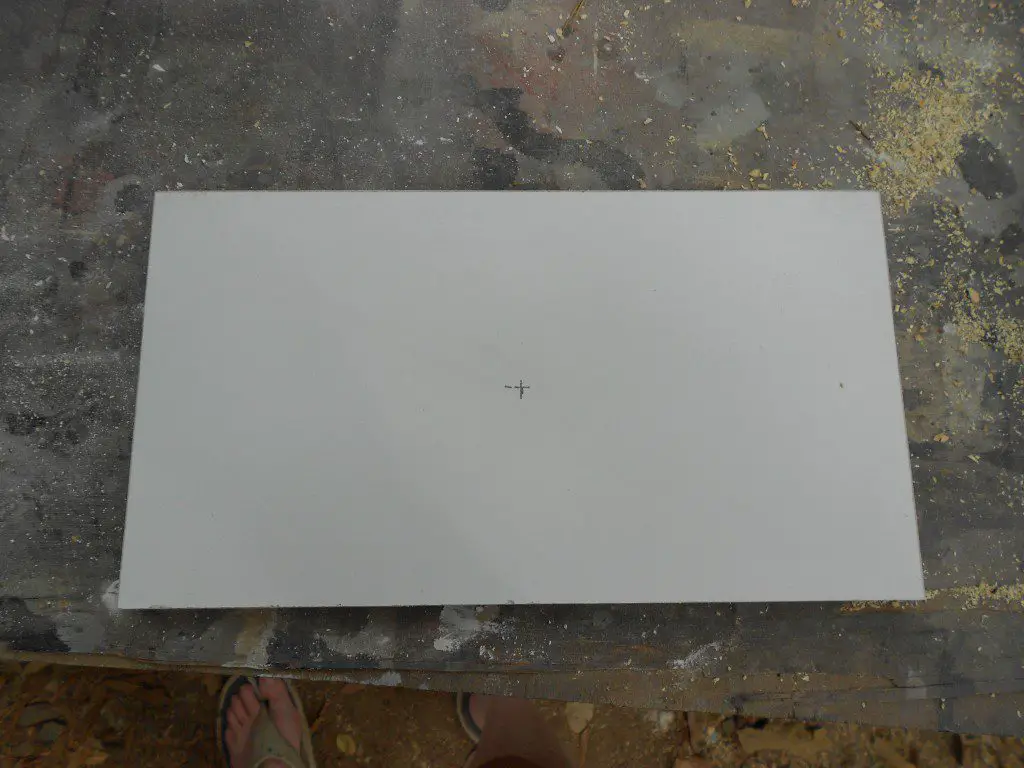
I bought two melamine shelves. One would be to install at the top above the closet rod and the other I would cut into pieces for the drawer fronts. I marked the shelf where the cuts would be made and covered the line with masking tape. Using masking tape keeps the melamine from chipping when running it through the table saw.
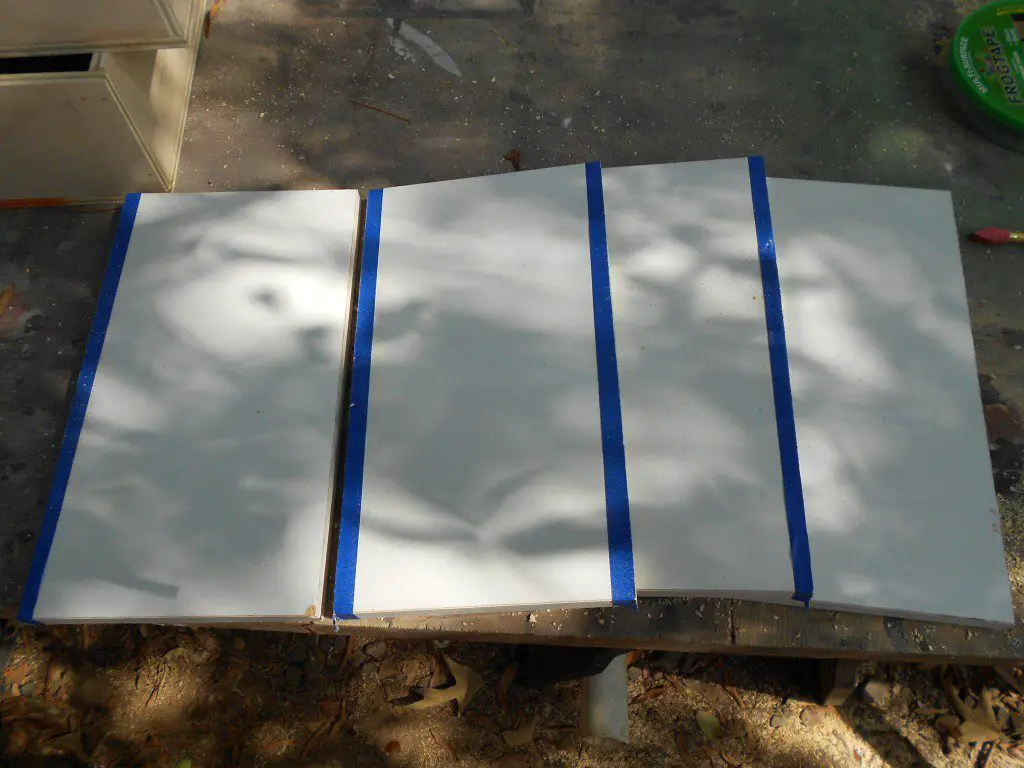
I filled the exposed edges with Dry Dex, then painted them white. I drilled the holes for the handles and installed the fronts on the drawer boxes.
I used metal shelf brackets for the upper shelves and installed them using the auger anchors. Of course, I forgot to take a picture of that, too!
Although this project took a lot of elbow-grease, I was able to keep the cost at a minimum. I spent about $75.00 – not too bad and now my daughter has a much nicer closet system as long as the clothes don’t keep “falling off of the hangers”!!
Have questions or other ideas about customizing a closet organizer? Leave a comment below!
Originally posted 2012-07-11 08:00:48.