
Coping and Installing Crown Molding
Installing Crown Molding in the Bedroom
Honestly, I never have good luck installing any sort of trim. Mitered corners never really worked for me. Recently, I decided to try my hand at a very old technique – coped joints – and had major amounts of success! Awhile back, I wrote a post about using a jig to cut crown molding and while the results were okay, I still wasn’t happy with the joints. Coping and installing crown molding can be a tad tricky but the results are fabulous!

The art of coping joints is created by using a coping saw (<– affiliate link!) to cut along the profile of the molding at a slight angle (away from the edge) in order for the joint to butt up against the adjoining molding piece. To begin, the molding is positioned upside down on the miter saw with the “top” flush against the bed of the saw and the “bottom” flush against the fence. In other words, it will be positioned at the same angle it will be installed on the wall just upside down.
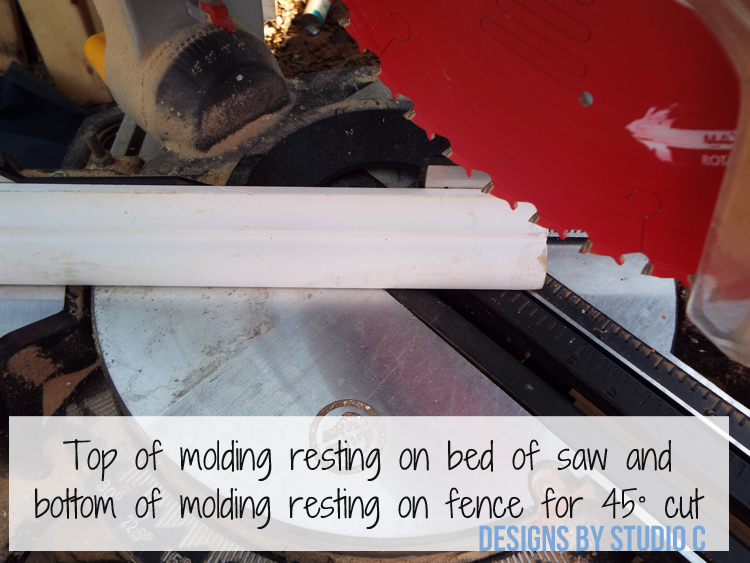
A 45° angle is cut in the end.

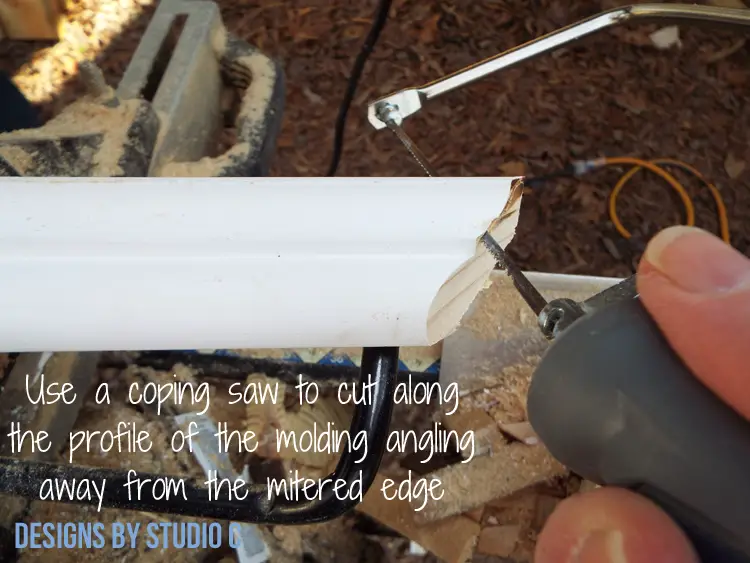
The angle is actually cut away with the coping saw following the profile of the molding at an opposite angle. It sounds harder than it really is. The joints don’t have to be perfect because they will be filled with silicone when the molding is installed but it will create a nice, tight fit.
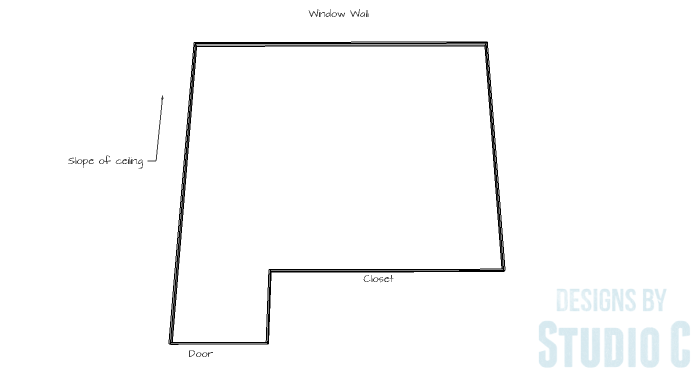
In this room, I actually had a major strike against me… The ceiling is sloped which just added to the reasons why regular mitered joints would not work for me. After a bit of careful planning (mainly procrastination), I was able to achieve the results I was after!
Here is a look at the layout of the room:
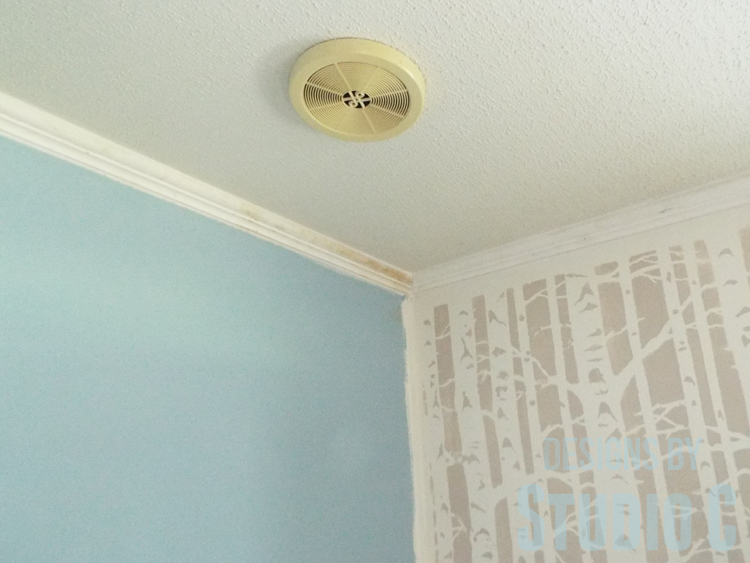
I chose bed molding for my room. Bed molding is a narrower type of crown that sort of looks like quarter round and cove molding layered against each other. I knew that I would have a tricky time with the slope of the ceiling and the bed molding would be a little easier than traditional crown.
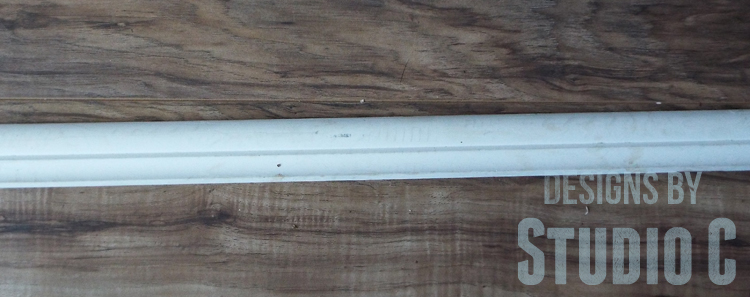
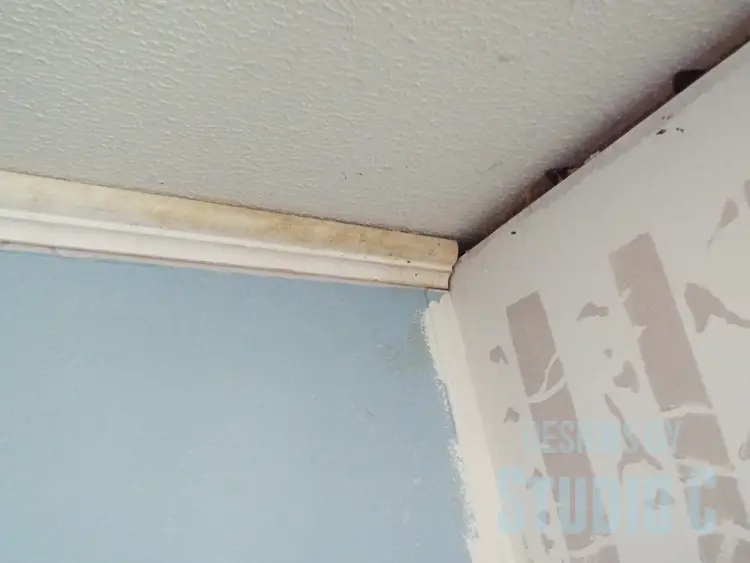
(Please note that I have not finished painting this room, and the molding is dirty from being stored on the floor for a long time!)
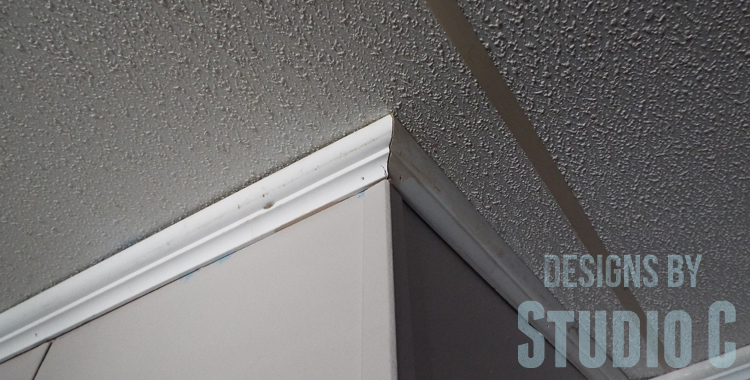
We started by cutting the molding for the sloped side walls. Each piece was cut to length with a 5° bevel at each end with the back of the trim flat against the bed of the saw. We secured it to the wall using a brad nailer and 2″ nails.
Next came the back wall where the windows are located. This piece would have both ends coped. The piece was secured to the wall using a brad nailer and 2″ nails.
The next piece to be cut was above the door where one end would be coped and the other end would have a flush cut.
Then it was time for the piece over the closet. This piece would have one coped end and an outside mitered corner. We cut the piece to length plus 2″ so that one end could be coped first, then held in place to mark the position of the outside corner. The outside corner was cut at 45°.
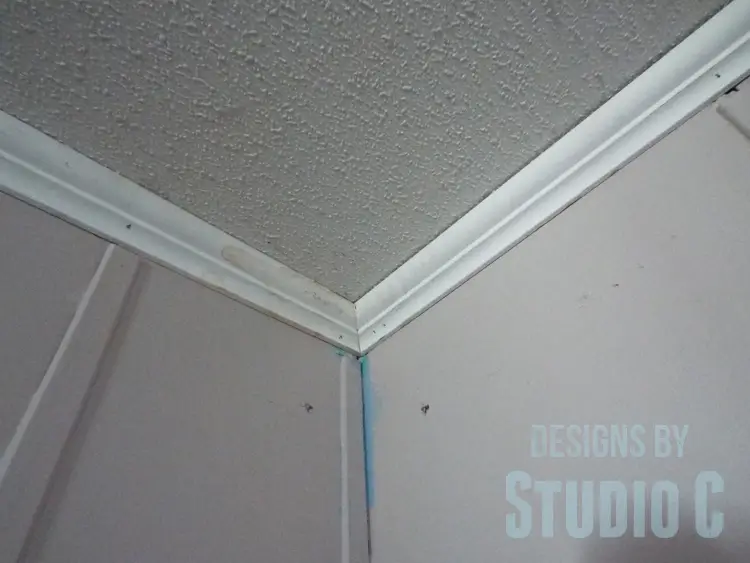
The final piece was the trickiest of all – it would have an outside corner with a coped end and each end would have a compound 5° angle. Talk about a glutton for punishment! I gave up on the 5° compound angle because I couldn’t get it right but it still fit perfectly.
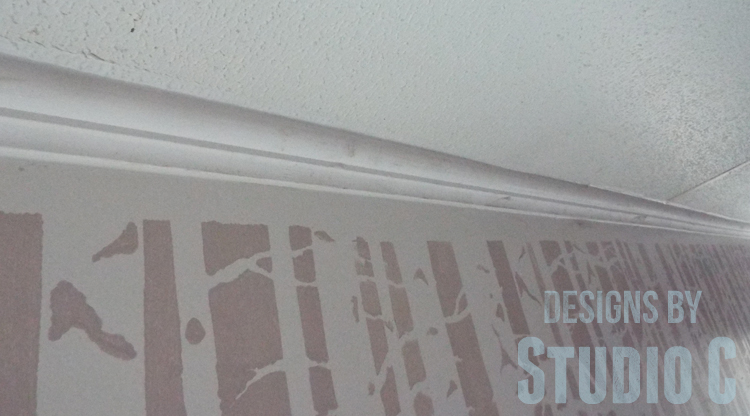
After all of the molding was installed, I used paintable caulk to fill the top, bottom and joints. I wrote a post about trim and said that caulk is your friend… It really is because it hides a lot of imperfections. I had a few because of the joining strips on the ceiling panels and because of the angle variance on the sloped walls.
Now, the trim is ready for paint – and so are the walls… Did you notice the two colors? The room will eventually be the soft tan! Have any questions about coping and installing crown molding? Leave a comment below!
Originally posted 2016-03-28 08:00:02.
My cousin has been contemplating remodeling her bedroom and looking for things to add to make the space look put together. It’s great that you pointed out how crown molding can totally alter the room’s look and feel. This may add character and depth to a space, so I think it would be a terrific idea to incorporate. For her, I’ll definitely look for easy-installation crown molding. I appreciate you sharing!