
Build a DIY Large Circle Cutting Jig for a Bandsaw
Cutting Larger Circles with a Bandsaw
The bandsaw is one of my favorite tools to use. I like the versatility it offers when cutting pieces for chair legs, basket handles and tabletops. I have been commissioned to make new tables for the break room at work with 42″ round tops. Since the jigsaw and I are not “close friends”, I will need to cut the tops on the bandsaw which requires me to build a DIY large circle cutting jig for the bandsaw. I have a smaller jig that I use all the time for cutting circles but it wouldn’t be able to cut anything larger than about 14″ in diameter.
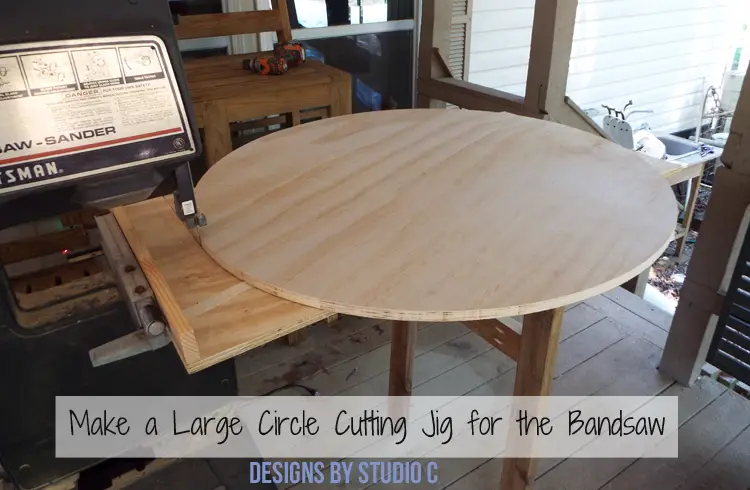
This jig features a bed stop and folding legs with casters on the end to make it easy to store. The casters will also help when feeding the jig and the material through the saw.
Materials:
- 3/4″ brad nails
- 2″ brad nails
- 4 – 2-1/2″ pocket hole screws (or regular screws)
- 2 – strap hinges
- 2 – single direction casters (not swivel casters!)
- Wood glue
- 1 – 2″ roofing nail (to be used as a pivot)
Lumber:
- Strip of wood to fit in the miter gauge slot of the bandsaw
- 1 – 2′ x 4′ sheet of 3/4″ plywood
- 1 – 2×4 at 8′
- Scrap piece of 1×2 at 18″
- Scrap piece of 1×3 at 24″
- Scrap piece of 2×4 at 24″
Cut List:
- 1 – 3/4″ plywood at 2′ x 4′
- 1 – 1×3 at 24″ – Fence
- 1 – 1×2 at 5″” – Bed Stop
- 2 – 2×4 at the height of the bandsaw table
- 1 – 2×4 to brace the legs
Notes about the project:
Constructing and sometimes using the jig requires two people for safety. Always use common sense safety practices when using power tools!
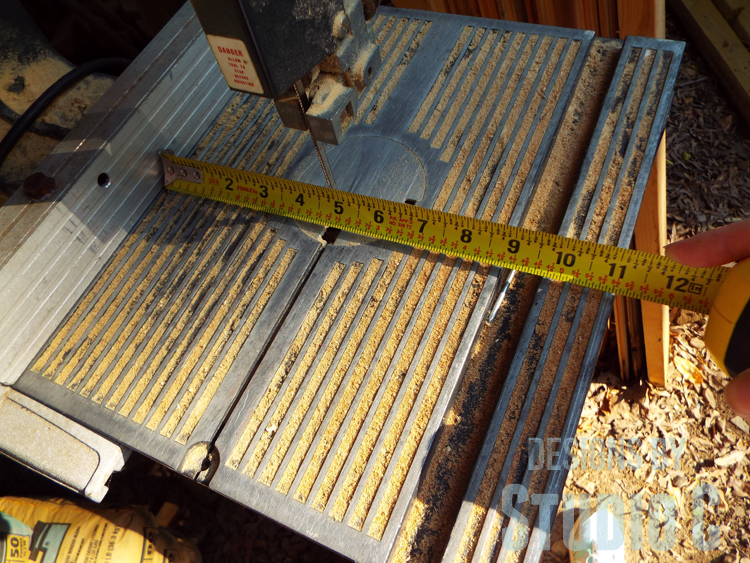
Step One
Install the fence on the bandsaw as far away from the blade as possible. Measure the distance from the fence to the miter slot at the edge closest to the blade.
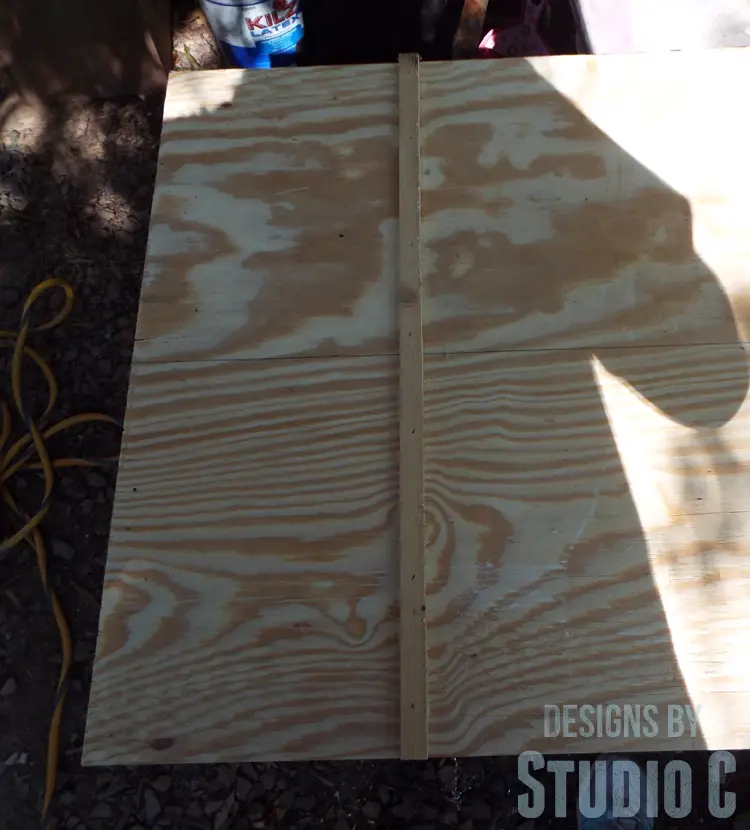
Step Two
Draw a line across the length of the plywood piece at the center on both sides. Draw a line along the width of the plywood piece at the same measurement from the fence to the miter slot. Secure the strip of wood along this line for the runner with glue and 3/4″ brad nails.
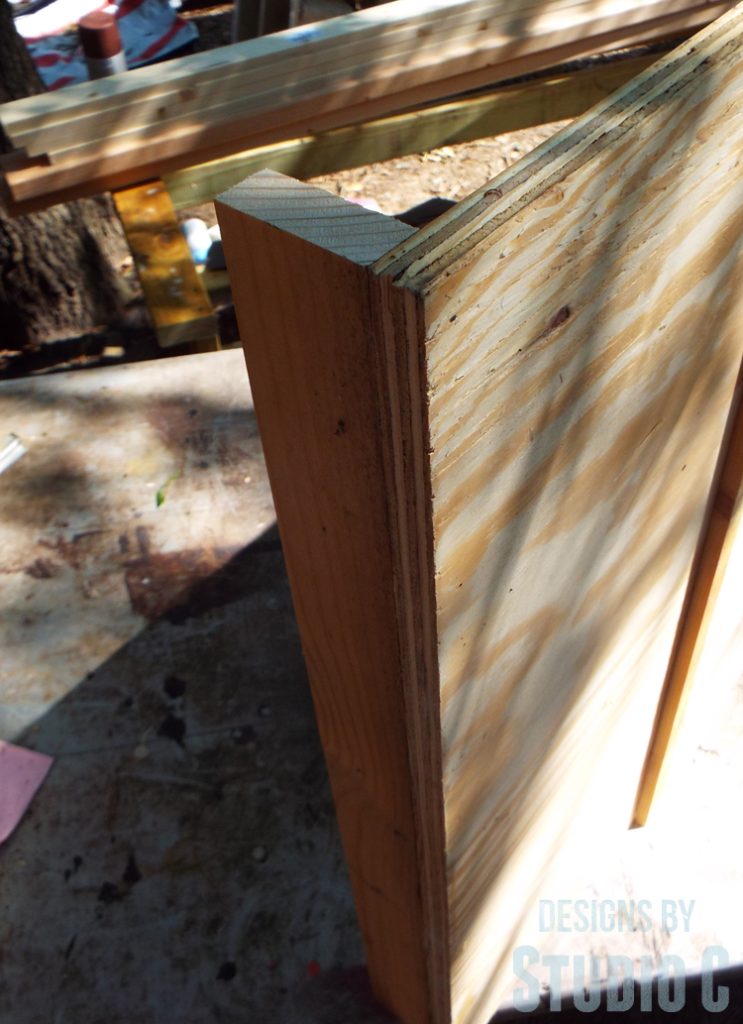
Step Three
Secure the 1×3 fence piece on the plywood using glue and 2″ brad nails.
Step Four
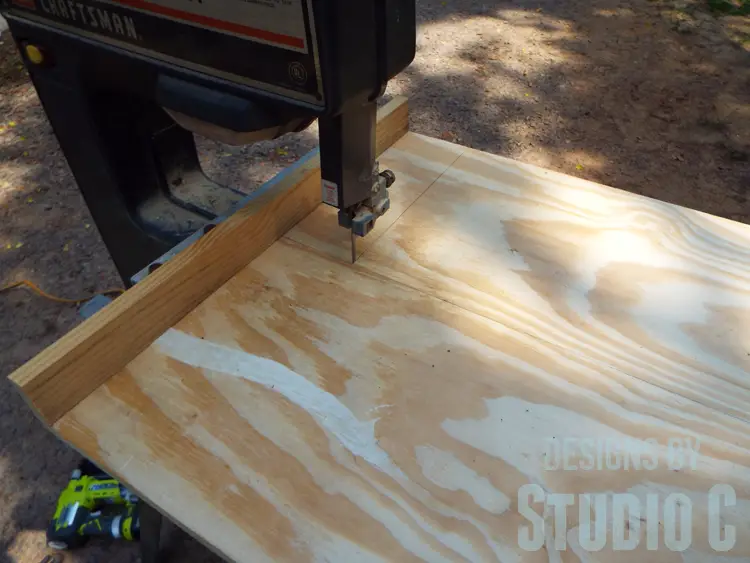
Turn the bandsaw on and place the plywood piece on the saw bed with the runner in the miter slot and the wood fence against the saw fence. Make sure you have a helper to balance the plywood on the saw bed! Push the plywood through the saw to cut a kerf for the blade, stopping at the horizontal line drawn on the board. Turn the saw off. (You can also cut along this line with a jigsaw to make it a little wider.)
Step Five
Leave the plywood in place and position the scrap 1×2 on the underside of the plywood piece against the saw bed. Secure the 1×2 using glue and 2″ brad nails through the top of the plywood piece into the 1×2. This piece will act as a stop once it contacts the saw bed. Remove the plywood piece from the saw bed. (I forgot to photograph this step!)
Step Six
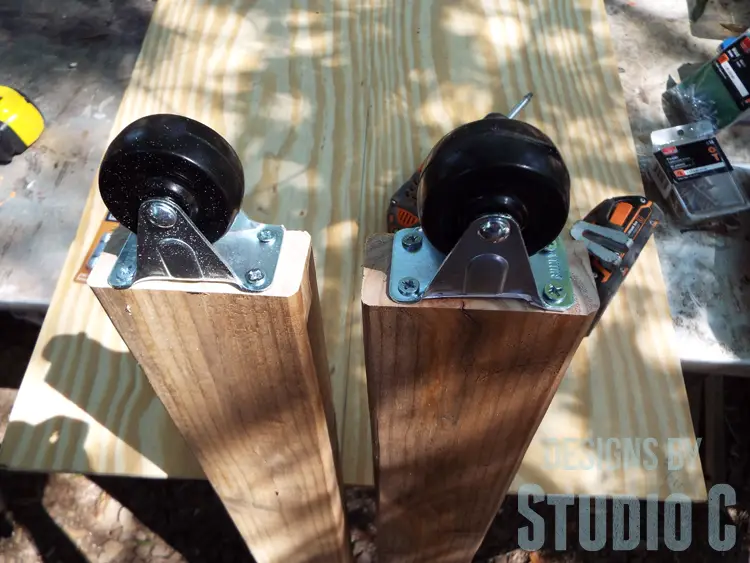
With the saw on a level surface, measure the distance from the floor to the top of the saw bed and subtract the height of the casters. For example, the distance from the floor to the top of my saw bed is 44″. The casters I am using measure 2-3/8″. The total measurement is 41-5/8″. Cut two 2×4 pieces at this length. Secure the casters to one end of each 2×4 piece.
Step Seven
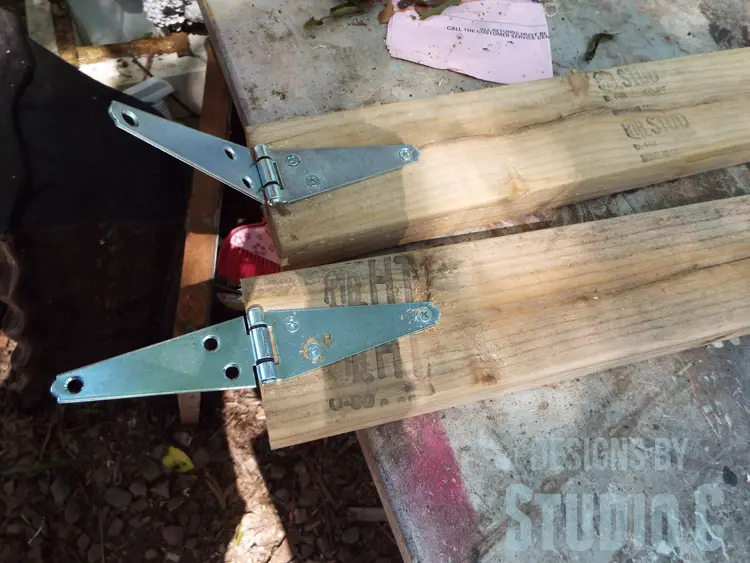
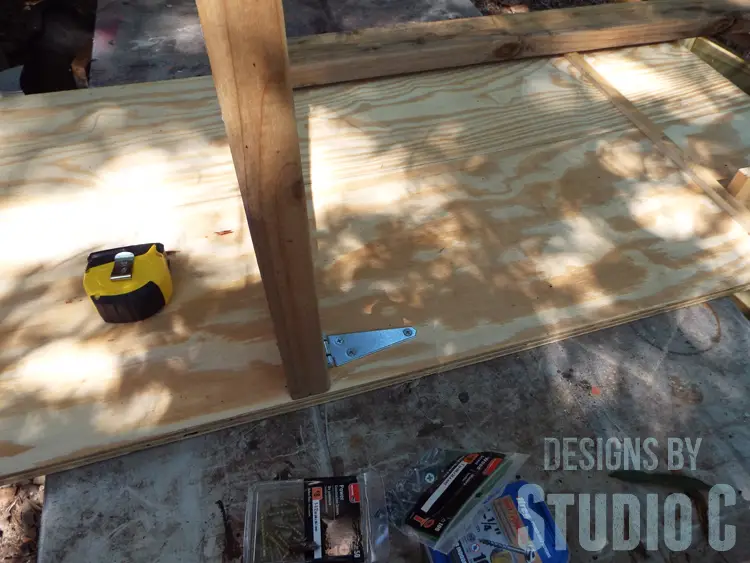
Secure the hinges to the opposite end of each piece. Secure the hinges to the bottom of the plywood piece with the sides of the the legs flush with the sides of the plywood.
Cut a 2×4 piece to fit between the legs. I drilled pocket holes in each end and secured the piece to the legs using 2-1/2″ pocket hole screws. If you do not have a pocket hole jig, the bracing can be cut longer to overlap both legs then secured in place using 2-1/2″ screws. (I did not photograph this step, either!)
To cut circles with the jig:
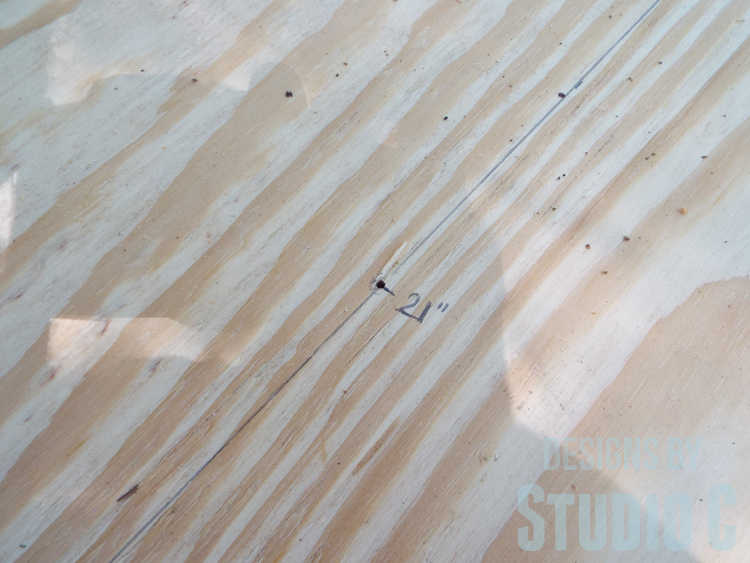
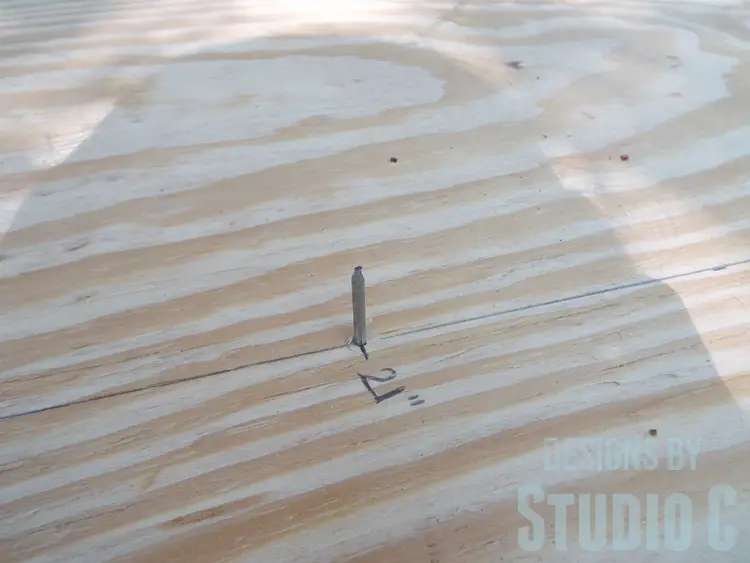
Measure from the saw kerf on the jig along the horizontal line and make a mark indicating the radius of the circle you are cutting. Drill a 1/8″ hole on the line. Insert a roofing nail through the hole on the underside of the jig.
Locate the center of the piece that will be cut in a circle. I usually draw lines from corner to corner of a square piece. Where they intersect is the center. Drill a 1/8″ hole. Cut the material into a hexagon shape so that it will easily pass the fence.
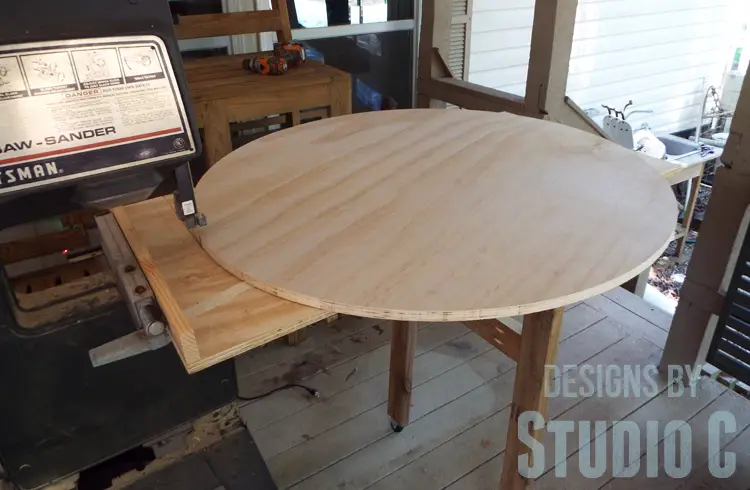
Place the piece that will be cut into a circle on the jig with the roofing nail through the hole. Turn the saw on and slide the jig in the miter slot until the stop on the underside of the jig makes contact with the saw bed. Pivot the material on the roofing nail while on the jig as the saw cuts the material into a circle!
Click here to go to another post I wrote about cutting circles on a bandsaw with a jig. This is one of the easiest ways I know to cut circles of any size! Have any questions about how to build a DIY large circle cutting jig for the bandsaw? Leave a comment below!
Originally posted 2016-06-20 08:00:24.
[…] it… Easy peasy, right? I’m hoping one day to make a huge table for my bandsaw and an even larger jig so I can make circles for tabletops or half circles for cabinets! Do you have a different method on […]
[…] plywood circles laminated together with wide edge banding applied so it looks like one solid piece. Build a jig for a bandsaw to cut the top or show off your stellar jigsaw skills […]
[…] Large Circle Cutting Jig […]
[…] Jigsaw or bandsaw with circle cutting jig […]
[…] The top is made by laminating two pieces of plywood together (making the piece approximately 1-1/2″ thick) and cutting it on a large circle jig with a band saw. 2″ edge banding is then used to cover the edges of the plywood. Take a look at this easy tutorial on building a jig to cut large circles on the bandsaw. […]